MariaDB
ToolJet can connect to both self-hosted and cloud-based MariaDB servers to read and write data.
Connection
To establish a connection with the MariaDB global datasource, you can either click on the + Add new global datasource button located on the query panel or navigate to the Global Datasources page through the ToolJet dashboard.
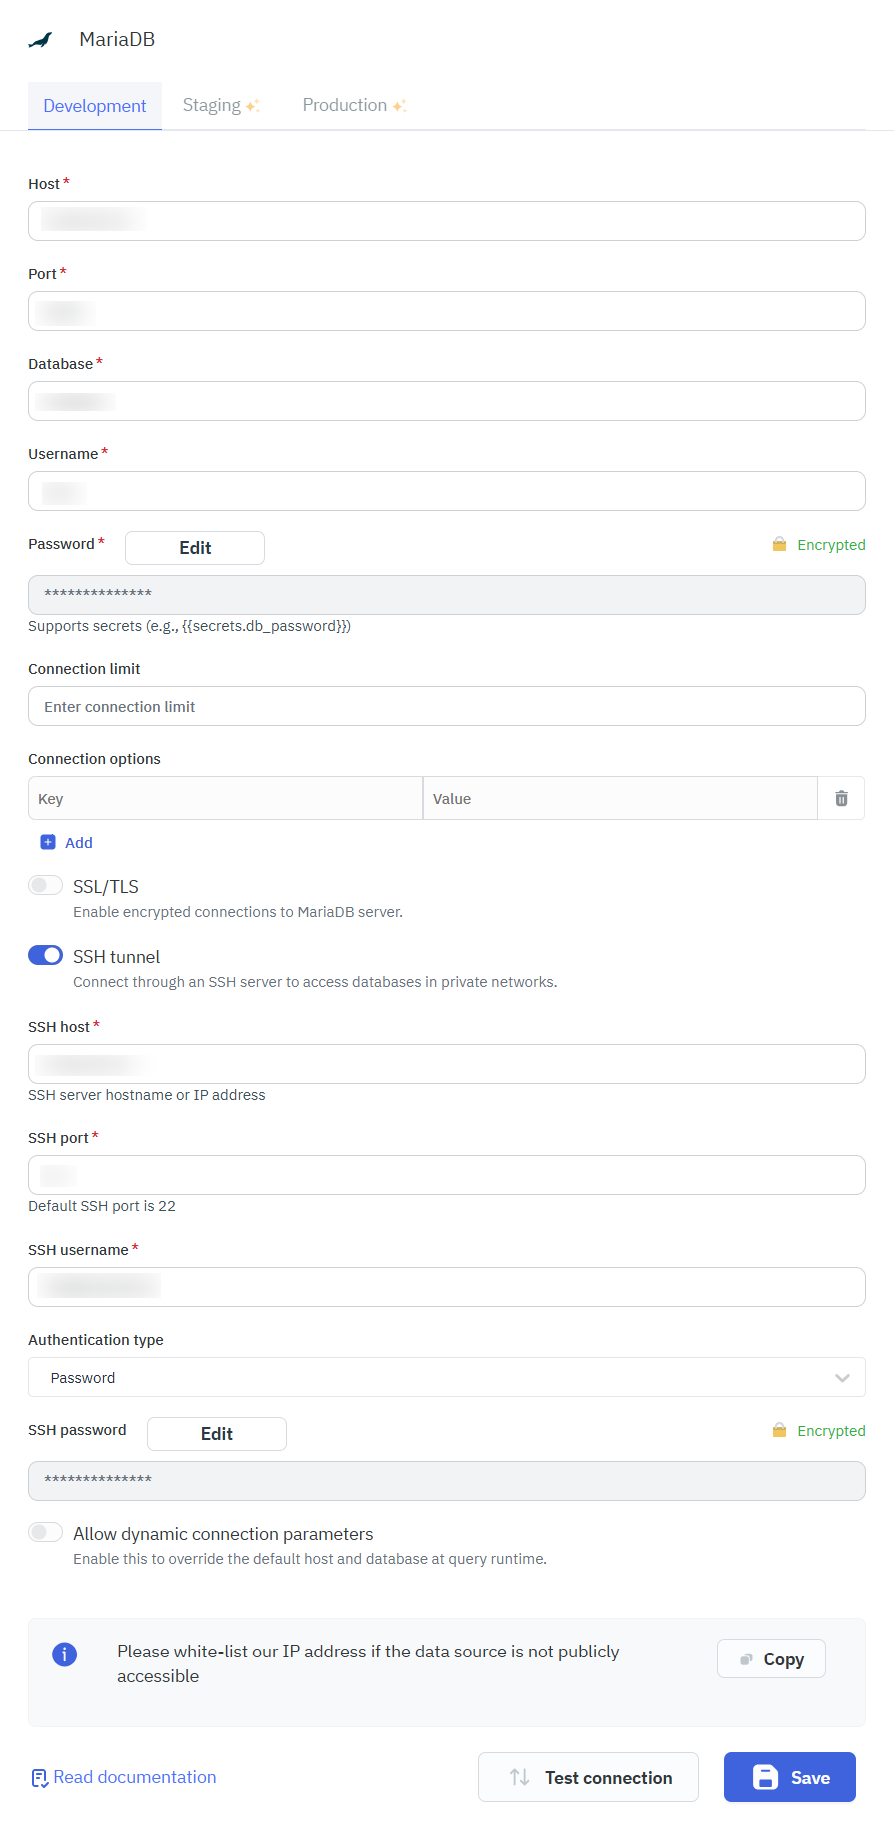
ToolJet requires the following connection details to connect to MariaDB:
-
Host: The hostname or IP address of the MariaDB server.
-
Username: The username for the MariaDB account.
-
Password: The password for the MariaDB account.
-
Connection Limit: The maximum number of concurrent connections allowed to the MariaDB server.
-
Port: The port number of the MariaDB server.
-
Database: The name of the database that you want to connect to.
SSL/TLS Connection
It enables encrypted communication between ToolJet and the MariaDB server to protect data transmitted over the network.
-
SSL: Whether or not to use SSL to connect to the MariaDB server.
-
SSL Certificate: There are three options for the SSL Certificate connection detail:
-
CA Certificate: This option allows you to use a certificate issued by a Certificate Authority (CA). This is the most secure option, as it ensures that the identity of the MariaDB server has been verified by a trusted third party.
-
Self-Signed Certificate: This option allows you to use a self-signed certificate. This is less secure than using a CA certificate, as it does not ensure the identity of the MariaDB server has been verified by a trusted third party. However, it is a good option if you do not have access to a CA certificate.
-
None: This option does not use SSL. This is the least secure option, as it allows anyone to intercept your communications with the MariaDB server.
-
SSH Tunnelling & Configuration
ToolJet supports SSH tunnelling for the MariaDB data source, allowing secure connections to databases hosted inside private networks. This can be used to:
- Access private databases
- Improve security
- Enable encrypted communication
- Avoid firewall rule changes
To securely connect to a private MariaDB using SSH tunnelling:
-
Enable the SSH tunnel toggle in the MariaDB data source configuration and provide the following details:
-
SSH host: Server hostname or IP address.
-
SSH port: Port number (default: 22).
-
SSH username: Username for the SSH server.
-
Authentication method: Choose either:
-
Private key: The private key used to authenticate securely with the MariaDB server when key-based authentication is enabled.
-
Password: The password associated with the database user account for authentication.
-
-
Querying MariaDB
Once you have connected to the MariaDB datasource, follow these steps to write queries and interact with a MariaDB database from the ToolJet application:
- Click the + Add button to open the list of available datasources.
- Select MariaDB from the global datasource section.
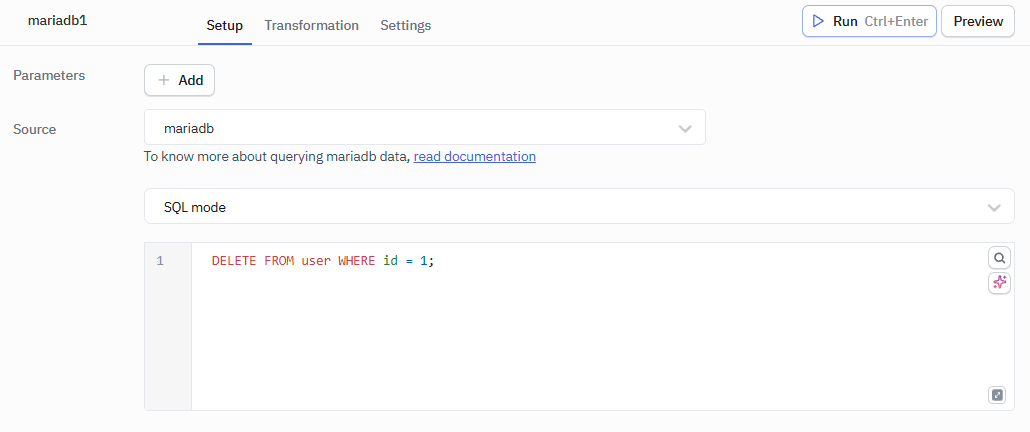
- Enter the SQL query in the editor.
- Click Preview to view the data returned from the query or click Run to execute the query.
Query results can be transformed using Transformation. For more information on transformations, please refer to our documentation at link.
CRUD Queries
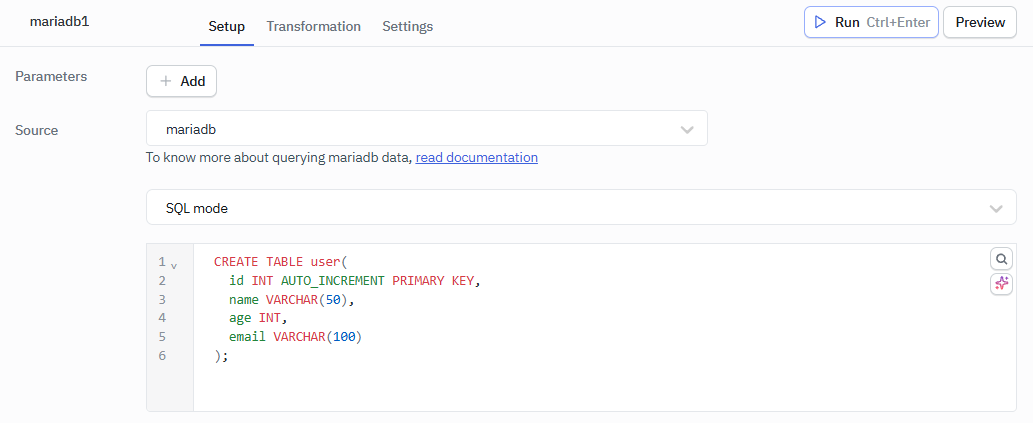
Suppose there exists a MariaDB database named customers. We can create an example table called users with the following columns:
- id (integer, auto-increment)
- name (varchar)
- age (integer)
- email (varchar)
CREATE TABLE user(
  id INT AUTO_INCREMENT PRIMARY KEY,
  name VARCHAR(50),
  age INT,
  email VARCHAR(100)
);
The above command will create the users table within the customers database. Now, let's explore the CRUD commands for this table in MariaDB:
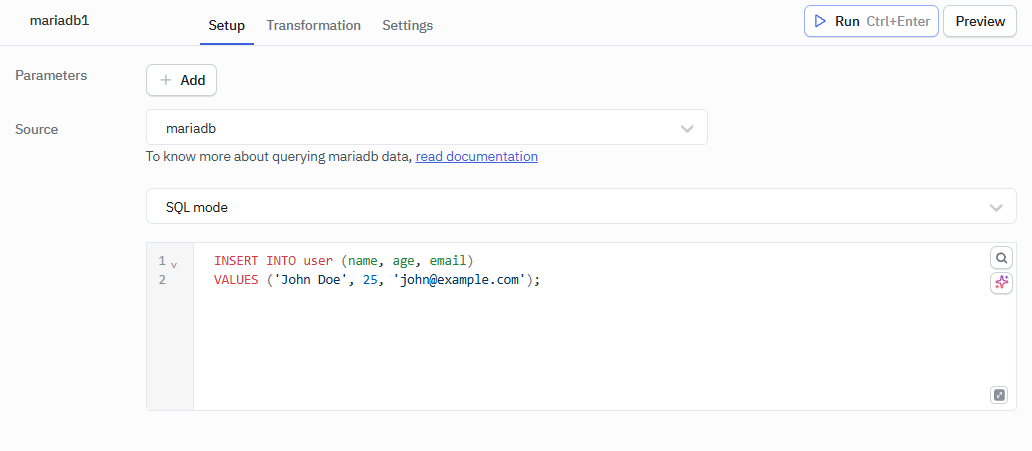
Create (Insert)
To Insert a Single User:
INSERT INTO user (name, age, email)
VALUES ('John Doe', 25, '[email protected]');
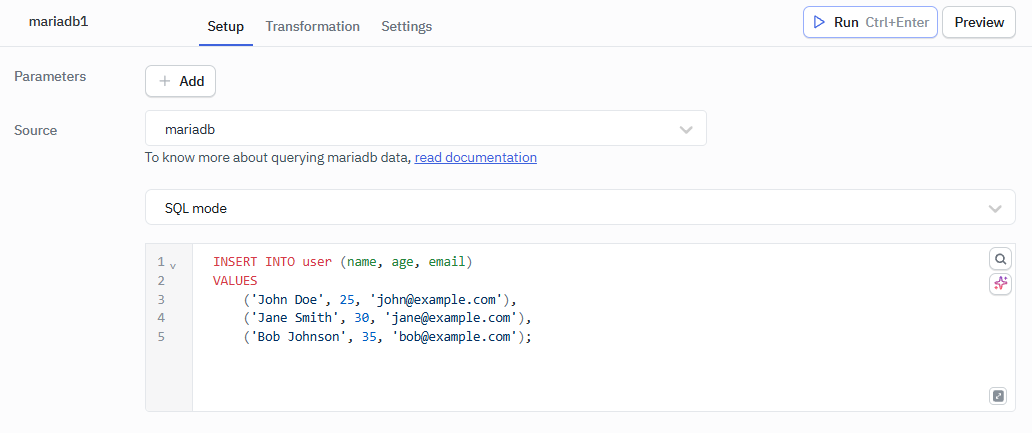
To Insert Multiple Users:
INSERT INTO user (name, age, email)
VALUES
    ('John Doe', 25, '[email protected]'),
    ('Jane Smith', 30, '[email protected]'),
    ('Bob Johnson', 35, '[email protected]');
Read (Select)
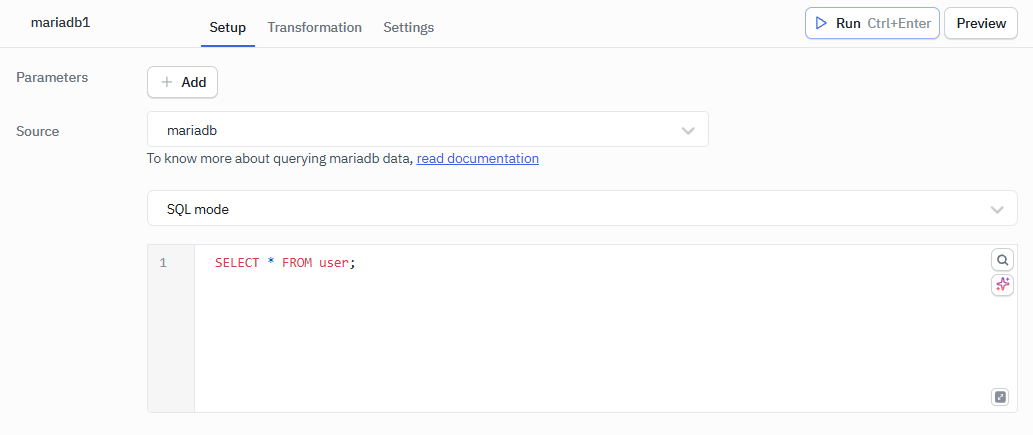
To Retrieve All Users:
SELECT * FROM user;
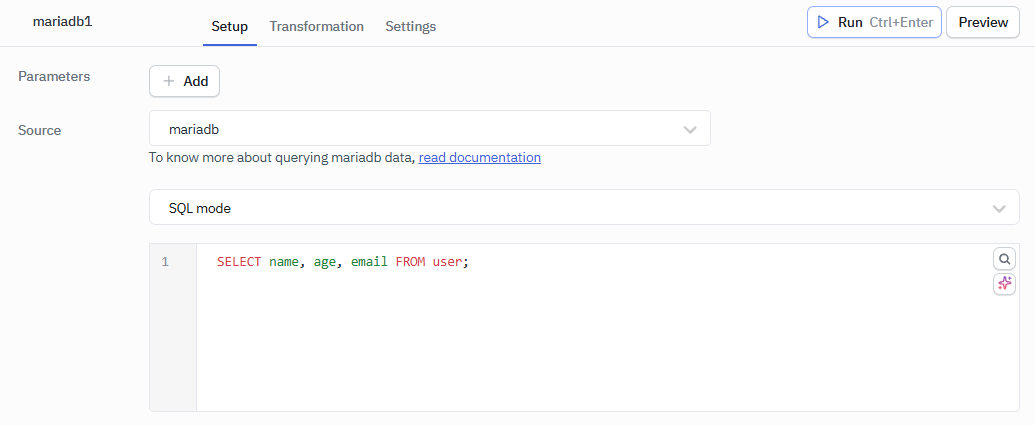
To Retrieve Specific Columns From Users:
SELECT name, age, email FROM user;
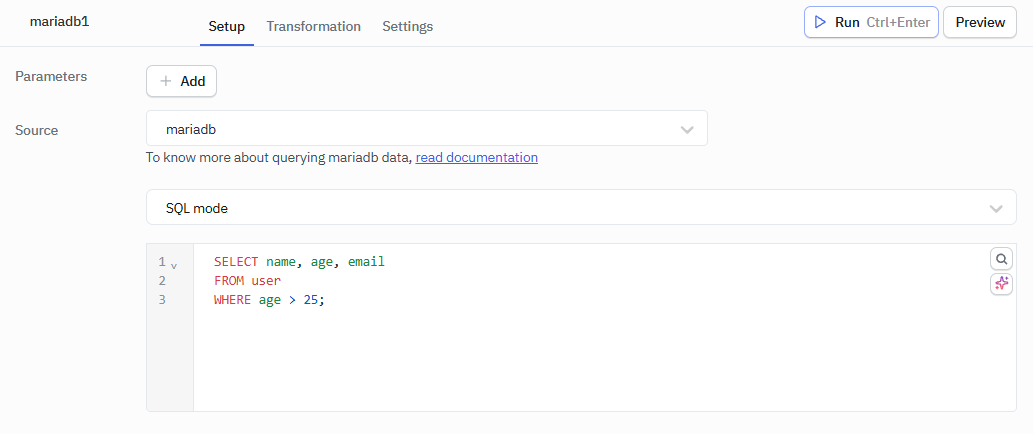
To Add Conditions and Filters to the Selection:
SELECT name, age, email
FROM user
WHERE age > 25;
Update
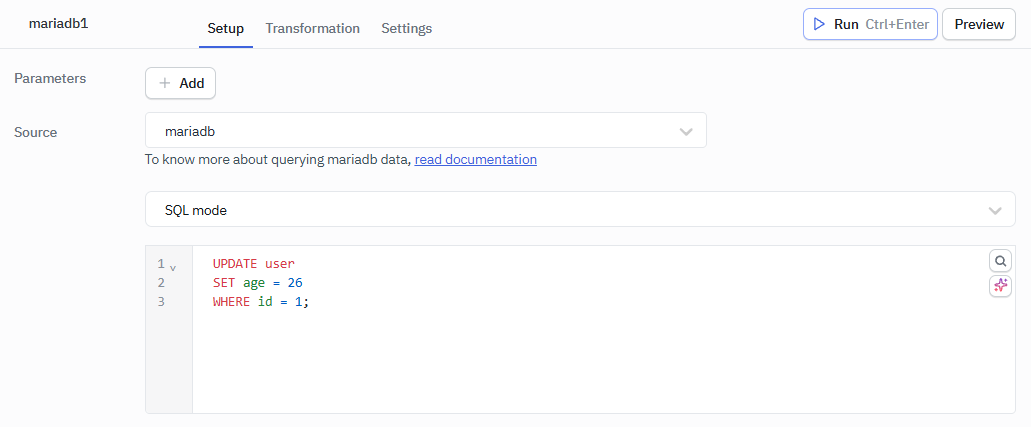
To Update the Age of a User:
UPDATE user
SET age = 26
WHERE id = 1;
Delete
To Delete a User:
DELETE FROM user WHERE id = 1;
Remember to adjust the values and conditions based on your specific needs. These commands will allow you to create the table, insert data, retrieve data, update data, and delete data in the users table in MariaDB.
Querying in GUI Mode
GUI mode can be used to query MariaDB without writing queries.
- Create a new query and select the MariaDB data source.
- Select GUI mode from the dropdown.
- Choose the operation you want to perform.
- Fetch and select the Table name.
- Click on the Preview button to view the output or click on Run button to trigger the query.
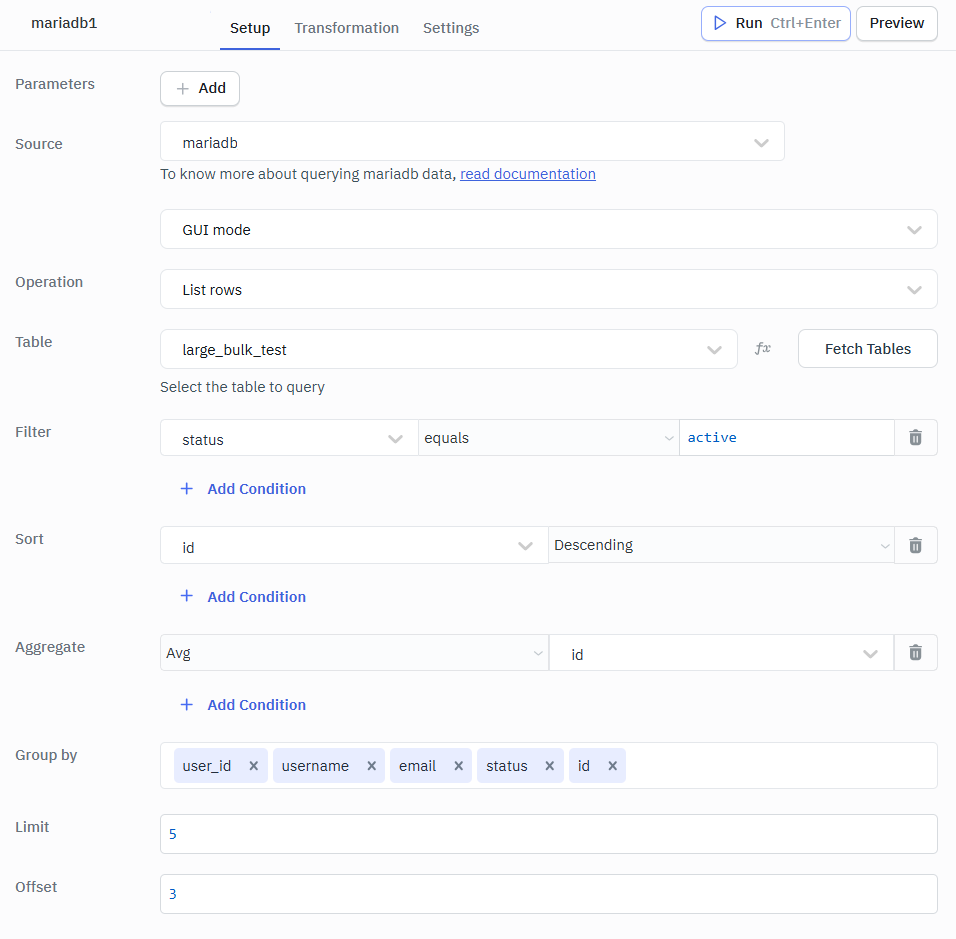
List Rows
Retrieve records from the selected table with optional filtering, sorting, and pagination options.
Required Parameter
- Table: Select the table from which rows need to be retrieved.
Optional Parameters
- Filter: Apply conditions to return only rows that match specific criteria.
- Sort: Arrange the returned rows in ascending or descending order based on selected columns.
- Aggregate: Apply aggregate functions such as count, sum, average, minimum, or maximum on selected columns.
- Group by: Group rows that share the same values in selected columns into summarized results.
- Limit: Restricts the number of rows returned in the result.
- Offset: Skips a specified number of rows before starting to return results.
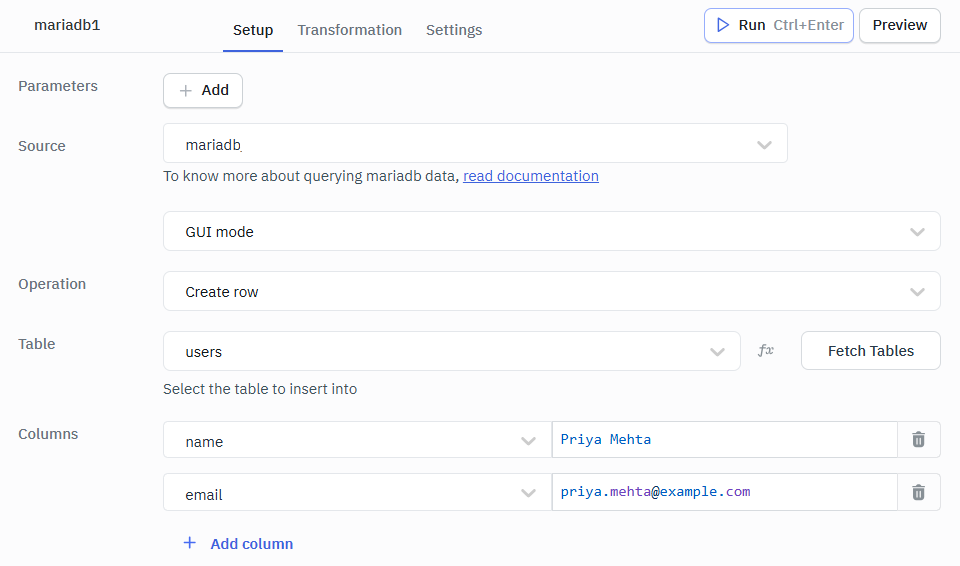
Create Row
Insert a new row into the selected table by providing values for the required columns.
In the editor, ensure the Columns input is provided in string format.
Required Parameter
- Columns: Specifies the table columns and their corresponding values to be inserted when creating a new row.
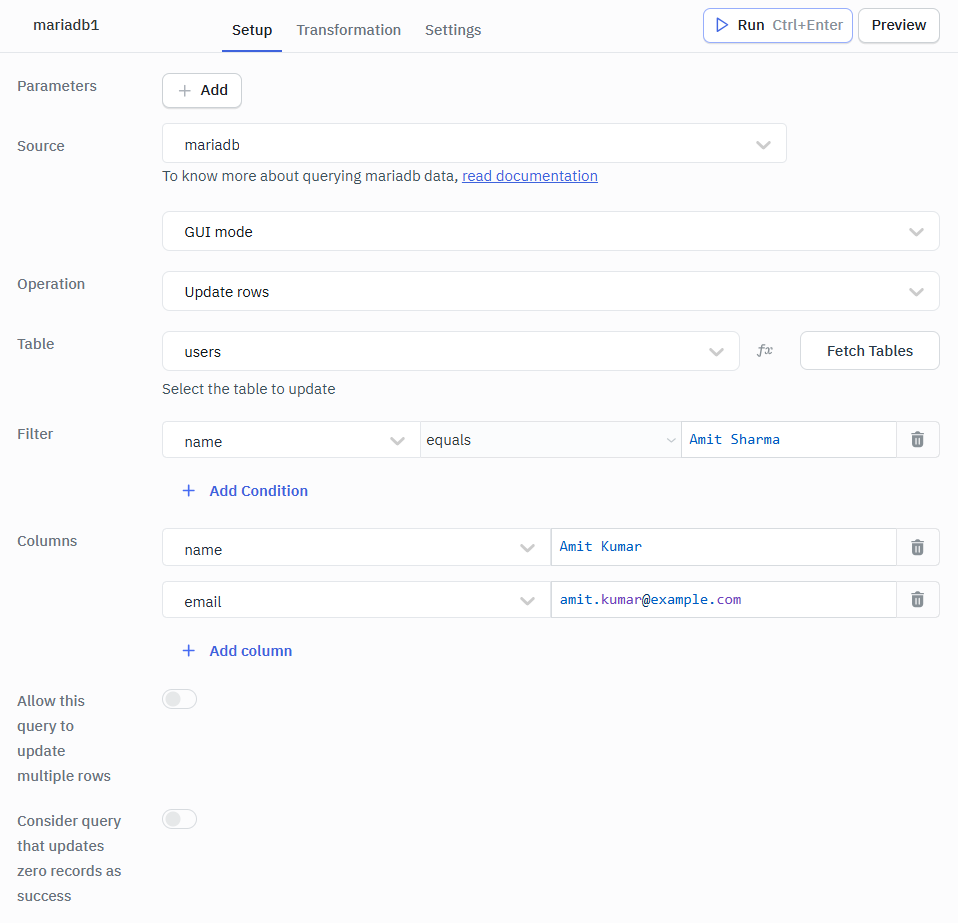
Update Rows
Modify existing row values in the selected table based on the specified conditions or identifiers.
In the editor, ensure the Columns input is provided in string format.
Required Parameter
- Columns: Specify the column names and values to be updated in the selected row(s).
Optional Parameter
- Filter: Apply conditions to identify which row(s) should be updated.
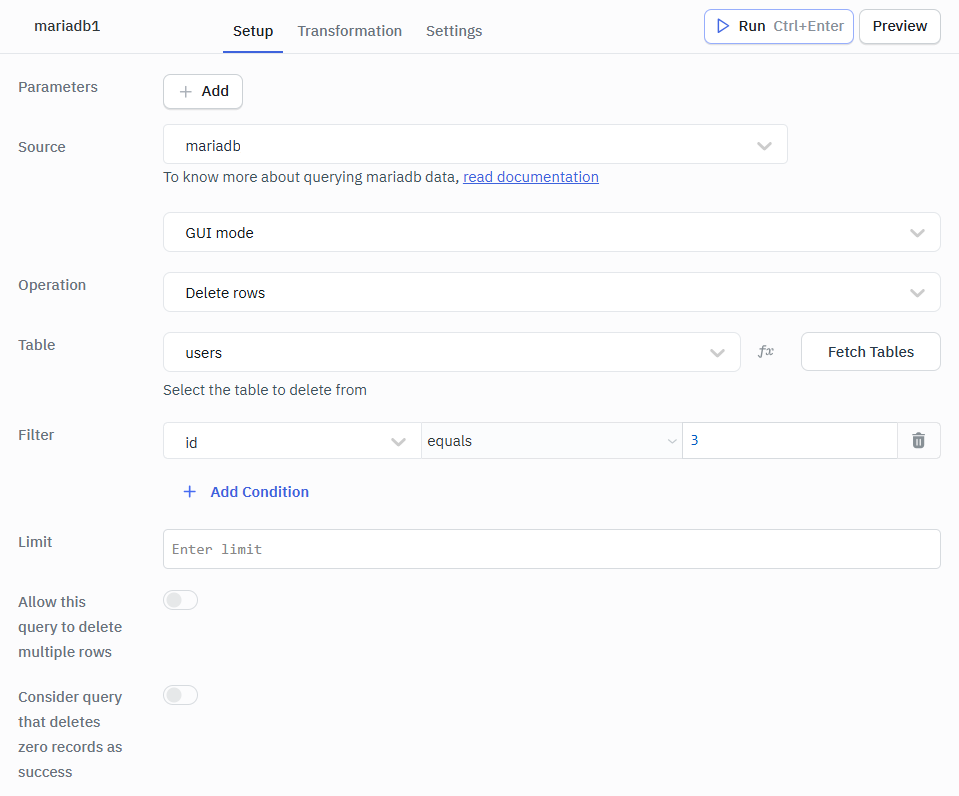
Delete Rows
Remove one or more rows from the selected table that match the given conditions.
Required Parameter
- Filter: Apply conditions to specify which row(s) should be deleted.
Optional Parameter
- Limit: Specify the maximum number of rows to delete.
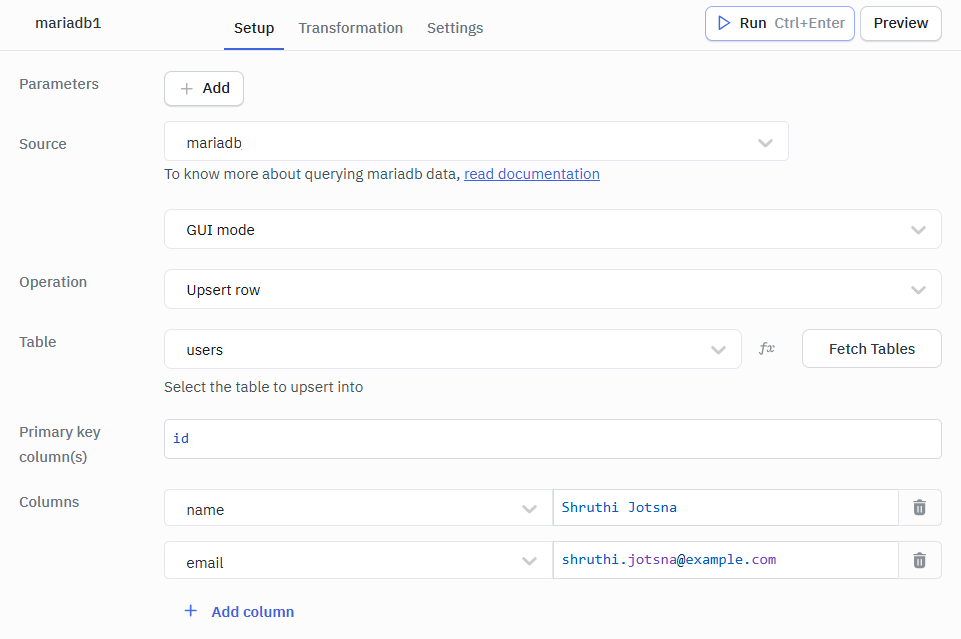
Upsert Row
Insert a new row or update an existing row if a matching primary or unique key already exists.
In the editor, ensure the Columns input is provided in string format.
Required Parameters
- Primary key column(s): Specifies the column(s) used to identify whether a row already exists for updating or if a new row should be inserted.
- Columns: Provide the column names and values to be inserted or updated.
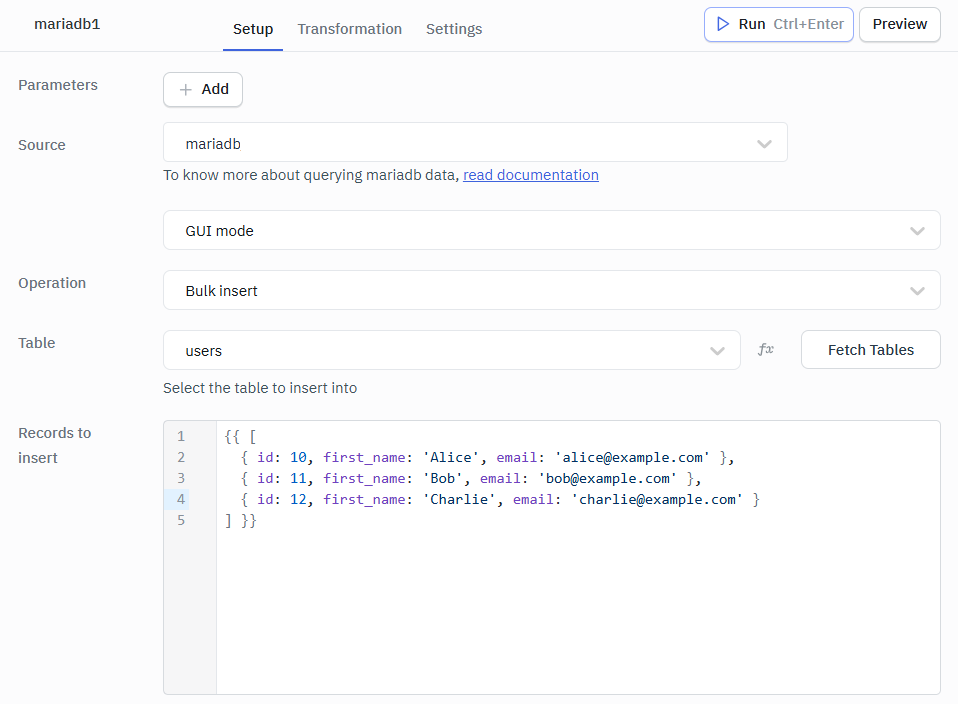
Bulk Insert
Inserts multiple rows into the table in a single operation using an array of records.
Required Parameters
- Table : Select the table into which multiple rows need to be inserted.
- Records to insert: Provide the set of rows and corresponding column values to be inserted in a single operation.
Example Values
{{ [
  { id: 10, first_name: 'Alice', email: '[email protected]' },
  { id: 11, first_name: 'Bob', email: '[email protected]' },
  { id: 12, first_name: 'Charlie', email: '[email protected]' }
] }}
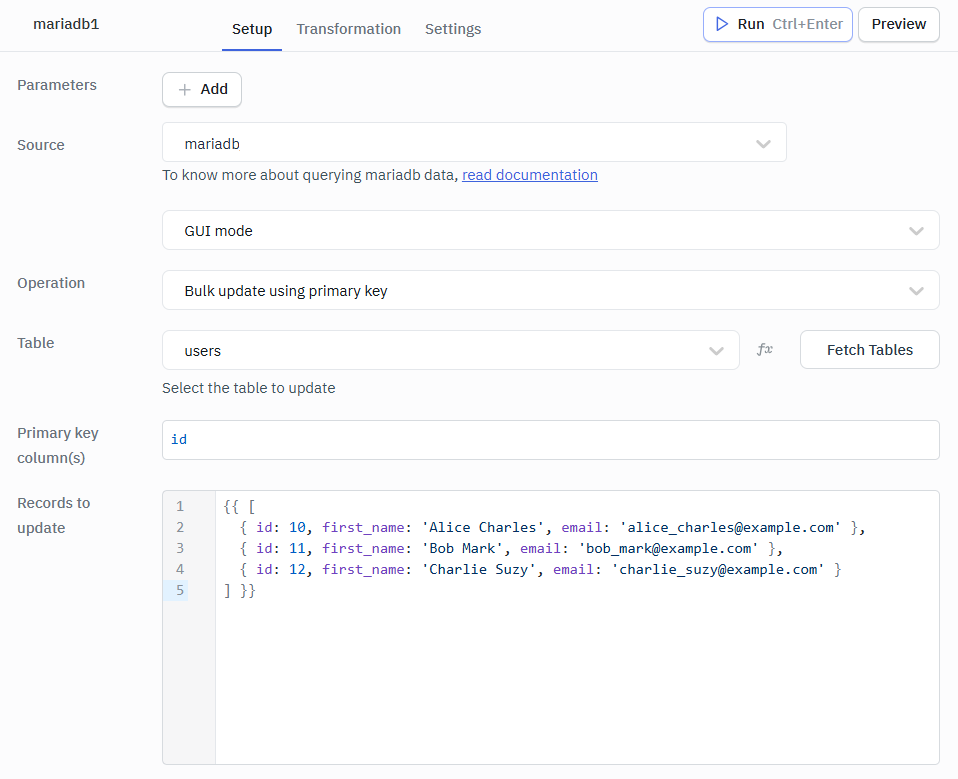
Bulk Update using Primary Key
Update multiple existing rows at once by matching records using their primary key values.
Required Parameters
- Primary key column(s): Specify the primary key column(s) used to identify the rows that need to be updated.
- Records to update: Provide multiple records with updated column values for the matching primary key rows.
Example Values
{{ [
  { id: 10, first_name: 'Alice Charles', email: '[email protected]' },
  { id: 11, first_name: 'Bob Mark', email: '[email protected]' },
  { id: 12, first_name: 'Charlie Suzy', email: '[email protected]' }
] }}
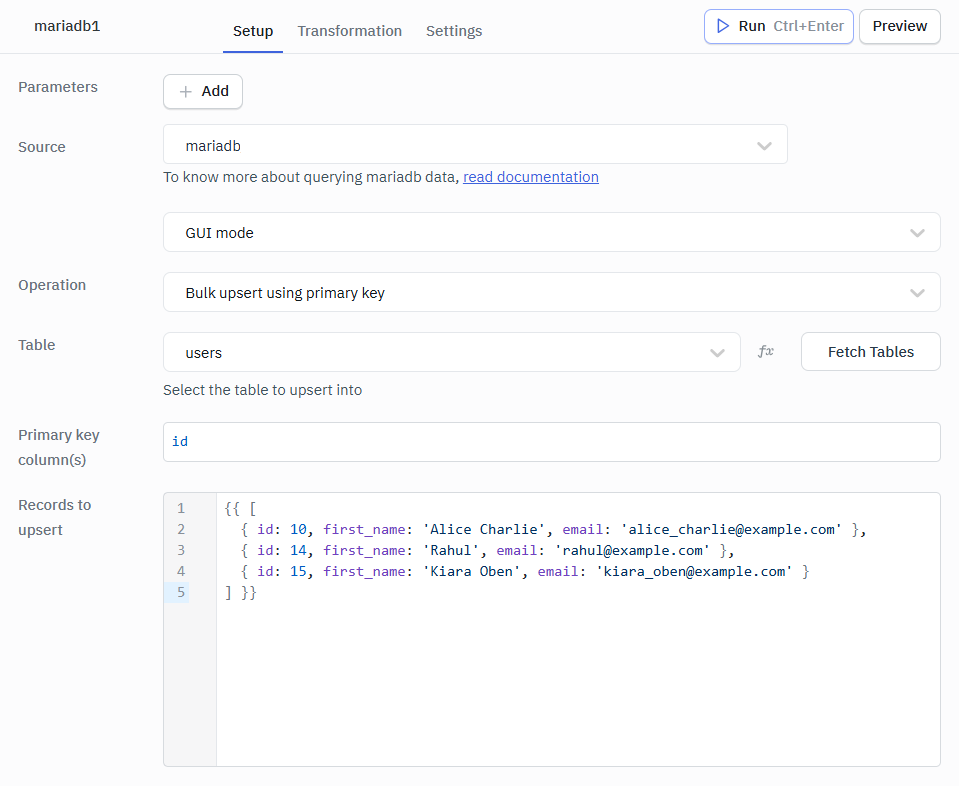
Bulk Upsert using Primary Key
Insert multiple new rows or update existing ones by matching rows using primary key values.
Required Parameters
- Primary key column(s): Specify the primary key column(s) used to determine whether each record should be updated or inserted.
- Records to upsert: Provide multiple records that will be inserted as new rows or updated if matching primary key values already exist.
In this operation, if a row with the matching primary key exists, it is updated; otherwise, a new row is inserted.
Example Values
{{ [
  { id: 10, first_name: 'Alice Charlie', email: '[email protected]' },
  { id: 14, first_name: 'Rahul', email: '[email protected]' },
  { id: 15, first_name: 'Kiara Oben', email: '[email protected]' }
] }}
Troubleshooting Tips
If you are having trouble connecting a MariaDB data source to ToolJet, try the following:
-
Make sure that your MariaDB server is running and accessible from the ToolJet server.
-
Check the spelling and capitalization of your credentials.
-
Try restarting the ToolJet server.
If you are still having trouble, please contact ToolJet support or ask on slack for assistance.