Version: 2.35.0

Data Sources : Overview

Data Sources pull in and push data to any source including databases, external APIs, or services. Once a data source is connected to a workspace, the connection can be shared with any app of that workspace.

caution

Data Source page is available only on ToolJet version 2.3.0 and above.

Data Sources: Overview

Connecting data sources

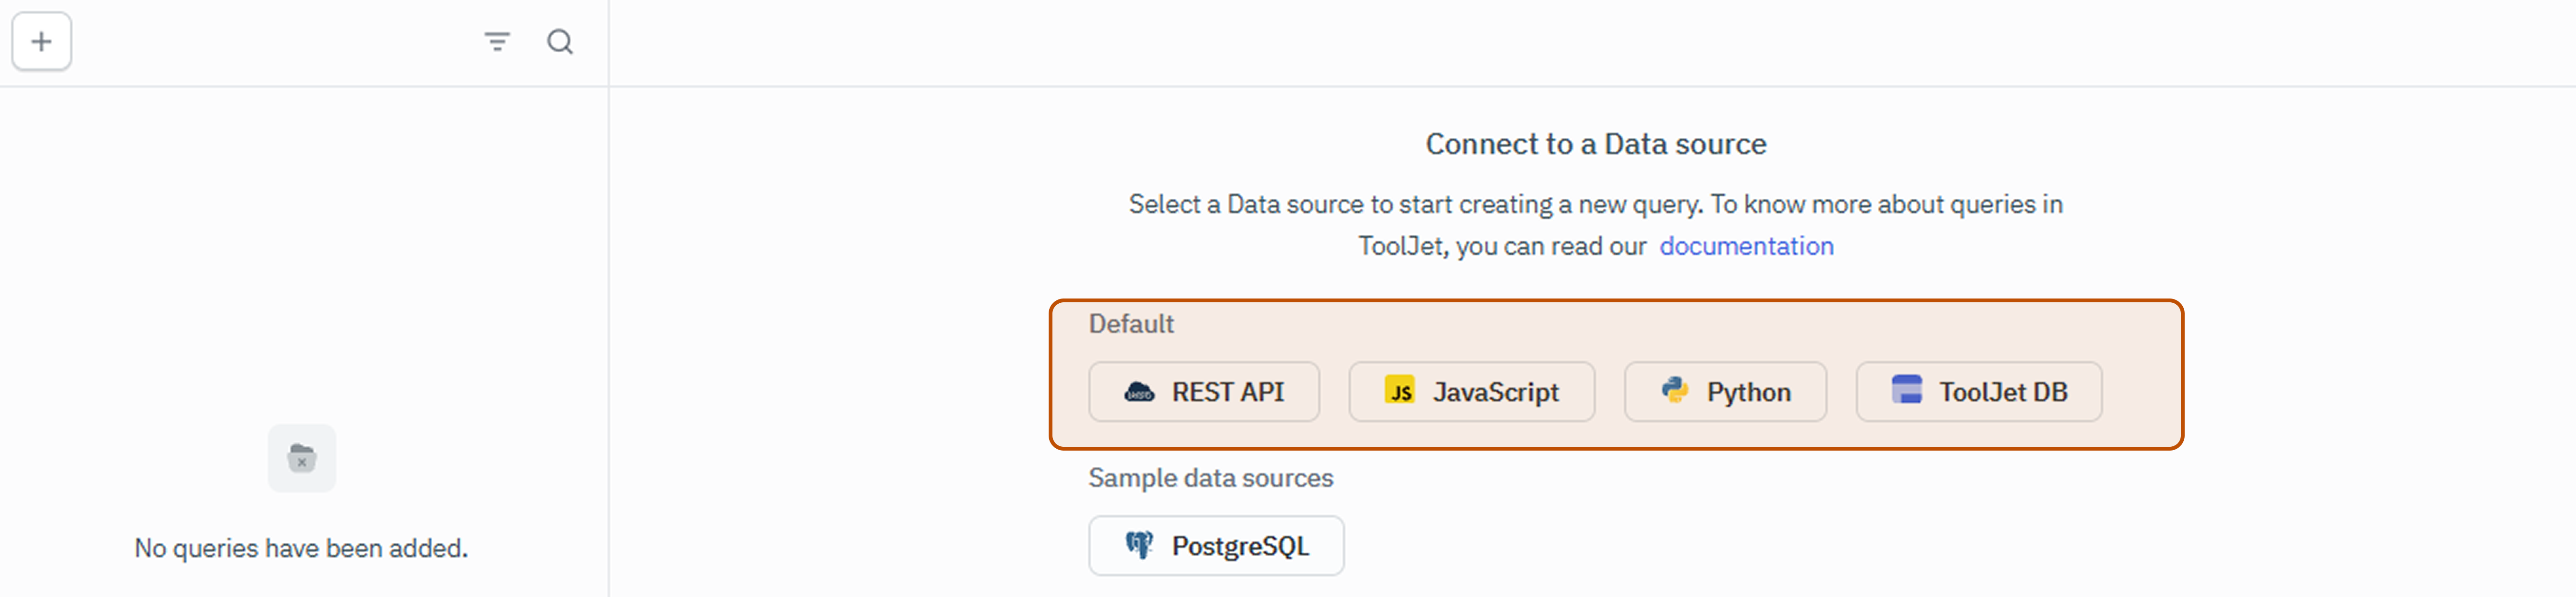
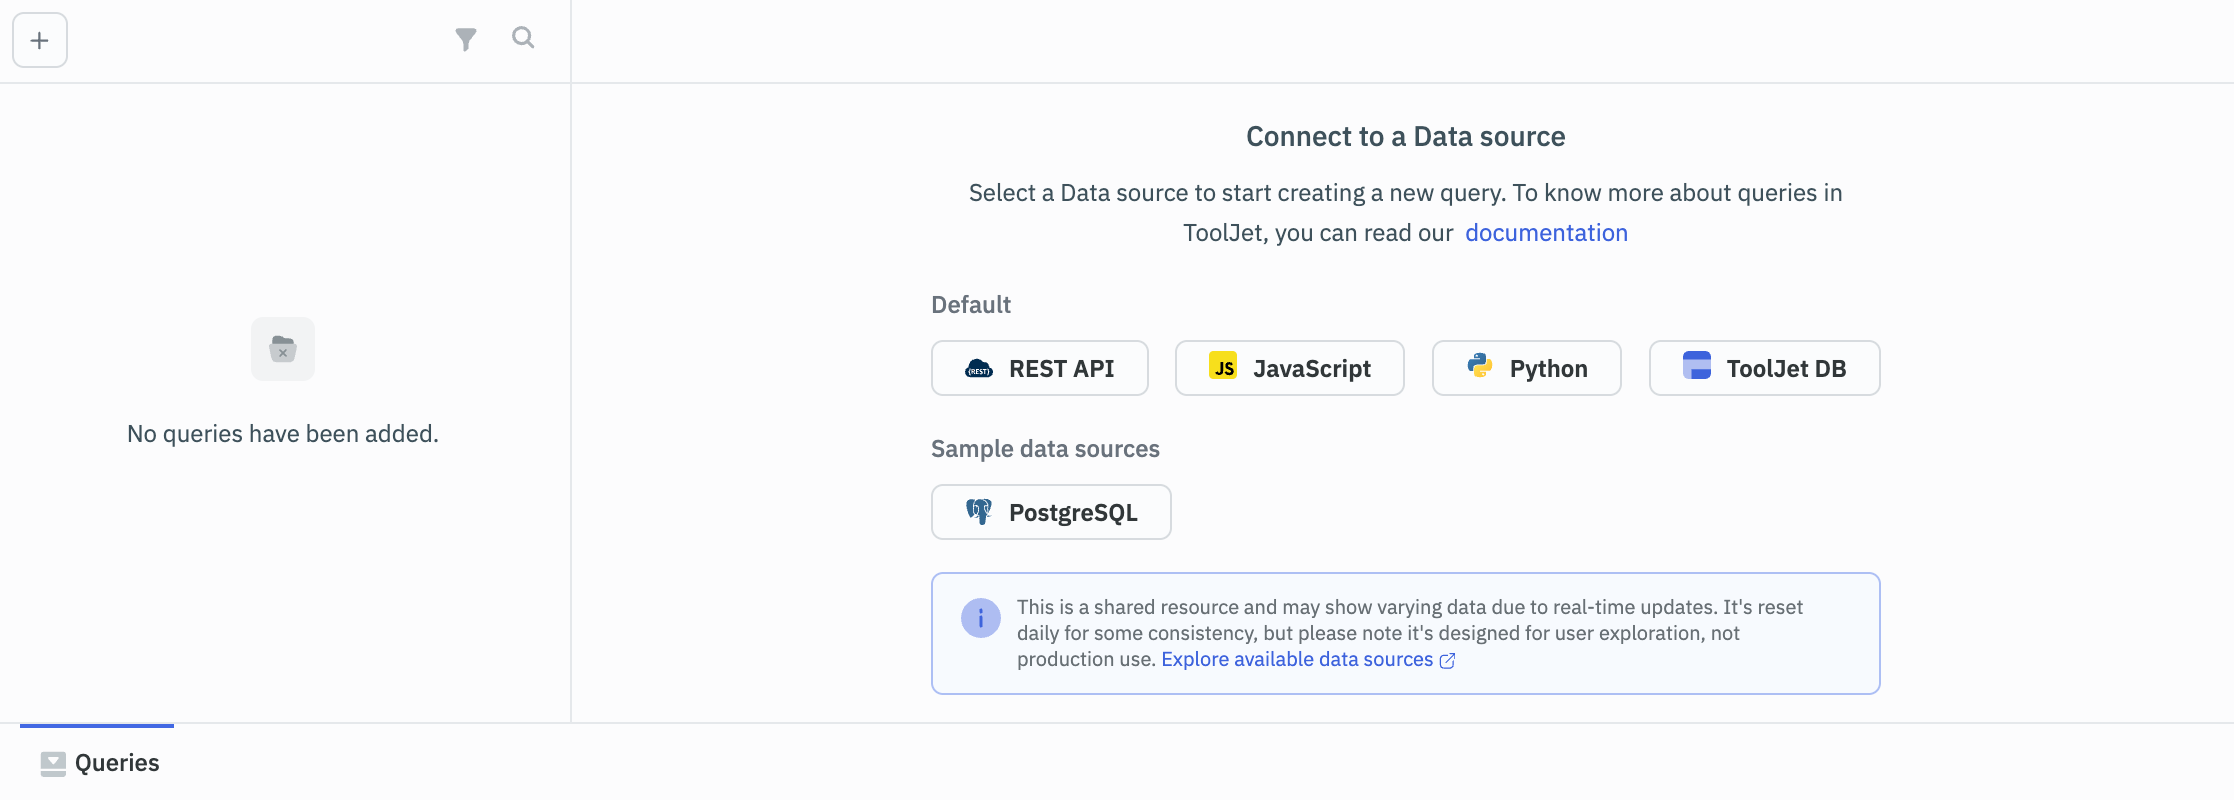
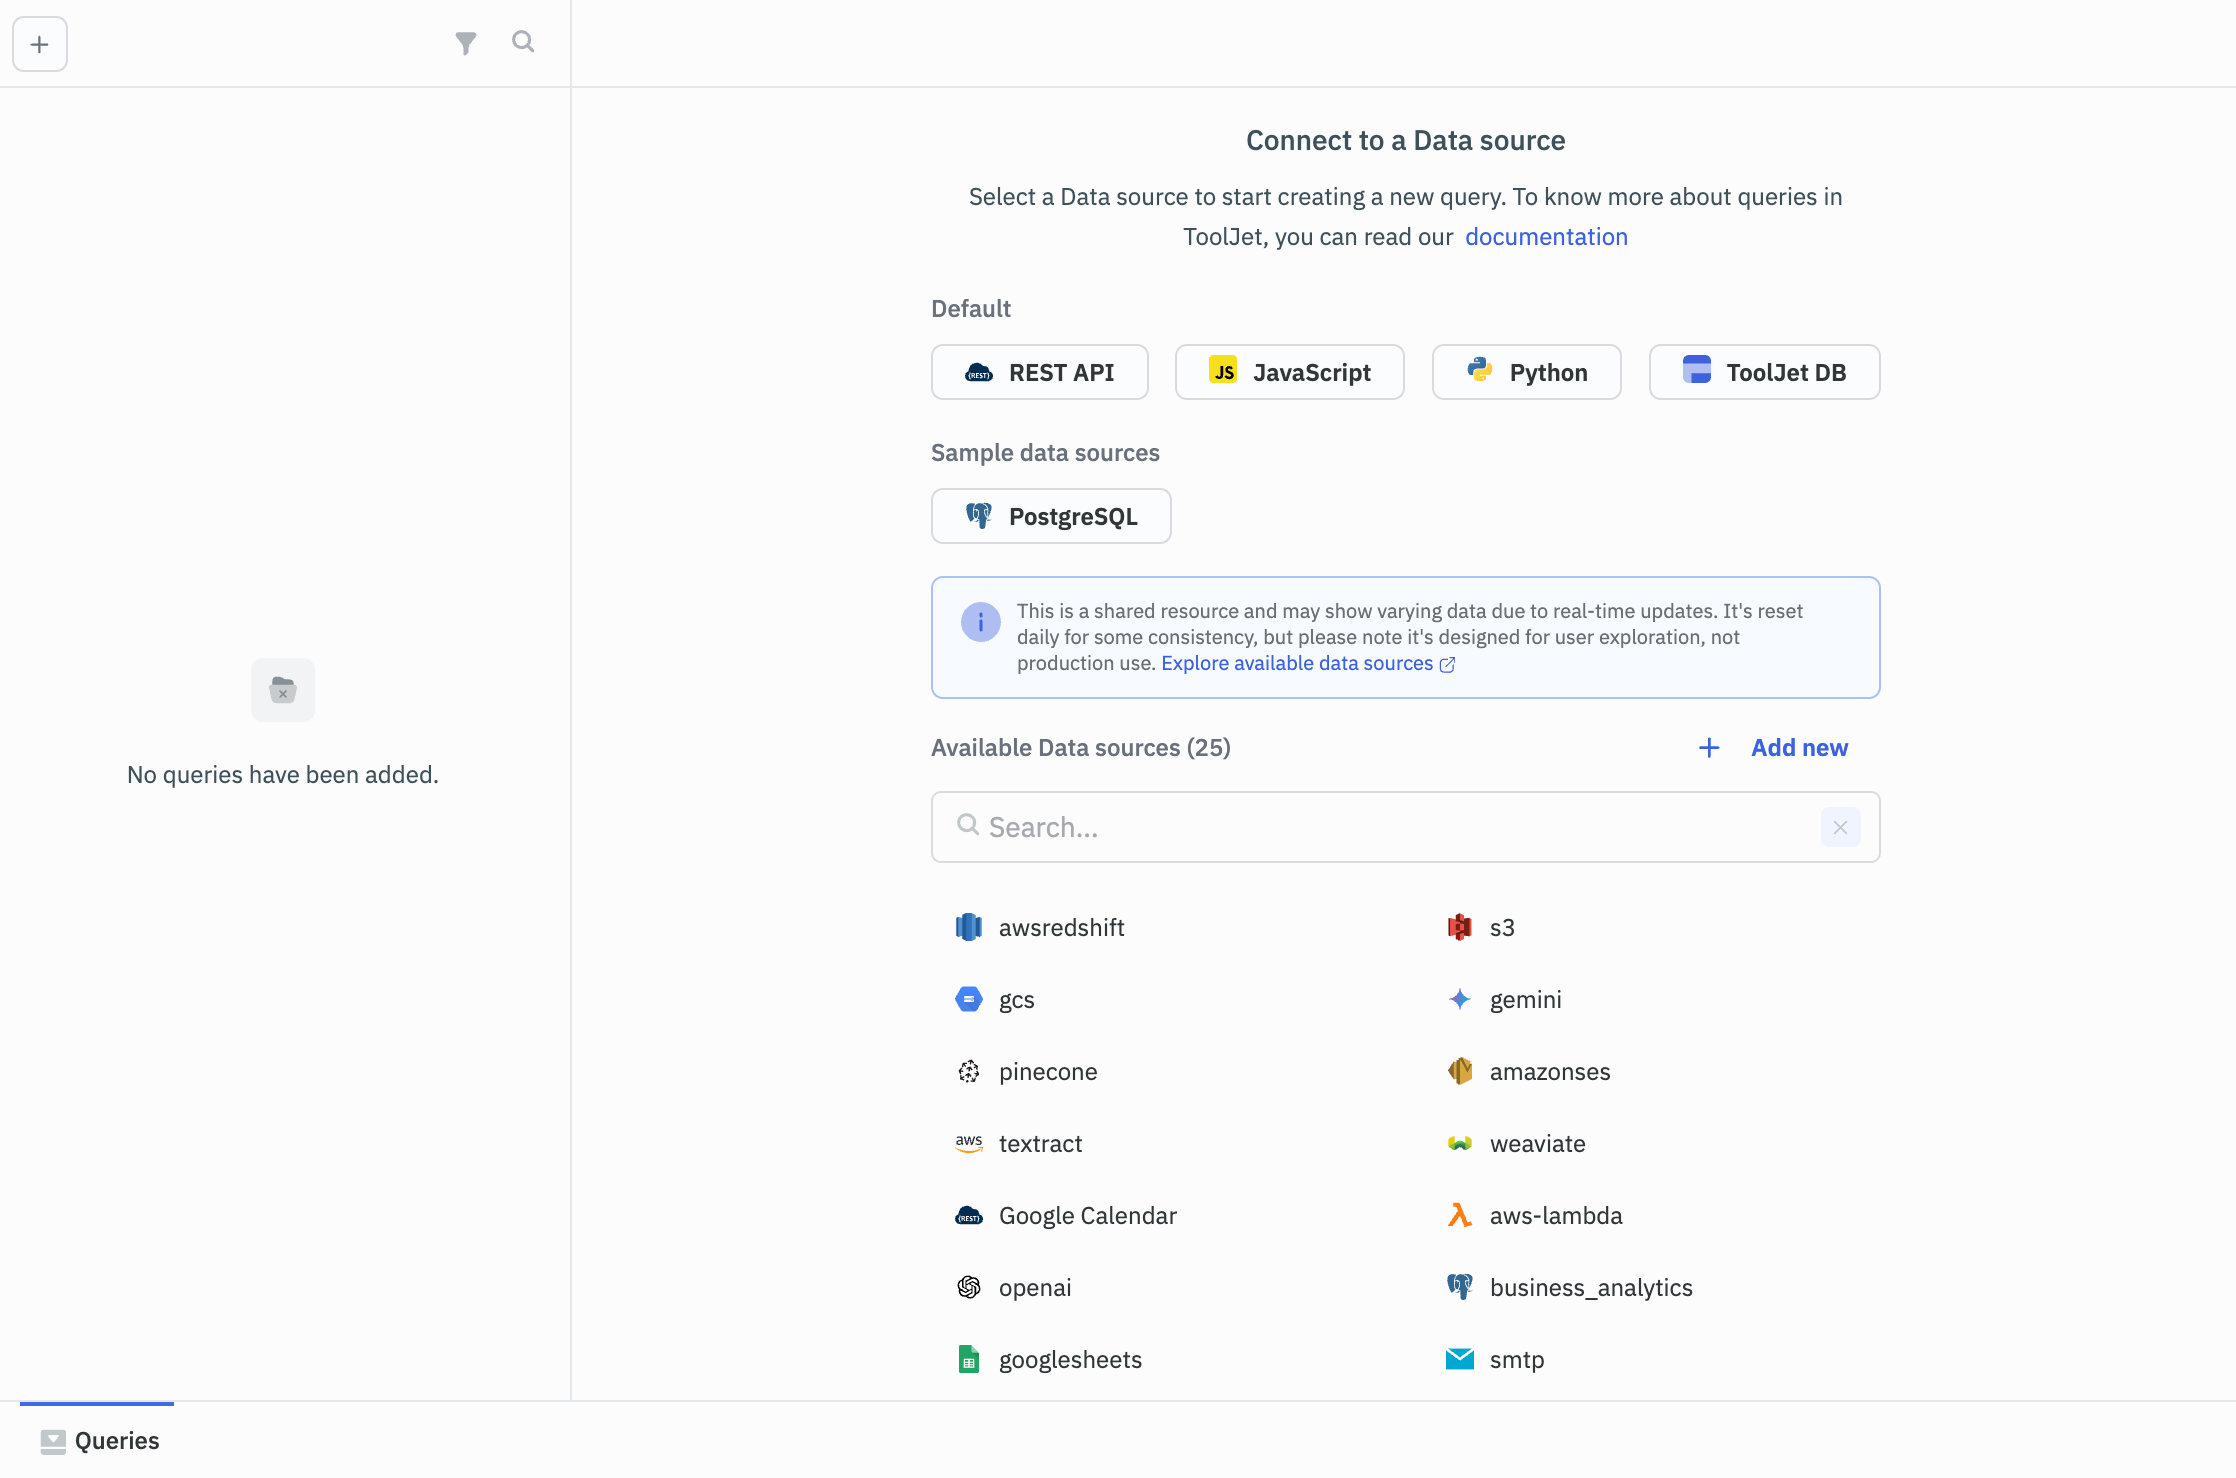
  1. Create a new app from the dashboard, and Click on the + Add new button from the query panel.
Data Sources: Overview

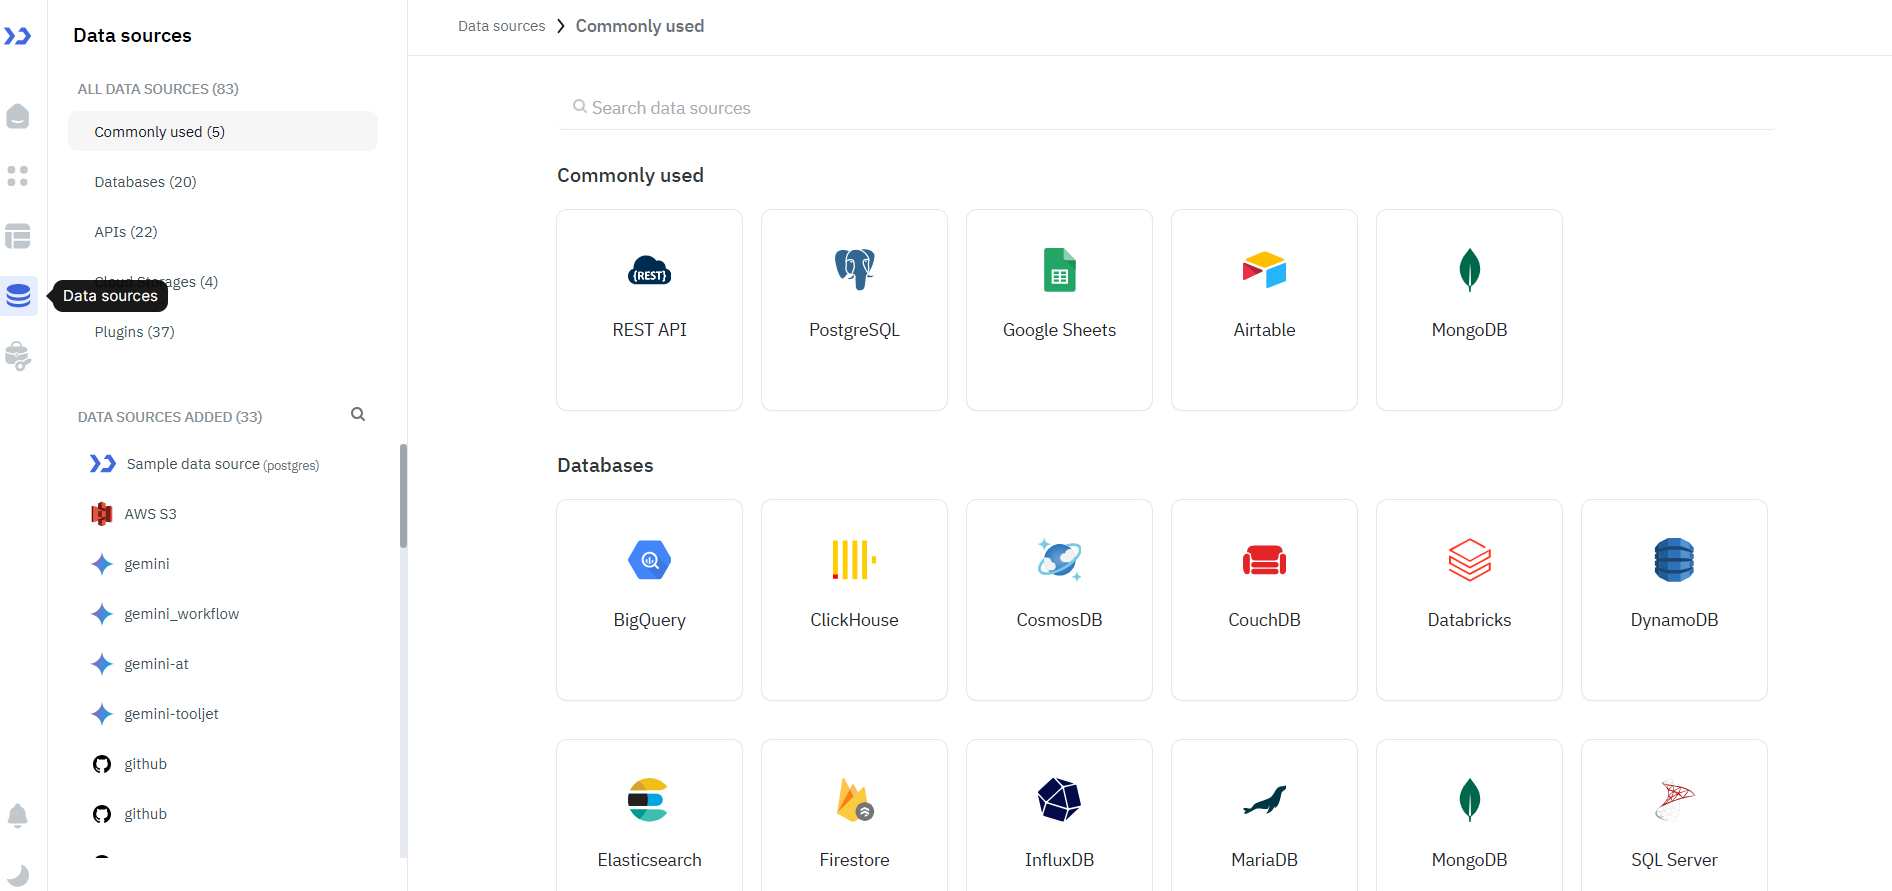
Or you can directly go to the Data Sources page from the left sidebar of the dashboard.

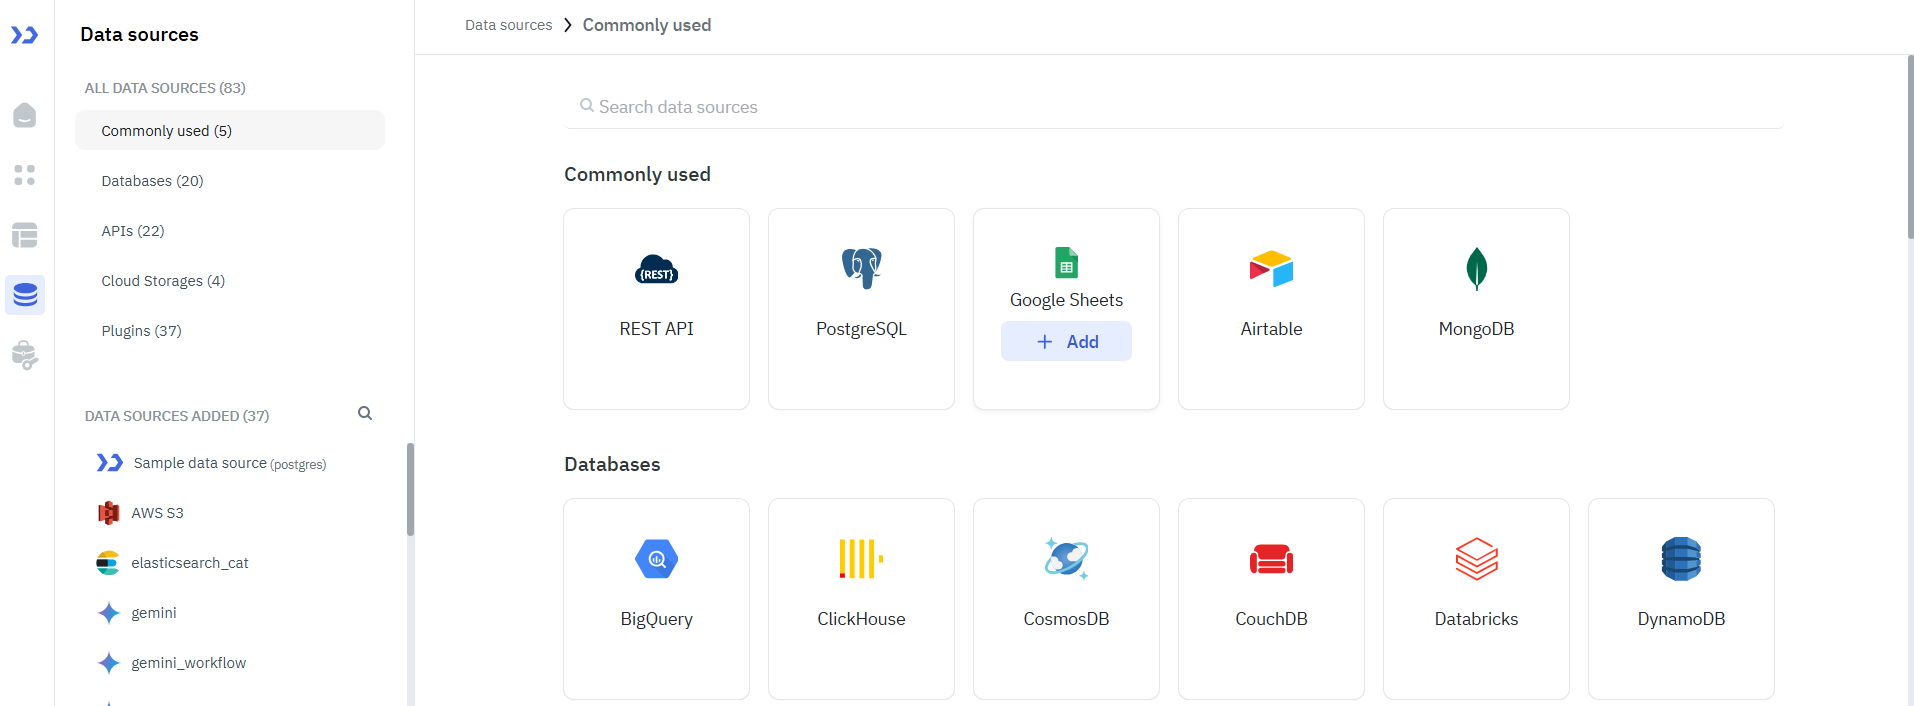
  1. Within the Data Sources page, you'll find various categories of data sources on the left side, including Databases, APIs, Cloud Storages, and plugins. Click on each category to view the list of accessible data sources. As you hover over the desired data source, an Add button will appear. Upon clicking this button, the selected data source will be integrated into the workspace.
Overview of Data Sources
  1. Once the data source is added, you'll be required to input the configuration details for establishing a connection.

Note: For paid plans, configuration entry and saving are necessary to enable availability across multiple environments.
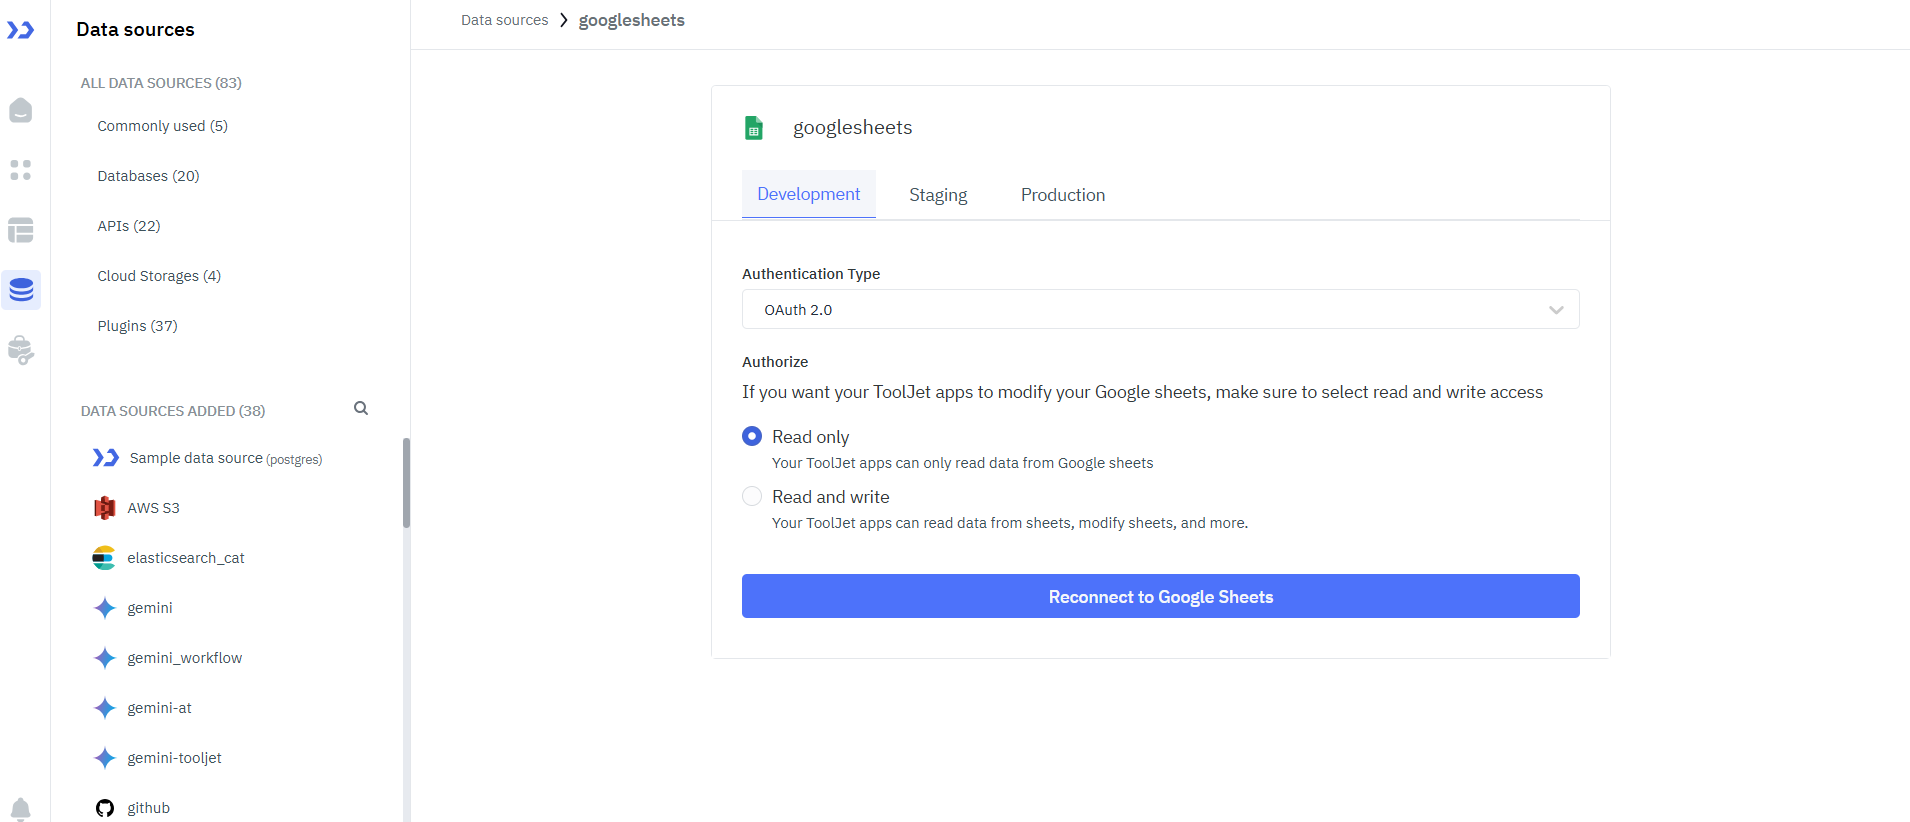
Overview of Data Sources
  1. Returning to the dashboard, proceed to generate a new application. The recently added data source will be accessible within the query panel under the Available data sources section. Data Sources that have been added can now be utilized in both existing applications and newly created applications.
Overview of Data Sources
  1. At this point, you can create queries to the connected data sources. Within these queries, the option exists to switch between distinct connections associated with the same data source, in cases where multiple connections have been established.
Overview of Data Sources

Default data sources

By default, 4 data sources will be available on every app on ToolJet:

Data Sources: Overview

User Permissions

Changing the Permissions for Data Sources is a privilege reserved for Admins and Super Admins within the workspace.

To configure these permissions, navigate to Workspace Settings -> Groups Settings. Admins and Super Admins have the authority to assign the following permissions to user groups:


Creation and Deletion of data sources within the workspace

PermissionDescription
Just CreateAdd new data sources and modify existing ones. Delete button will not be visible on hovering over the connected data source.
Just DeleteRemove connected data sources from the workspace. Delete button will show up on hovering over the connected data source.
Both Create and DeleteAdd new data sources and remove connected data sources from the workspace.
Neither Create nor DeleteNo access to the Data Sources page from the Dashboard. Error toast will popup on trying to access the Data Sources page using URL.
Data Sources: Overview

Authorization to View or Edit permitted data sources from the data source page

PermissionDescription
ViewConnect to authorized data sources for their user group. Users can't update the credentials of authorized data sources.
EditUsers can update the credentials of authorized data sources.
Data Sources: Overview

Changing scope of data sources on an app created on older versions of ToolJet

On ToolJet versions below 2.3.0, the data source connection was made from within the individual apps. To make it backward compatible, we added an option to change the scope of the data sources and make it global data source.

  1. When dealing with apps that were created using ToolJet versions prior to 2.3.0, you will notice the presence of the data source manager in the left sidebar of the App Builder.
Data Sources: Overview
  1. To change the scope, locate the kebab menu situated next to the connected data source. From this menu, select the change scope option.
Data Sources: Overview
  1. Once you change the scope of the data source and make it global, you'll see that the data source manager is removed from the left sidebar and now you'll find the data source on the query panel under Global Data sources. You can now configure the data source from the Data Sources page on the dashboard.
  2. Once you have successfully changed the scope of the data source, thereby transforming it into a global data source, you will observe that the data source manager from the left sidebar is removed. Subsequently, the data source will be accessible within the query panel under the Available data sources section. Now you can configure this data source from the Data Sources page located on the Dashboard.
Data Sources: Overview