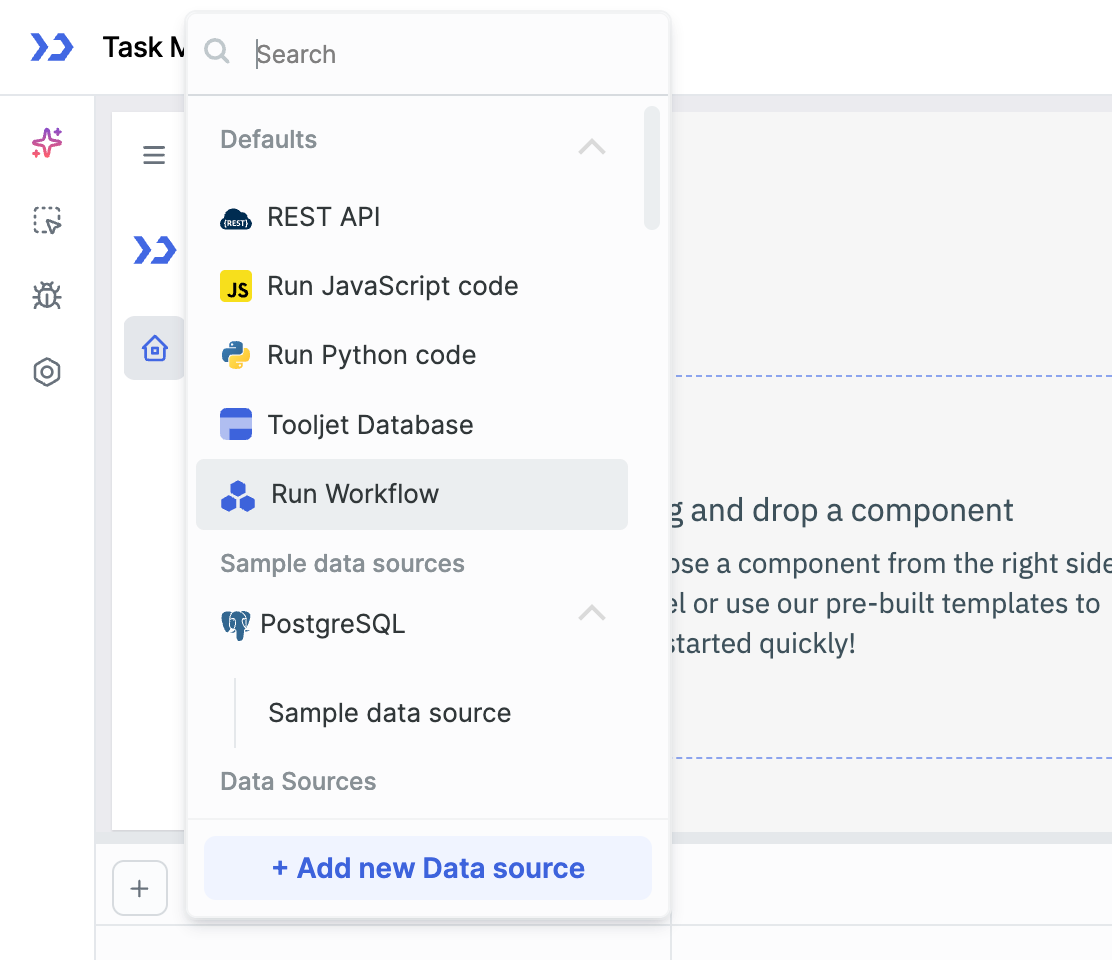
Trigger from ToolJet Application
Workflows can be triggered from within the ToolJet application. This work similar to the queries of a data source. You can add a trigger to an application from the query panel.
In the application, simply click on the + button in the query panel and select Run Workflow. Then select the desired workflow from the dropdown. Rename the query if required and click on the Run button to trigger the workflow or add this query to an event handler to trigger the workflow on a specific event.
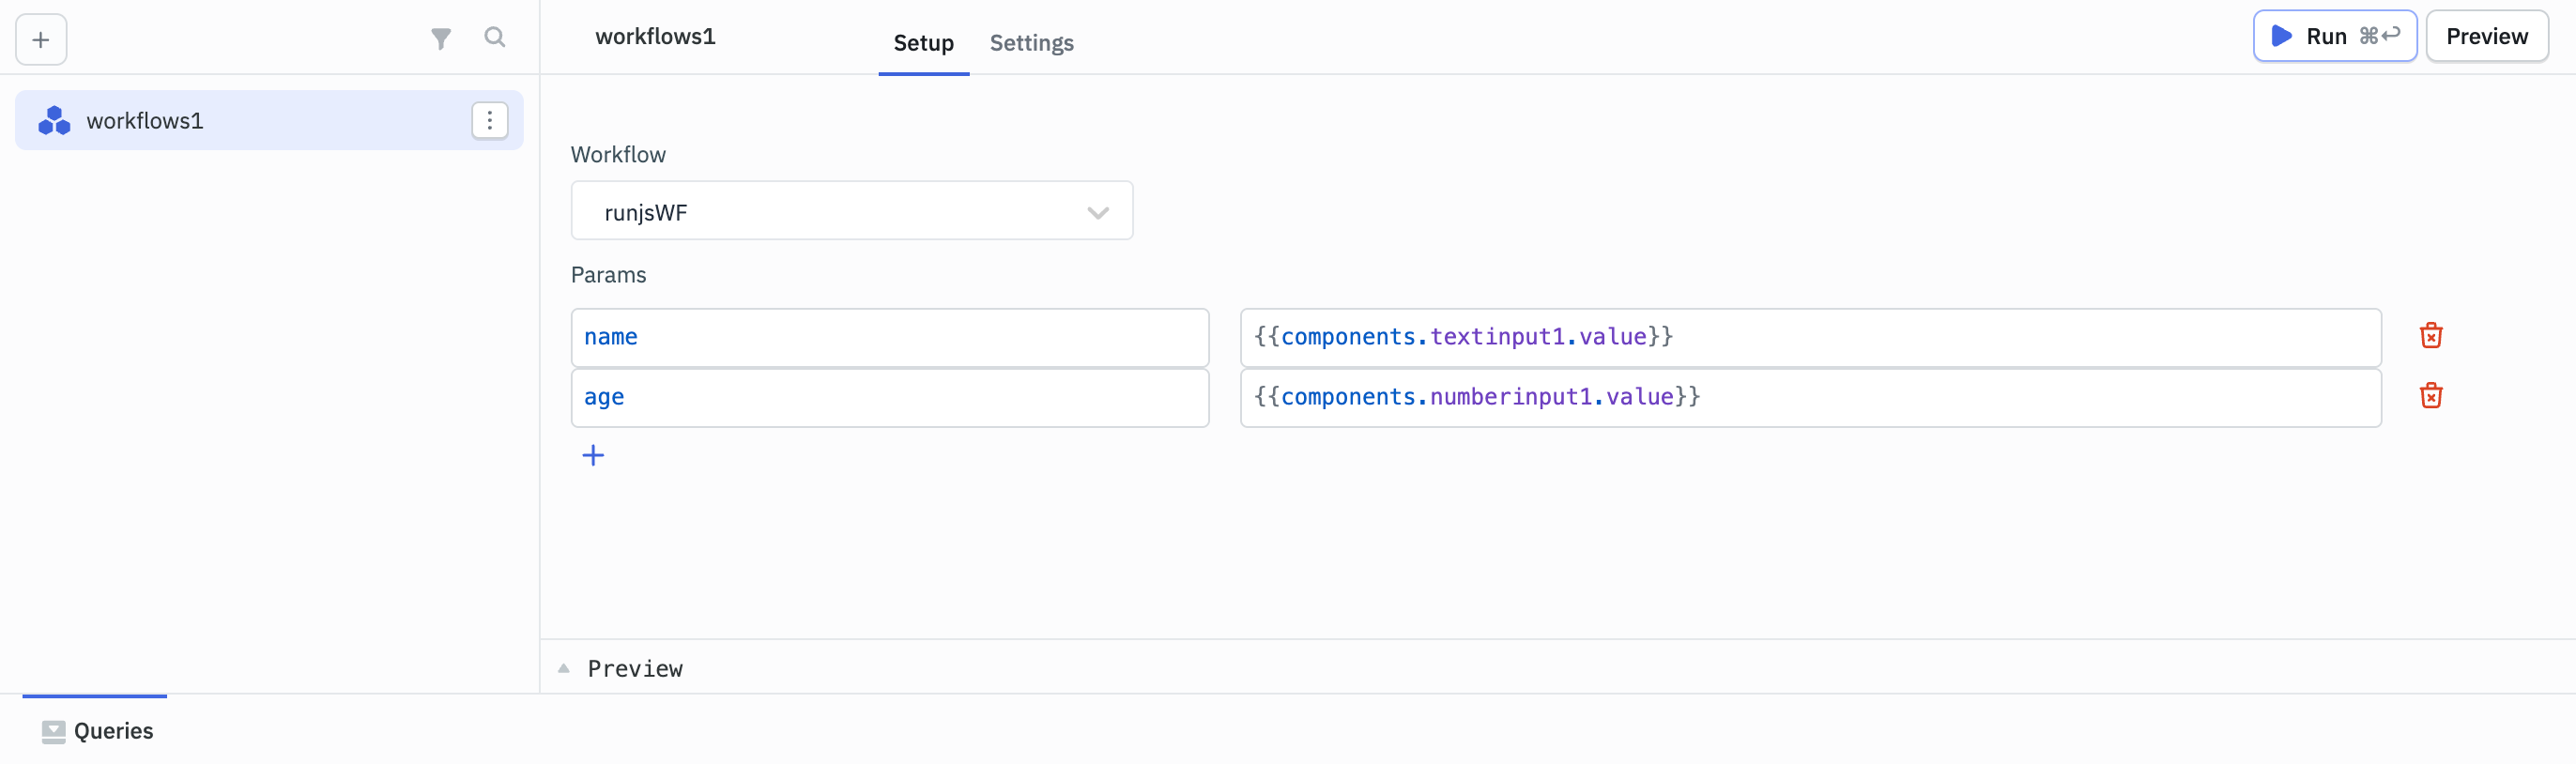
Passing Parameters
Parameters can be passed to the workflow from the Params field in the query. The parameter key and their value can be specified in the Params field. For example, if you want to pass the name and age parameters to the workflow using the application, you can set the Params field as follows:
"name": "John Doe",
"age": 30
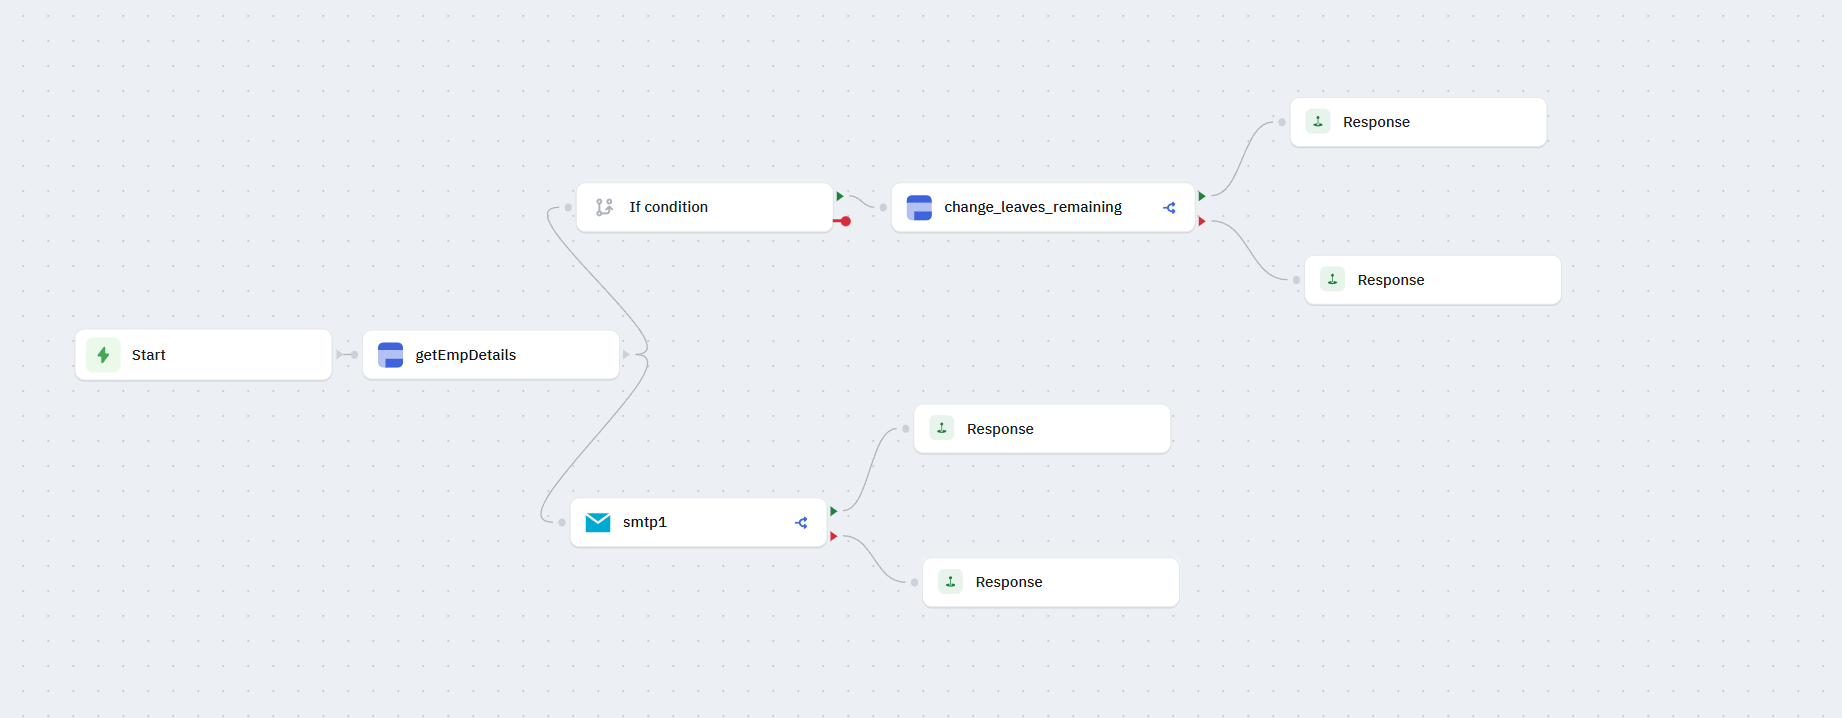
Assume a scenario where teams manage multiple ToolJet apps, each requiring queries to the same database for specific data. Instead of duplicating these steps across various apps, a workflow can be created once and seamlessly integrated wherever needed.
Setting Up Workflow Trigger from a ToolJet Application
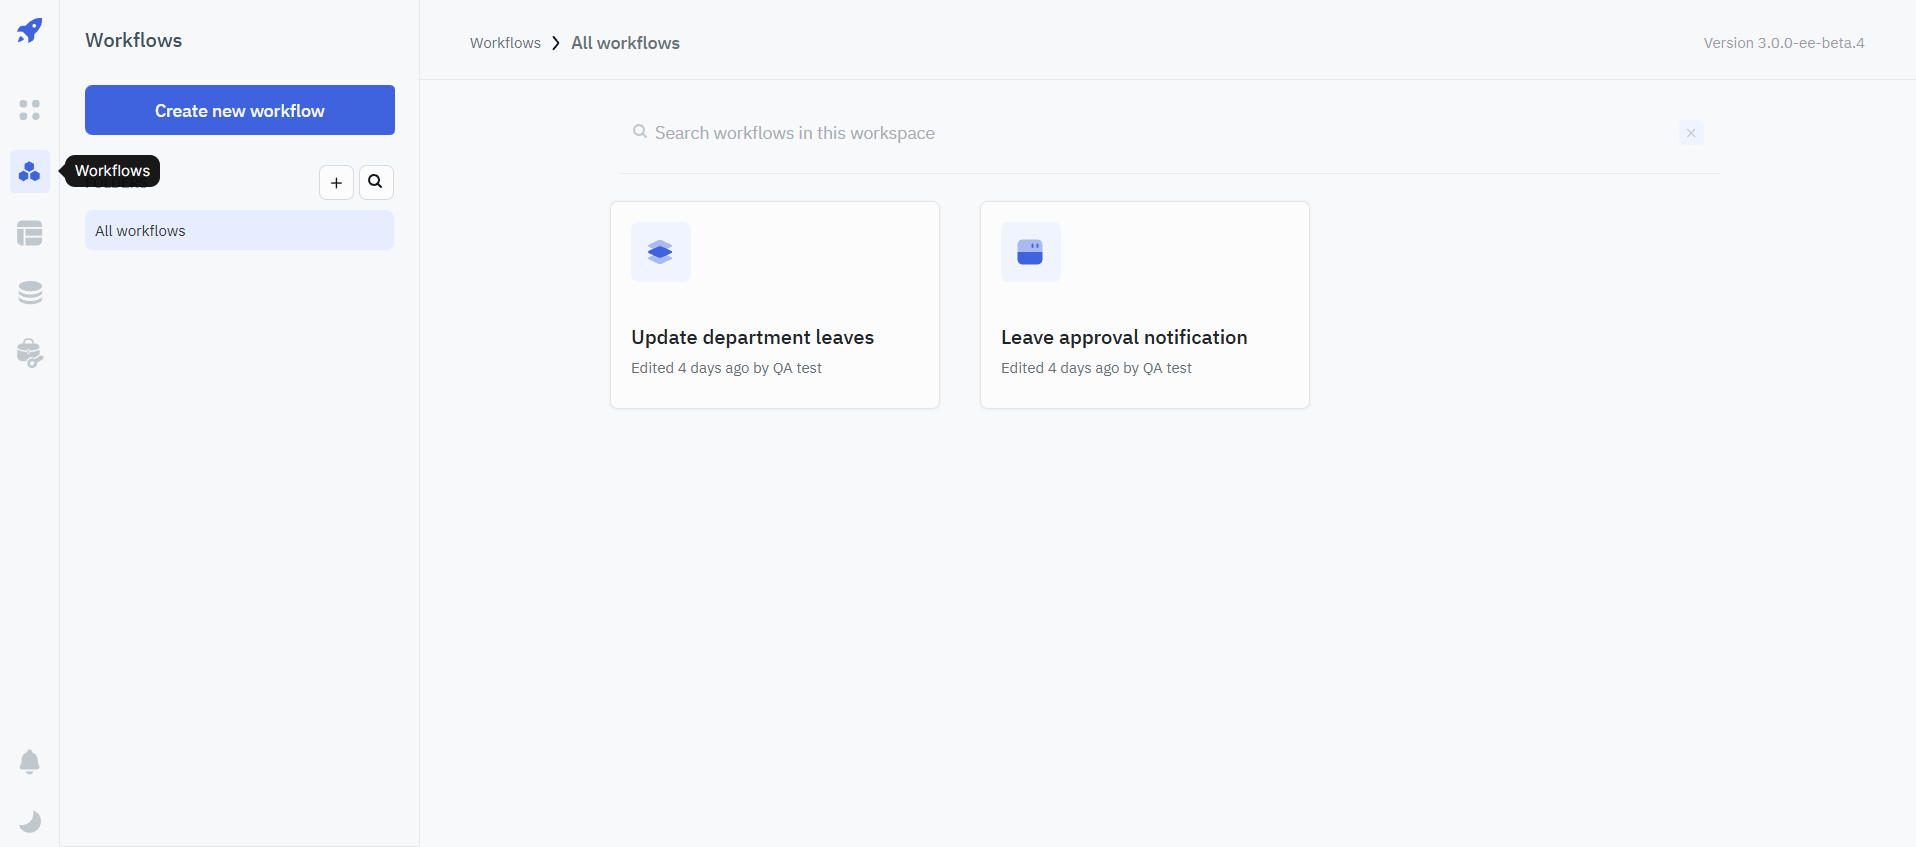
Create Workflow
To create a workflow follow the following steps:
- Navigate to the Workflows Section from the navigation bar on the dashboard.
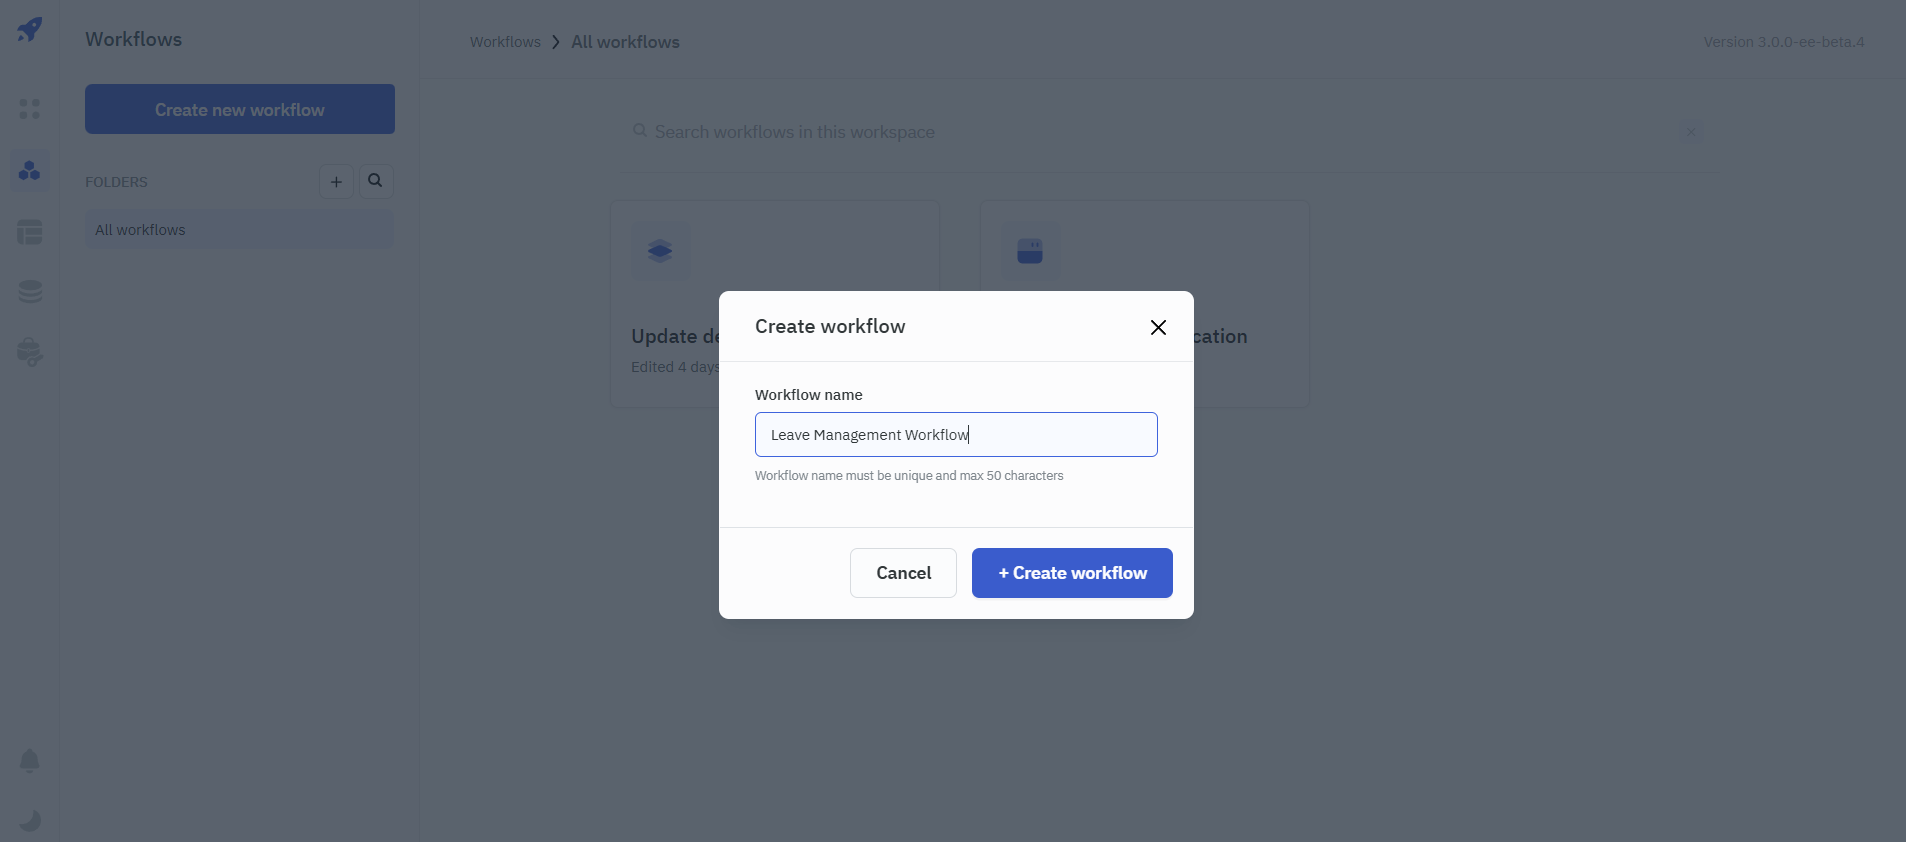
- Click on Create new workflow, enter a unique name for your workflow, and click on +Create workflow to create the workflow.
- Configure your workflow. You can refer to the workflow overview documentation to learn how you can configure a workflow.
Configure Workflow Query
- Within your ToolJet application, create a new query and select Run Workflow.
- Select your workflow from the dropdown and configure the parameters (if required).
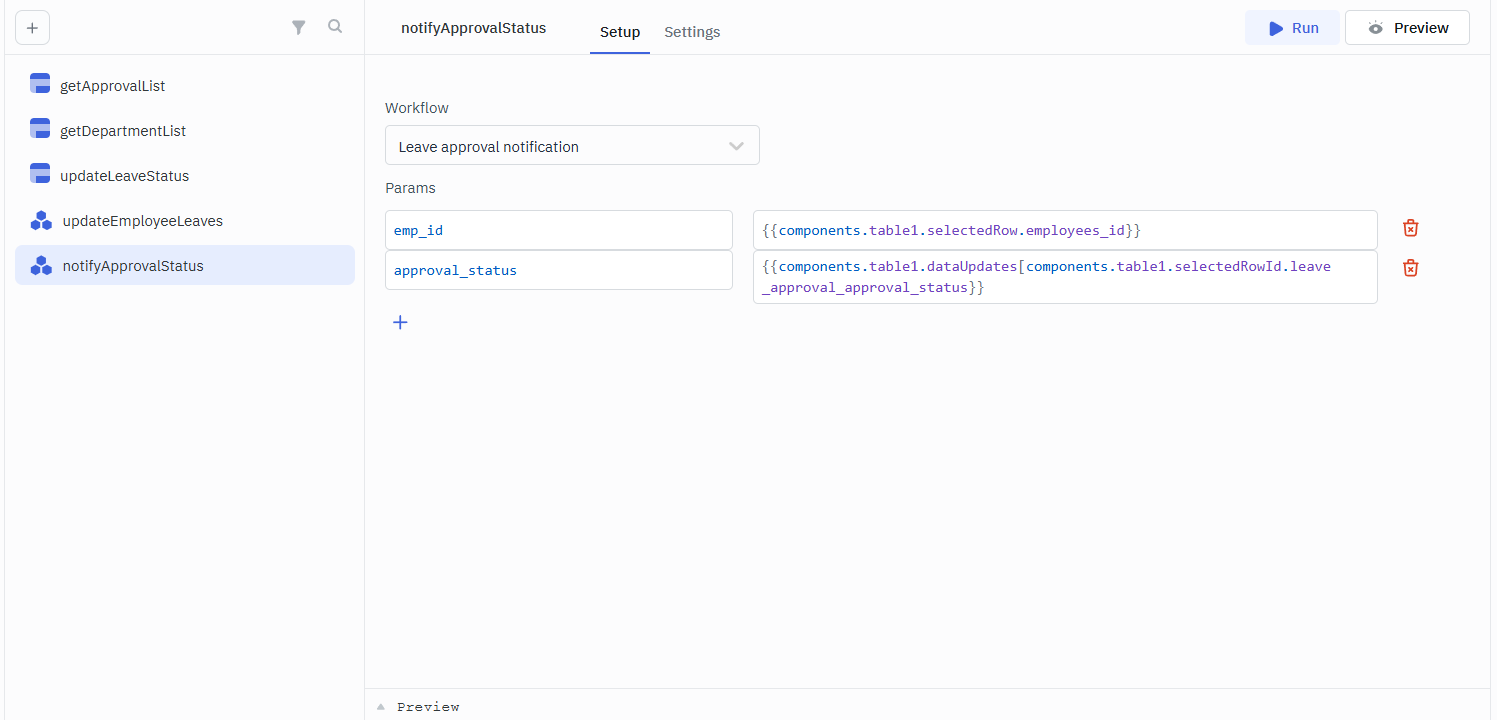
- Now, you can trigger this workflow by clicking on the Run button or using events.