Auth0
Auth0 can be configured as the Identity Provider for OIDC, which is an authentication protocol that securely verifies user identities through a trusted provider. This document explains how to obtain the required credentials from the Auth0 Developer Console. Refer to the OIDC Setup guide to configure OIDC in your application.
Setting up OIDC using Auth0
To setup OIDC using Auth0, you can follow these steps:
-
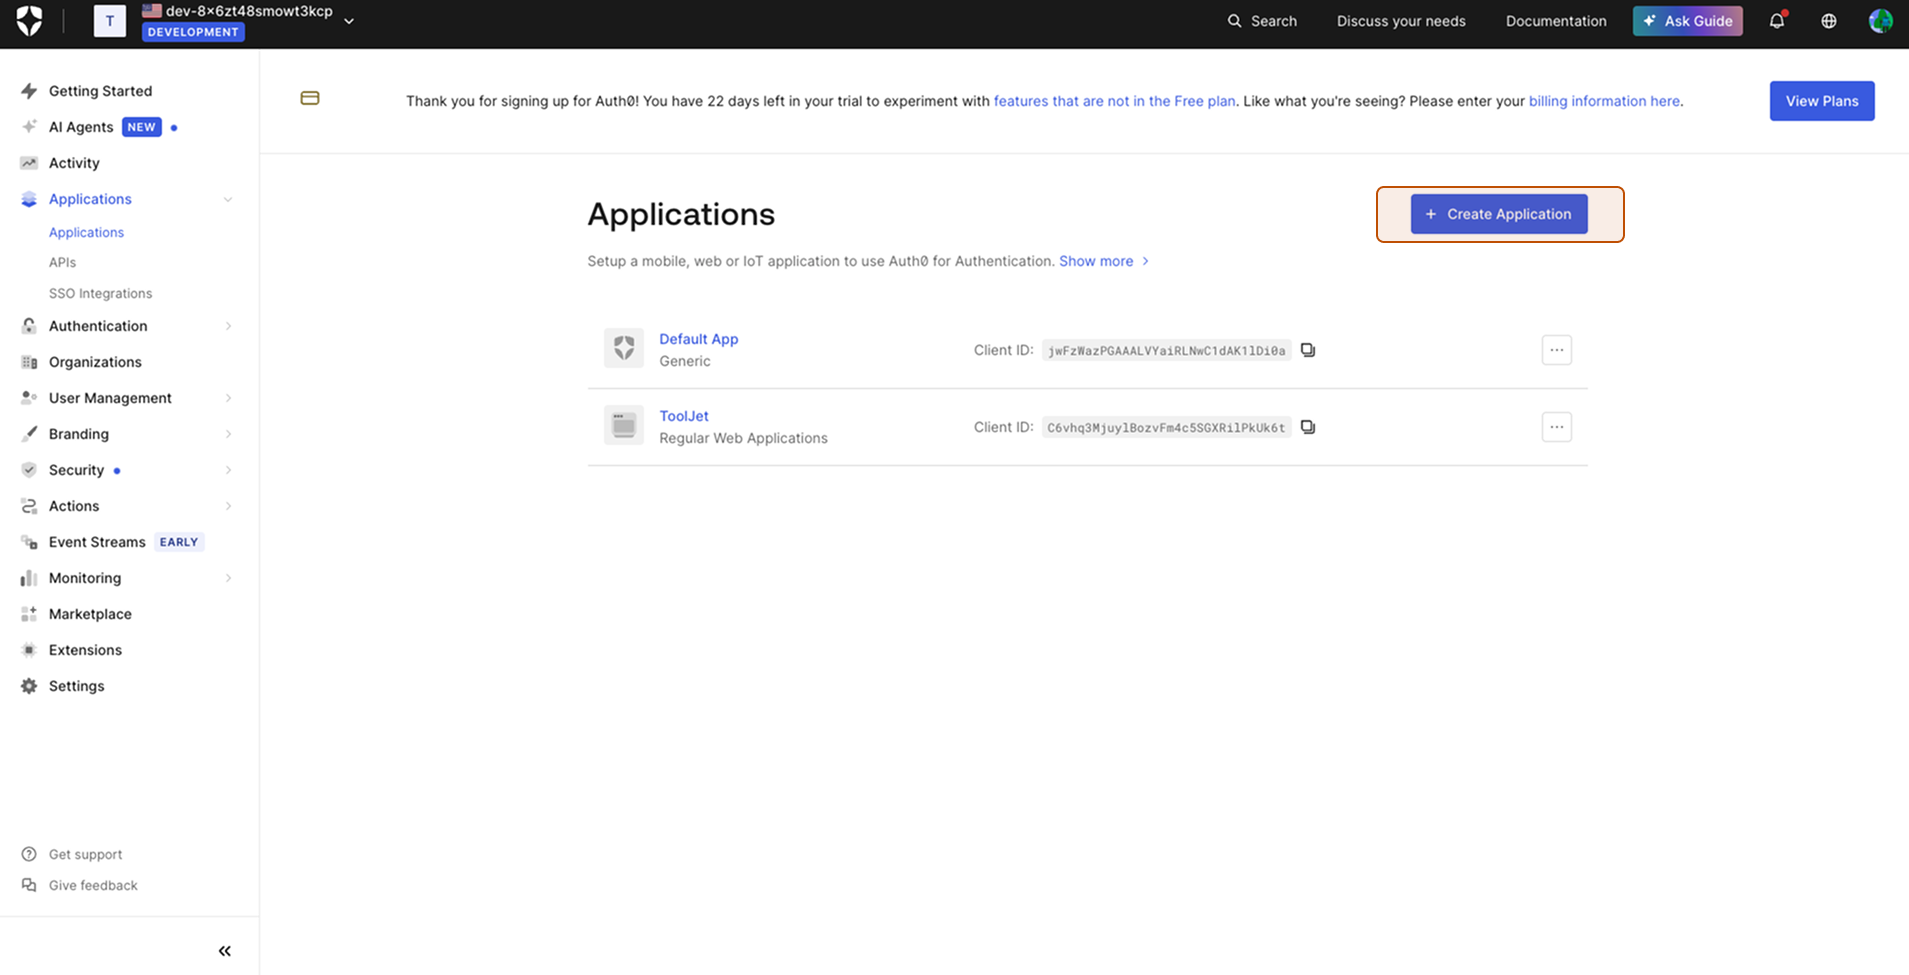
Go to Auth0 Dashboard, navigate to the Applications section and click on Create Application.
-
Select Regular Web Applications. You can keep other settings unchanged and click on Create.

-
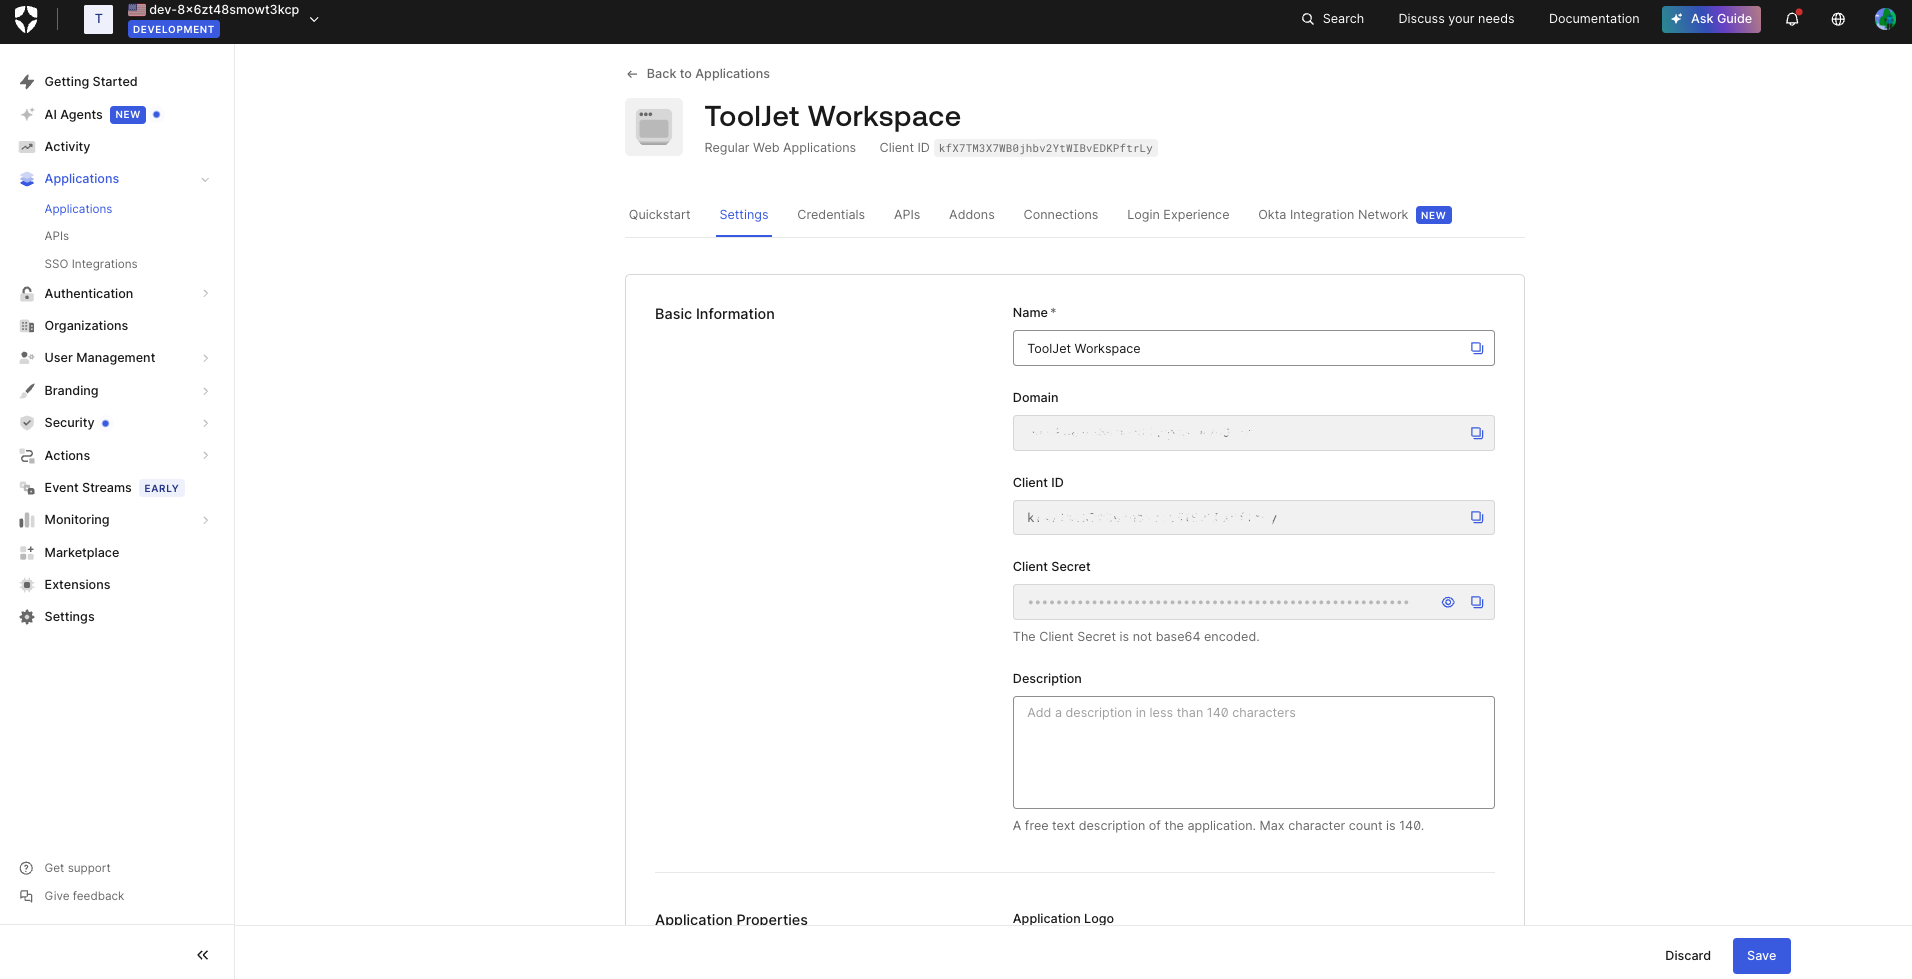
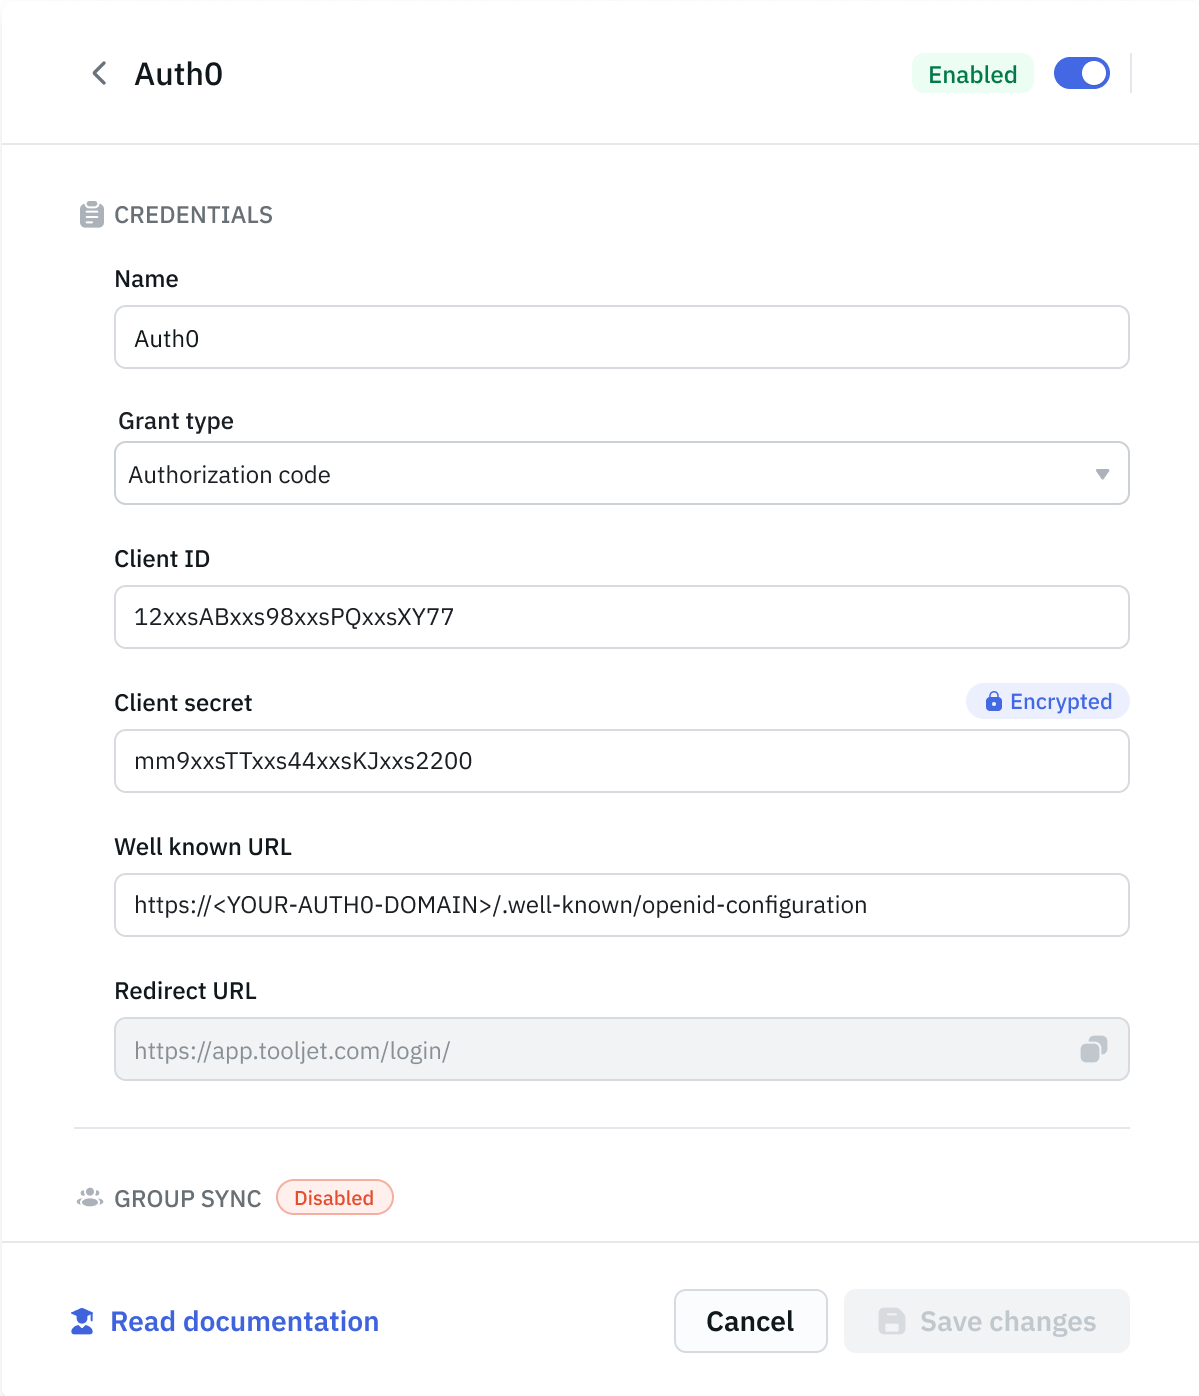
Go to Settings to get the Client ID, Client Secret and Domain.
-
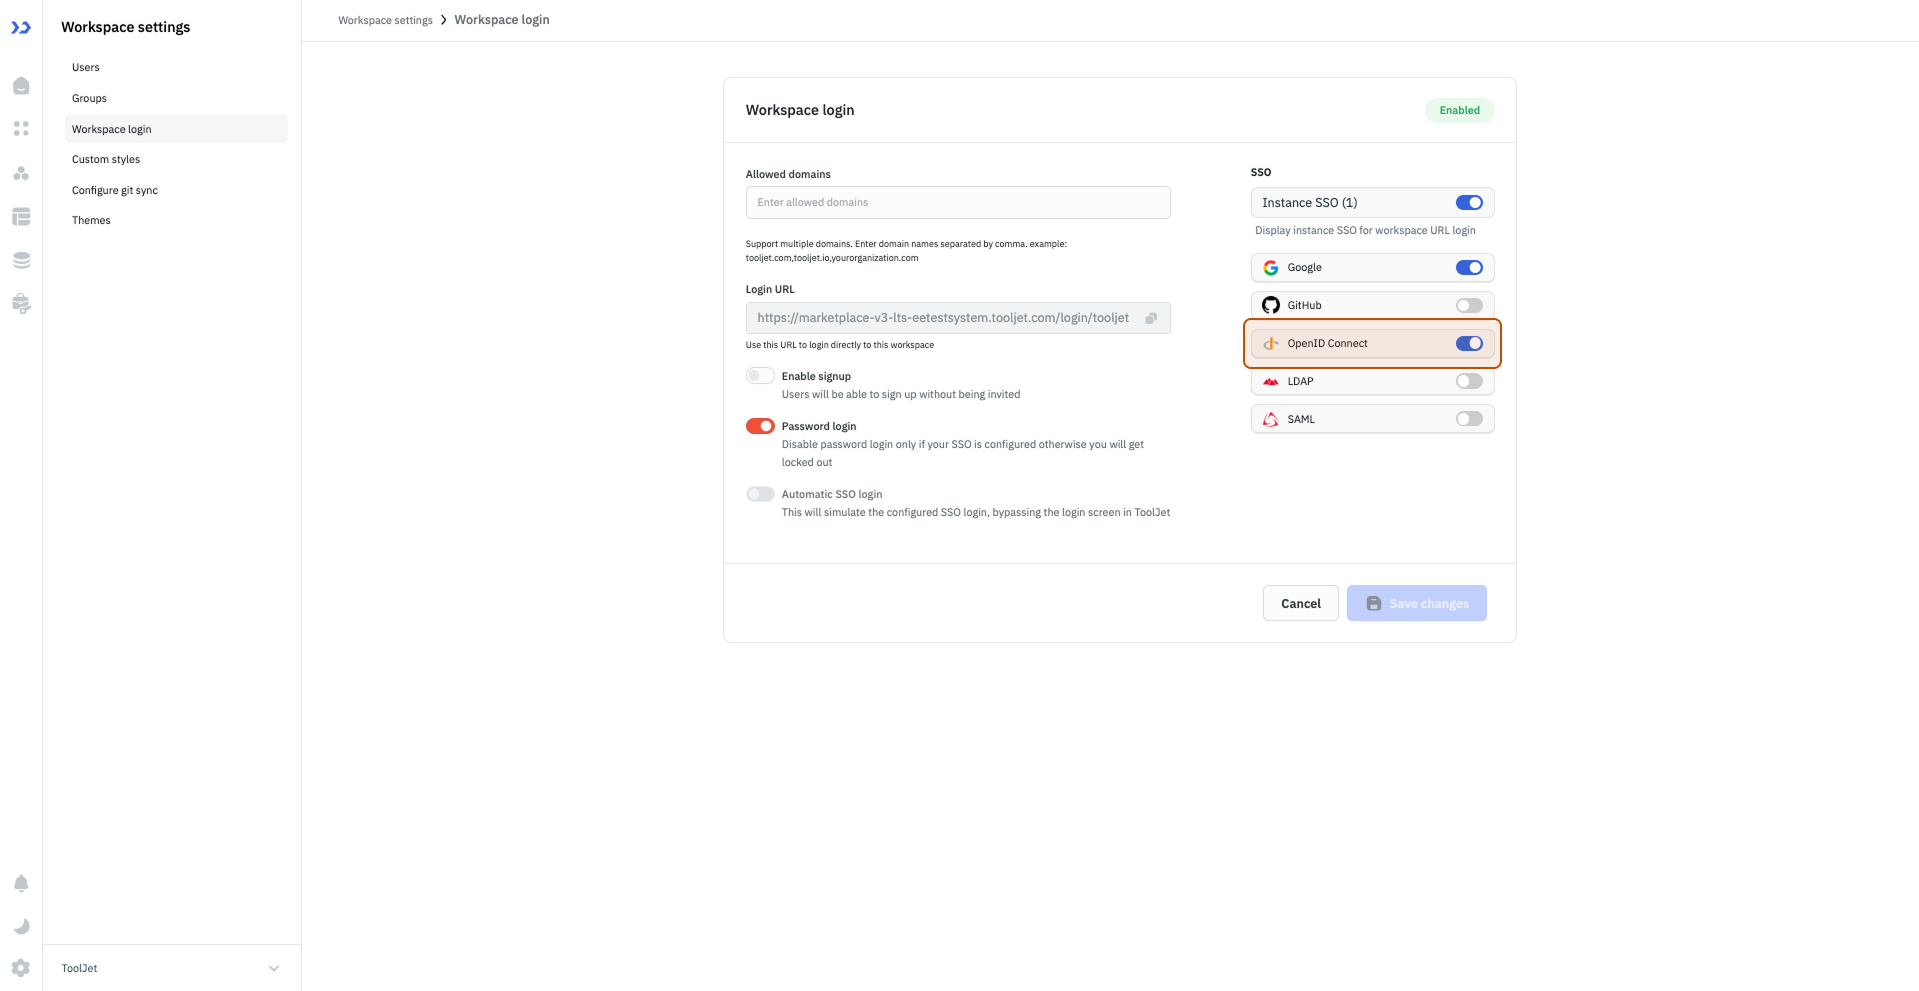
Go to your ToolJet Workspace settings > Workspace login and enable OpenID Connect. (Example URL - https://app.corp.com/demo-workspace/workspace-settings/workspace-login)
-
Paste the Client ID and Client secret we got from step 3.
-
The Well known URL will be in the following format. You need to replace
<YOUR-AUTH0-DOMAIN>with the Auth0 Domain we got in step 3.https://<YOUR-AUTH0-DOMAIN>/.well-known/openid-configuration // We got the Auth0 Domain in step 3. -
Click on Save Changes and copy the Redirect URL provided in the dialog.
-
Go to your Auth0 application > Settings > Application URIs and paste the Redirect URI in Allowed Callback URLs and save the configuration.
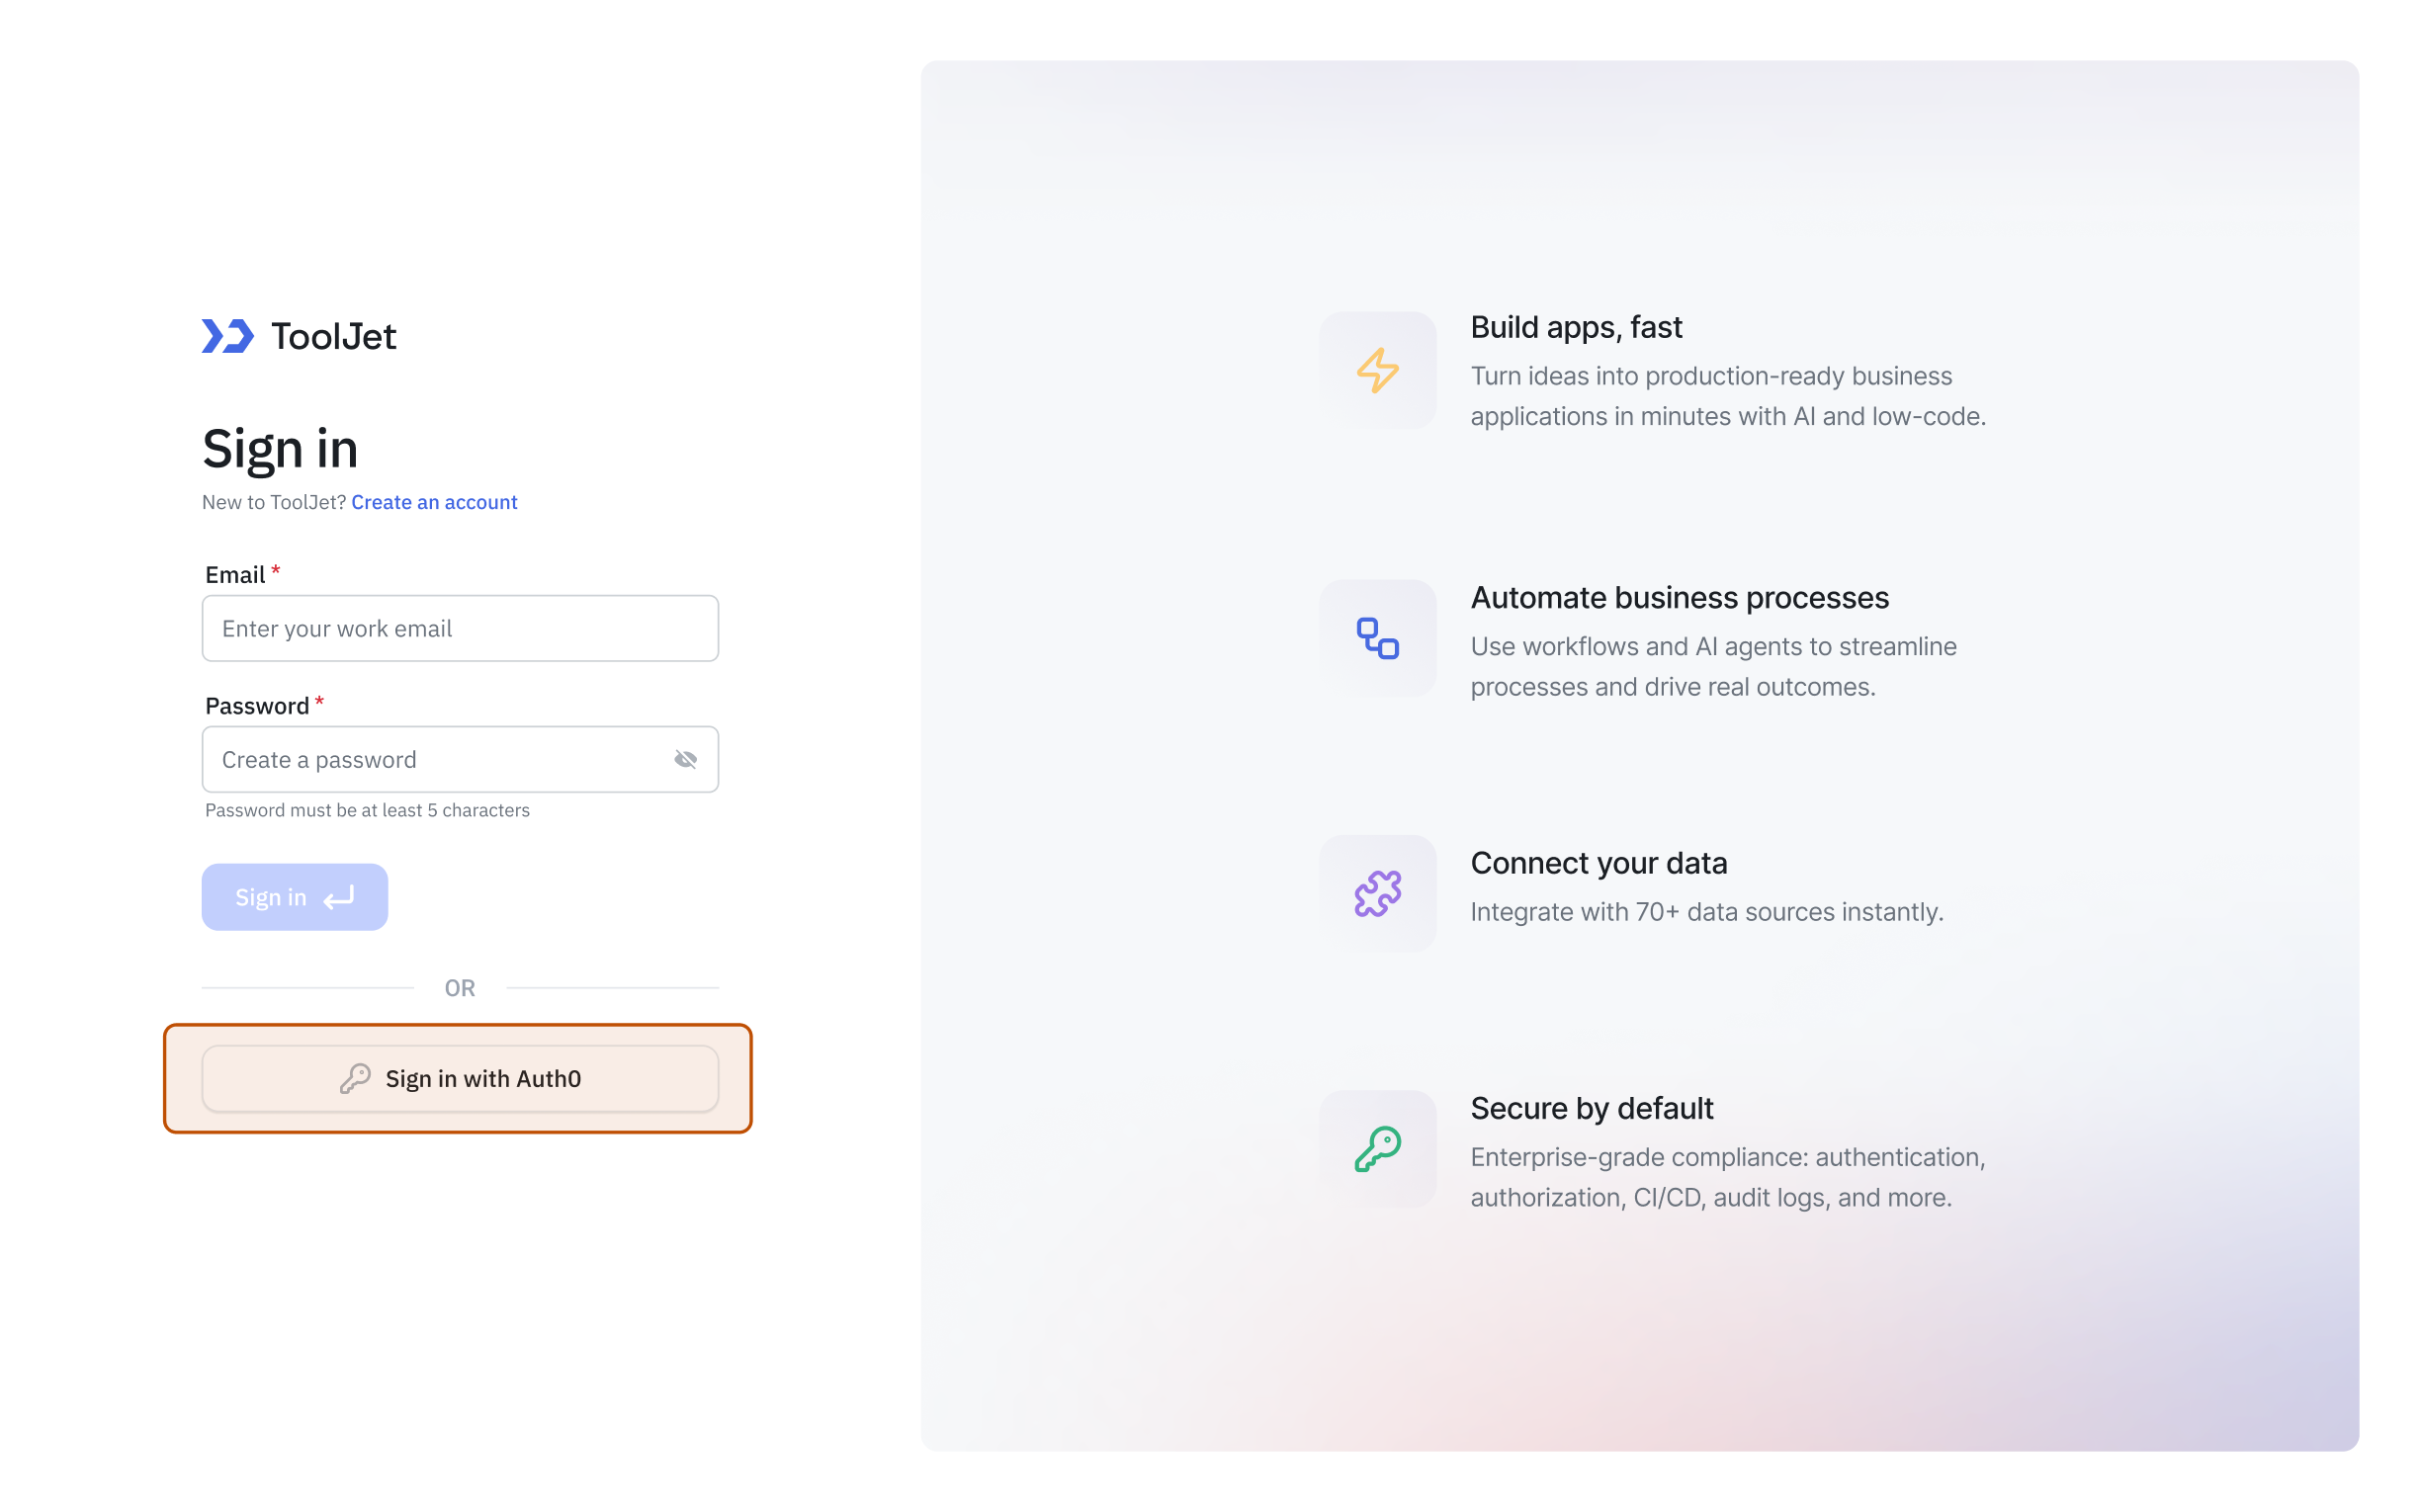
You shall now be able to login to your ToolJet workspace using Auth0.