Use S3 Signed URL to Upload Documents
In this how-to guide, we will upload documents to S3 buckets using the S3 signed URL from a ToolJet application.
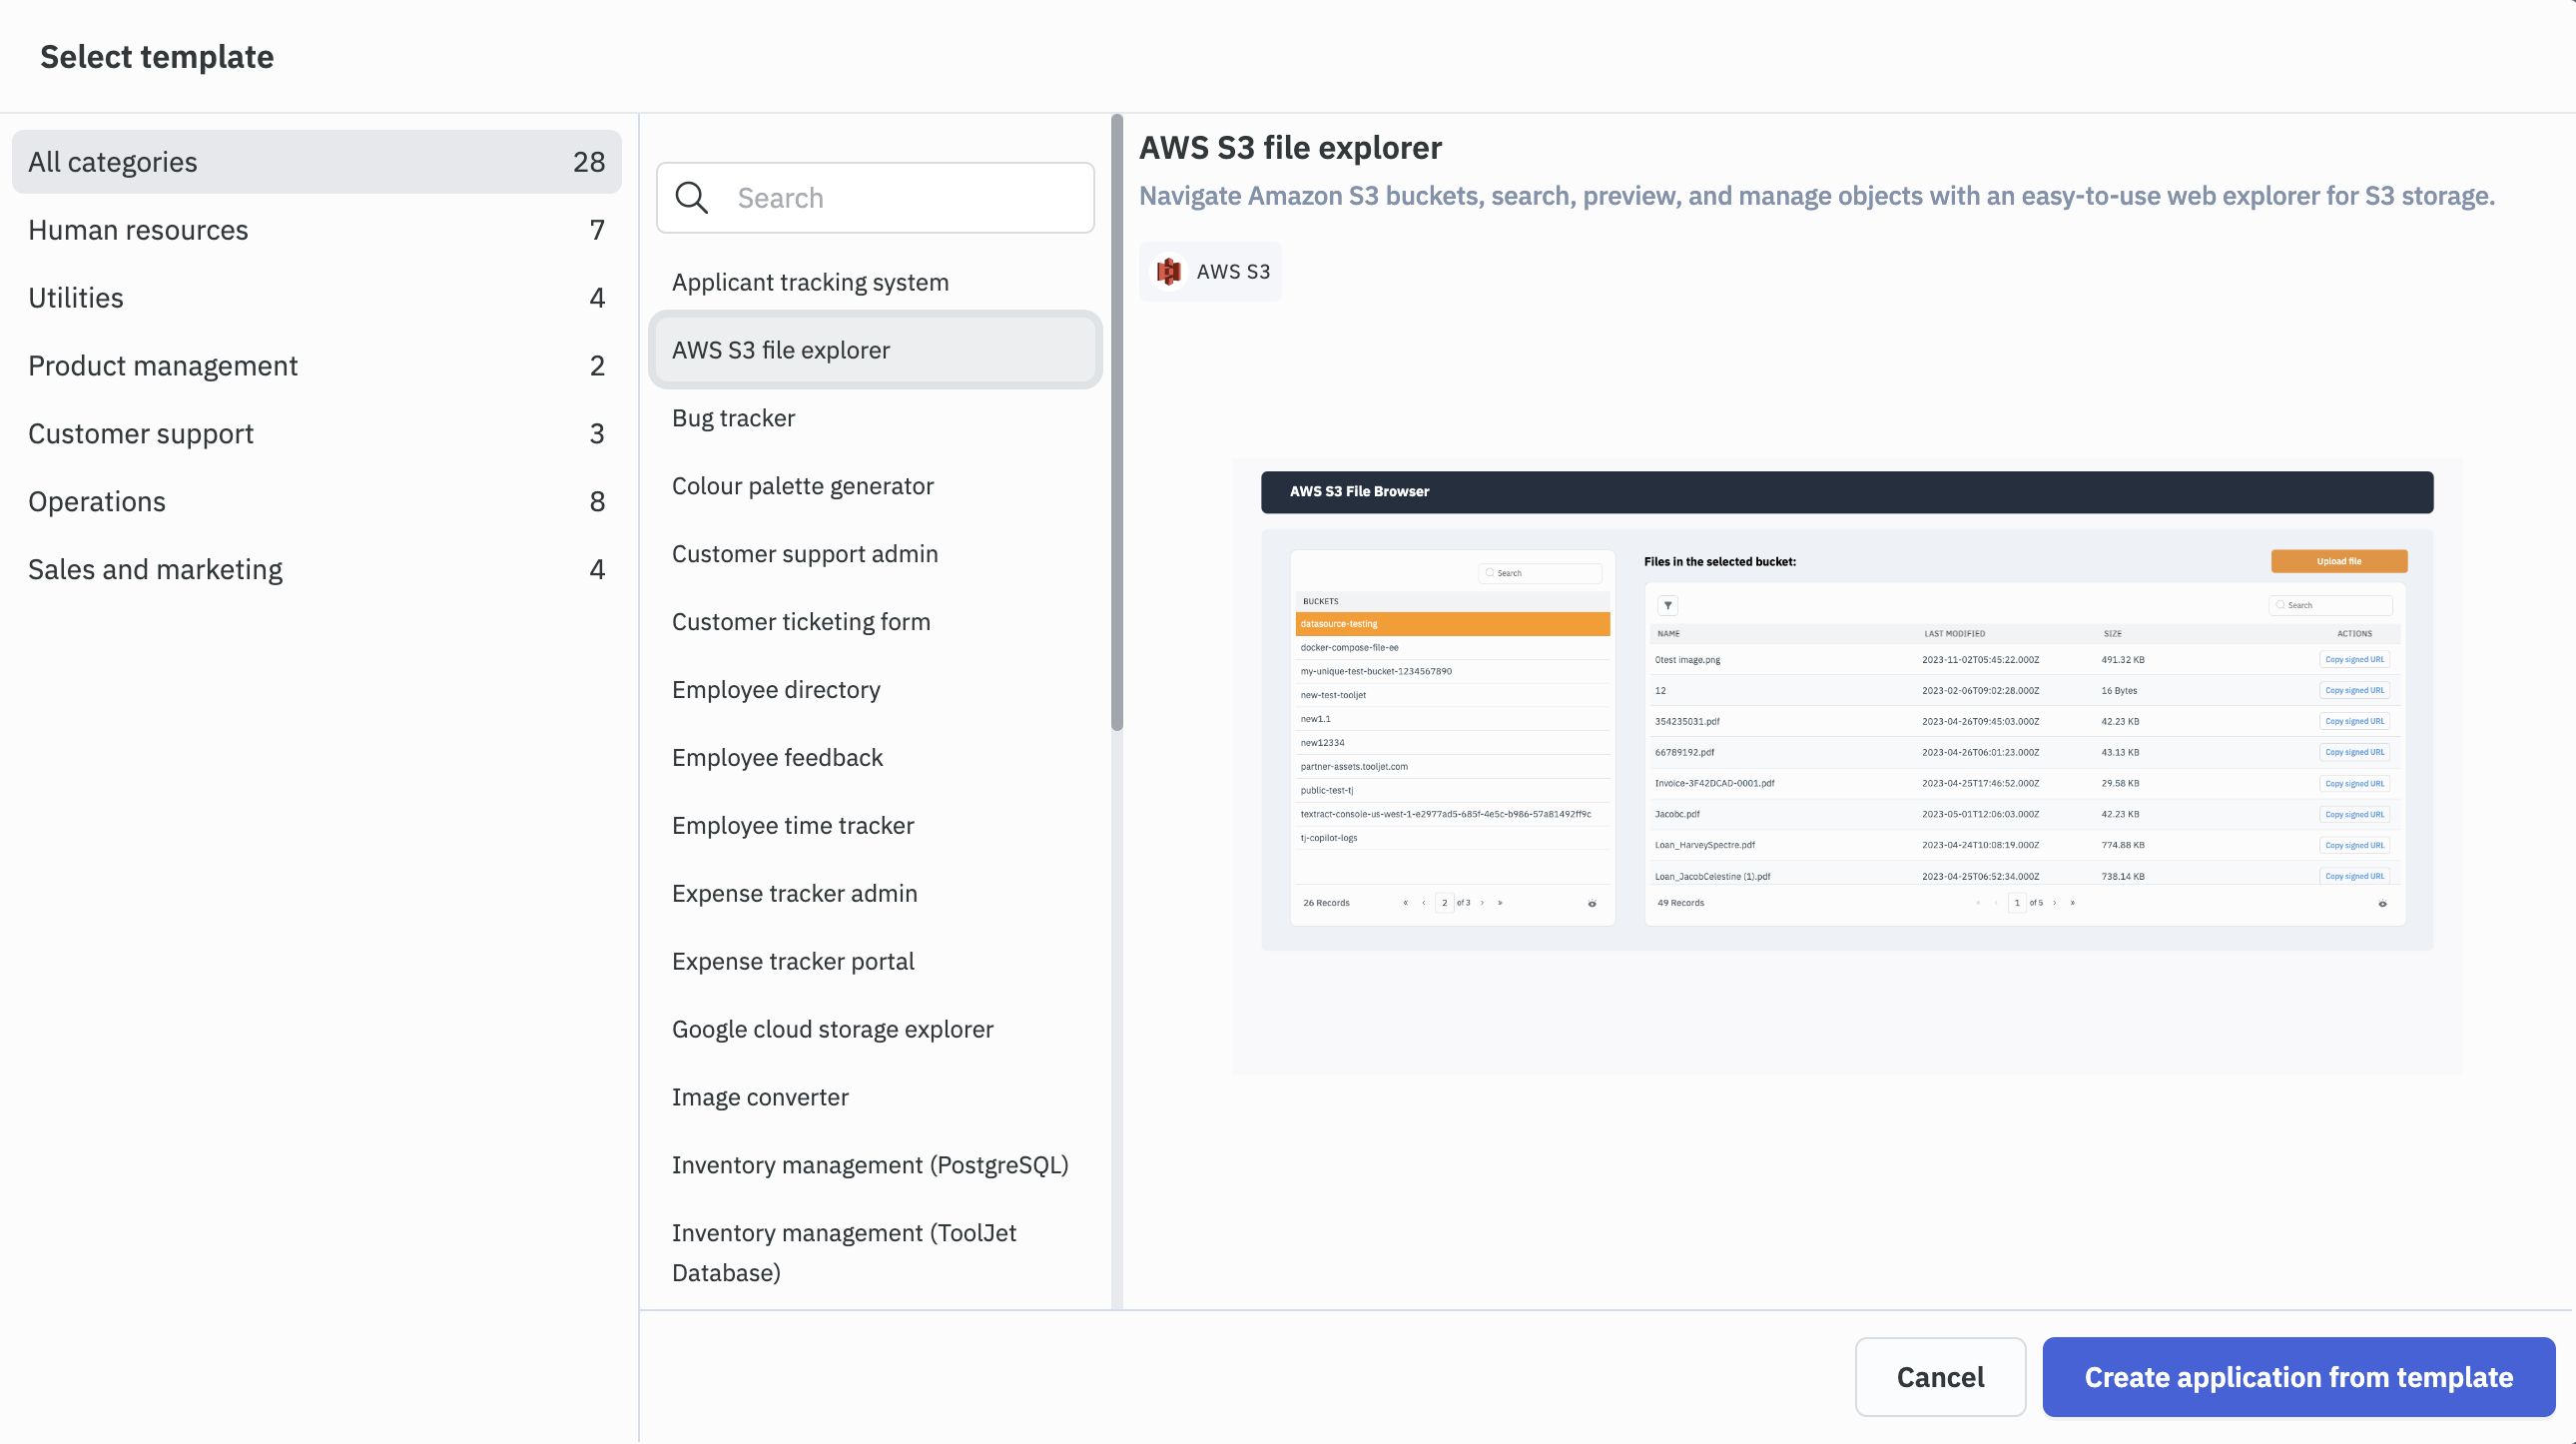
For this guide, we are going to use one of the existing templates on ToolJet: S3 File explorer
Create an App Using Templates
- On ToolJet Dashboard, click on the ellipses on the right of the Create new app button, from the dropdown choose the Choose from template option. Select AWS S3 file explorer and click on the Create application from template.
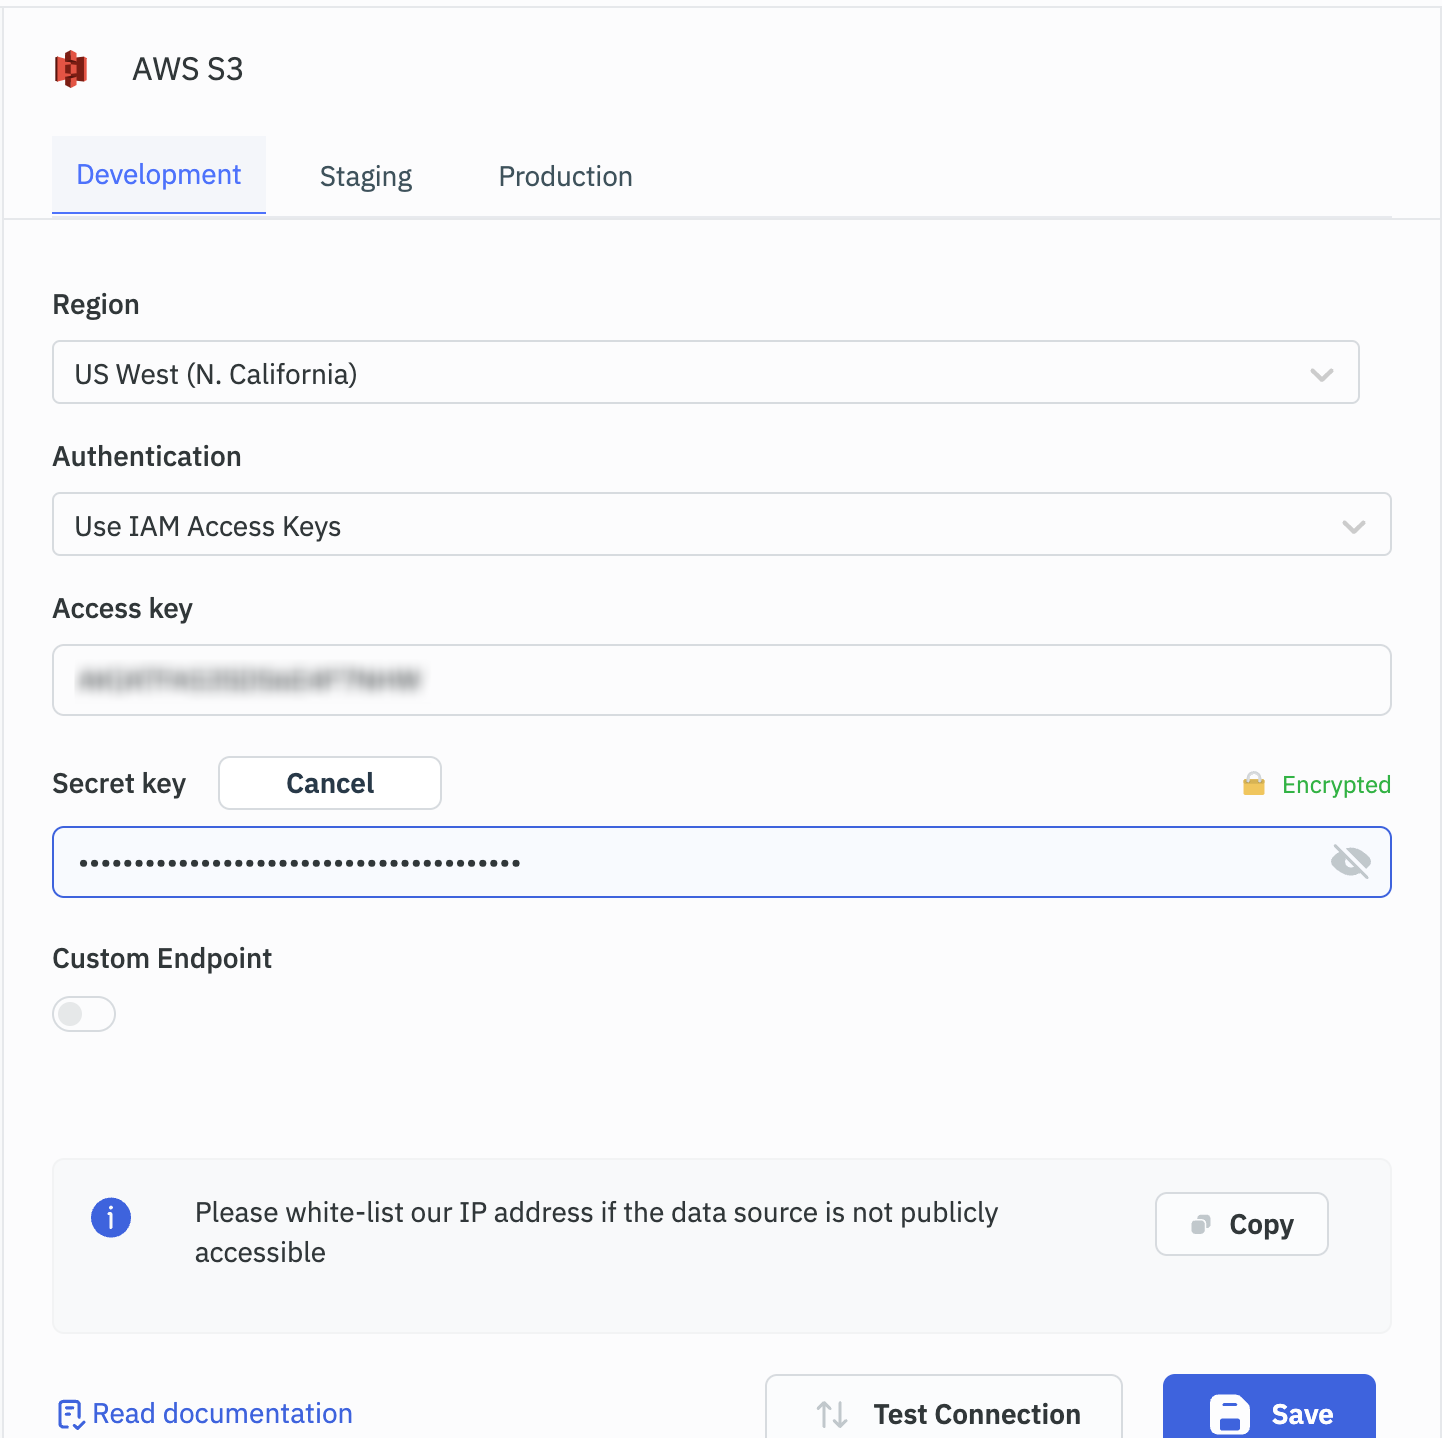
- Go to the Data sources on the left-sidebar; you'll find that the AWS S3 data source has already been added. All you need to do is update the data source credentials.
Check the AWS S3 data source reference to learn more about connnection and choosing your preferred authentication method.
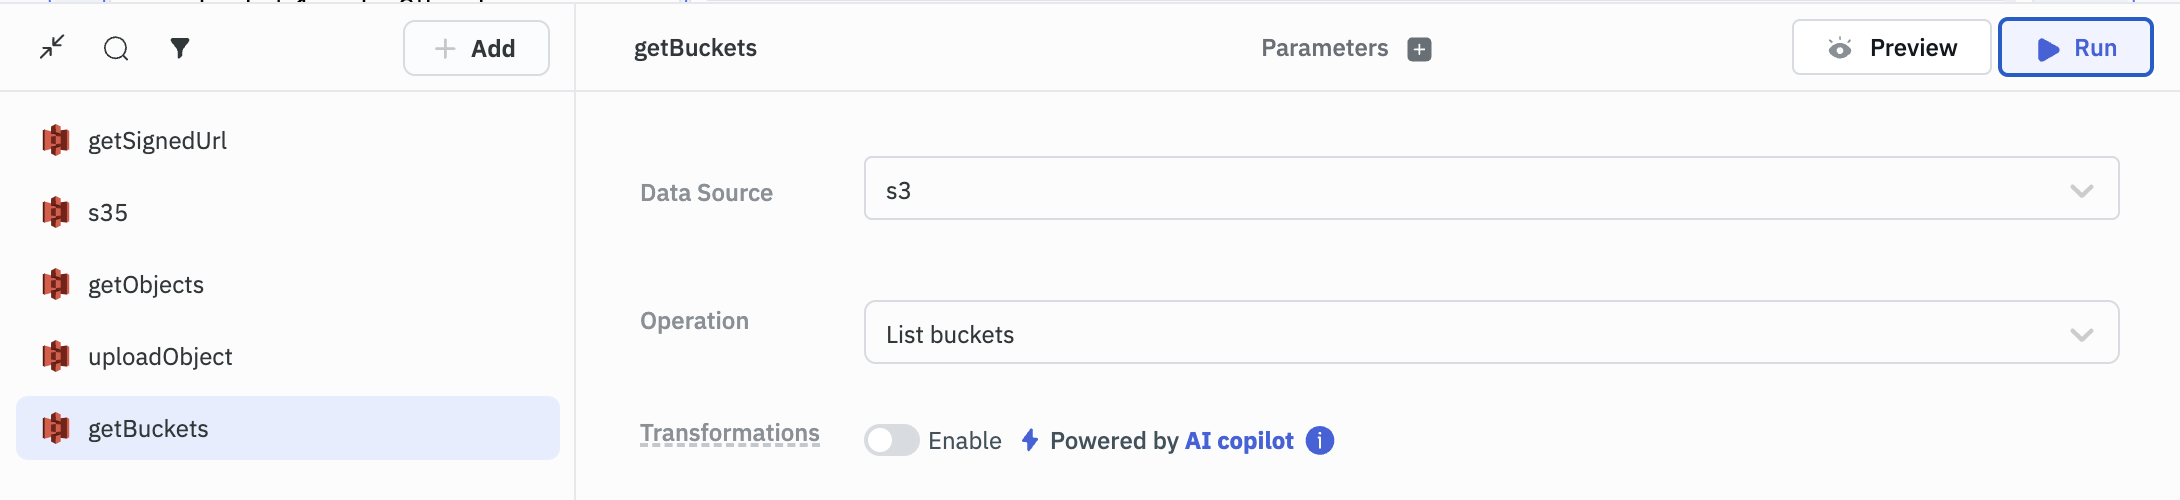
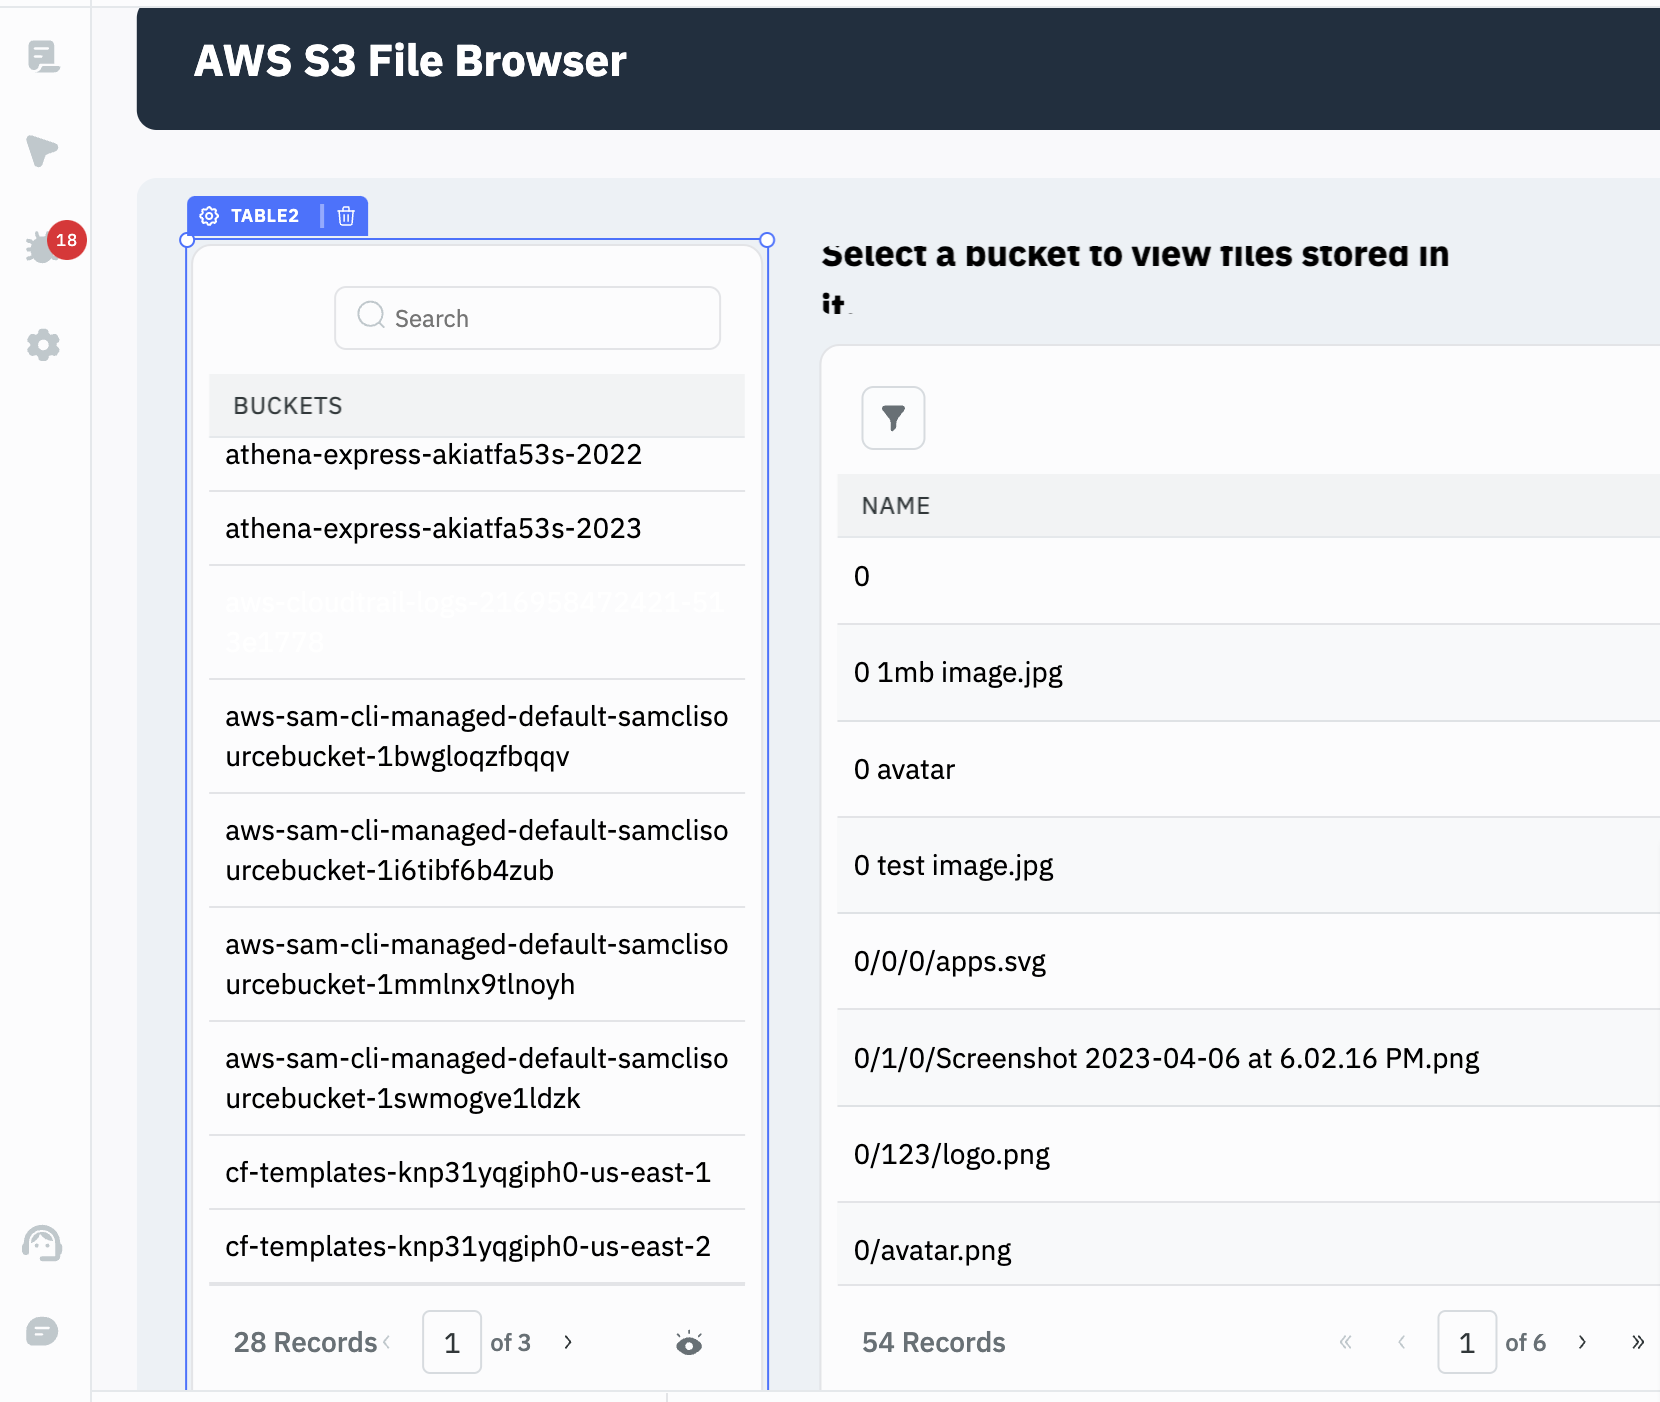
Get the Buckets
-
Once the data source is connected successfully, go to the query manager and Run the getBuckets query. The operation selected in the getBuckets query is List buckets, which will fetch an array of all the buckets.
-
Running the getBuckets query will load all the buckets in the app's left table.
Get the Objects Inside the Bucket
-
To fetch the data inside a bucket, select the bucket from the buckets table, go to the query manager and choose the getObjects query. Choose the relevant data source in the Data Source section, and for the Operation parameter, choose
List objects in a bucketoption from the dropdown. Replace the Bucket parameter with,{{components.table2.selectedRow.Name}}and click on the Run to list all the files from the selected bucket on the table.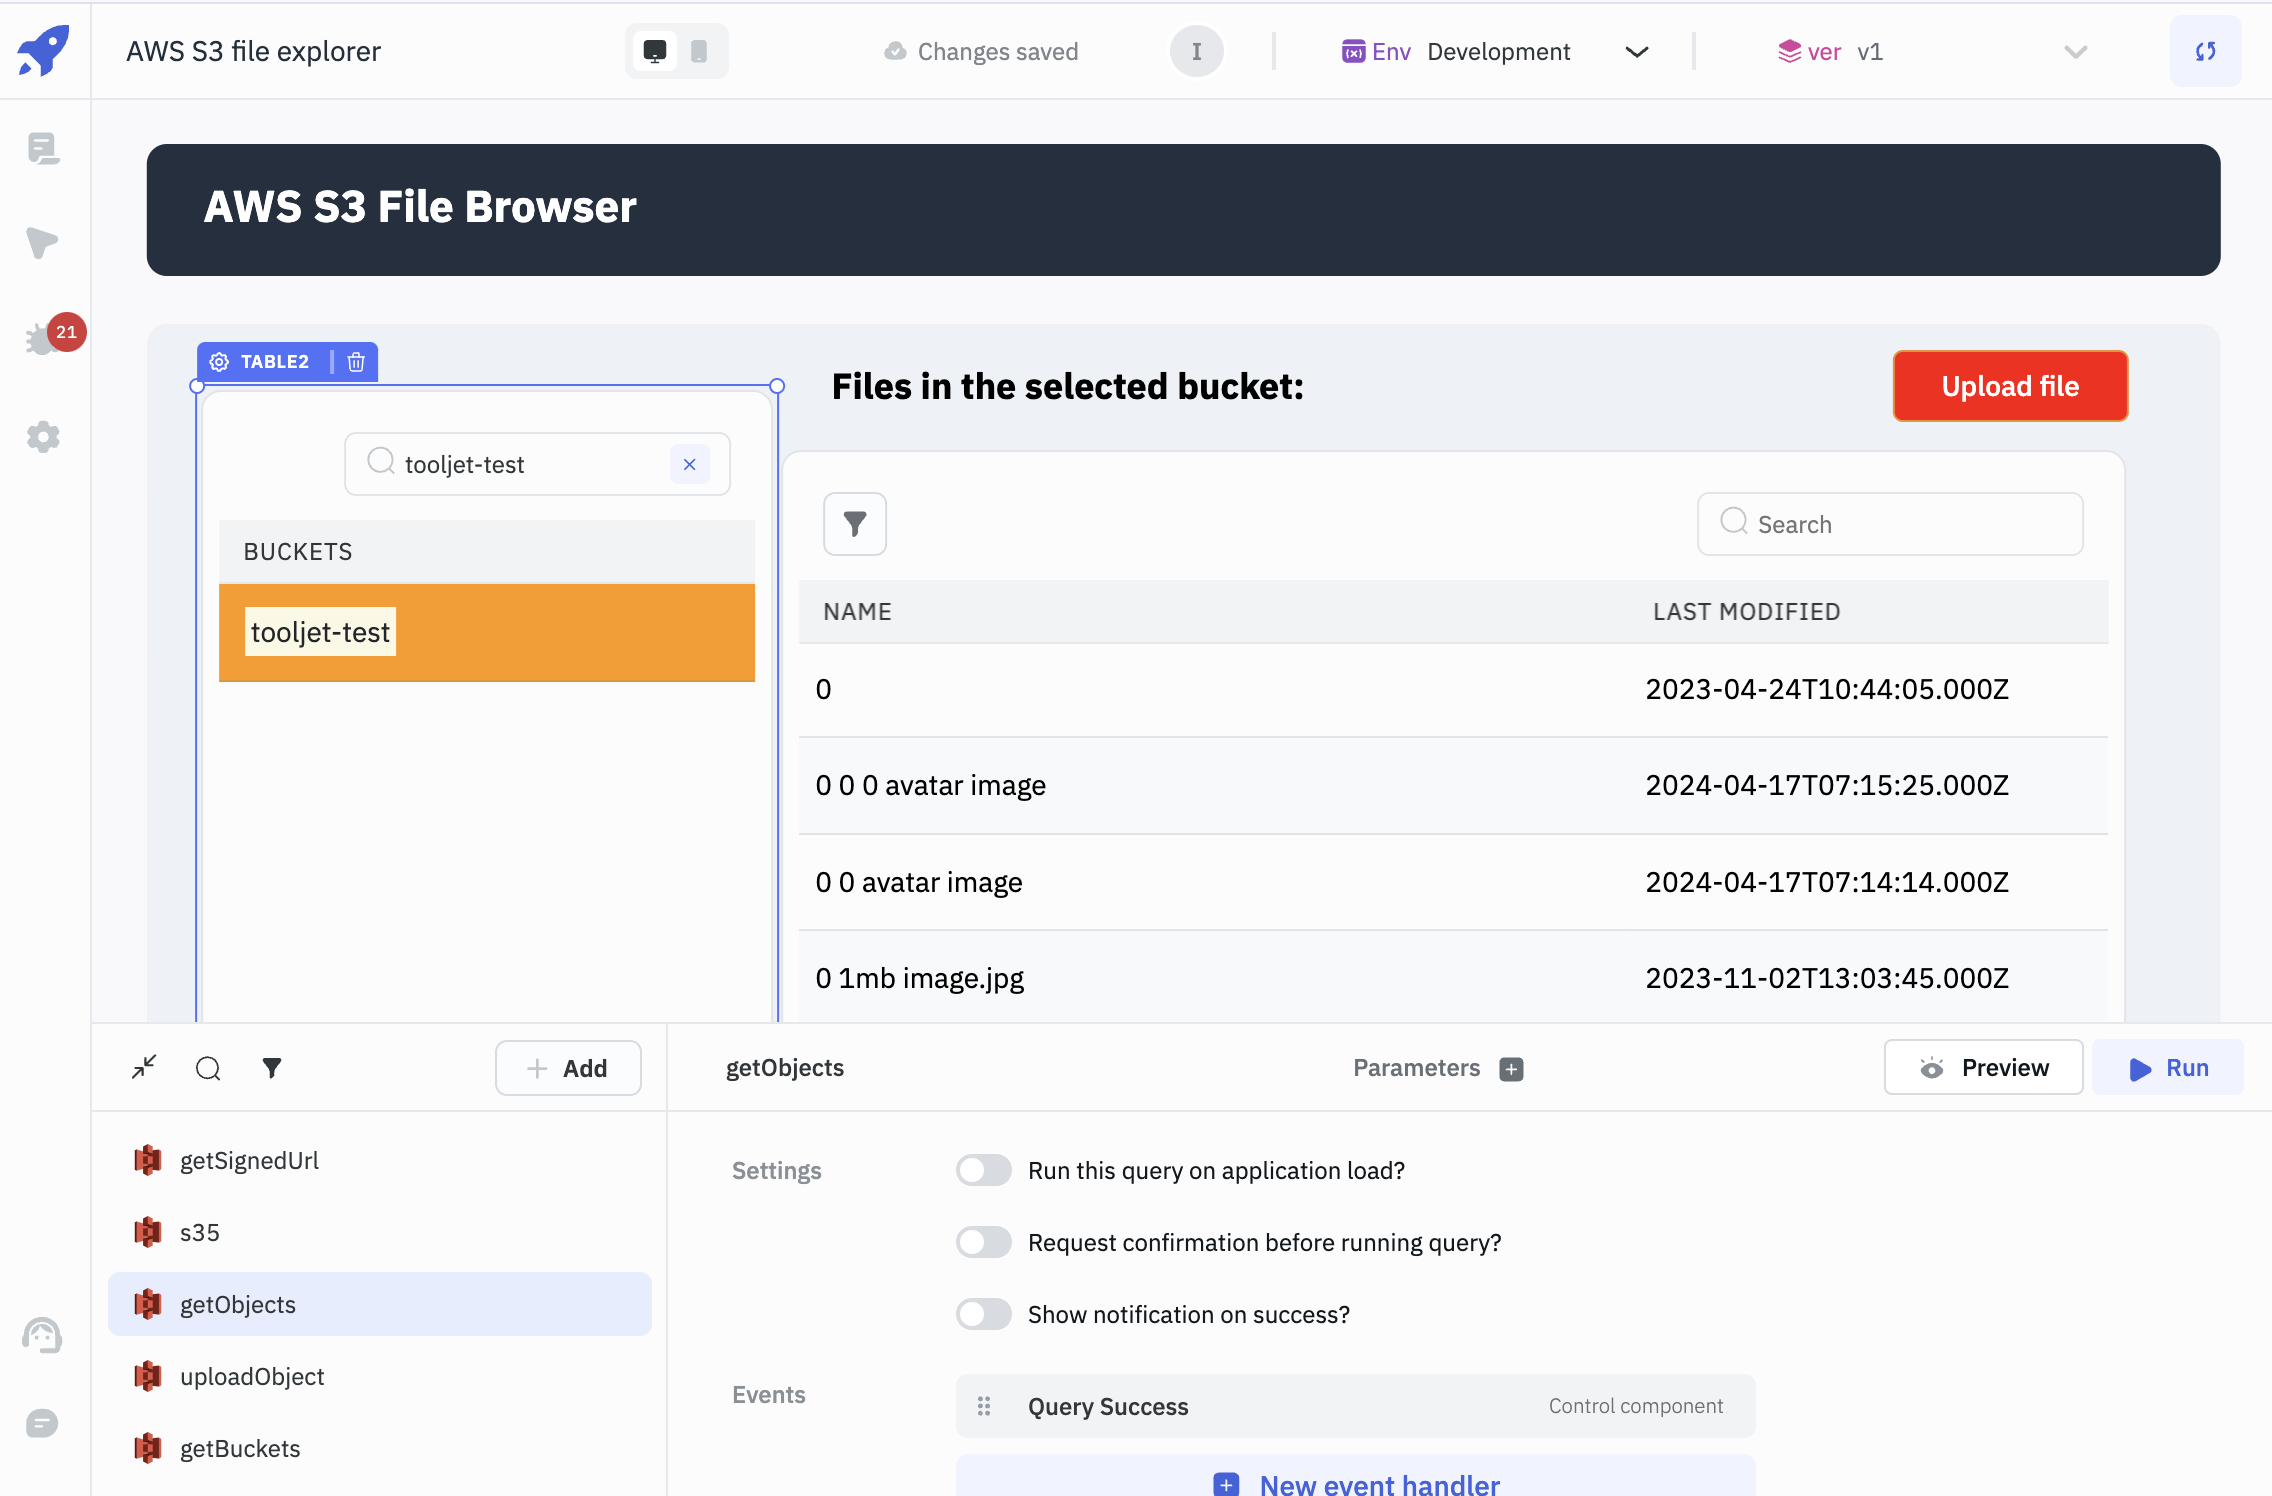
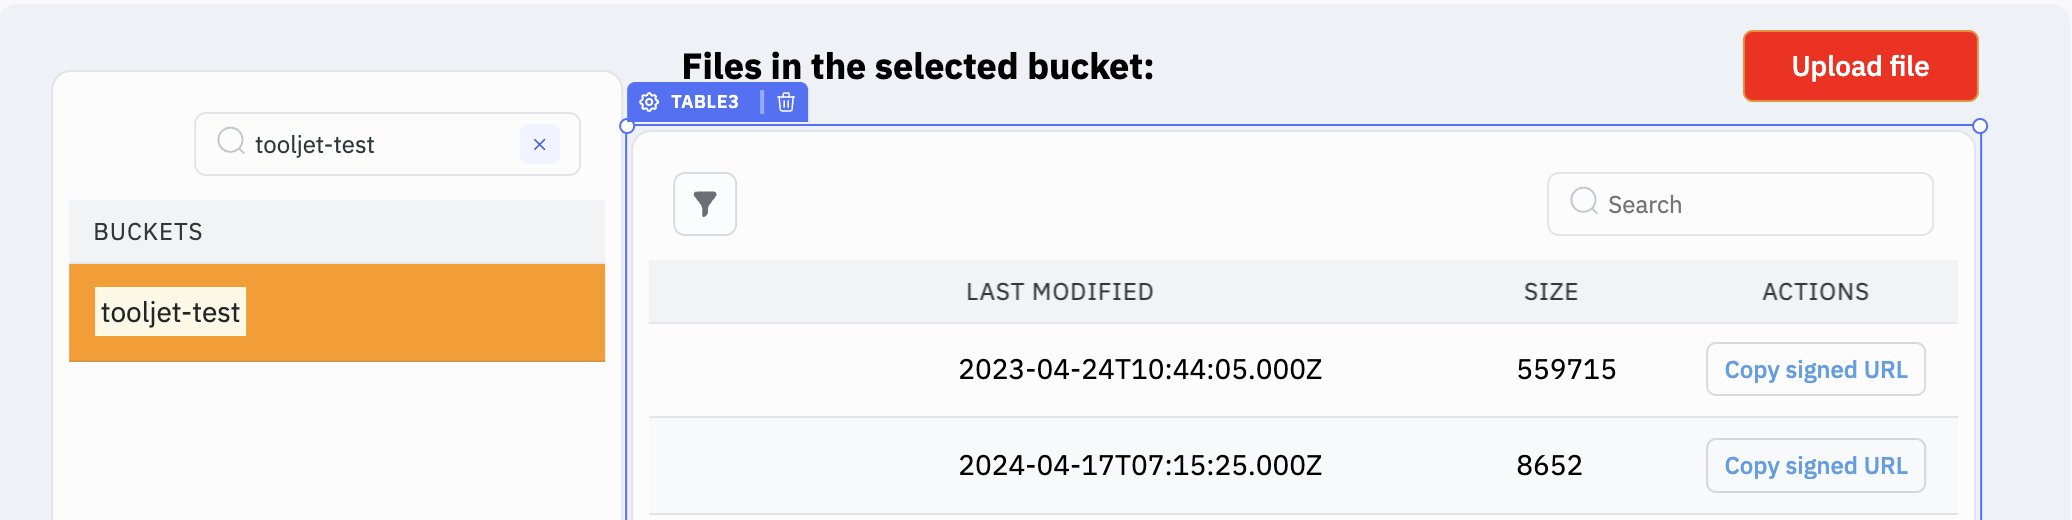
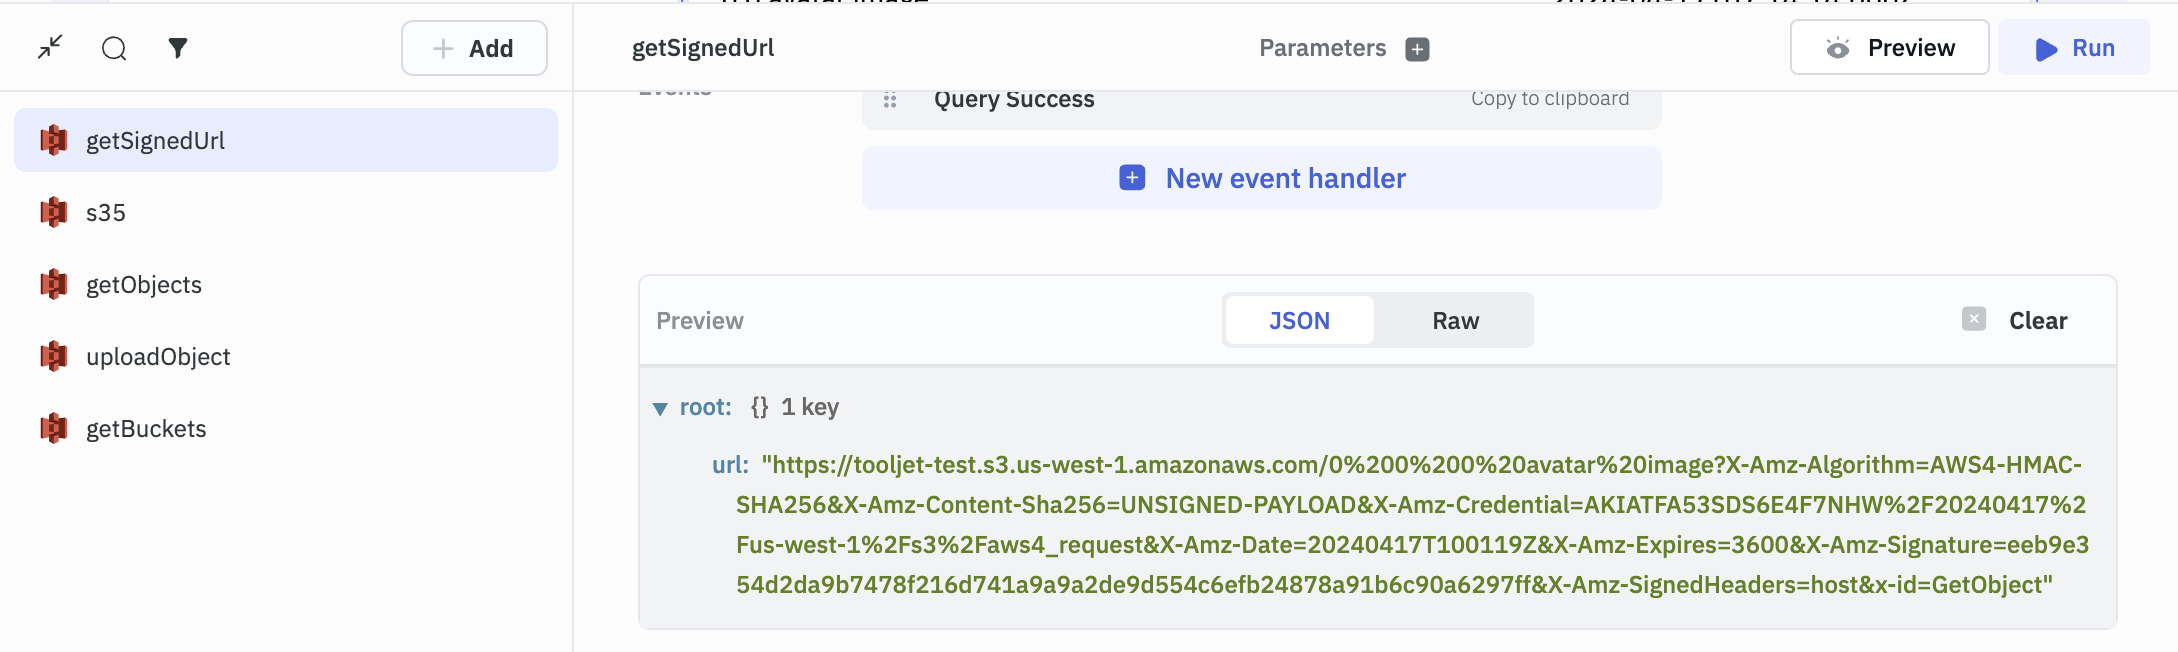
Get the Signed URL for Downlaod
The object owner can optionally share objects with others by creating a presigned URL, using their own security credentials, to grant time-limited permission to download the objects. For creating a presigned URL, in the query panel replace the parameters with the following:
- Data Source: Use the relevant data source.
- Operation: Choose
Signed url for downloadfrom the dropdown. - Bucket:
{{components.table2.selectedRow.Name}}to select the buckets dynamically. - Key:
{{components.table3.selectedRow.Key}}, this will get the file name from the filepickers exposed variables. - Expires in: This sets an expiration time of URL, by default its
3600seconds (1 hour).
After setting up the parameters, click Run to run the query, and the URL can be accessed as shown in the screenshot.
Upload Objects to the Bucket
The Upload Object operation allows users to select a bucket and then upload their chosen data into that bucket. To upload objects in a bucket, follow the steps below:
- In the query panel navigate to uploadObject query.
- Choose your relevant data source in the Data Source section.
- In the Operation section, choose
Upload Objectfrom the dropdown. - In the Bucket section, copy the code:
{{components.table2.selectedRow.Name}}, to choose a bucket dynamically. - In the Key section, copy the code:
{{components.textinput2.value}}. - In the Content Type section, copy:
{{components.filepicker1.file[0].type}}. - In the Upload data section, copy:
{{components.filepicker1.file[0].dataURL}}.
To make sure the image is uploaded successfully, we can create a new event from the Events section.
- Under the
Eventssection, click on New event handler. - From the
Eventdropdown, chooseQuery Success. - From the
Actiondropdown, chooseShow Alert. - The
Messagecan be of your choice, in this example lets write the message as:Image uploaded successfully.
Once the query has been created, choose the desired bucket, click on the Upload file button in the app, and upload your desired file to your bucket.
Access the Signed URL
After uploading the file to your bucket, in the files table, click on the Copy signed URL button from the Actions section of the table, which will copy the URL on the clipboard. You can go to another tab and paste the URL to open the file on the browser.