Configuring Inputs and Outputs
Modules have their own inputs and outputs which enable them to interact with the parent application. To configure them, click the module container in the module builder to open its properties panel. The panel has Input, Output, and Additional actions sections, and a Test inputs section once the module has at least one input.
Inputs
Inputs allow the parent application to send data or trigger actions inside the module. You can access inputs in the module using the input object.
Input Types
- Data: Use this to pass values like string, number, boolean, array, or object.
- Query: Use this to trigger queries inside the module from the parent app.
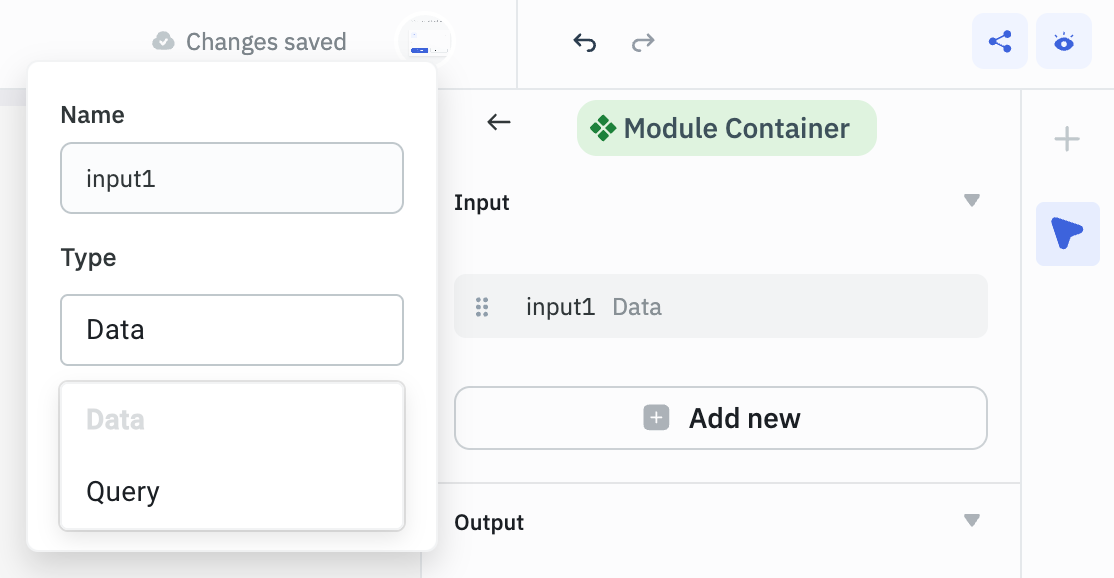
How to Define Inputs
In the properties panel, go to the Input section and click New input. ToolJet adds an input with a generated name, such as input1, and the type Data. Click the input to open the Edit input popover, then provide the following:
Data Input
For Data inputs, define the following parameters:
- Name: A unique name for the input
- Type: Select Data
- Default value (optional): The value the input uses when the parent application doesn't pass one. It's also pre-filled in the input field when you add the module to an application.
The Default value field supports only constant values, such as strings, numbers, or objects. Exposed values such as components, queries, or globals aren't supported in this field.
For example, to pass a form title from the parent application, create an input with the name formTitle and type Data. You can also set a default value.
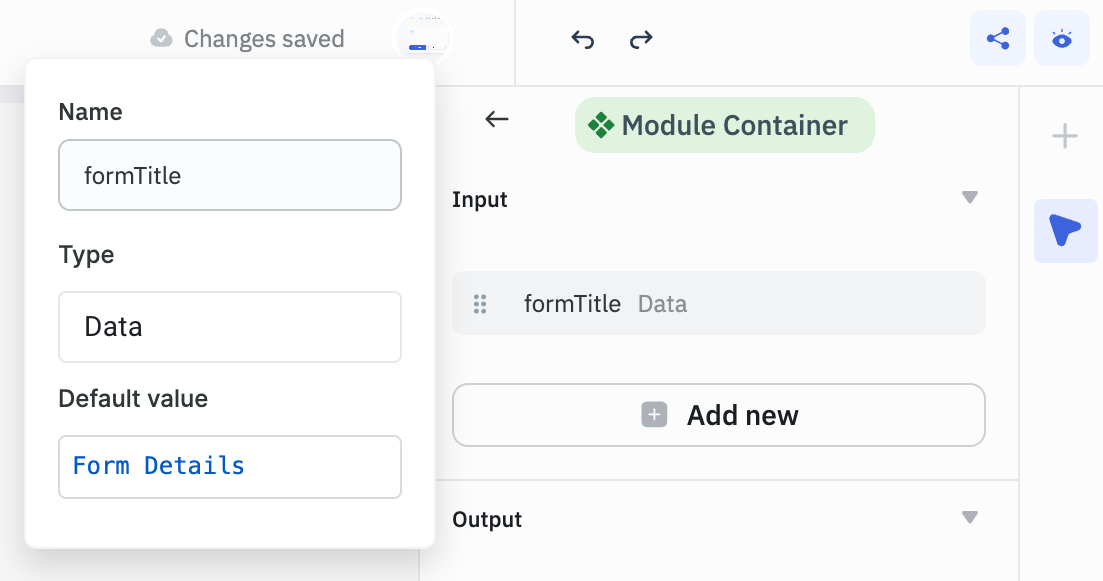
To use this input in the module, use the following syntax:
{{input.<input_name>}}
For our case, we’ll use {{input.formTitle}} to access the form title in the component.
{{input.formTitle}}
When you add this module to an application, the input appears in the Input section of the module's properties panel. If you set the formTitle value to User Details, the form displays that as the title.
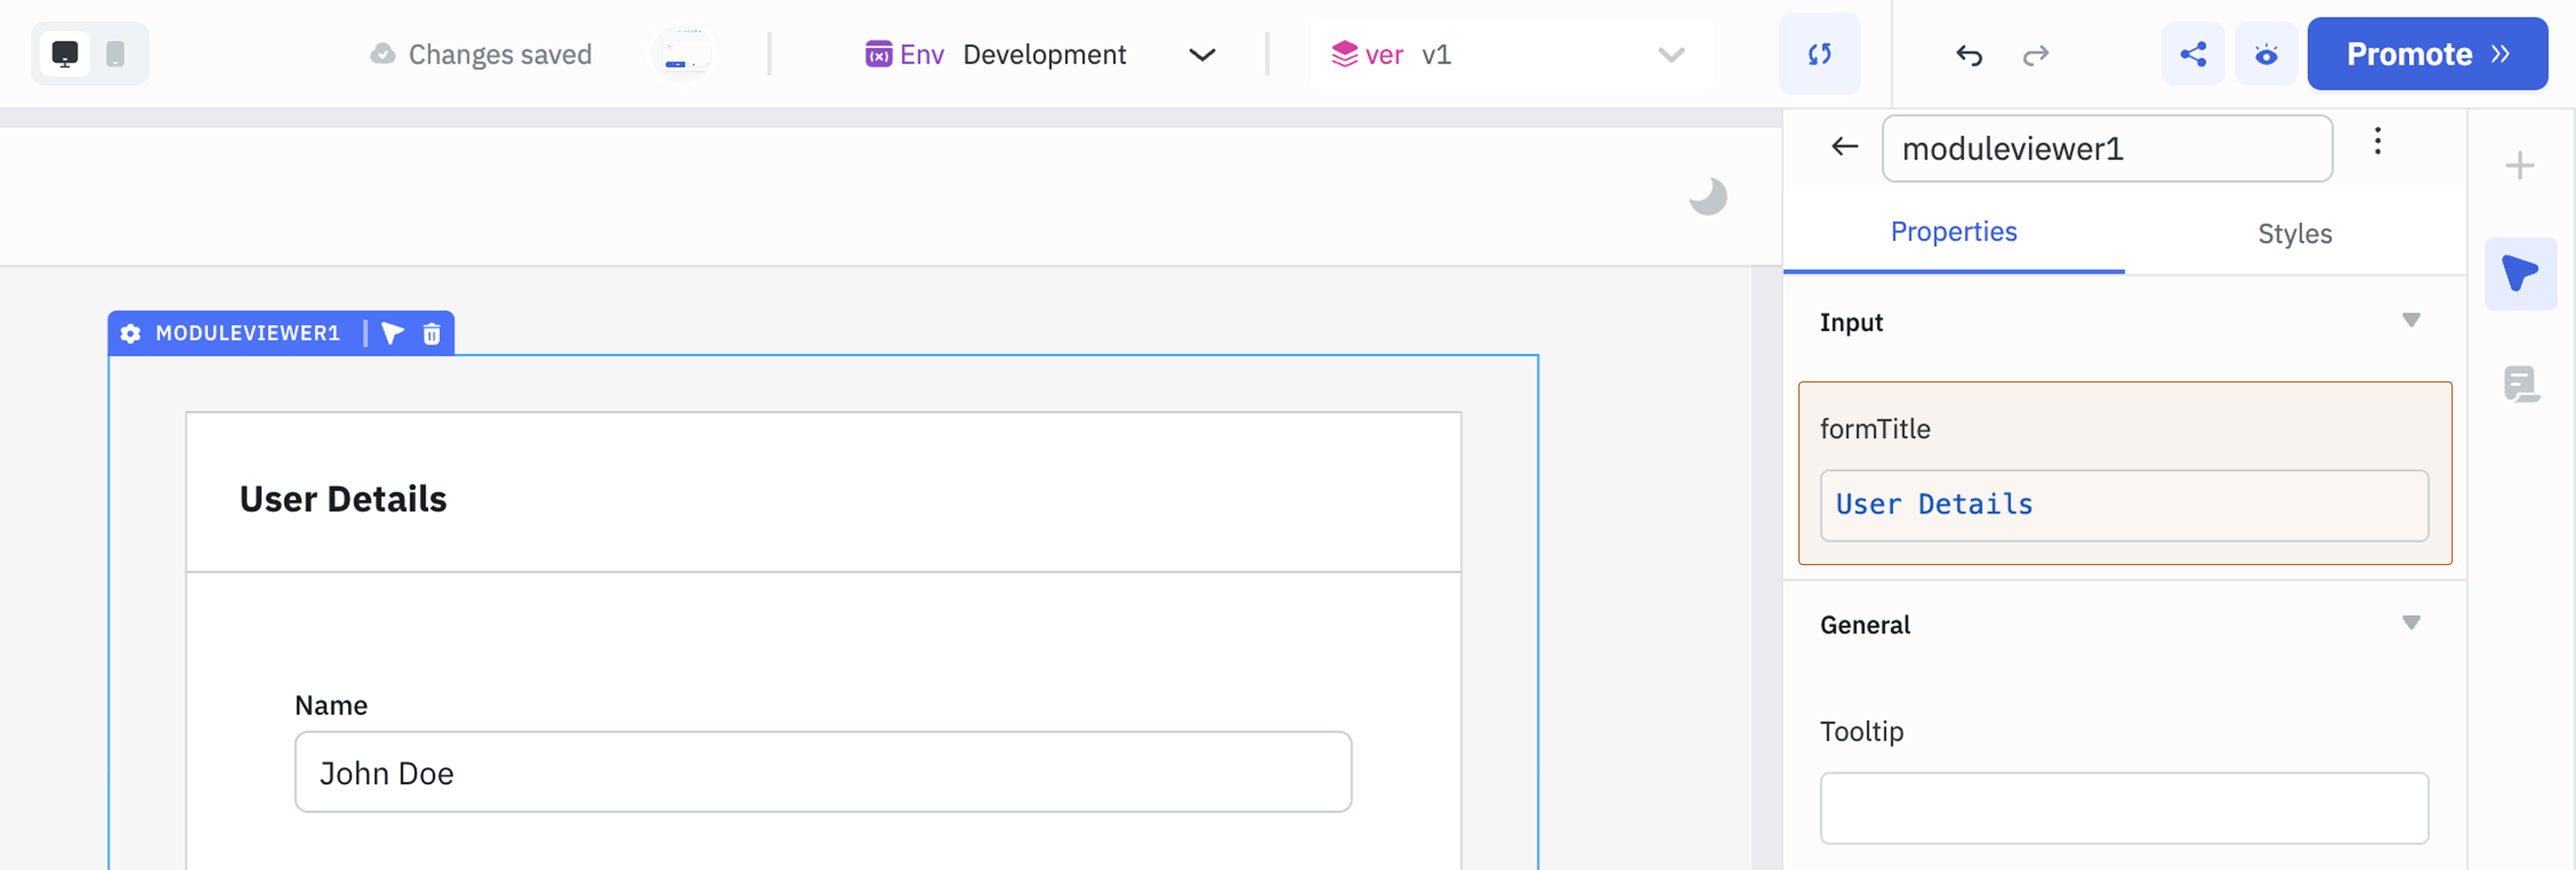
Query Input
For Query inputs, define the following parameters:
- Name: A unique name for the input
- Type: Select Query
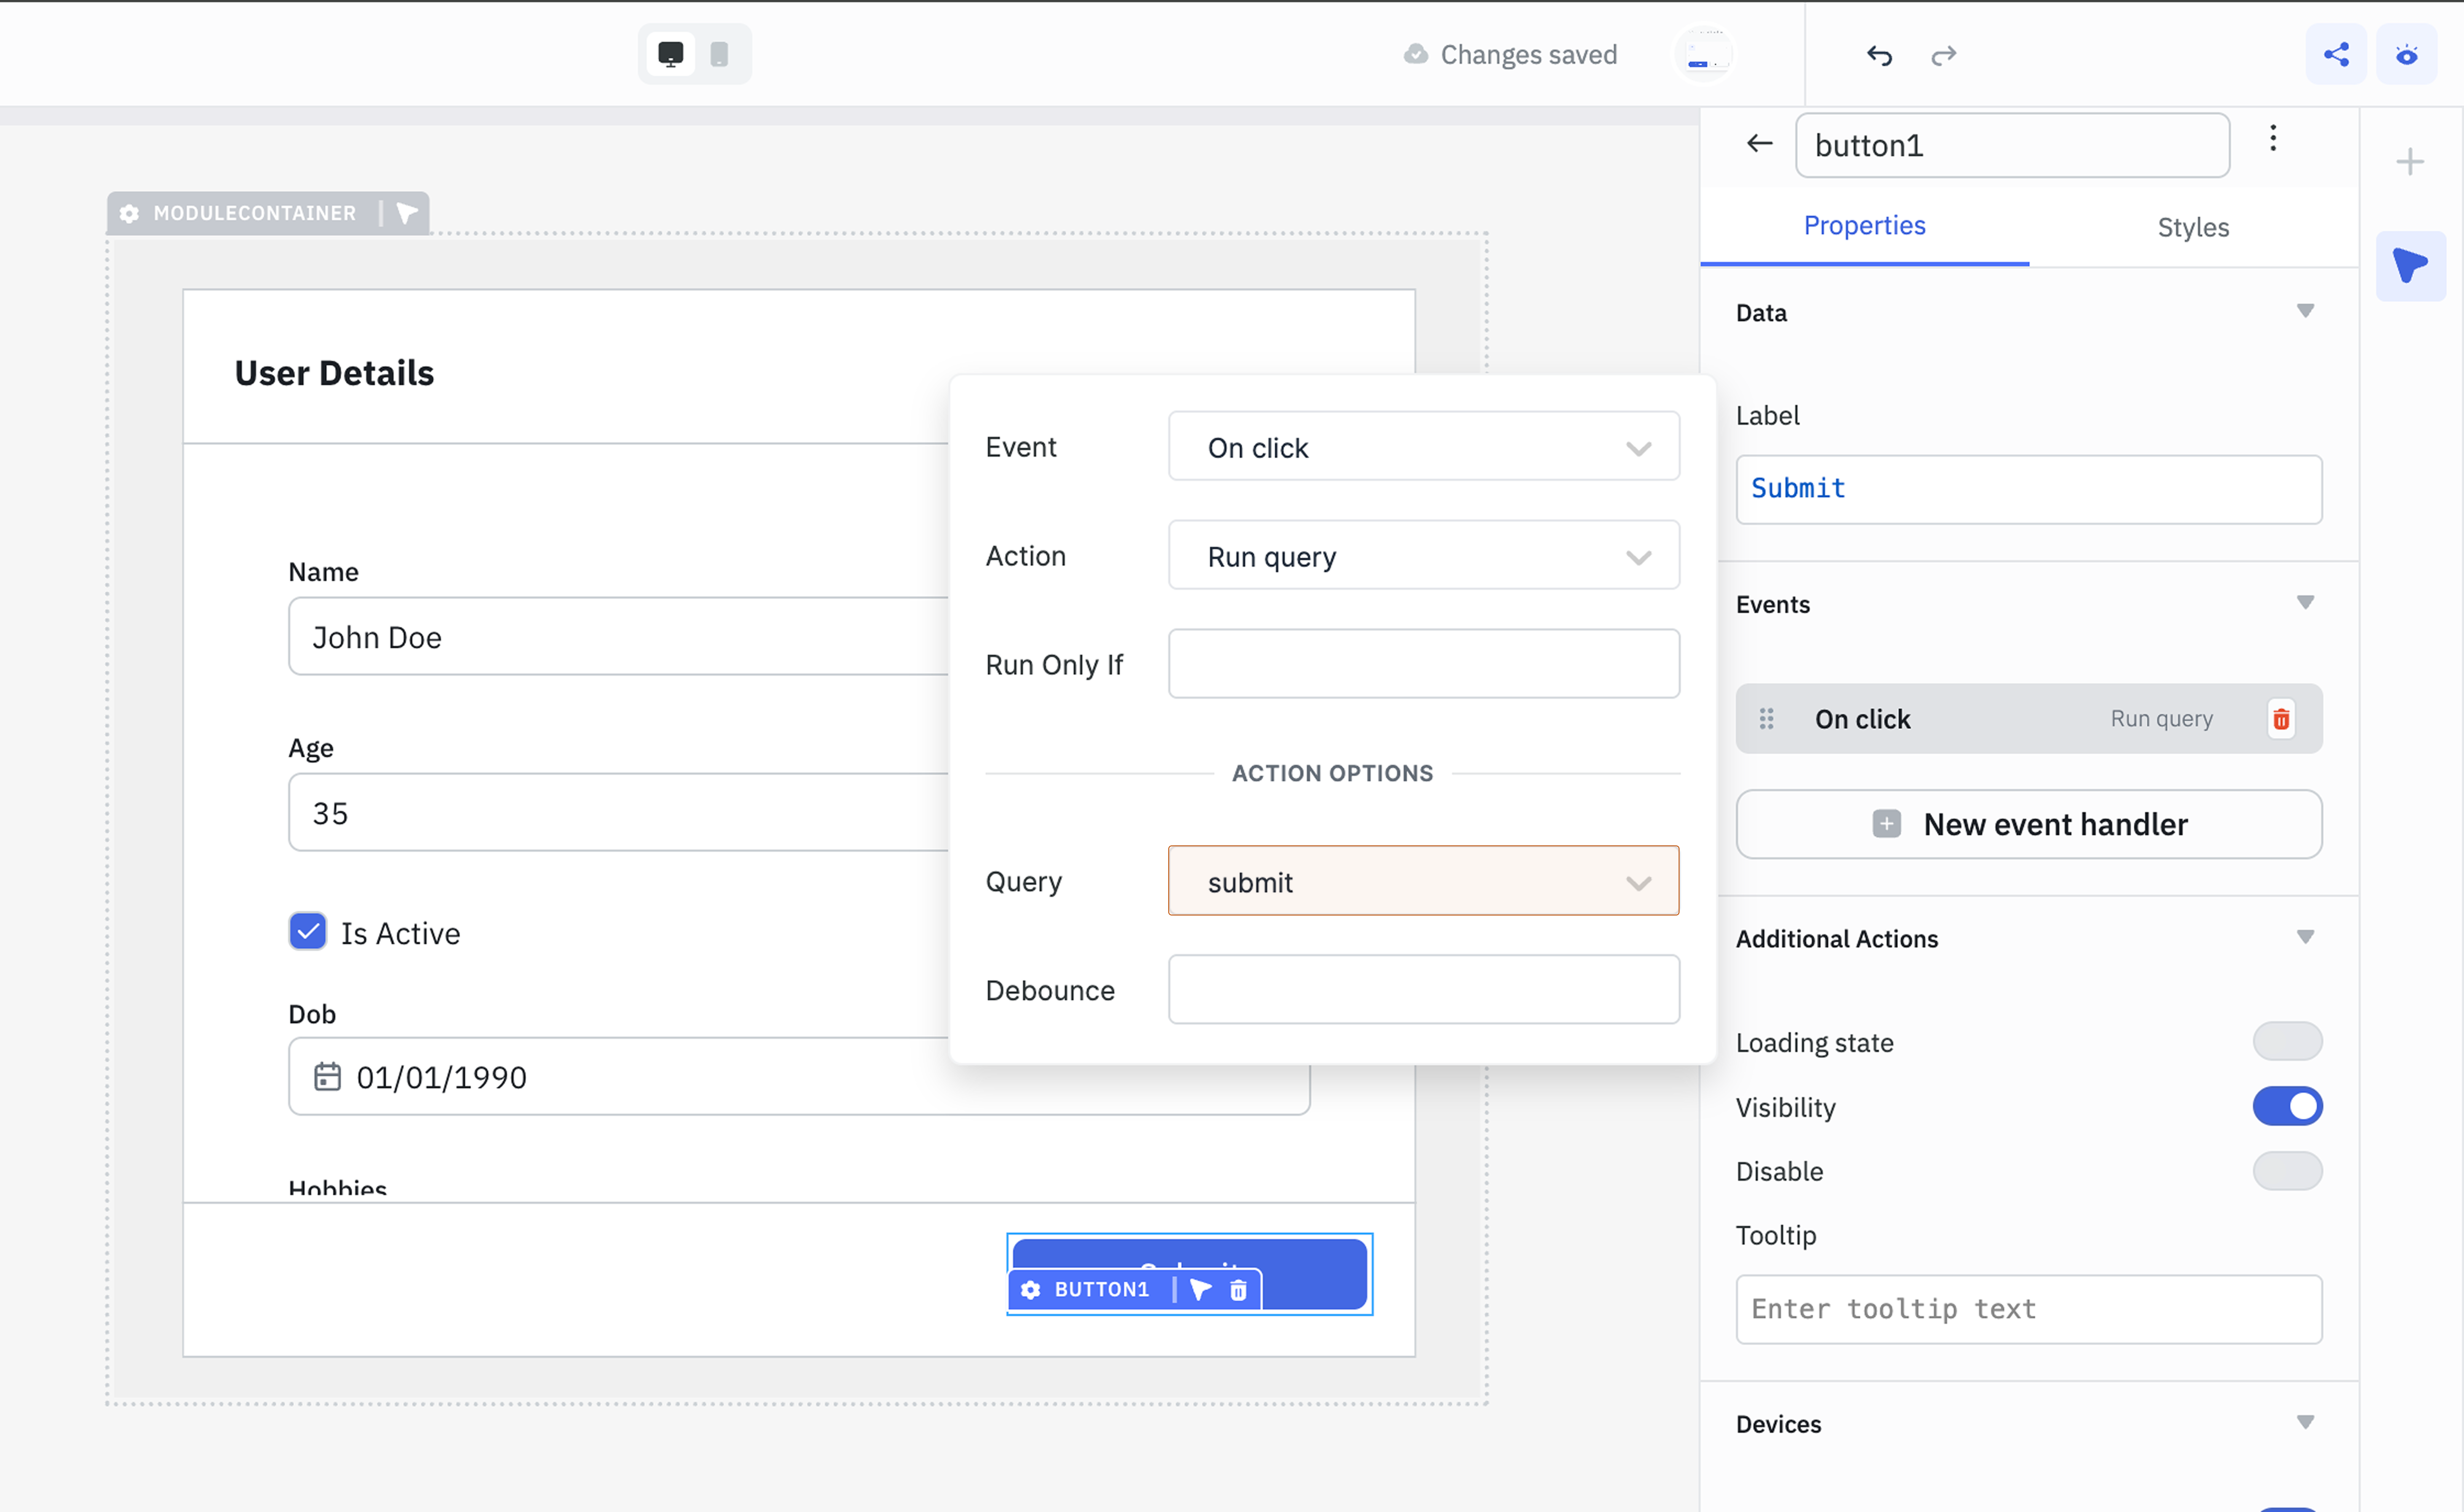
For example, if you want to trigger a query named submitForm from the parent application, create an input named submit and select Query as the type.
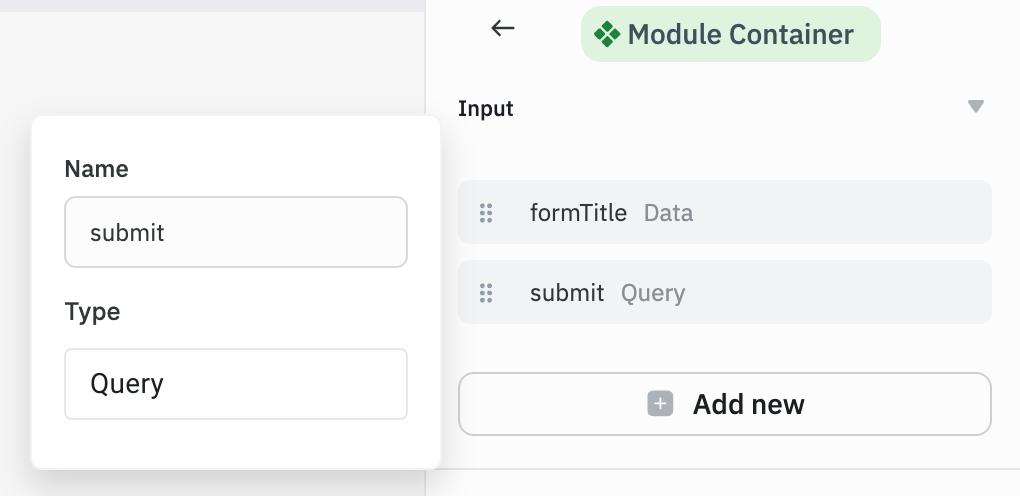
To handle this input in the module, add an event handler to a component that should trigger the query. Set the action to Run Query and select the query as the input (e.g., submit) from the dropdown.
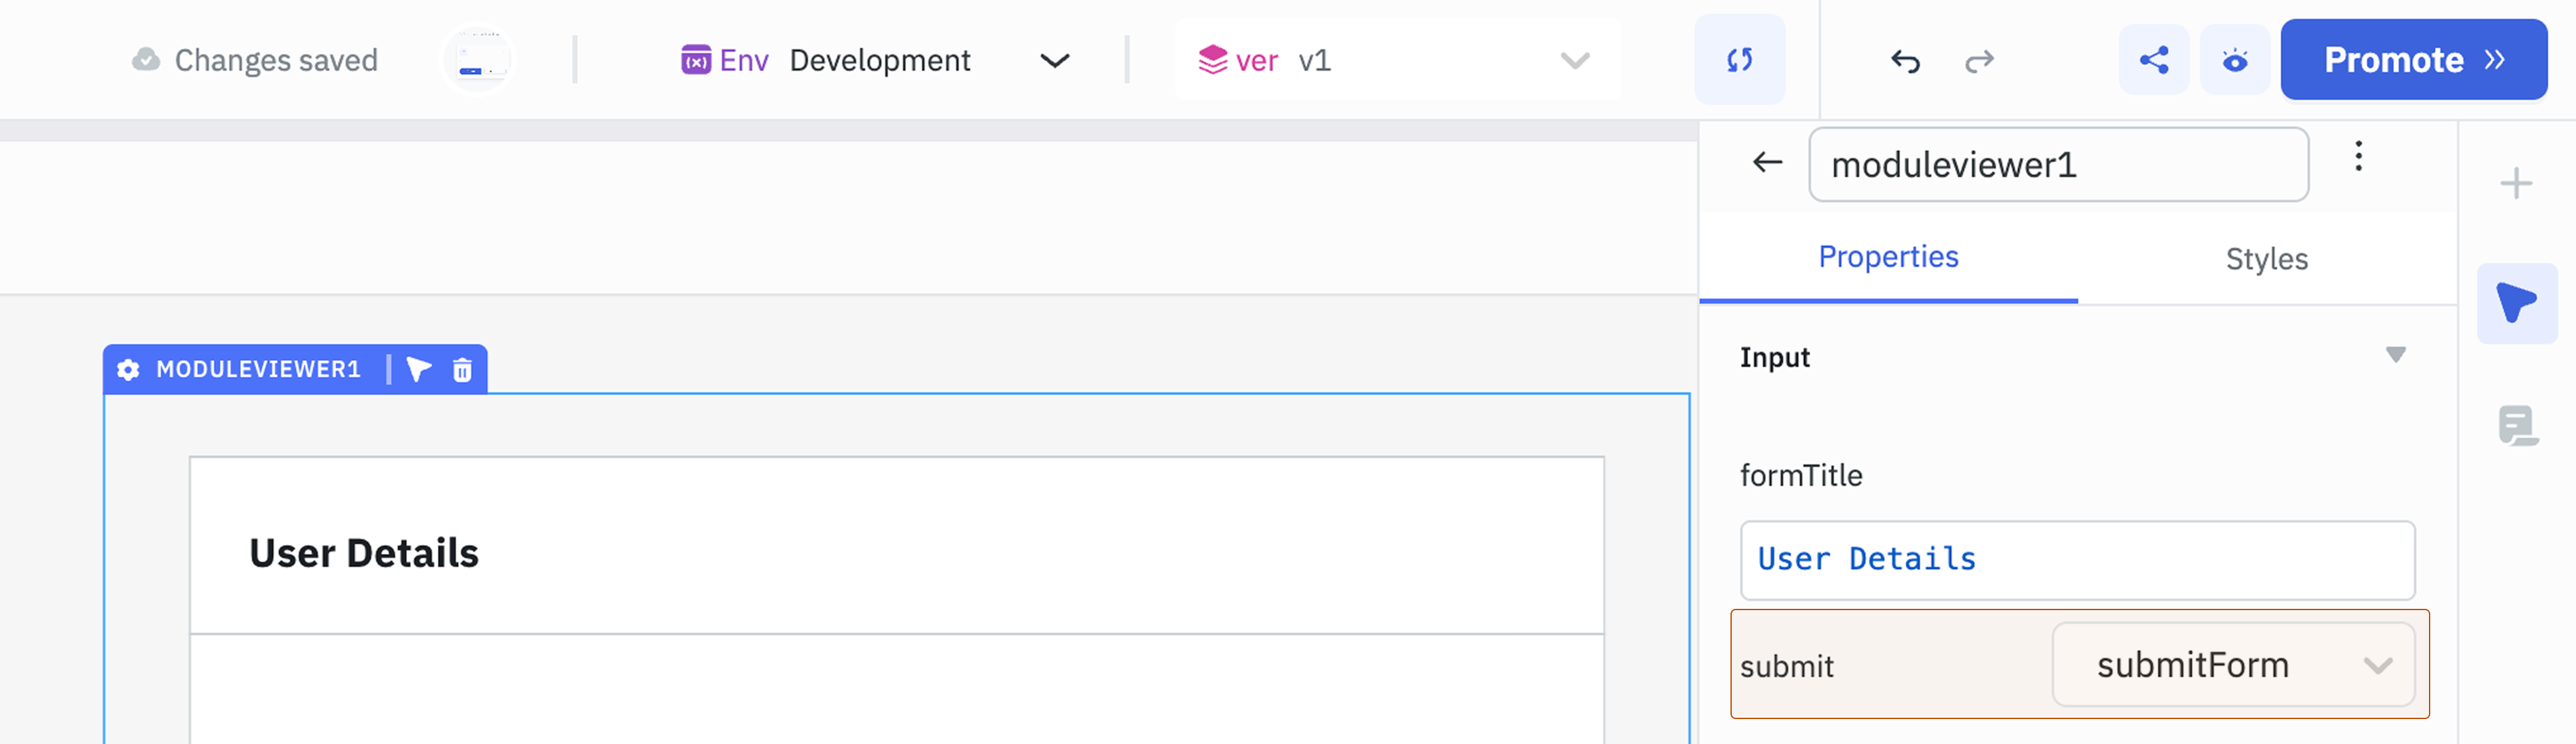
When you import the module into an applications, you’ll see the query input in the module settings. You can then select any available query in the parent application to be triggered.
Naming Rules
Input and output names must follow these rules:
- Each input name must be unique among the module's inputs, and each output name unique among its outputs. If you enter a name that's already in use, ToolJet shows a warning such as Input name 'formTitle' already exists. Please use a unique name. and keeps the previous name.
- Use only letters, numbers, and underscores.
- The following names are reserved and can't be used for inputs:
id,inputItems,outputItems,moduleAppId,moduleVersionId, andmoduleEnvironmentId.
To delete an input or output, click the trash icon in its Edit input or Edit output popover, or select Delete from the item's menu.
Testing Inputs
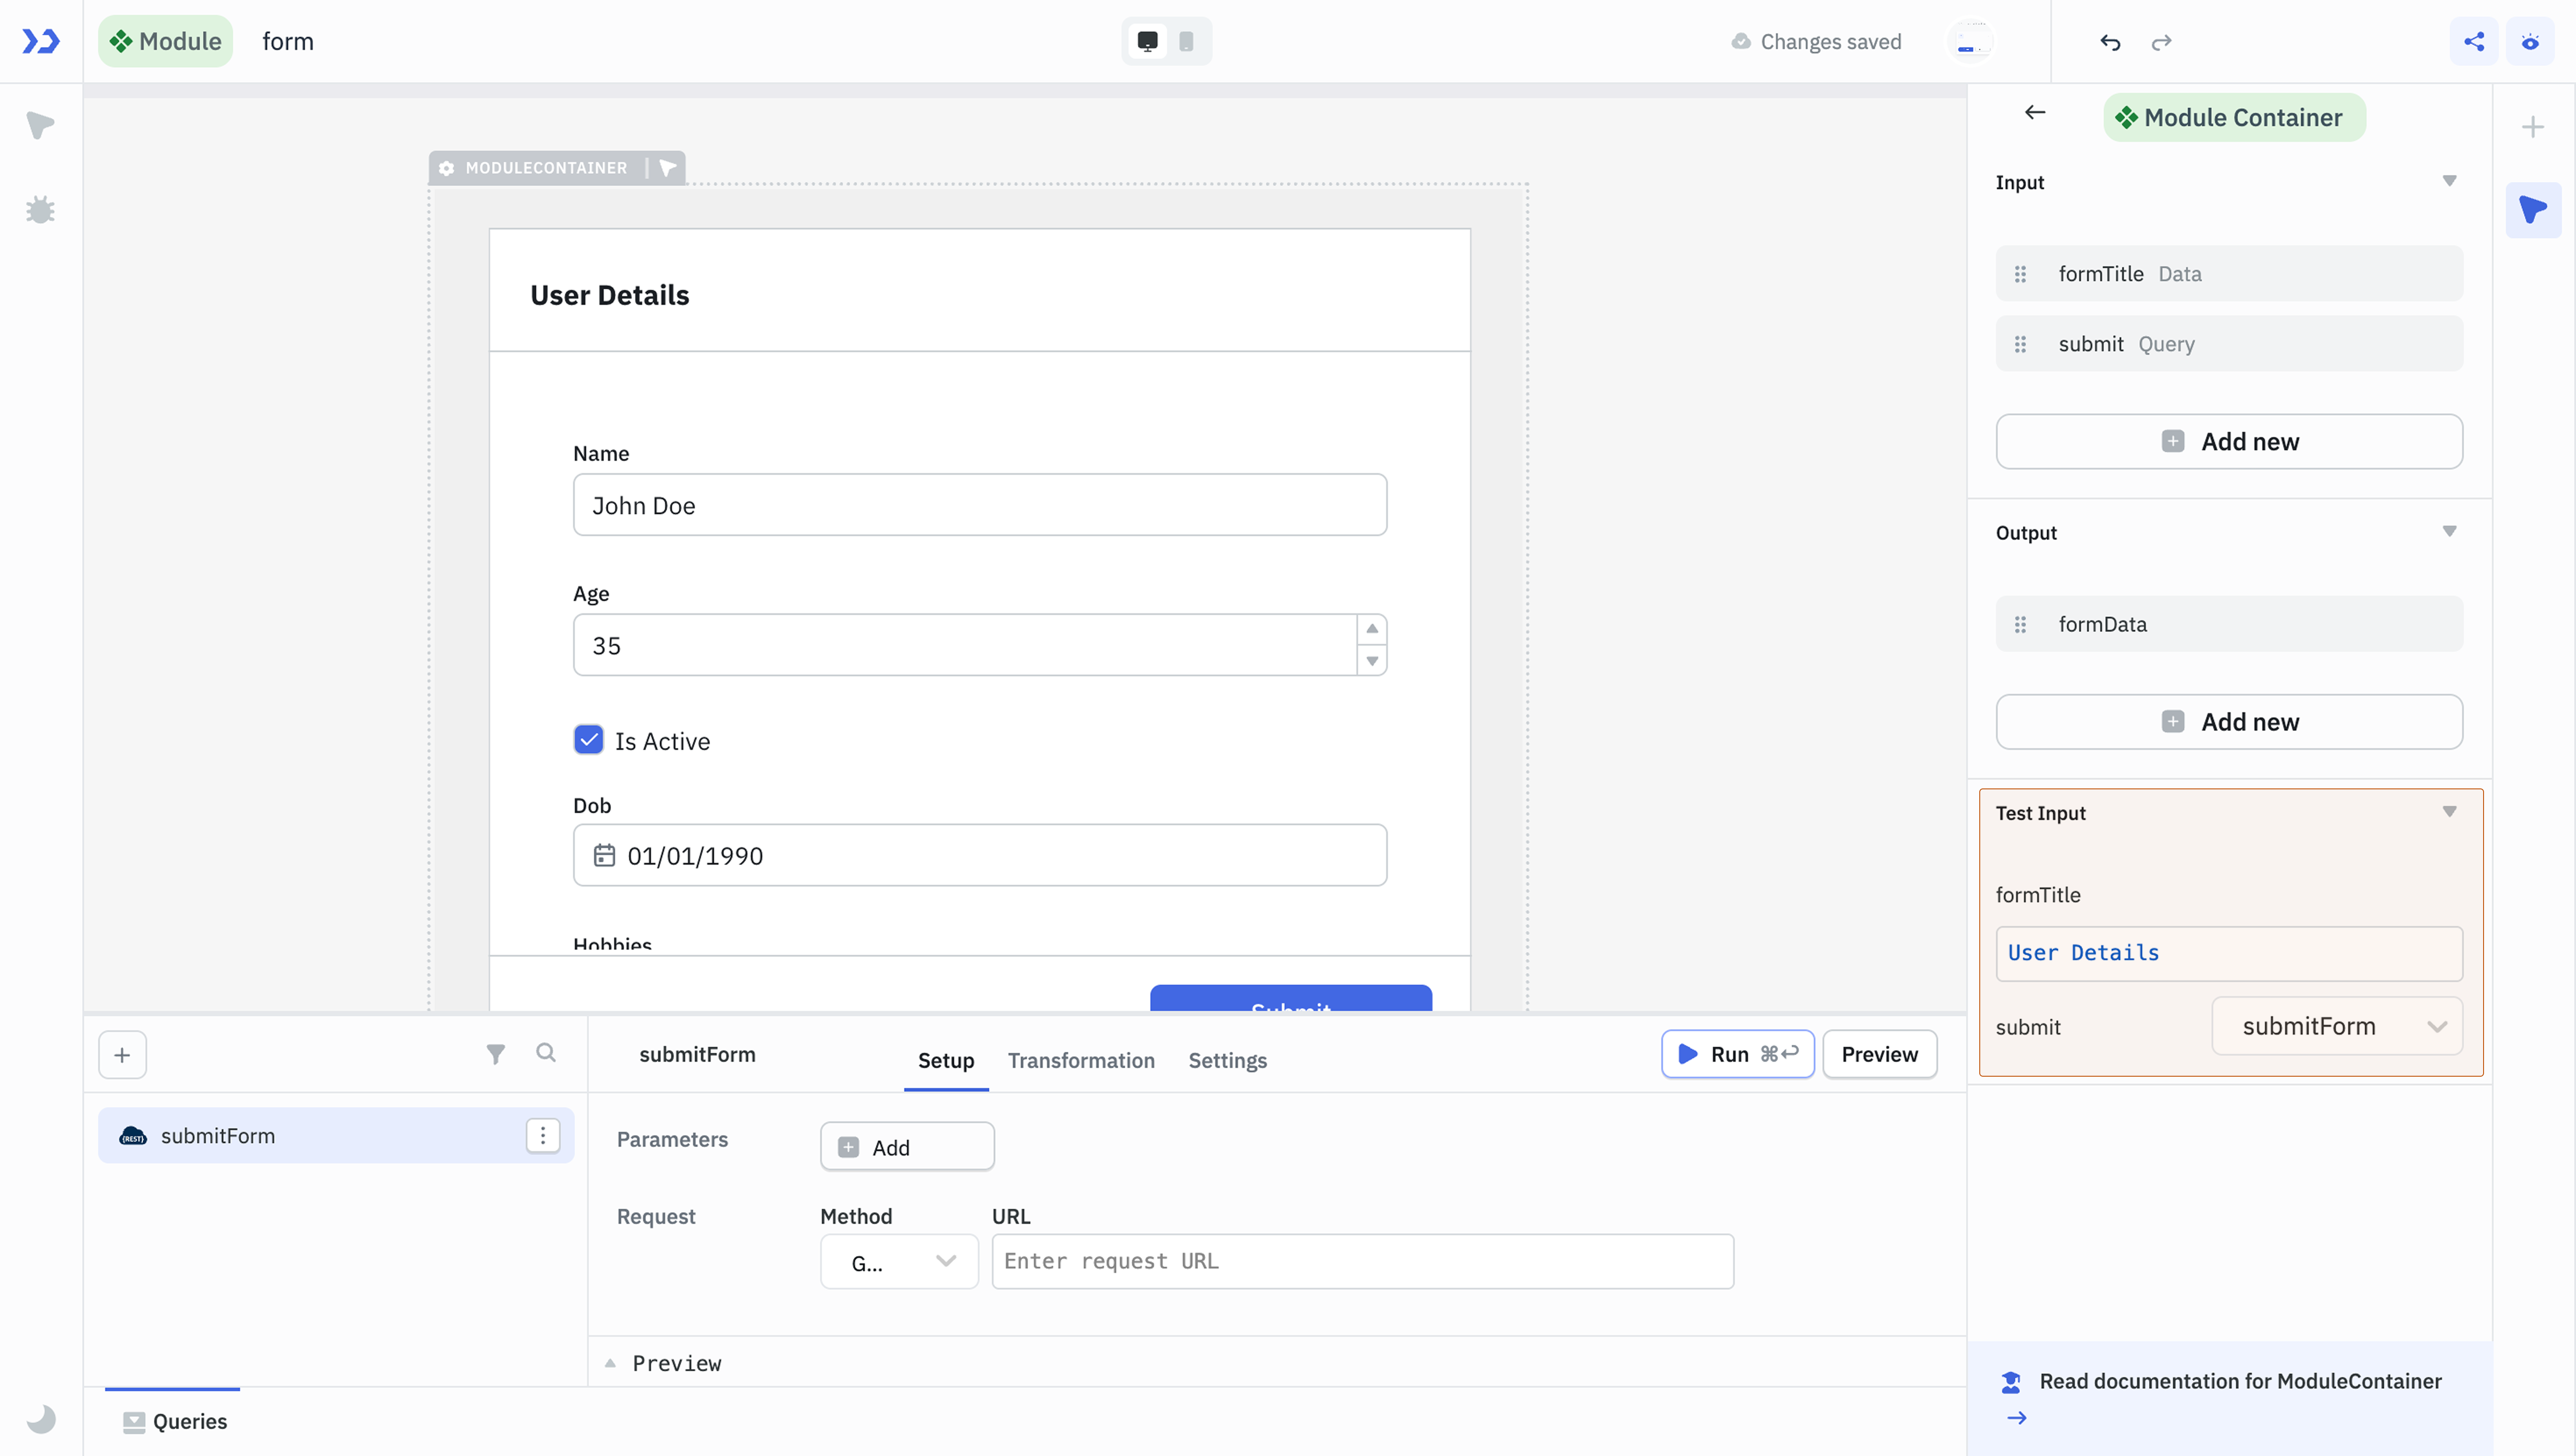
You can test how a module behaves before adding it to an application in the Test inputs section of the module container's properties panel. This section appears once the module has at least one input. Enter a sample value for each input. If you leave a Data input's test value empty, the module uses the input's Default value.
For example, if the module has an input named formTitle, you can enter a sample value like User Details to see how it's rendered in the module.
You can also test query inputs by creating a query inside the module builder and triggering it using the defined query input.
Outputs
Outputs allow the module to send data back to the parent app. You can access outputs from the module in the parent application using the components object.
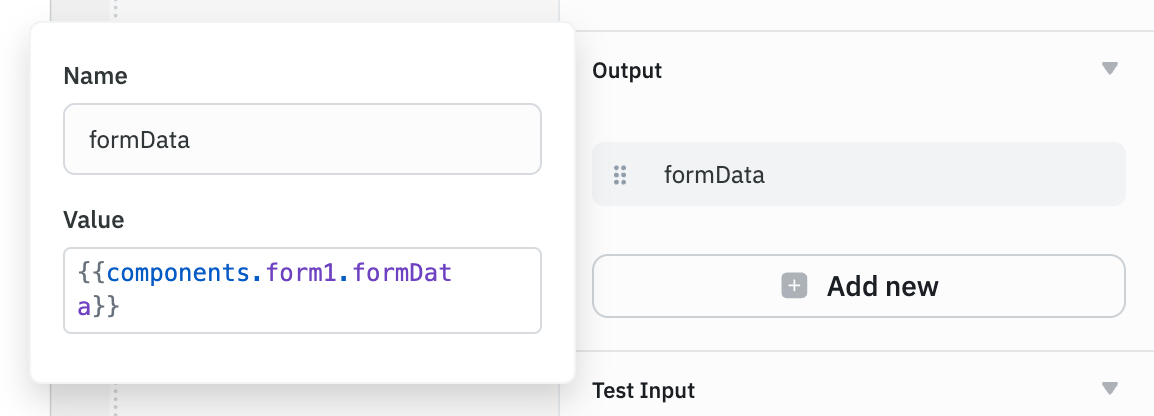
To add an output, go to the Output section and click New output. ToolJet adds an output with a generated name, such as output1. Click the output to open the Edit output popover and set its Name and Value.
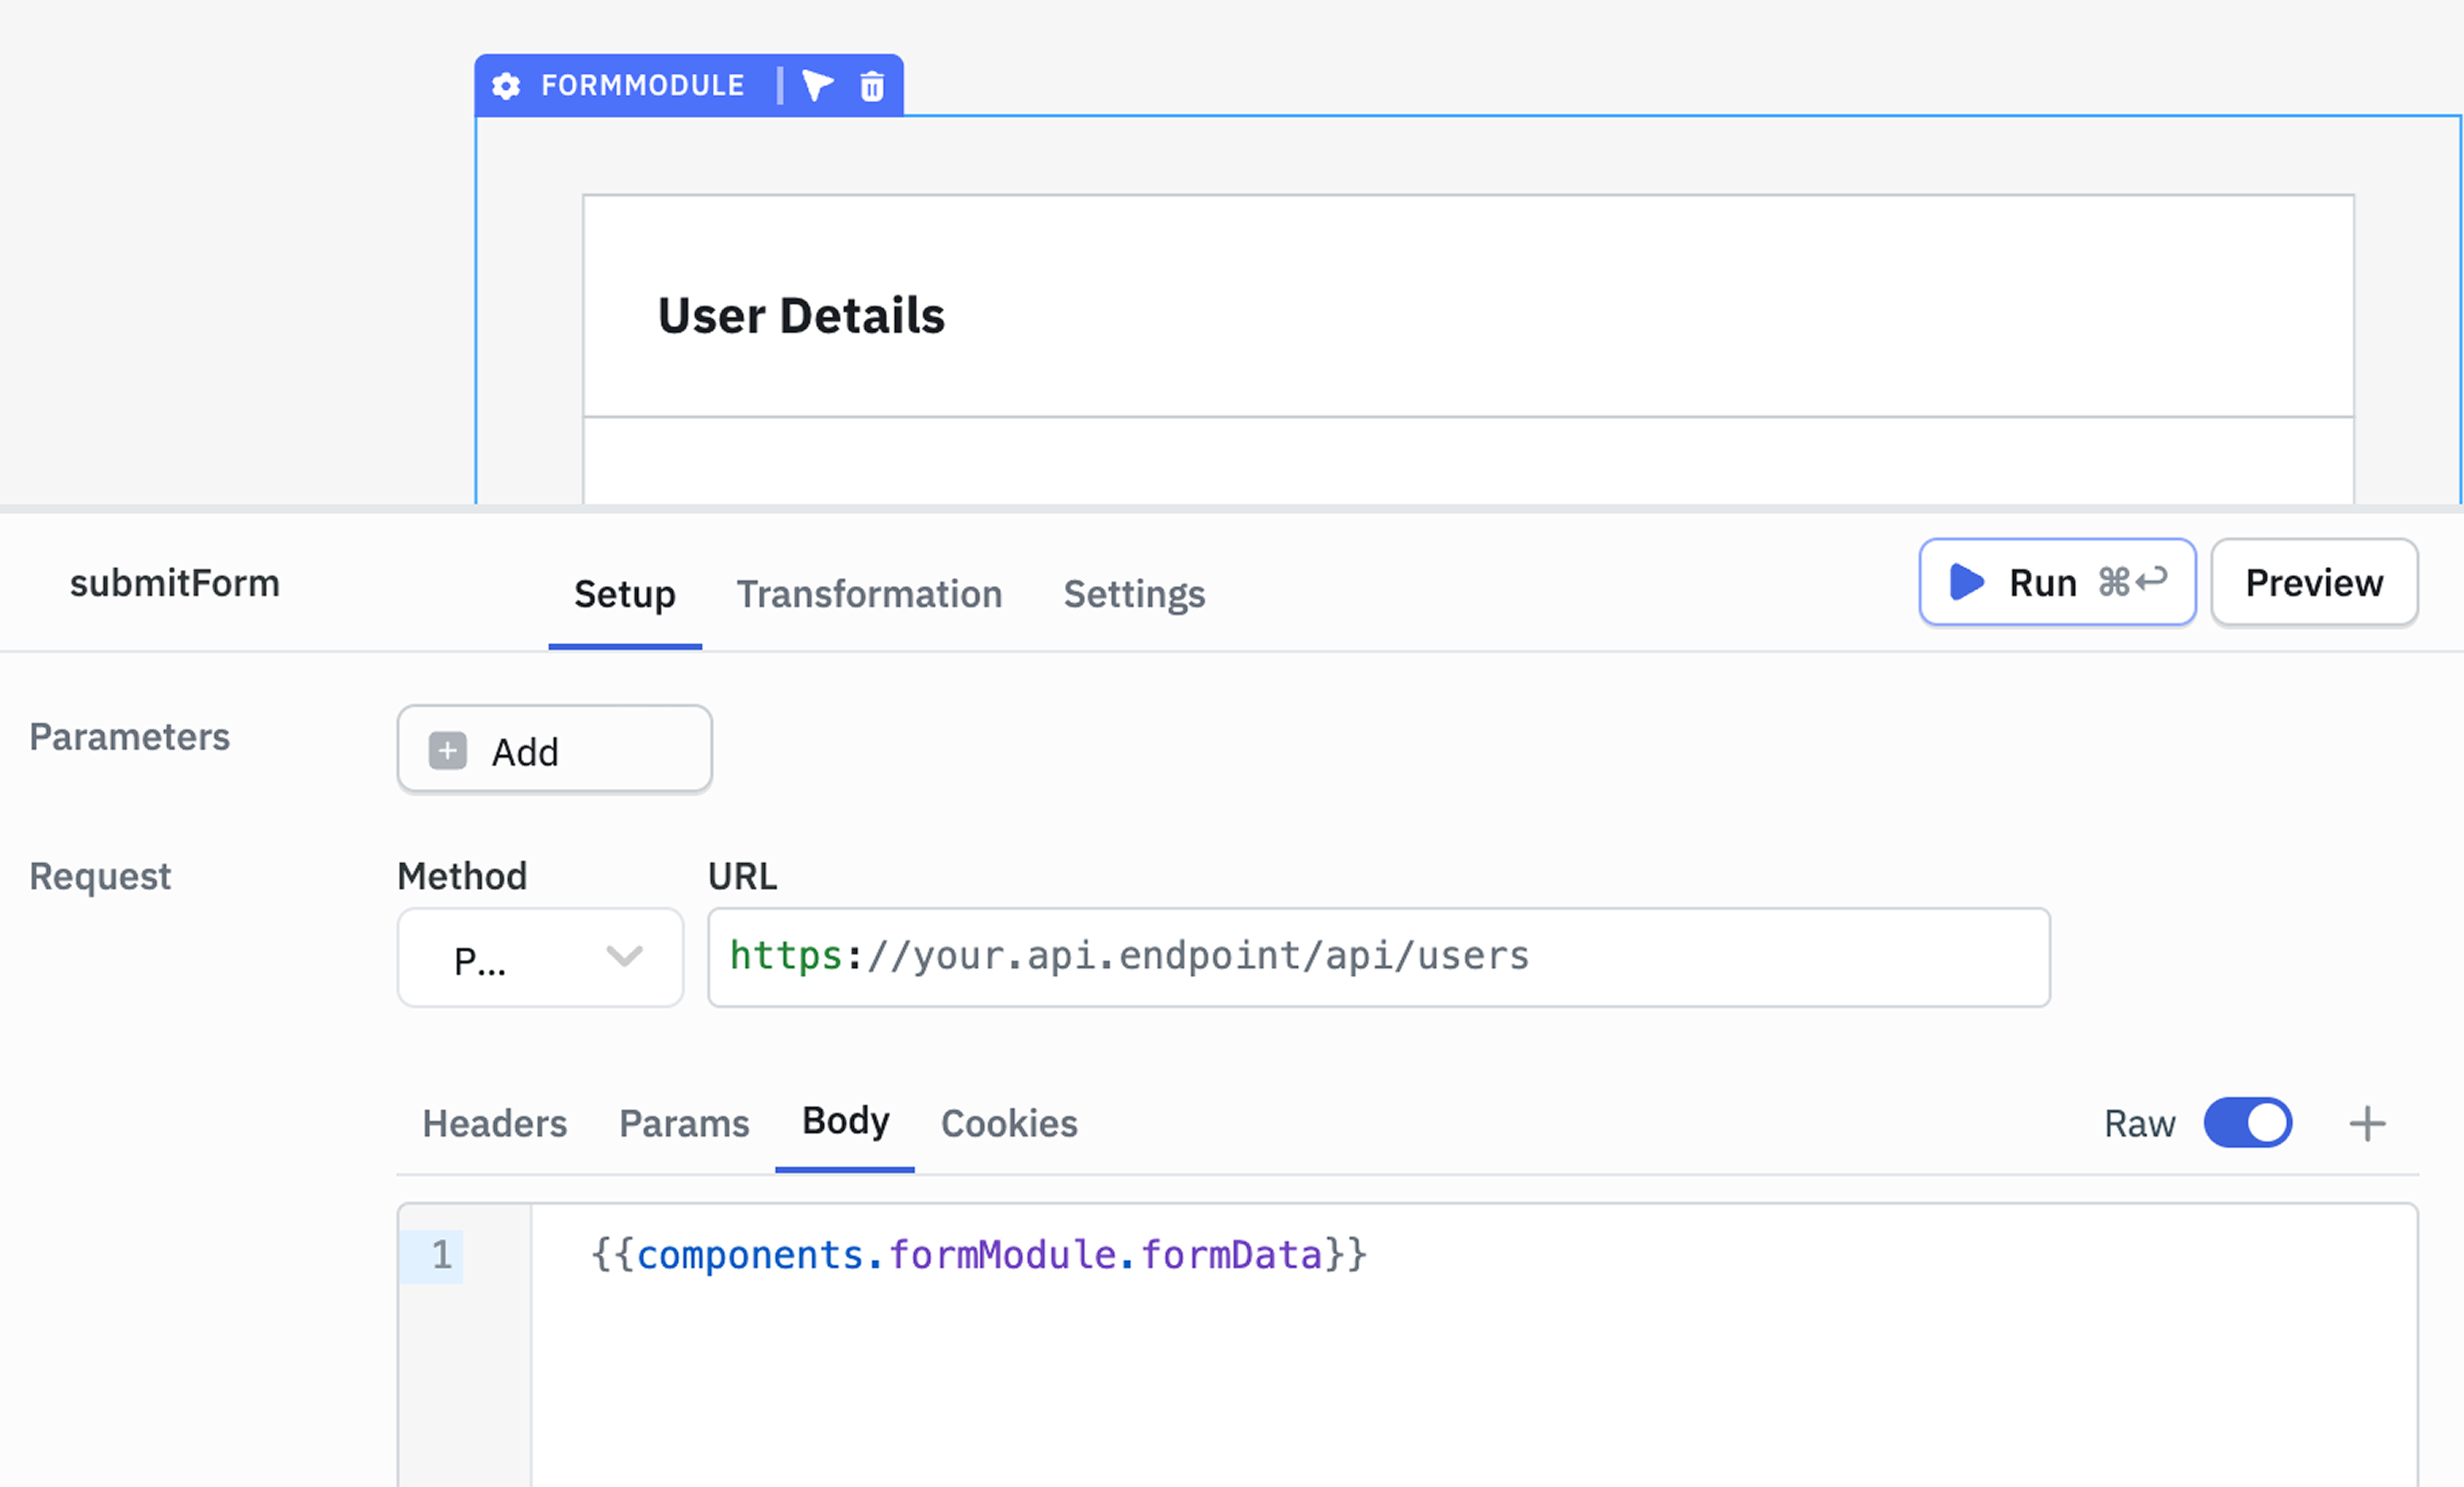
For example, if you want to send submitted form data back to the parent application, create an output named formData and set its Value to the form component's data.
To access this output in the parent application, use the following syntax:
{{components.<module_name>.<output_name>}}
In this case, use the following reference to access the form data.
{{components.formModule.formData}}
To explore more on how data flows between modules and apps, check out Data Flow guide.