GitHub Configuration
Connect your workspace to a GitHub repository through a GitHub App. The connection works over HTTPS, and you choose the branch to sync with directly in ToolJet.
Role Required: Admin
1. Create a New Repository and Make an Initial Commit
Create a new repository on your GitHub. The repository can be public or private. You can also use an existing repository. Make sure that the repository is empty, then create an initial commit (for example, by adding a README.md). This first commit initializes the repository and creates the default branch (such as main).
2. Create the GitHub App
Setup a GitHub App and make sure it is created by the same owner as the Git repository. If you have multiple ToolJet instances, use this same GitHub App across all instances.
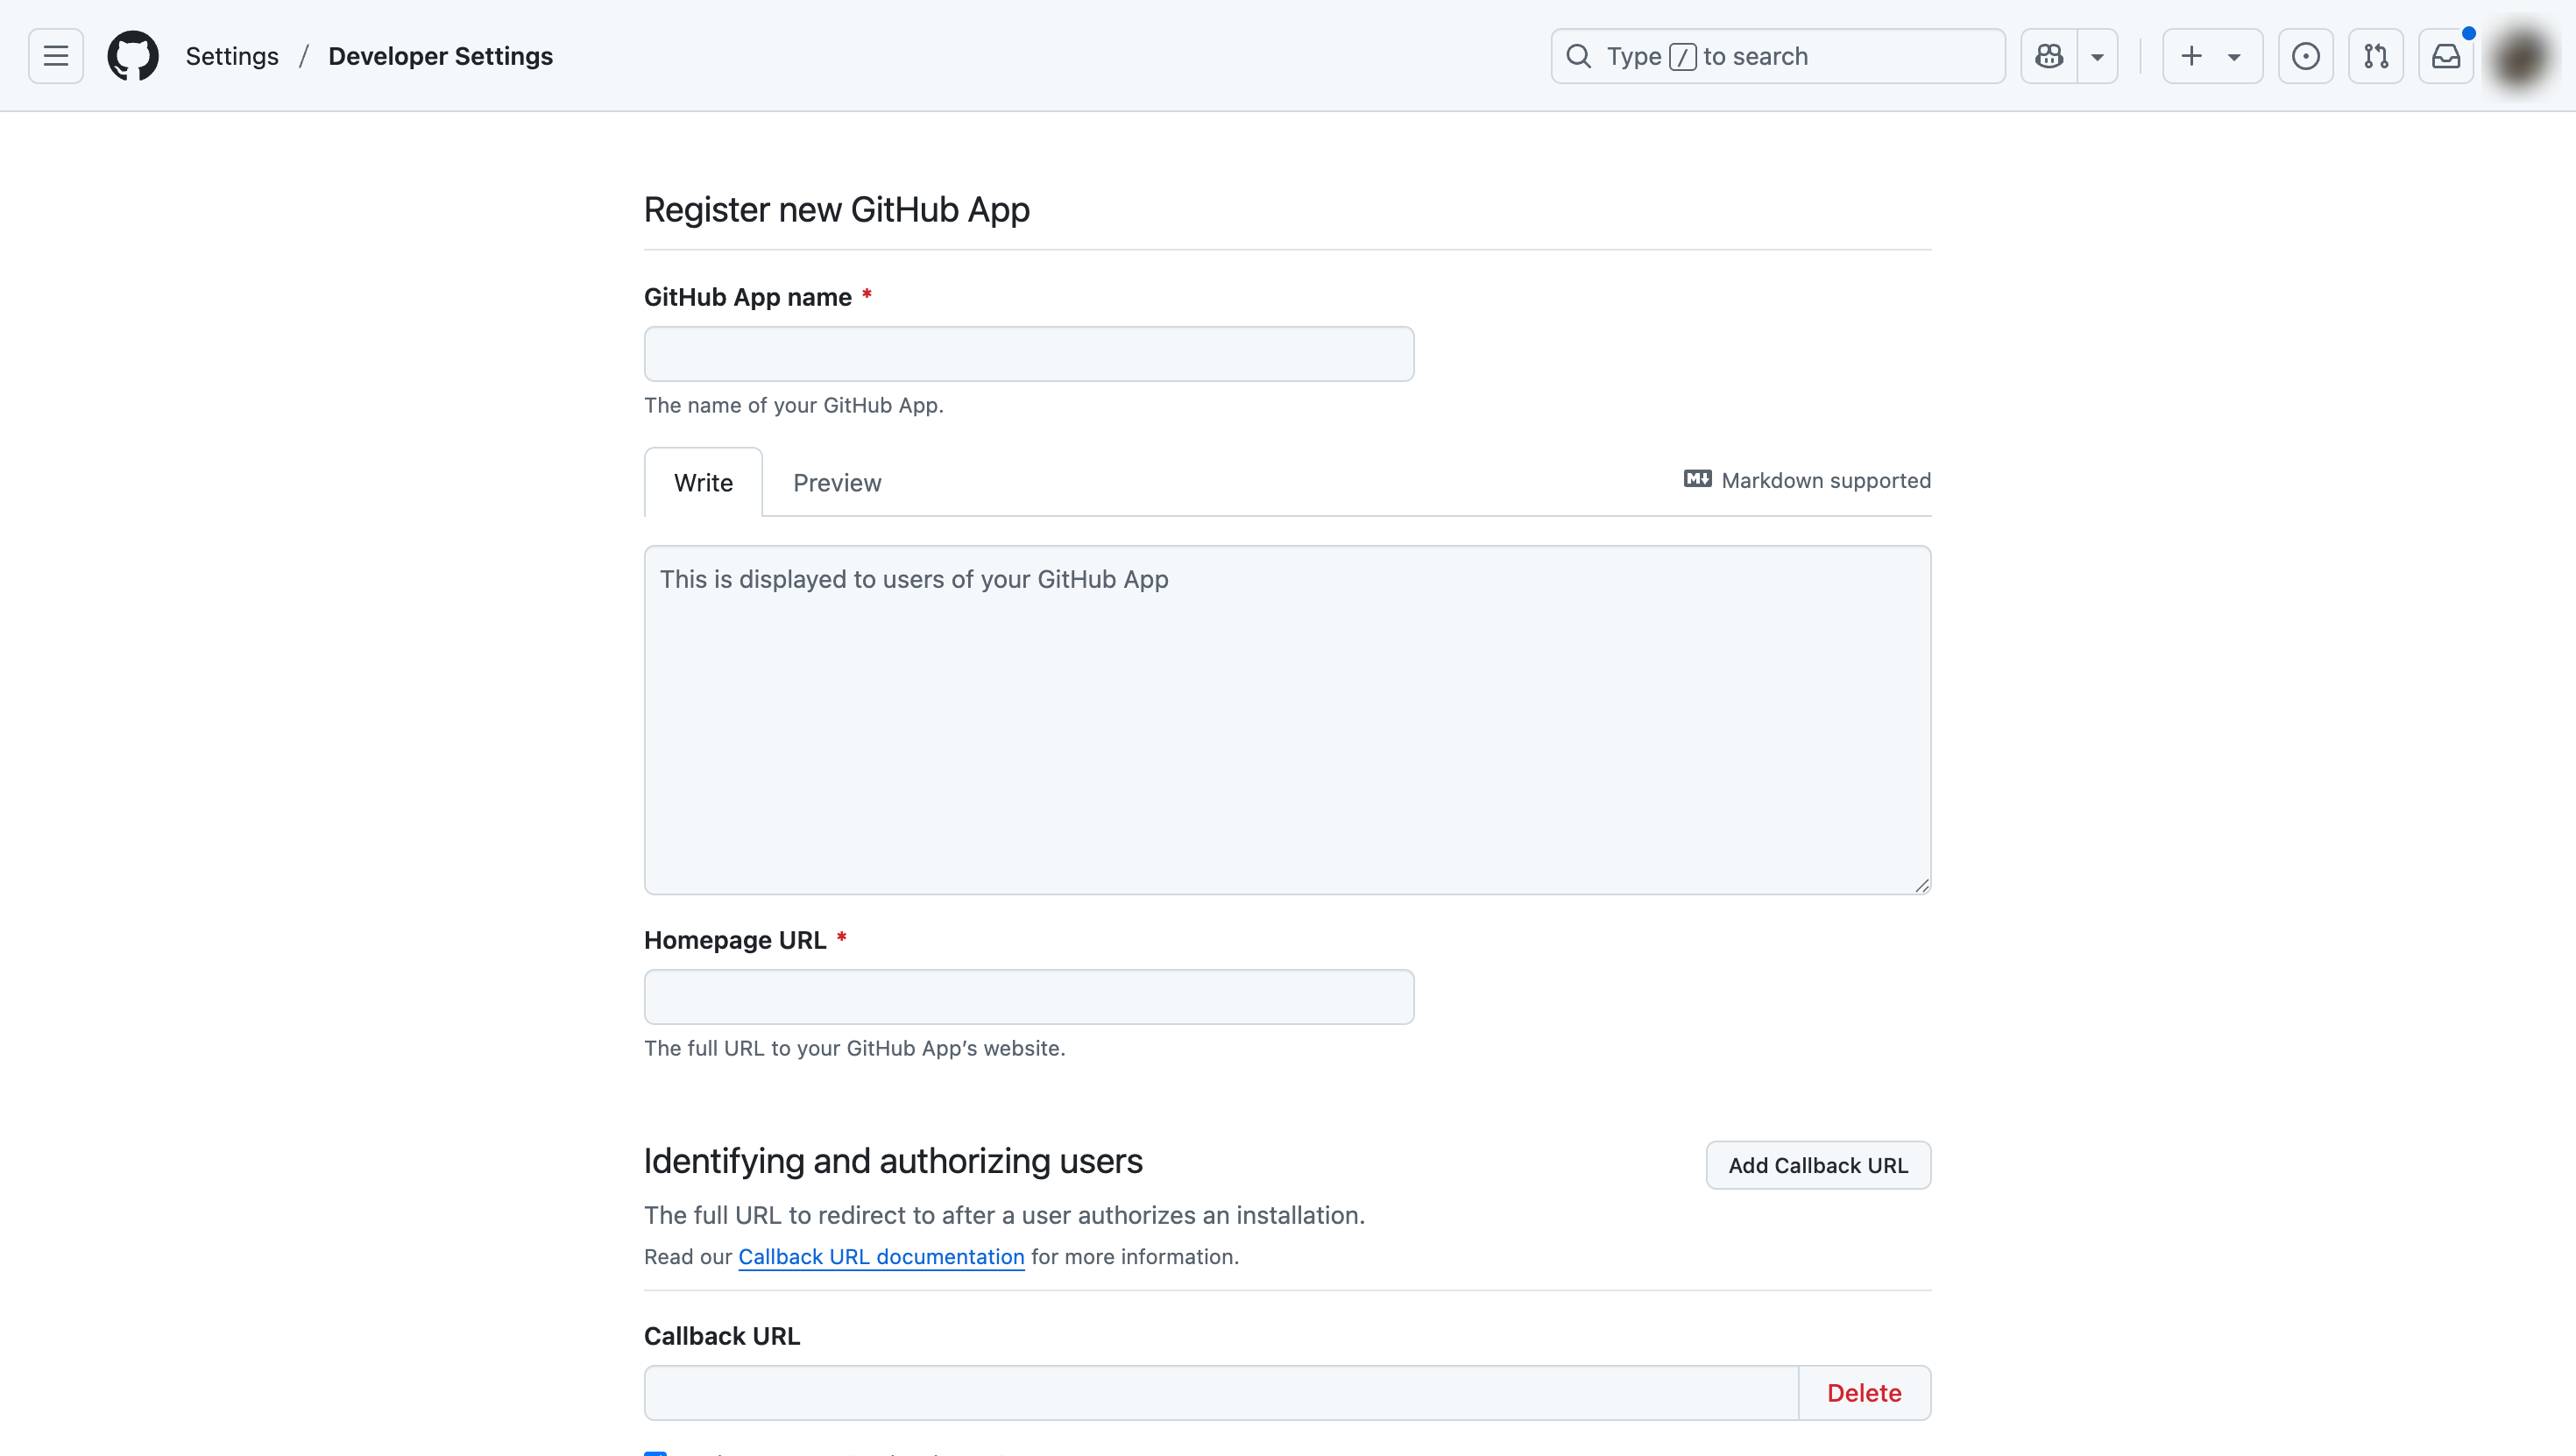
Enter your App details on the Register new GitHub App page and make sure to uncheck the Expire user authorization tokens and Active checkbox under Identifying and authorizing users and Webhook sections respectively.
Set the Homepage URL to the URL of your ToolJet instance. For ToolJet Cloud, use https://app.tooljet.com. For self-hosted ToolJet, use the URL of your own ToolJet instance.
Add the following Repository permissions:
- Contents: Read & Write
- Pull requests: Read & Write
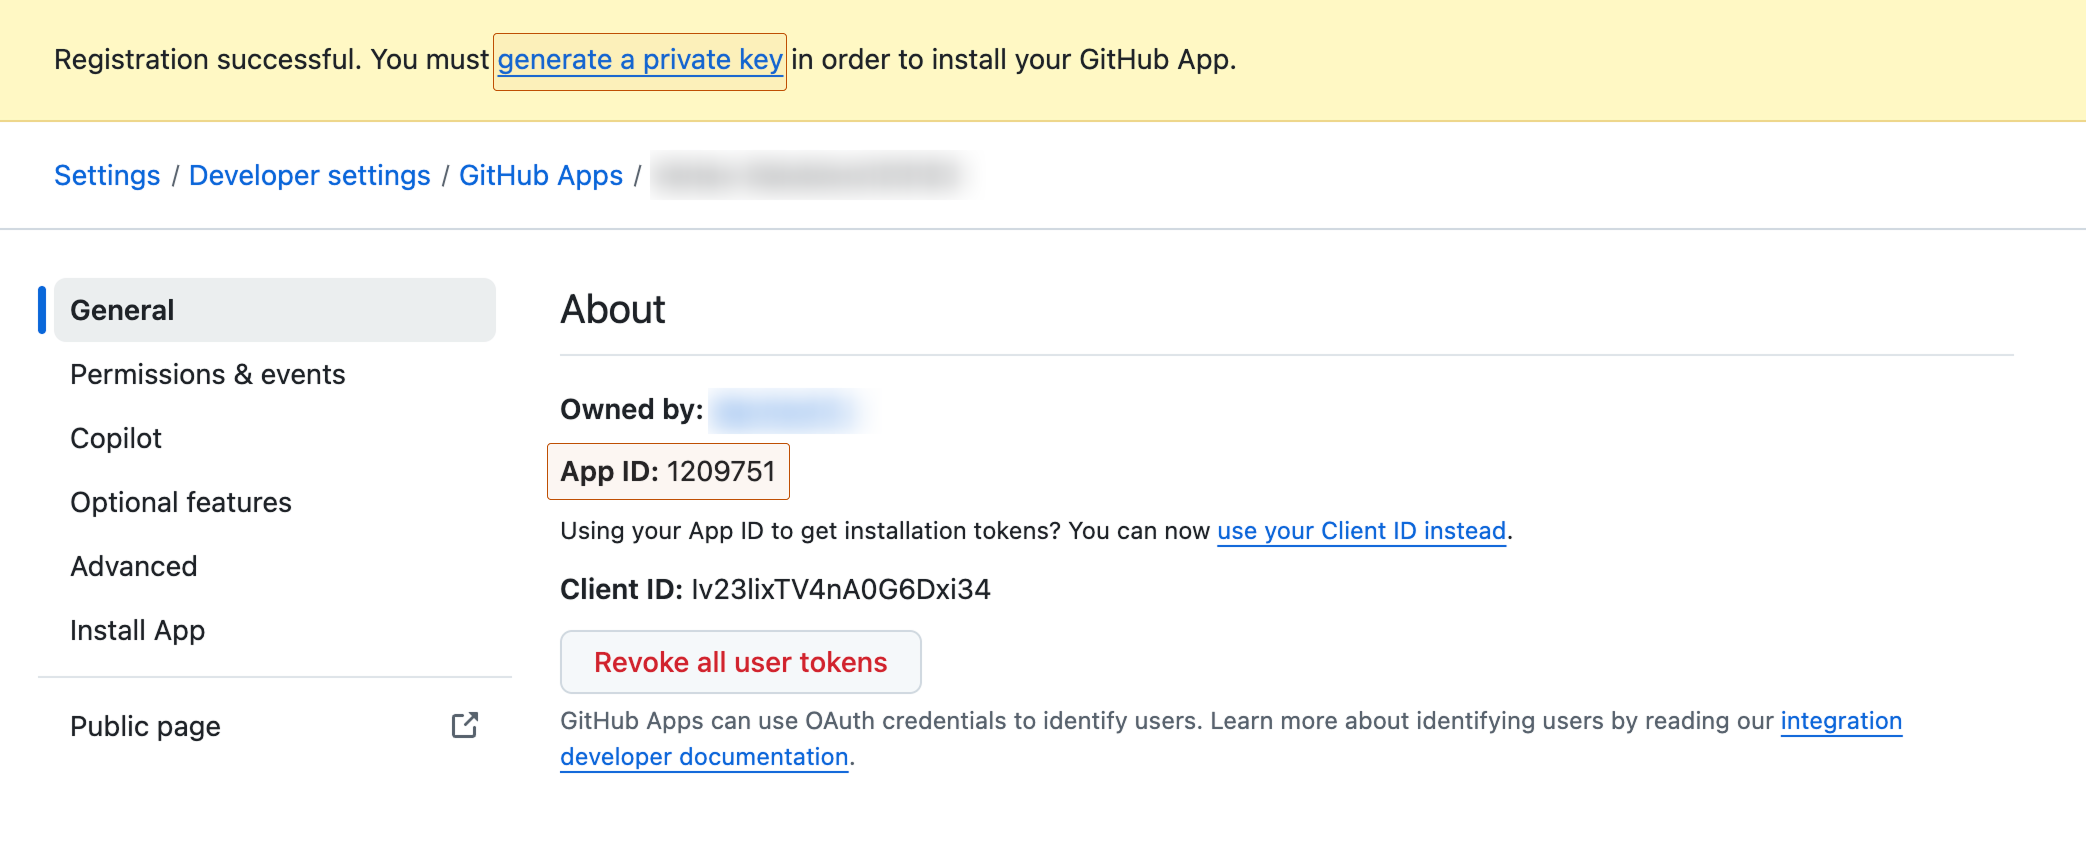
After creating the GitHub App, you will be directed to the GitHub App Settings page.
Make sure to copy the App ID.
Next, generate the Private key (.pem key), download it, and store it securely. This information will be essential later when configuring GitSync.
3. Install the GitHub App
To install your GitHub App, follow these steps:
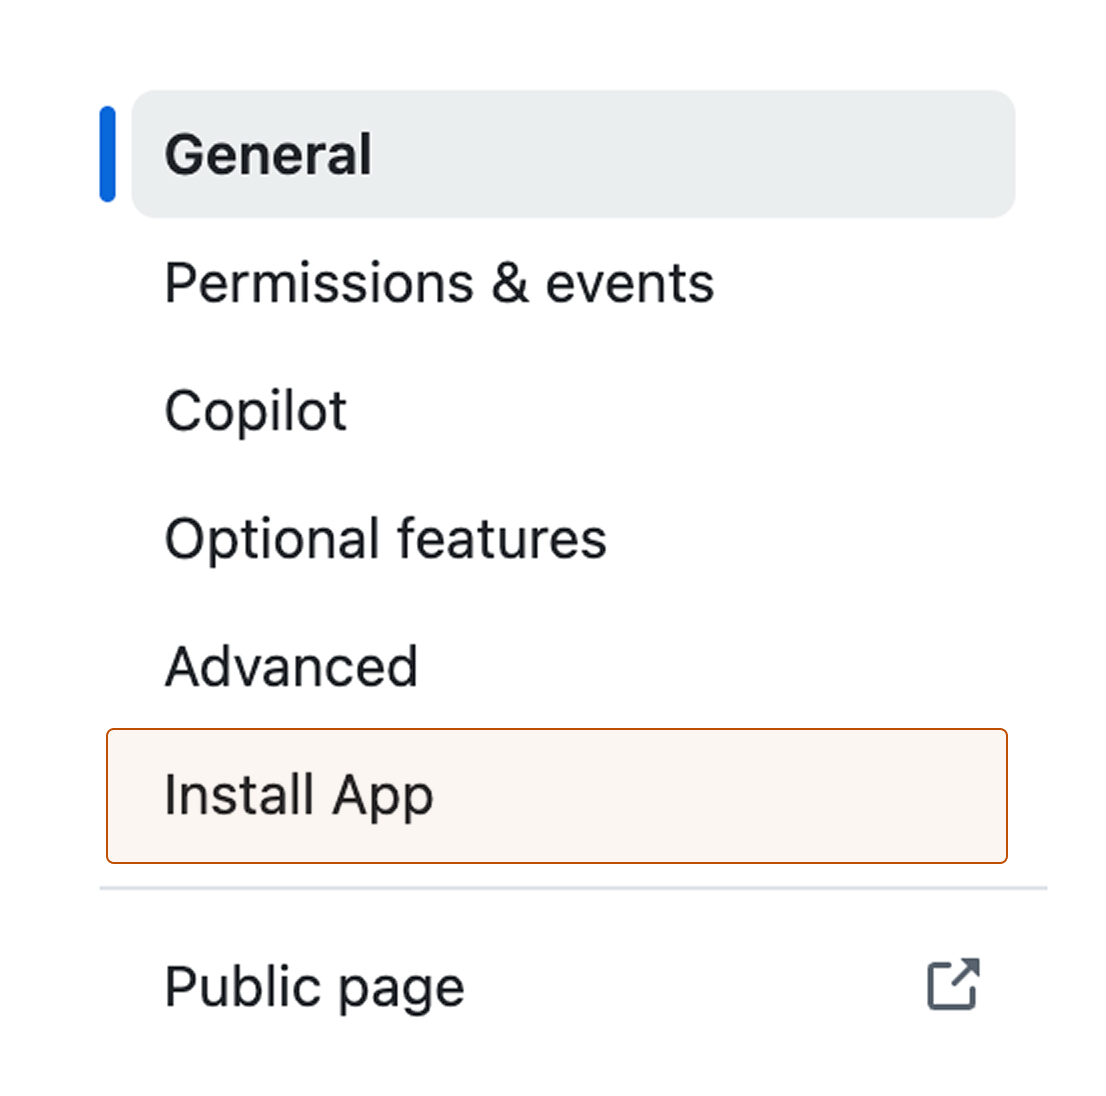
- Click on Install App on the GitHub App Settings page.
- Click the Install button next to your organization.
- Select repositories option and select the repositories you want to connect to ToolJet.
- You’ll be redirected to the installation page. The number at the end of the URL is the installation ID. Save this for later.
https://github.com/settings/installations/:installation_id
4. Configure GitHub in GitSync
Navigate to the Workspace settings page and click on the Configure git sync tab. Then, enter the required configuration values after selecting GitHub as your repository provider.
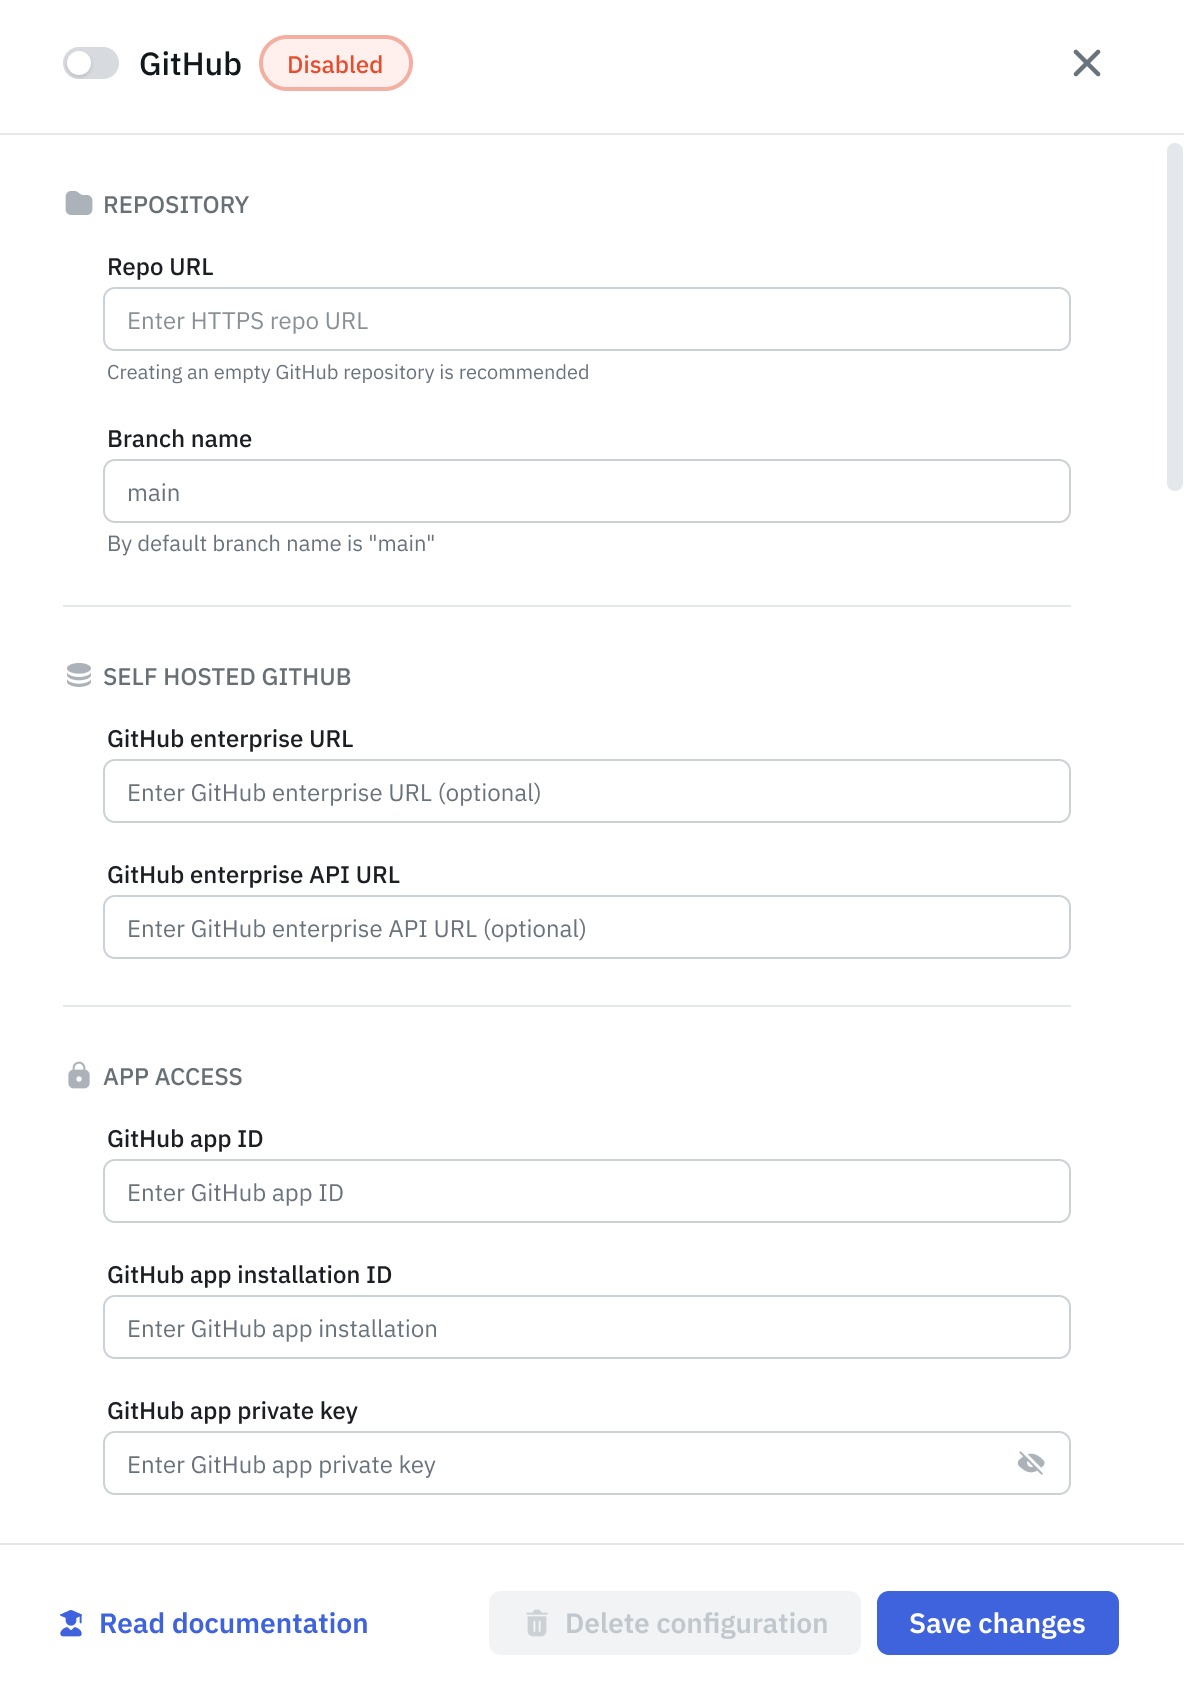
The table below describes each configuration values:
Repository
| Setting | Description |
|---|---|
| Repo URL | The URL of the repository you created to use with ToolJet. (e.g https://github.com/your-org/repo-name.git) |
| Branch name | Branch name of your repo. By default, it uses the main branch. |
Self-hosted GitHub (Optional)
| Setting | Description |
|---|---|
| GitHub enterprise URL | The domain used to access your self-hosted GitHub instance. If you use GitHub Cloud, you can leave this blank. |
| GitHub enterprise API URL | The API endpoint for your self-hosted GitHub instance. If you use GitHub Cloud, you can leave this blank. (e.g. https://[hostname]/api/v3/) |
App Access
| Setting | Description |
|---|---|
| GitHub app ID | The GitHub App ID. |
| GitHub app installation ID | The GitHub installation ID. |
| GitHub app private key | Private key you downloaded after App creation. |
Once you've entered the necessary configurations, click Save changes. Your workspace is now connected to your GitHub repository.
You can use the same credentials to configure a specific repository across multiple instances or workspaces.
Need Help?
- Reach out via our Slack Community
- Or email us at support@tooljet.com
- Found a bug? Please report it via GitHub Issues