Authentication
ToolJet’s REST API data source supports various authentication types to authenticate the user with the REST API service. The supported authentication types are Basic, Bearer, and OAuth 2.0.
Basic Authentication
ToolJet’s REST API data source supports Basic Authentication as the authentication type. Basic Authentication is a simple authentication scheme built into the HTTP protocol.
Configuring REST API Data Source with Basic Authentication
- Go to the Data Sources page from the ToolJet dashboard, select API category on sidebar and choose the REST API data source.
- In the Base URL field, enter the base URL. The base URL specifies the network address of the API service. For example,
http://localhost:3001/api/basic-auth - Enter the Headers if required. Headers are key-value pairs to include as headers with REST API requests.
- Select Authentication type as Basic from the dropdown.
- Enter the Username and Password in the respective fields. The username and password are the credentials required to authenticate the user.

Bearer Token Authentication
ToolJet’s REST API data source supports Bearer Token as the authentication type. Bearer Token is a security token that is issued by the authentication server to the client. The client then uses the token to access the protected resources hosted by the resource server.
Configuring REST API Data Source with Bearer Token
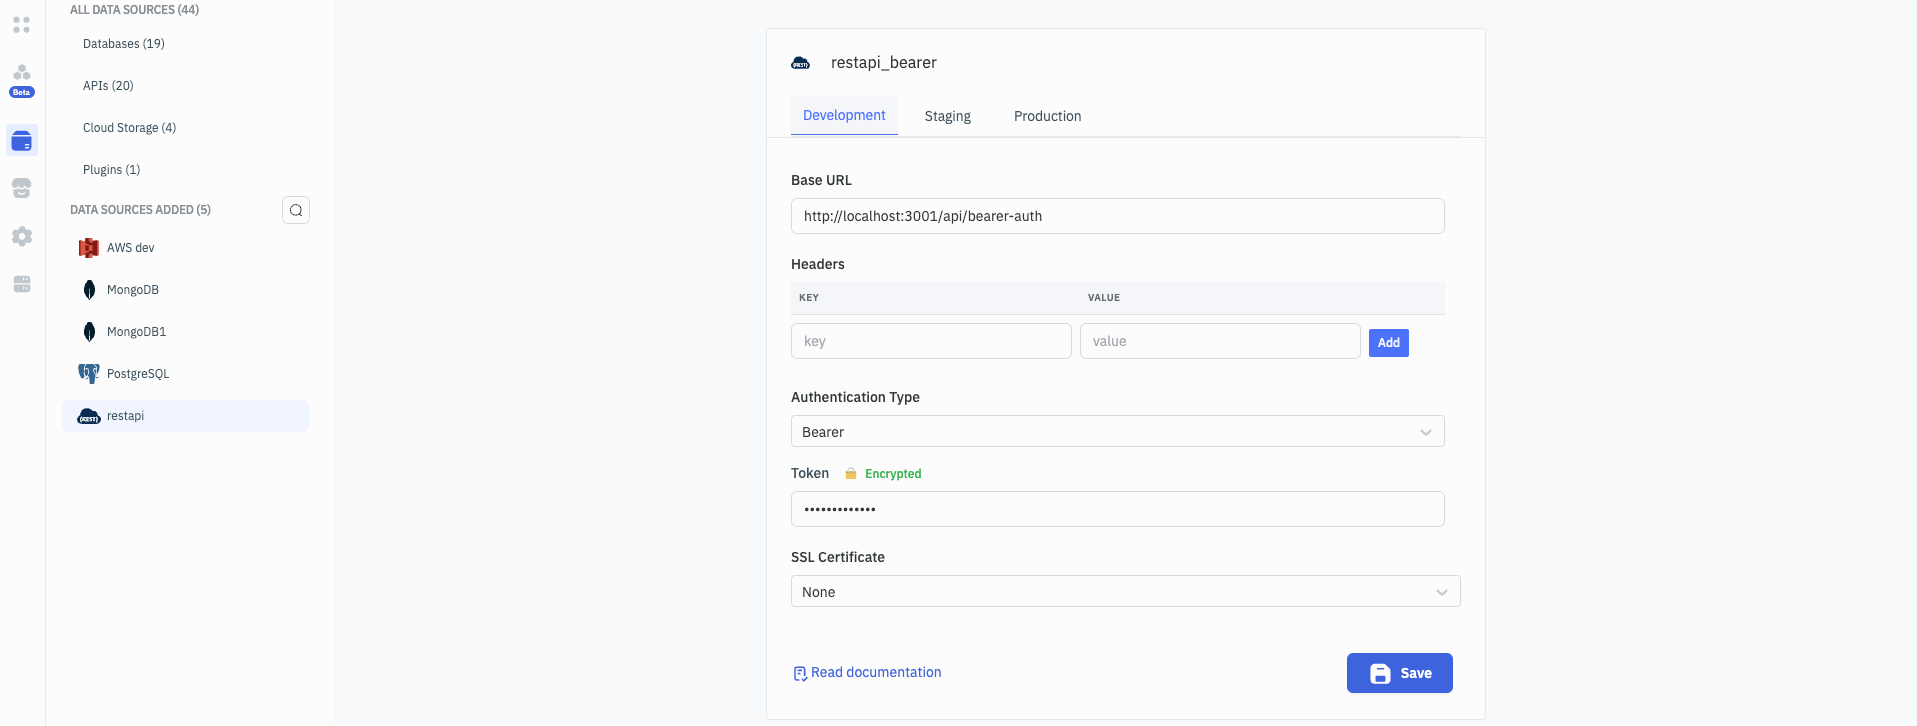
- Go to the Data Sources page from the ToolJet dashboard, select API category on sidebar and choose the REST API data source.
- In the Base URL field, enter the base URL. The base URL specifies the network address of the API service. For example,
http://localhost:3001/api/bearer-auth - Enter the Headers if required. Headers are key-value pairs to include as headers with REST API requests.
- Select Authentication type as Bearer from the dropdown.
- Enter the Token in the field. The token is a security token that is issued by the authentication server to the client. The client then uses the token to access the protected resources hosted by the resource server.
-
Now you have option to select the SSL Certificate if required. SSL certificate is used to verify the server certificate. By default, it is set to None. You can provide the CA Certificate or Client Certificate from the dropdown.
-
CA Certificate: Requires a CA certificate to verify the server certificate. Copy the content of
server.crtfile and paste it in the CA Cert field.server.crtfile is the certificate file that is used to verify the server certificate.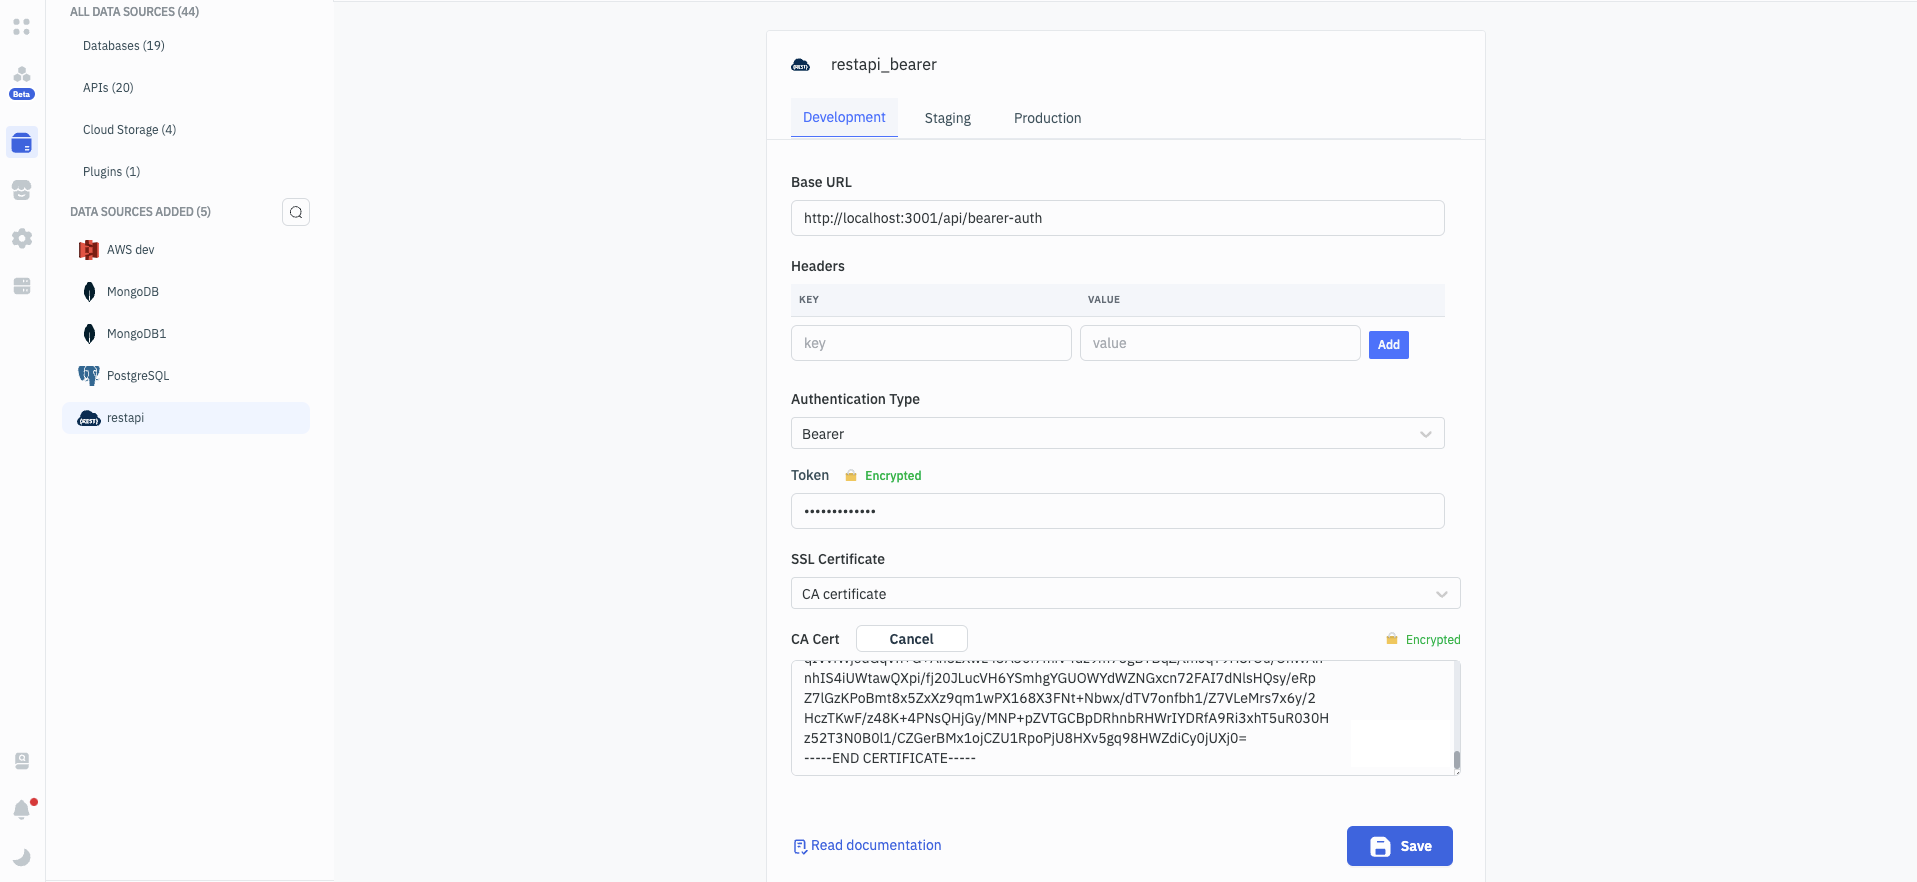
-
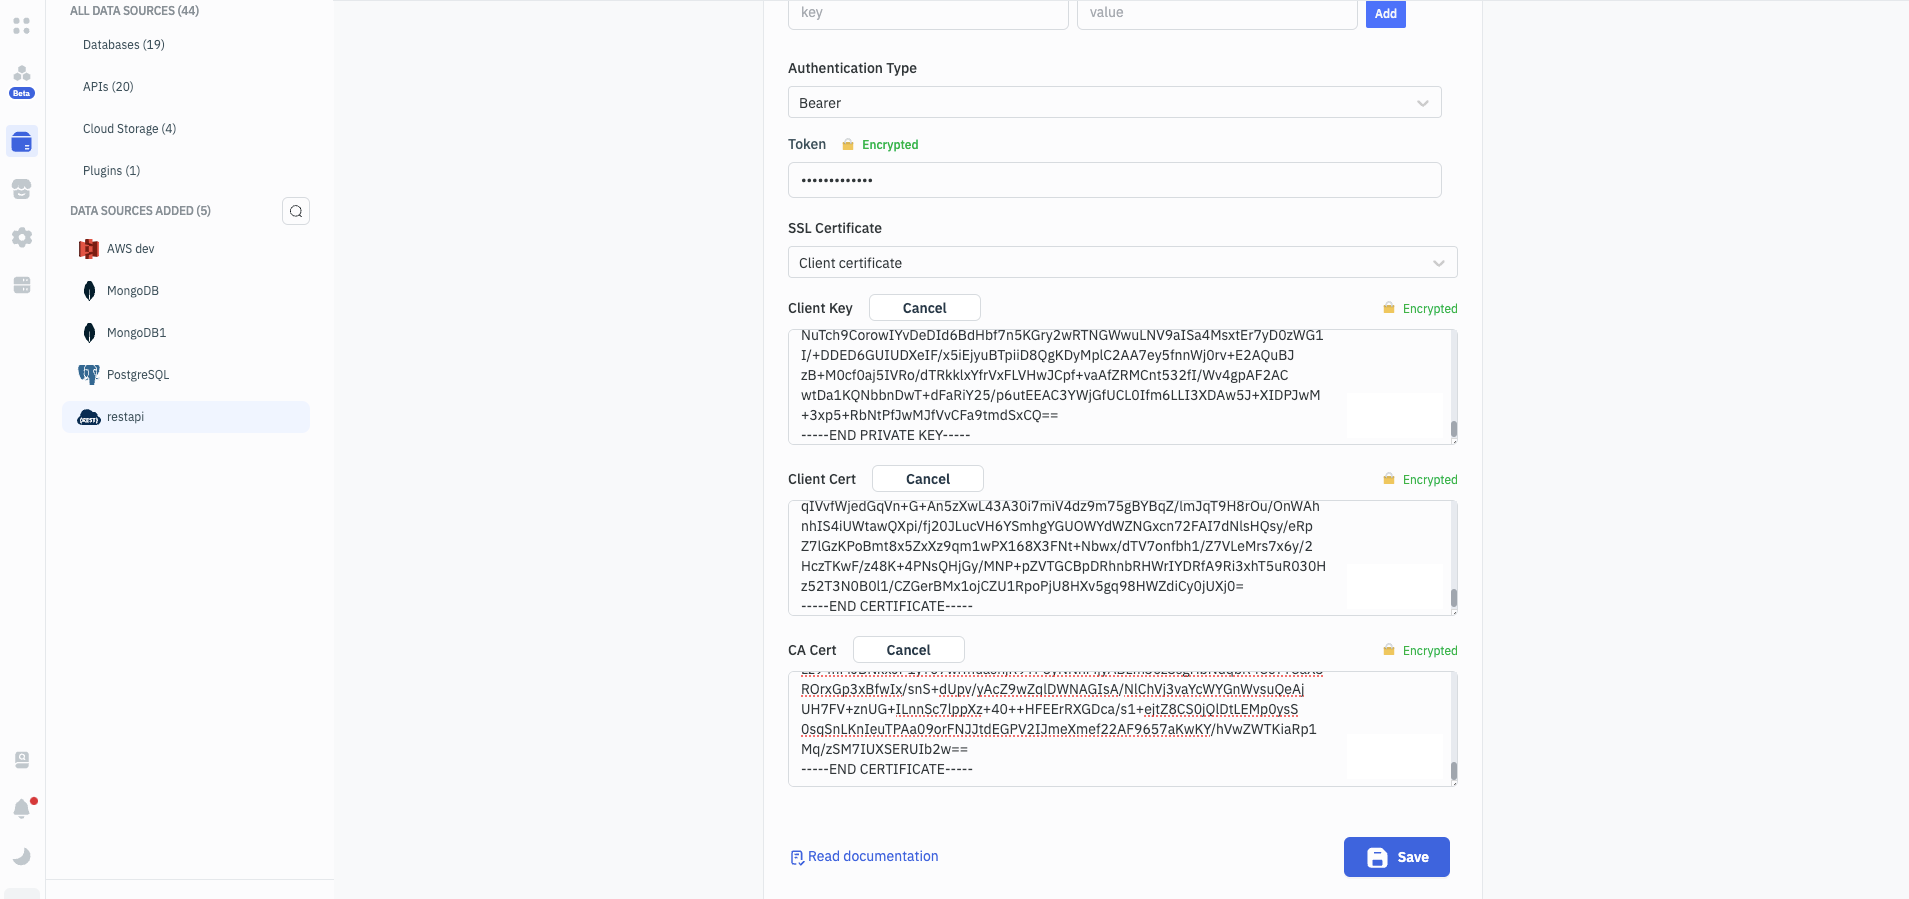
Client Certificate: Requires a client certificate to authenticate with the server. client.key, client.crt, and server.crt files are the certificate files that are used to authenticate with the server. Copy the content of client.key file and paste it in the Client Key field. Copy the content of client.crt file and paste it in the Client Cert field. Copy the content of server.crt file and paste it in the CA Cert field.
-
-
Once you have configured the REST API data source, click on the Save button.
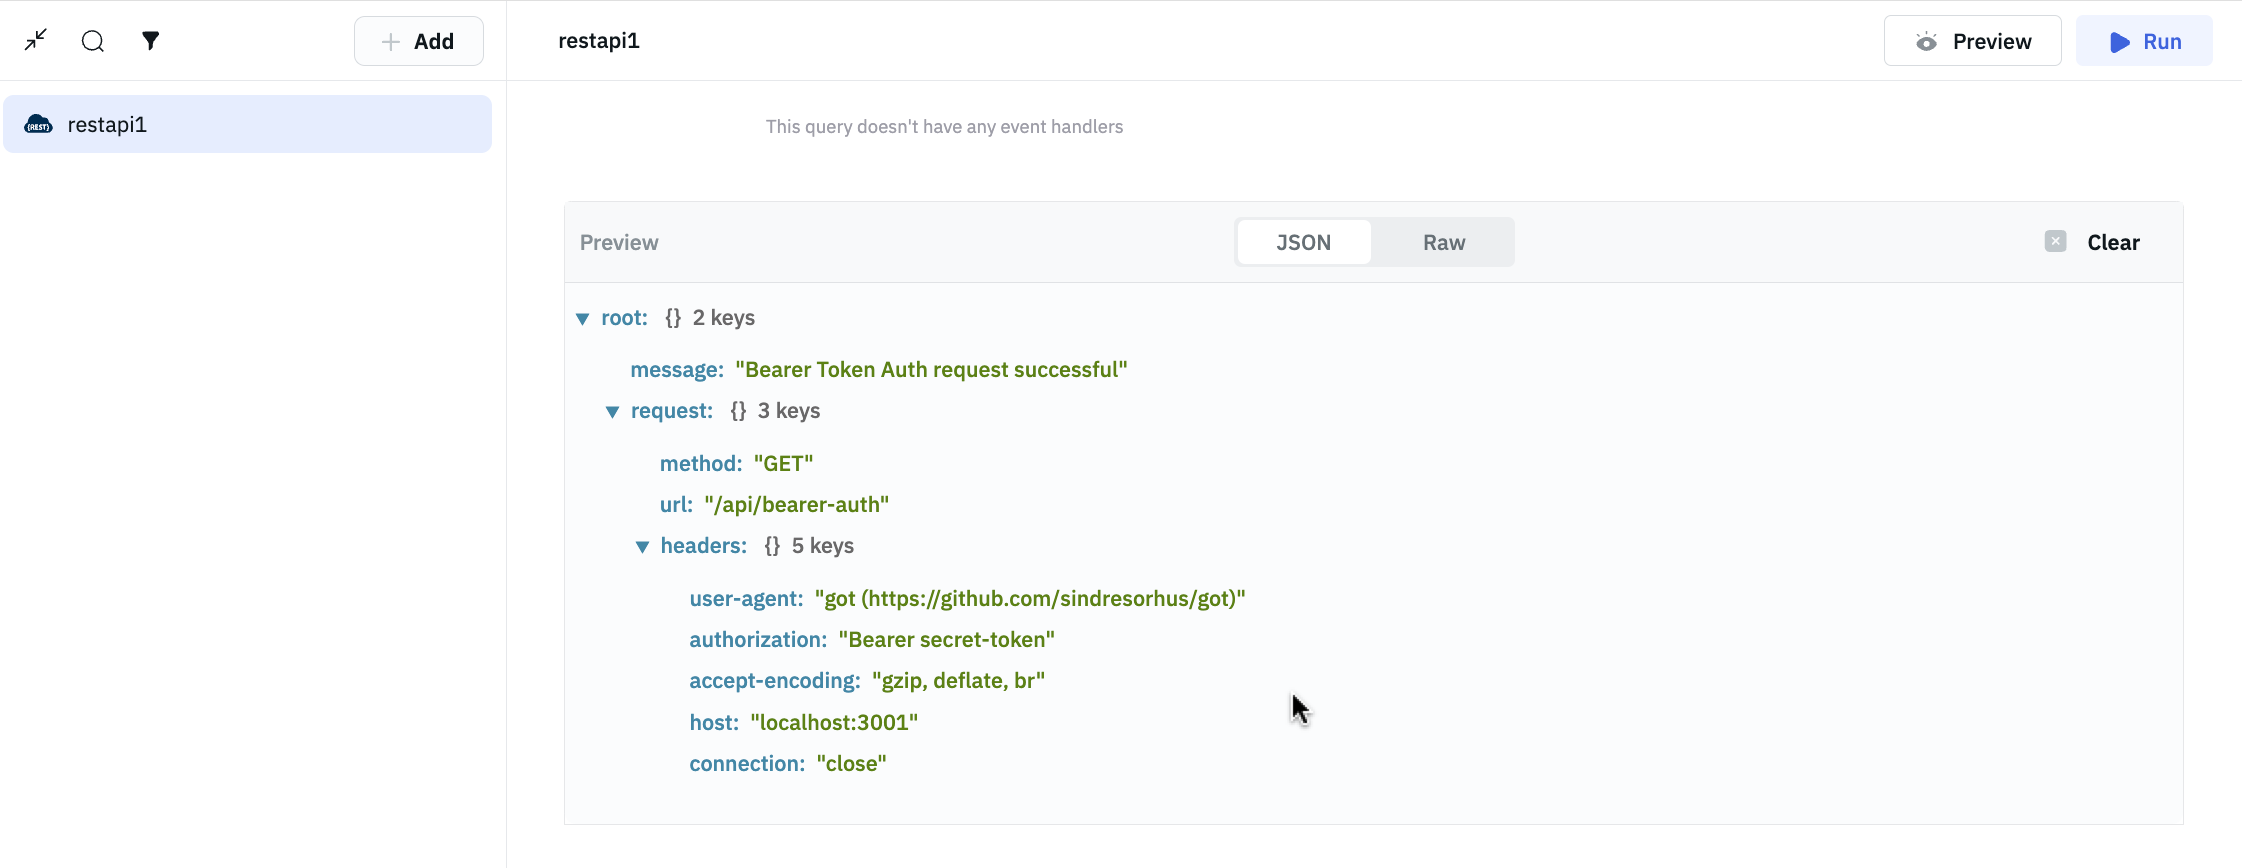
Authenticating REST API
Create a query to make a GET request to the URL, and it will return a success message if the token is valid.
OAuth 2.0 Authentication
ToolJet’s REST API data source supports OAuth 2.0 as the authentication type. Supported OAuth 2.0 grant types are Authorization Code and Client Credentials.
- Authorization Code Grant Type: This grant type is used by confidential and public clients to exchange an authorization code for an access token.
- Client Credentials Grant Type: This grant type is used by clients to obtain an access token outside of the context of a user.
Setting up Google Cloud Platform
Before setting up the REST API data source in ToolJet, we need to configure the Google Cloud Platform to gather the API keys required for the authorization access.
Google Cloud Platform provides access to more than 350 APIs and Services that can allow us to access data from our Google account and its services. Let's create an OAuth application that can be given permission to use our Google profile data such as Name and Profile picture.
- Sign in to your Google Cloud account, and from the console create a New Project.
- Navigate to the APIs and Services, and then open the OAuth consent screen section from the left sidebar.
- Enter the Application details and select the appropriate scopes for your application. We will select the profile and the email scopes.
- Once you have created the OAuth consent screen, Create new credentials for the OAuth client ID from the Credentials section in the left sidebar.
- Select the application type, enter the application name, and then add the following URIs under Authorized Redirect URIs(Callback URL):
https://app.tooljet.com/oauth2/authorize(if you’re using ToolJet cloud)http://localhost:8082/oauth2/authorize(if you’re using ToolJet locally)

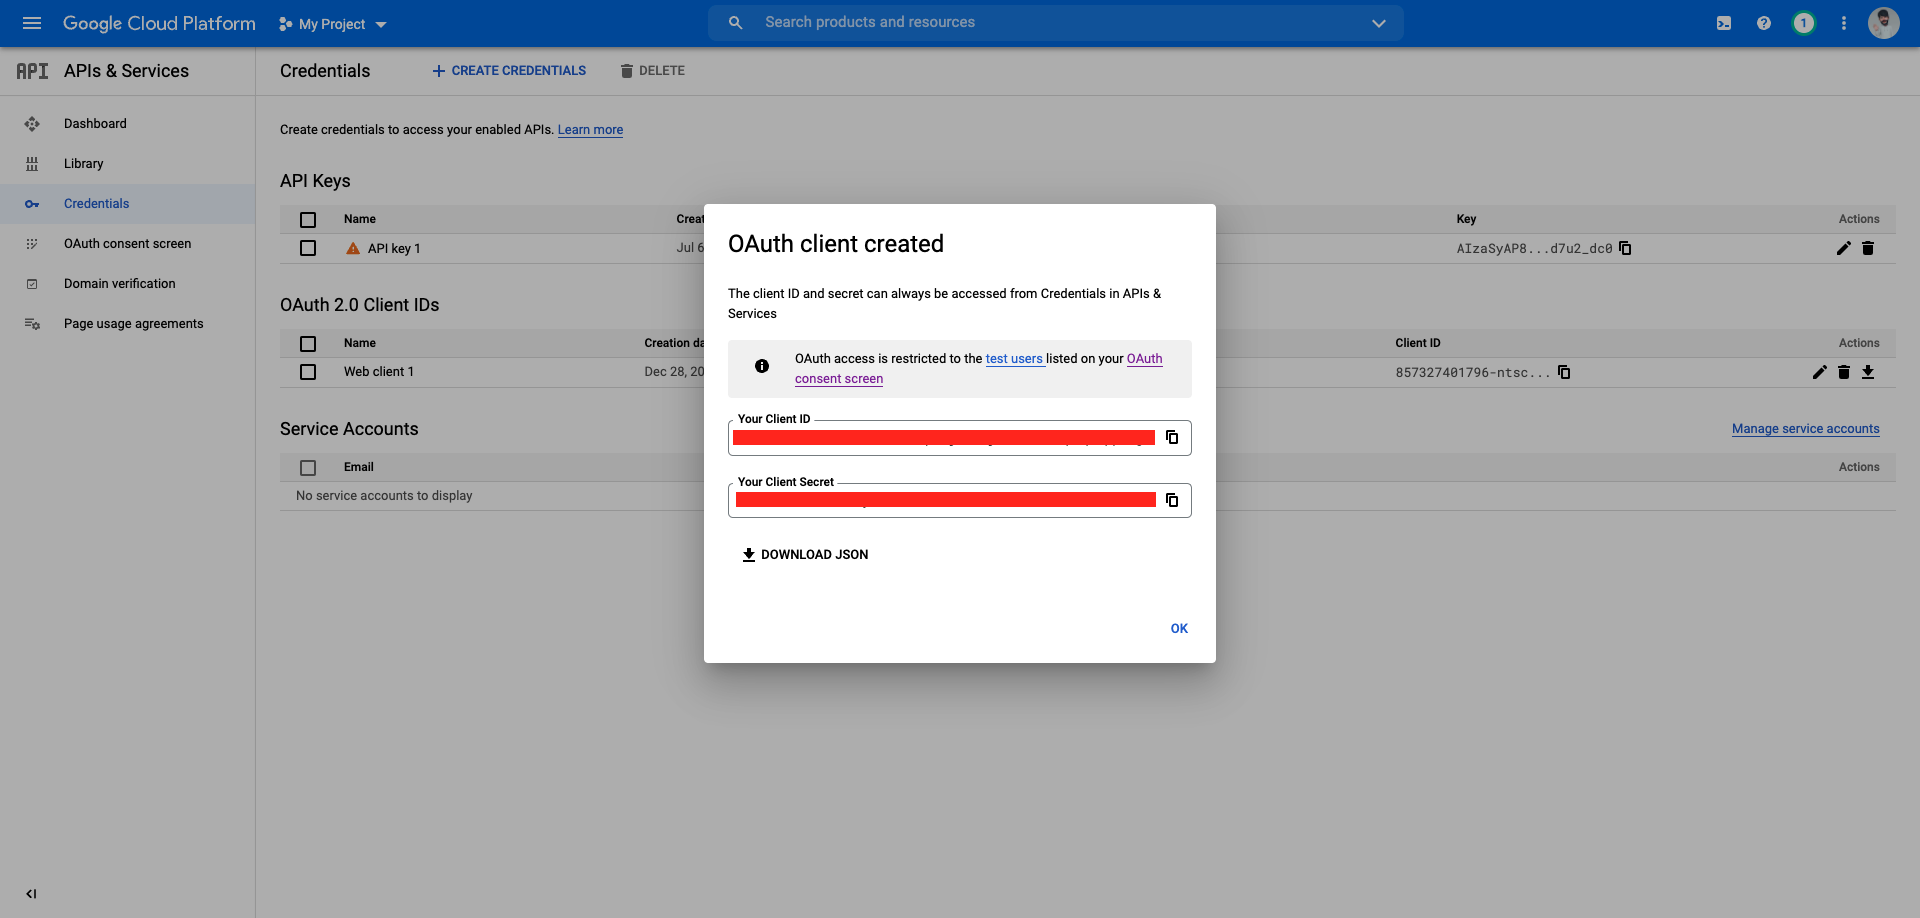
- Now save and then you’ll get the Client ID and Client secret for your application.
Configuring ToolJet Application with Google's OAuth 2.0 API
Let's follow the steps to authorize ToolJet to access your Google profile data:
- Go to the Data Sources page from the ToolJet dashboard, select API category on sidebar and choose the REST API data source.
- In the Base URL field, enter the base URL
https://www.googleapis.com/oauth2/v1/userinfo; the base URL specifies the network address of the API service. - Select Authentication type as OAuth 2.0
- Keep the default values for Grant Type, Add Access Token To, and Header Prefix i.e. Authorization Code, Request Header, and Bearer respectively.
- Enter Access Token URL:
https://oauth2.googleapis.com/token; this token allows users to verify their identity, and in return, receive a unique access token. - Enter the Client ID and Client Secret that we generated from the Google Console.
- In the Scope field, enter
https://www.googleapis.com/auth/userinfo.profile; Scope is a mechanism in OAuth 2.0 to limit an application's access to a user's account. Check the scopes available for Google OAuth2 API here. - Enter Authorization URL:
https://accounts.google.com/o/oauth2/v2/auth; the Authorization URL requests authorization from the user and redirects to retrieve an authorization code from identity server. - Create three Custom Authentication Parameters:
- response_type: code (
coderefers to the Authorization Code) - client_id: Client ID
- redirect_url:
http://localhost:8082/oauth2/authorizeif using ToolJet locally or enter thishttps://app.tooljet.com/oauth2/authorizeif using ToolJet Cloud.
- response_type: code (
- Keep the default selection for Client Authentication and Save the data source.

Authenticating REST API
Let’s create a query to make a GET request to the URL, it will pop a new window and ask the user to authenticate against the API.
- Add a new query and select the REST API data source from the dropdown
- In the Method dropdown select
GETand enable theRun query on application load? - Run the query.
- A new window will pop for authentication and once auth is successful, you can run the query again to get the user data like Name and Profile Picture.