SSH Configuration for Git Repo Manager
To configure a Git Manager with ToolJet using GitSync, you need the SSH URL from the Git Manager and then deploy the SSH key generated by ToolJet. You can use any Git Manager (cloud-based or self-hosted) that follows standard Git protocols. In this guide, we will cover the configuration for GitHub, GitLab, and Gitea.
Generating SSH URL
GitHub
- Create a New Repository
Create a new repository on your GitHub. The repository can be public or private. You can also use an existing repository. Make sure that the repository is empty and the default branch name should be master.
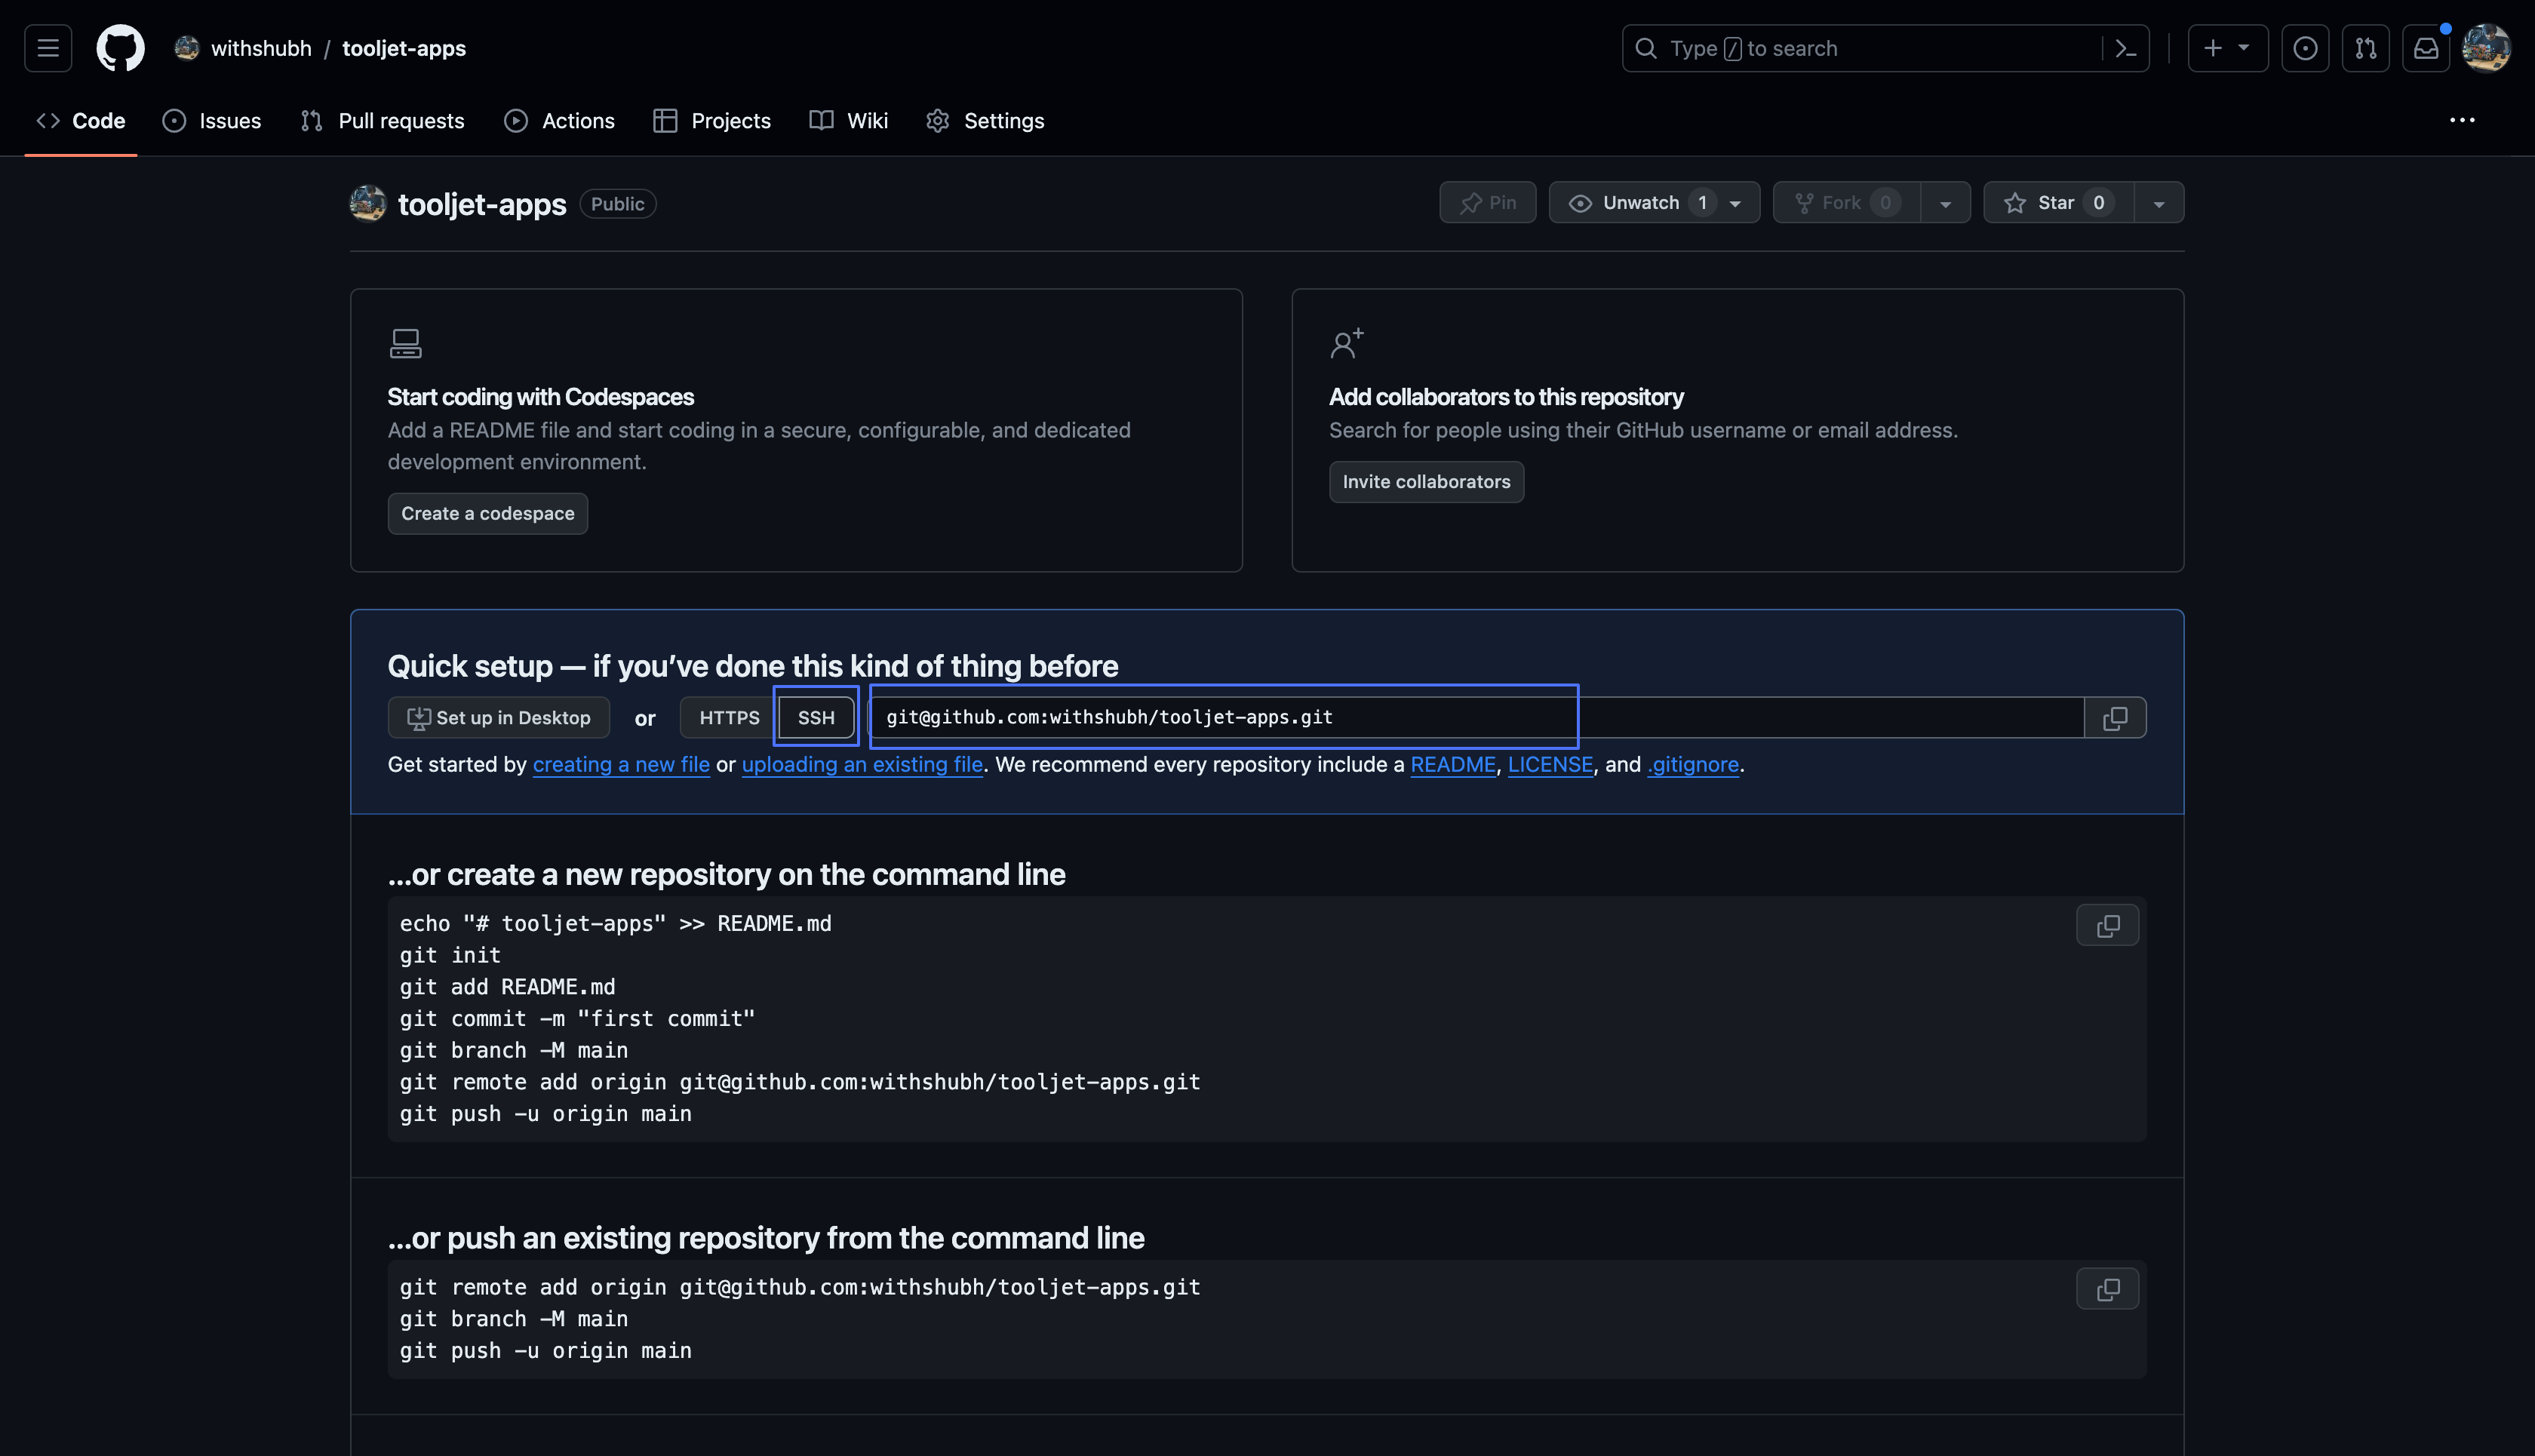
- Obtain the SSH URL
When a repository is created, GitHub shows a screen with the SSH URL. If the repository is already created, you can obtain the URL by clicking on the Clone or download button.
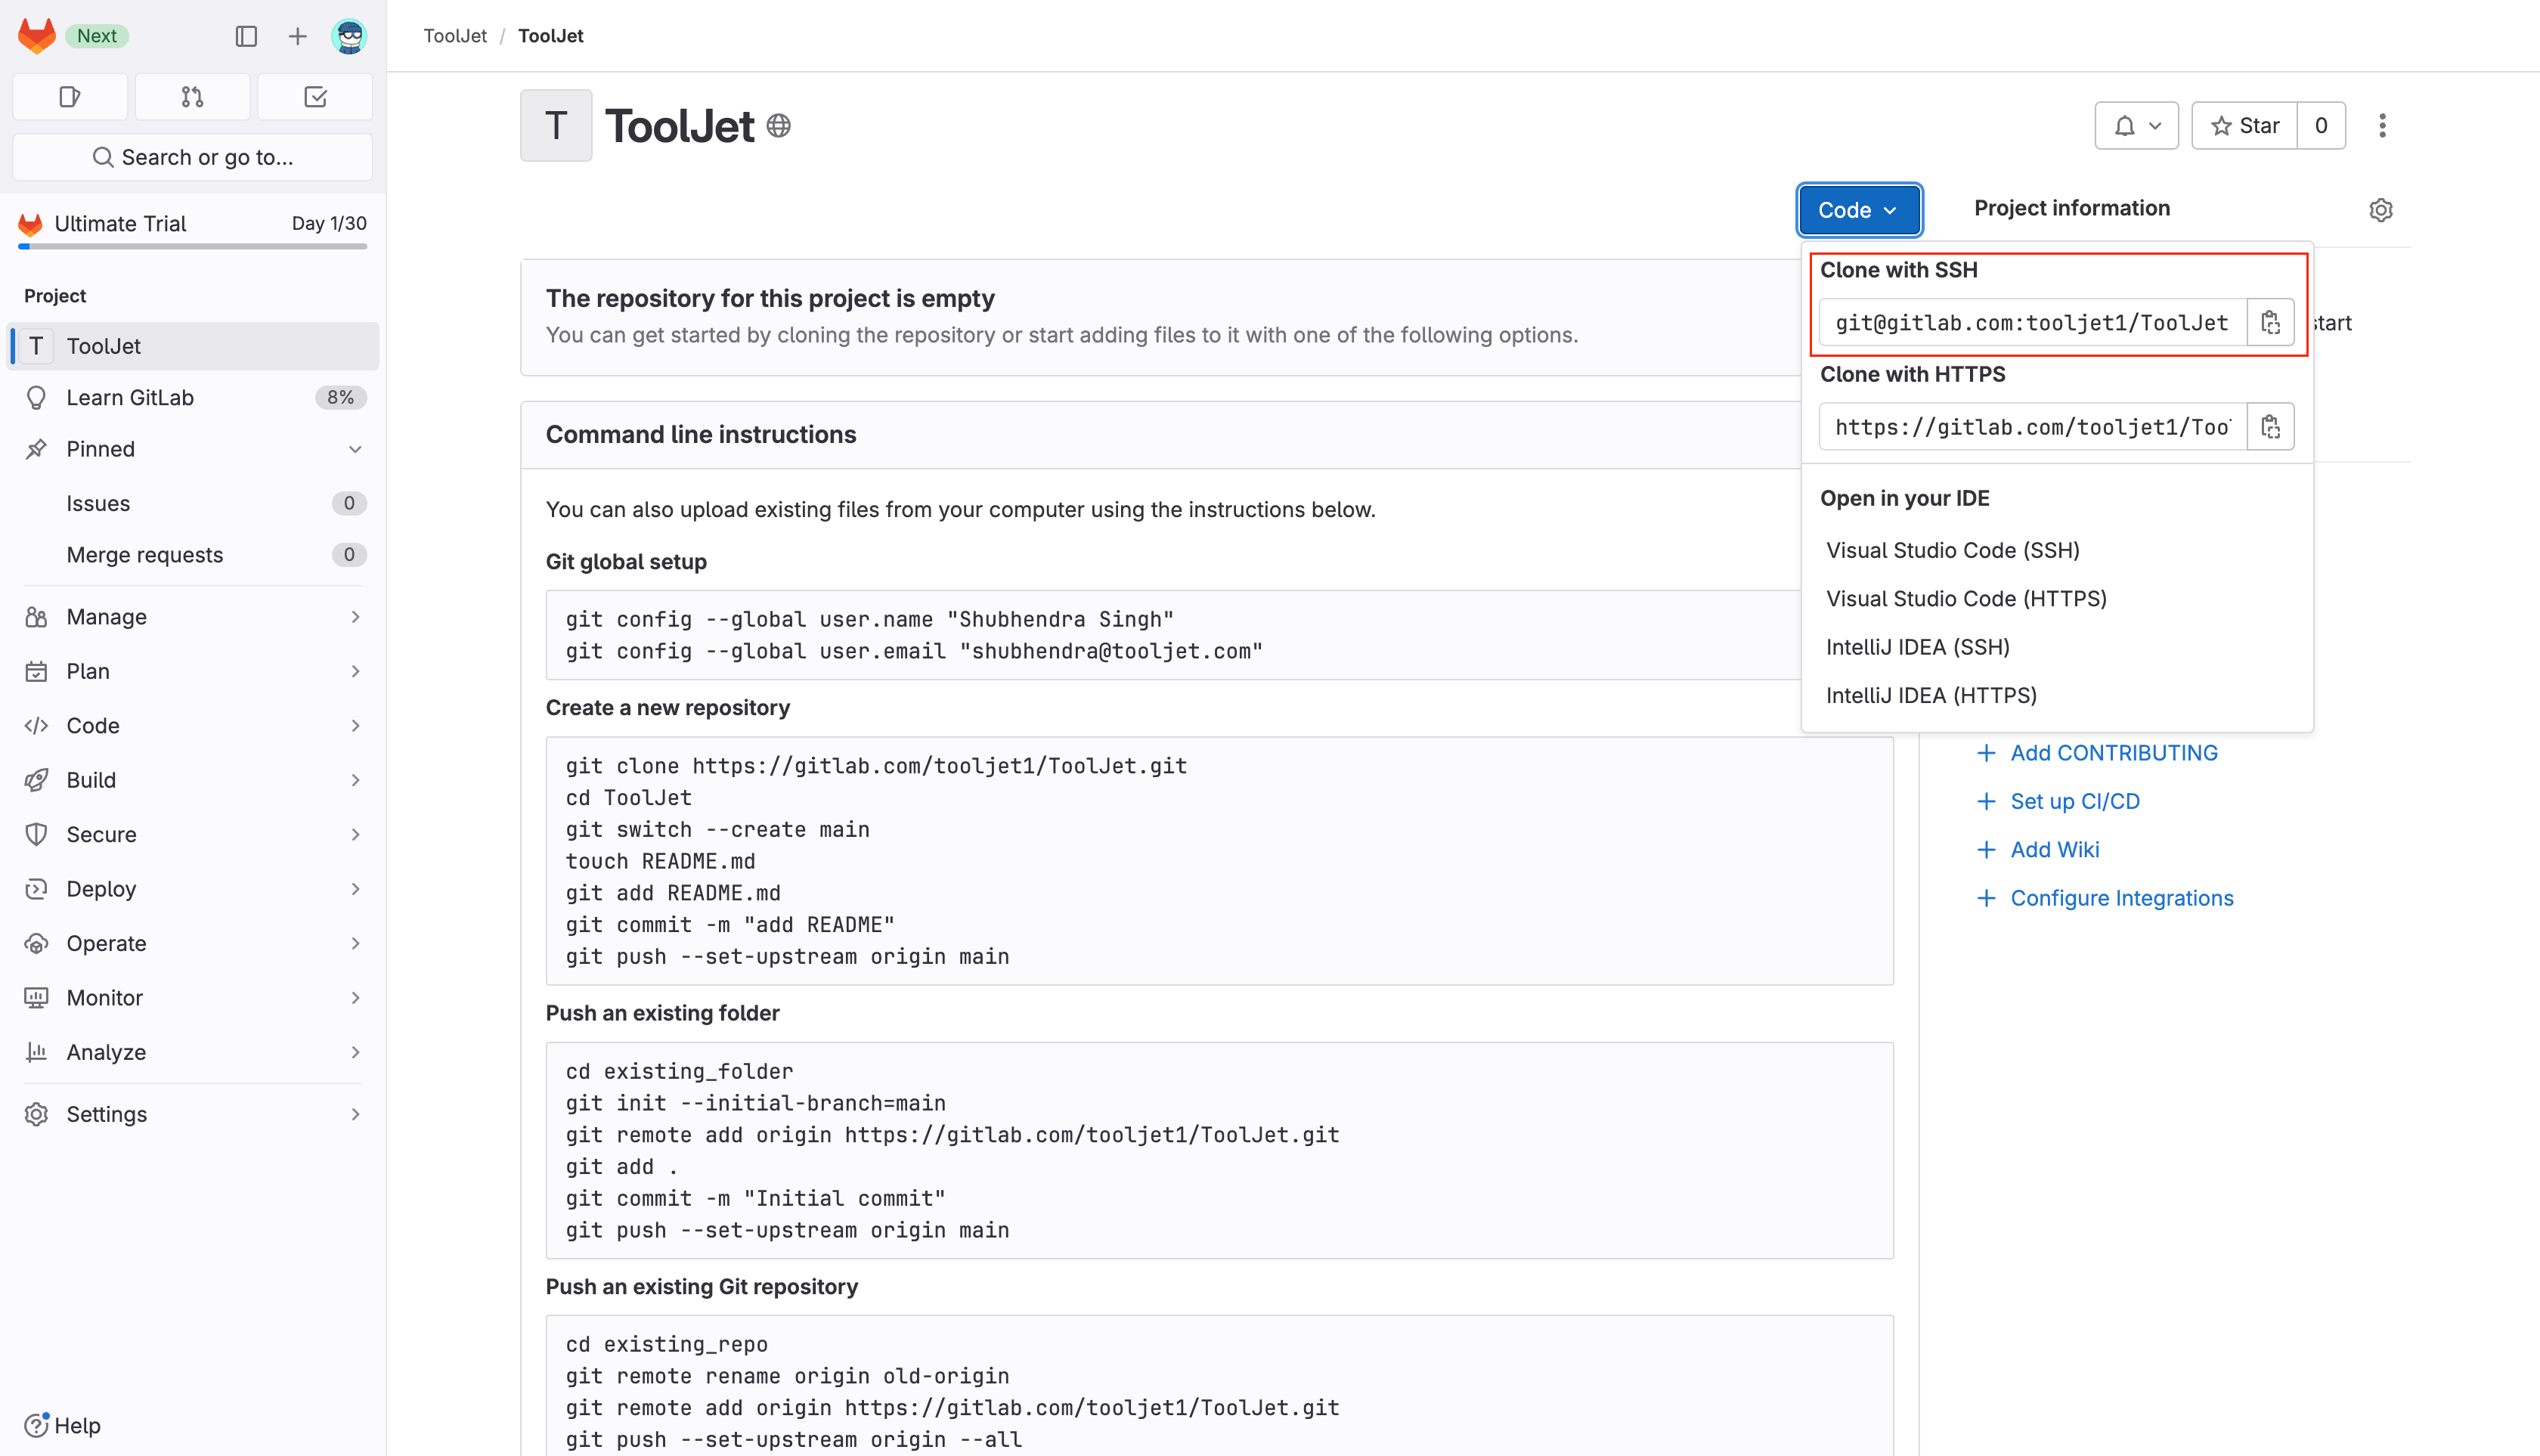
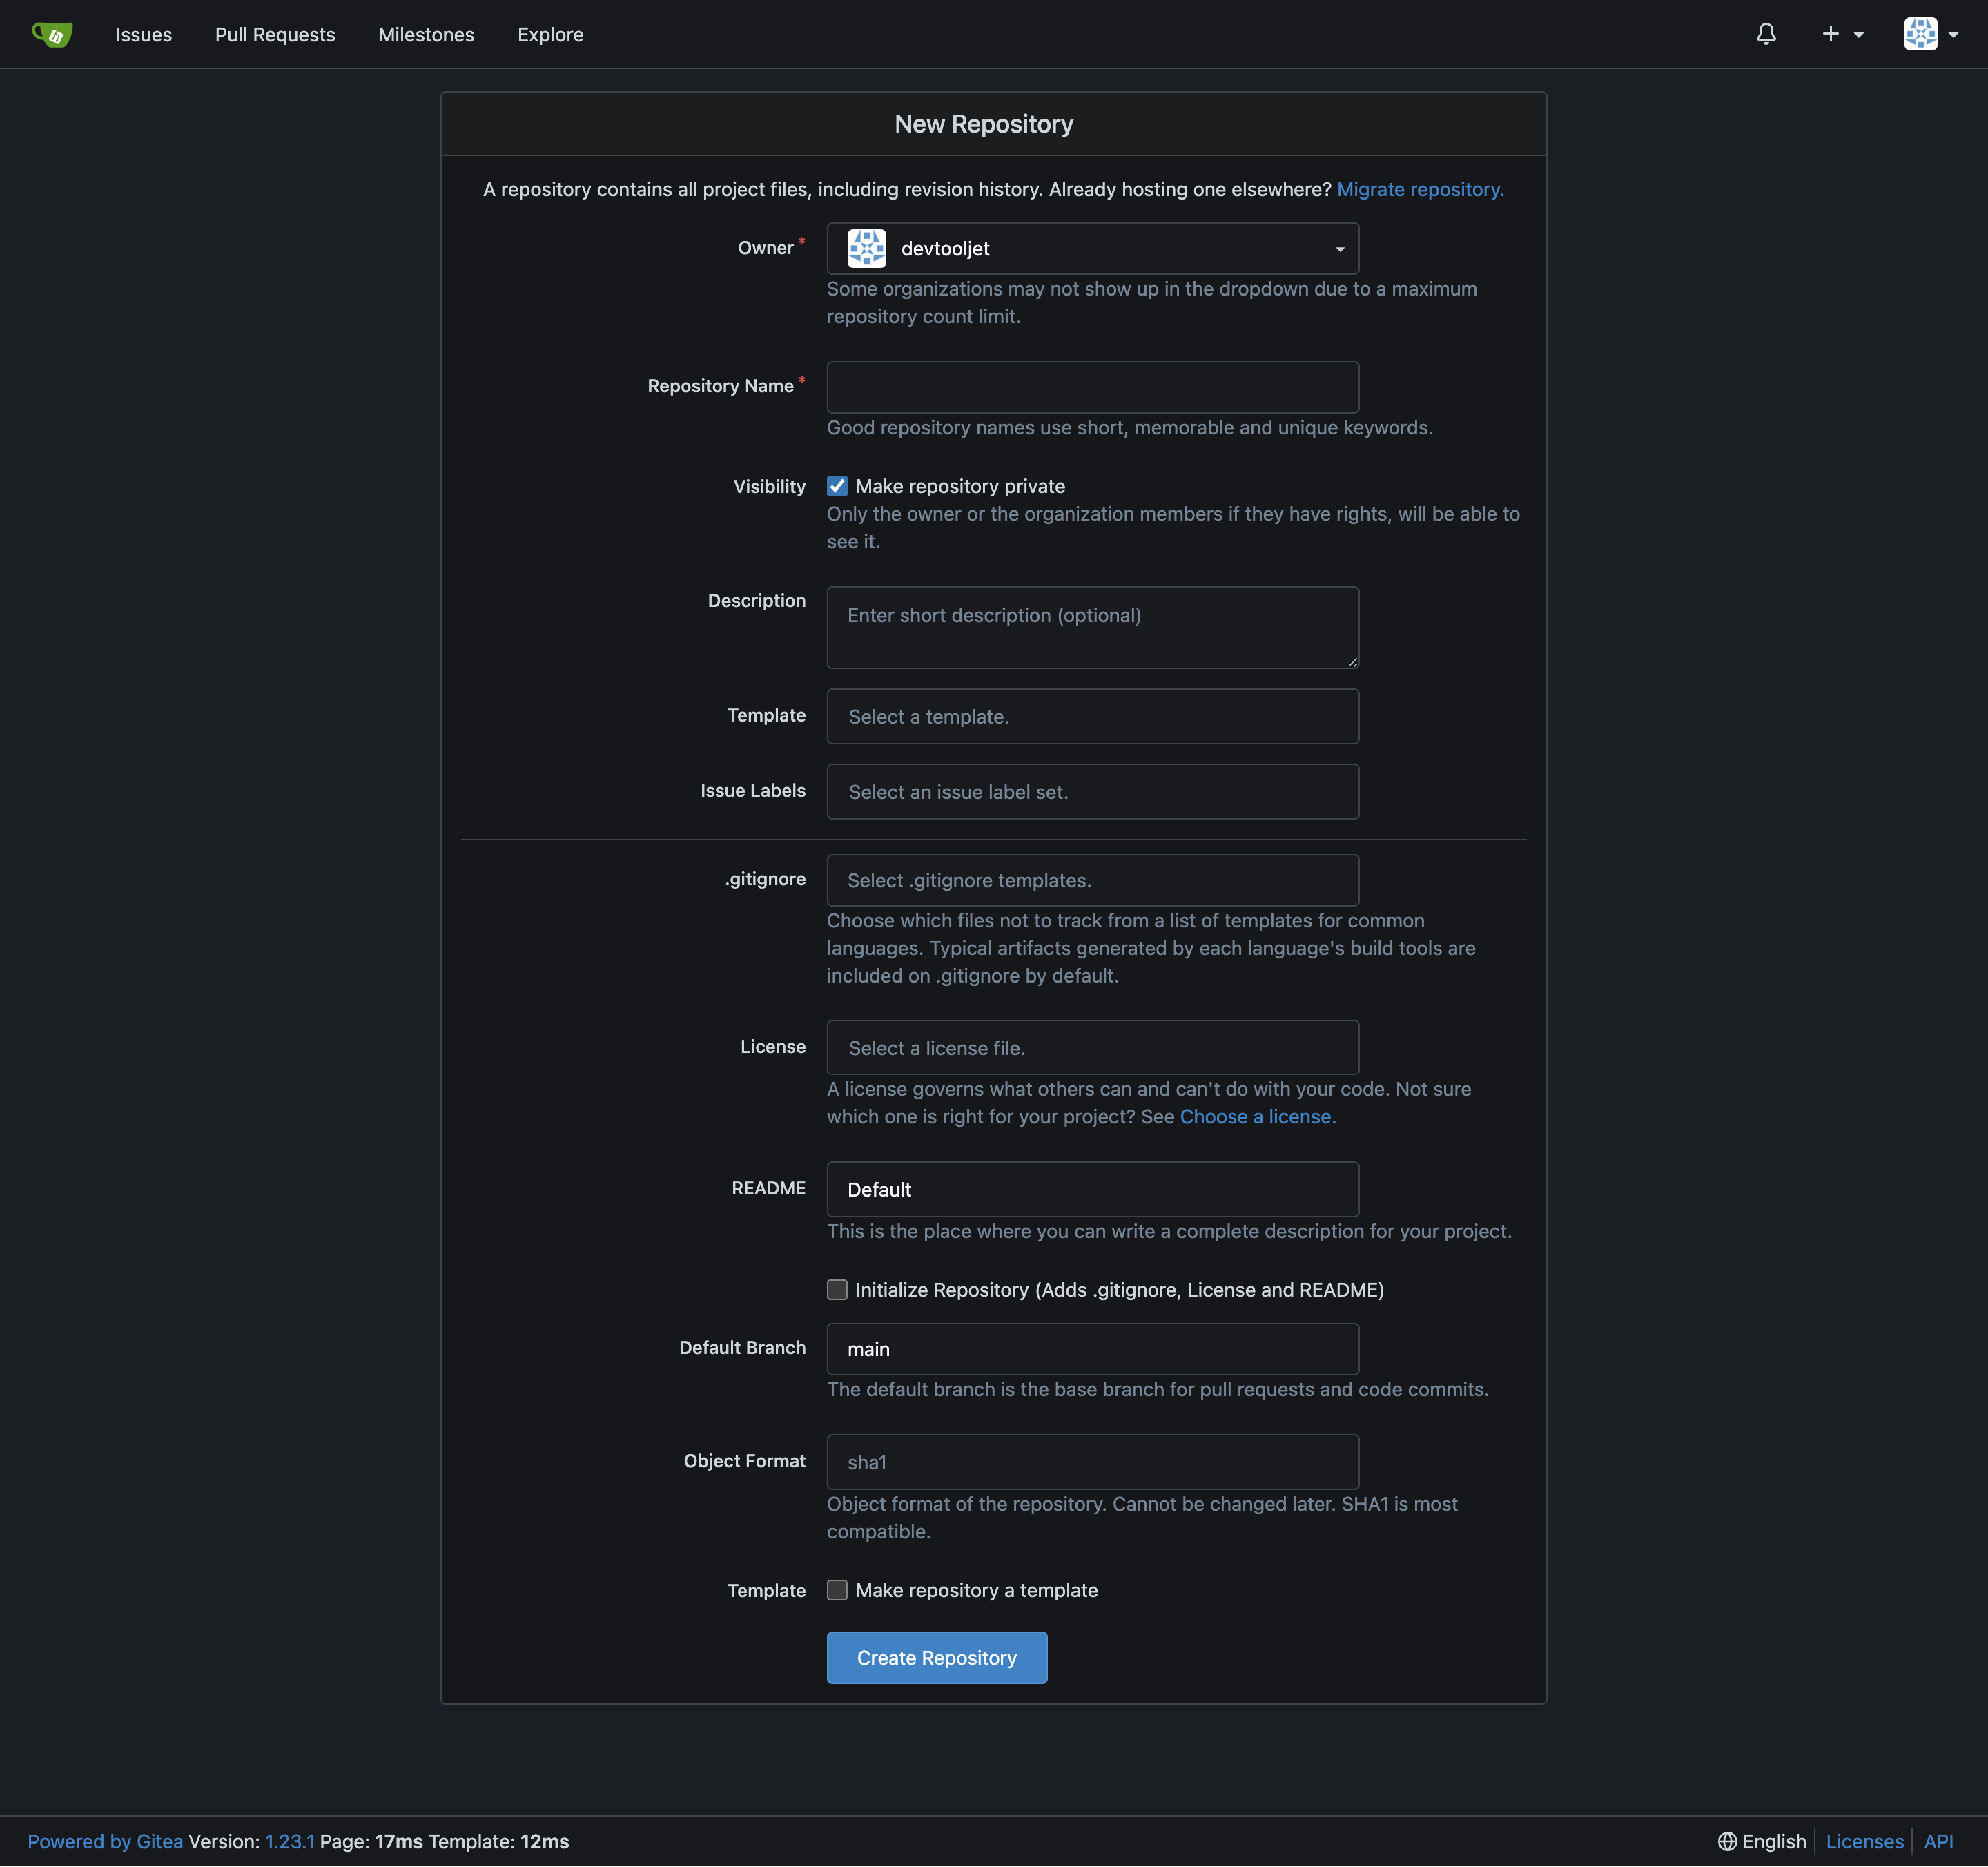
GitLab
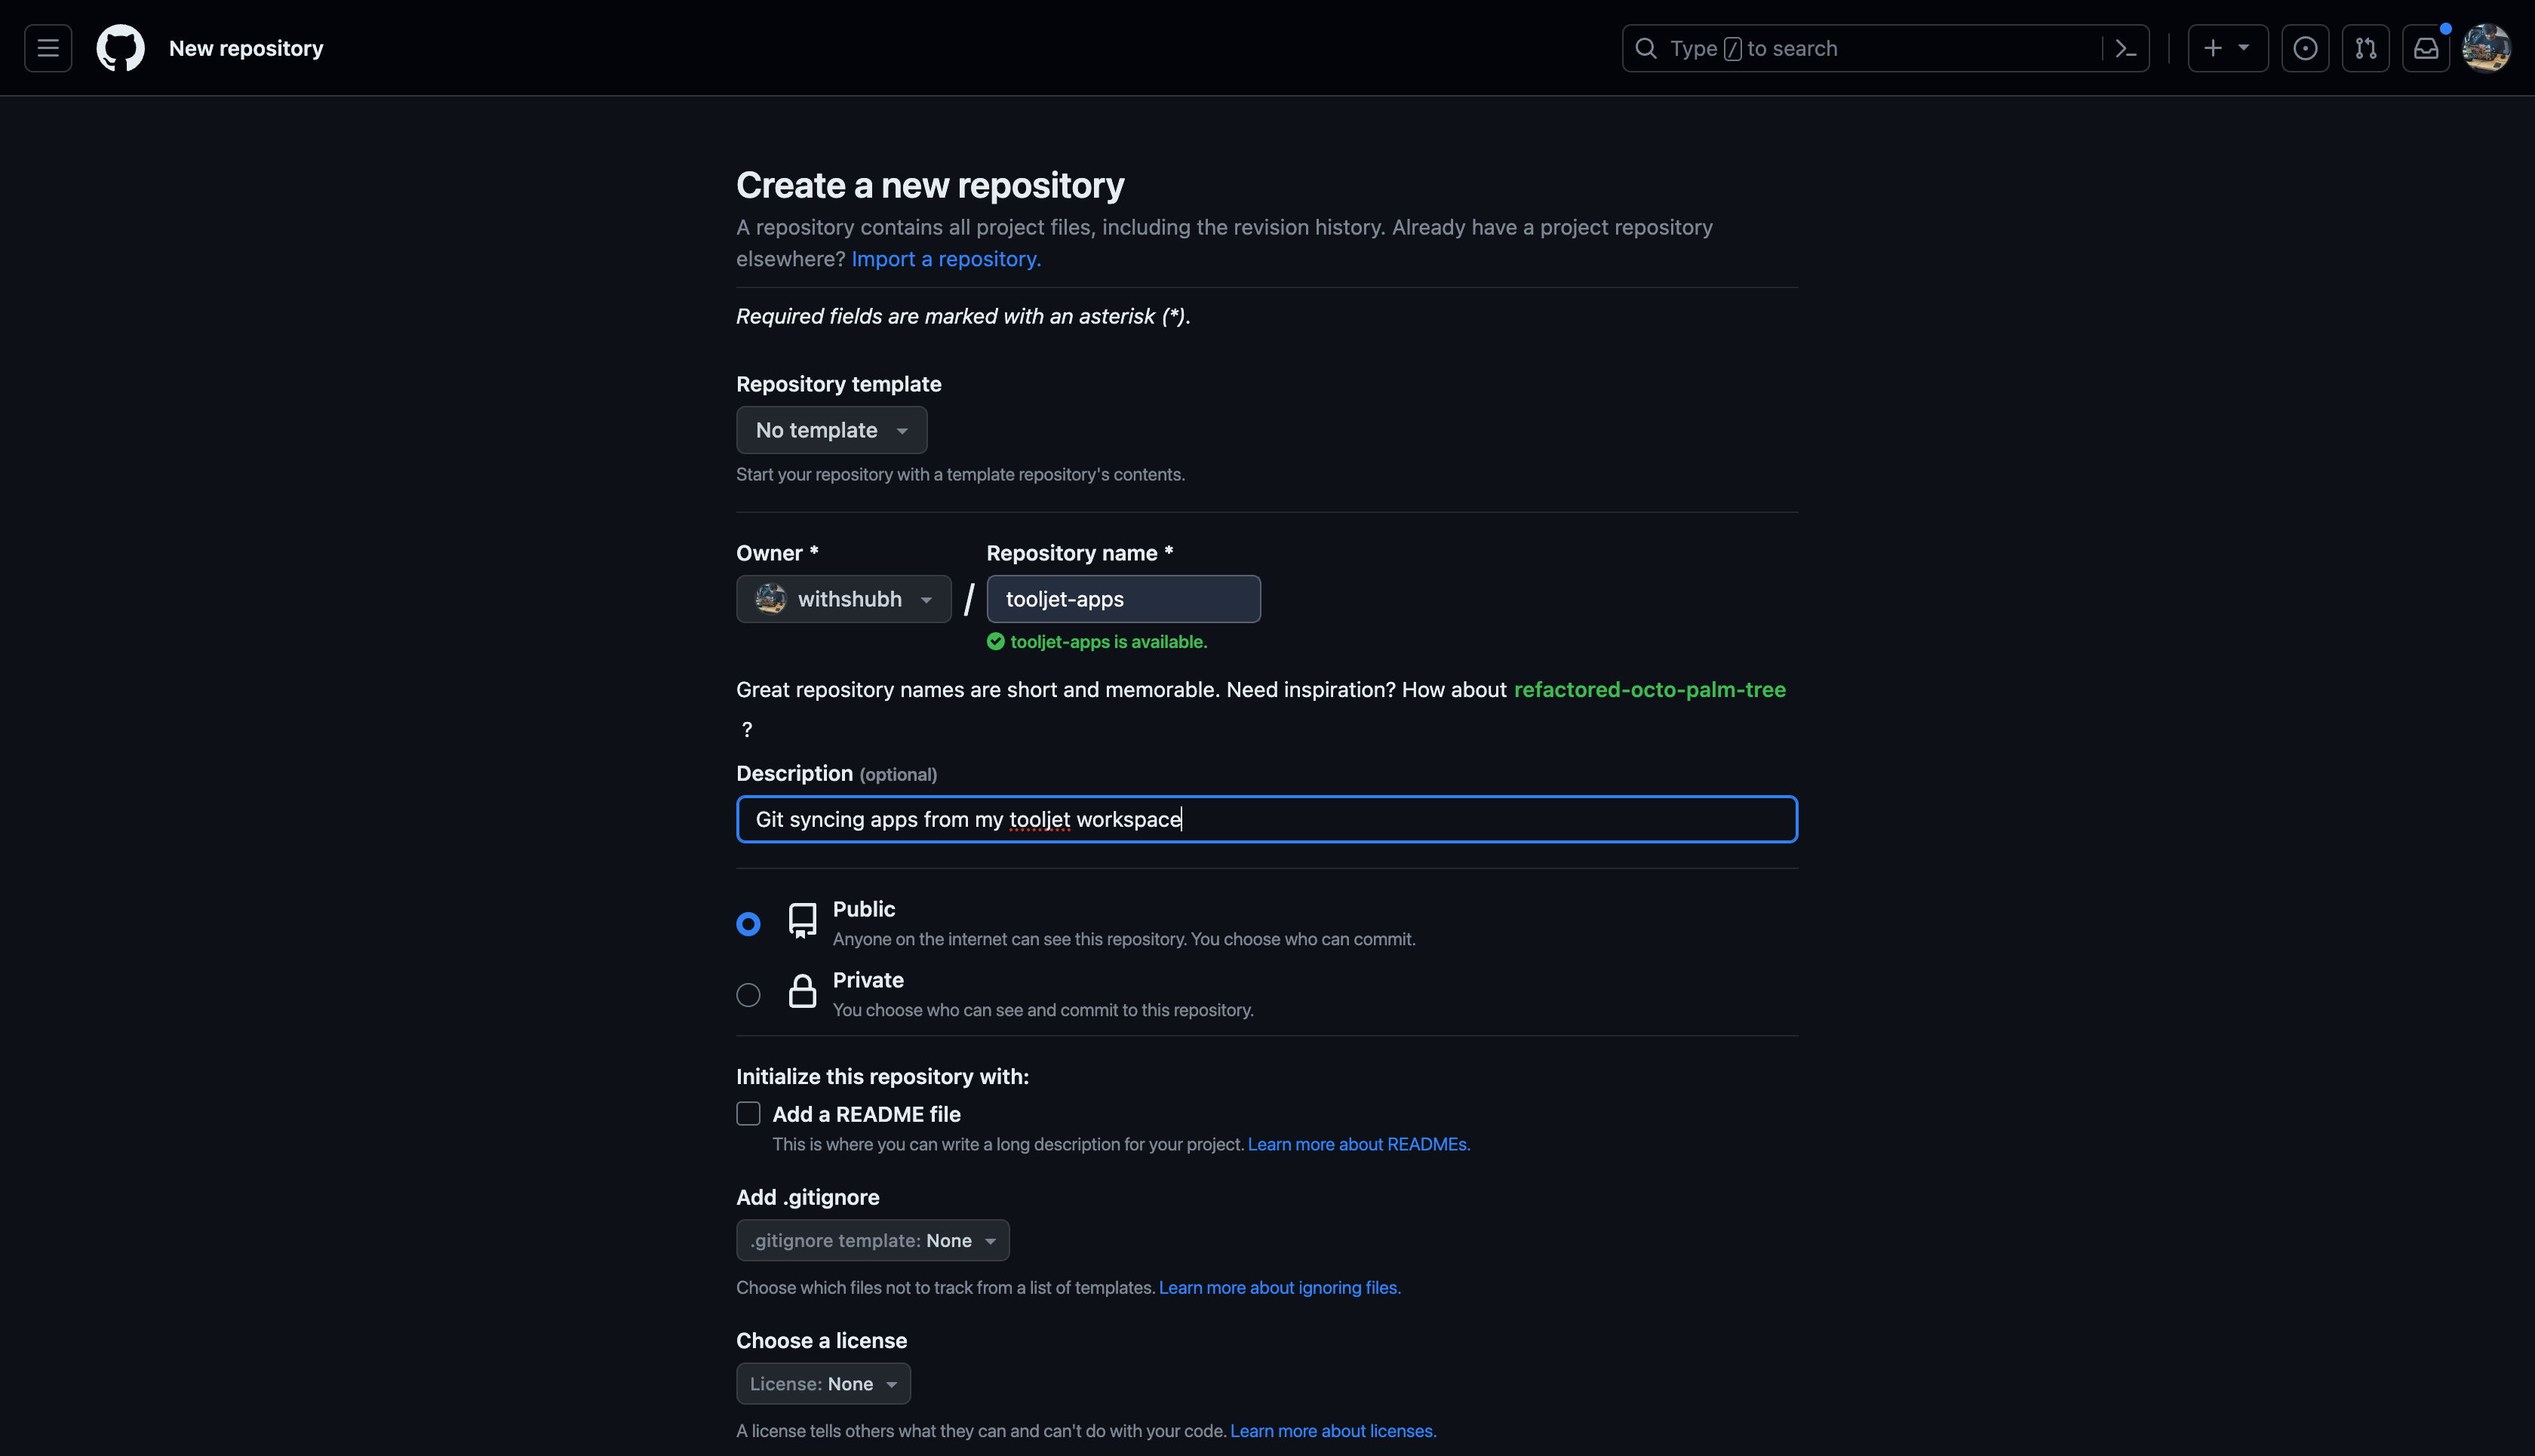
- Create a New Repository
Create a new repository on your GitLab. The repository can be public or private. You can also use an existing repository. Make sure that the repository is empty and the default branch name should be master.
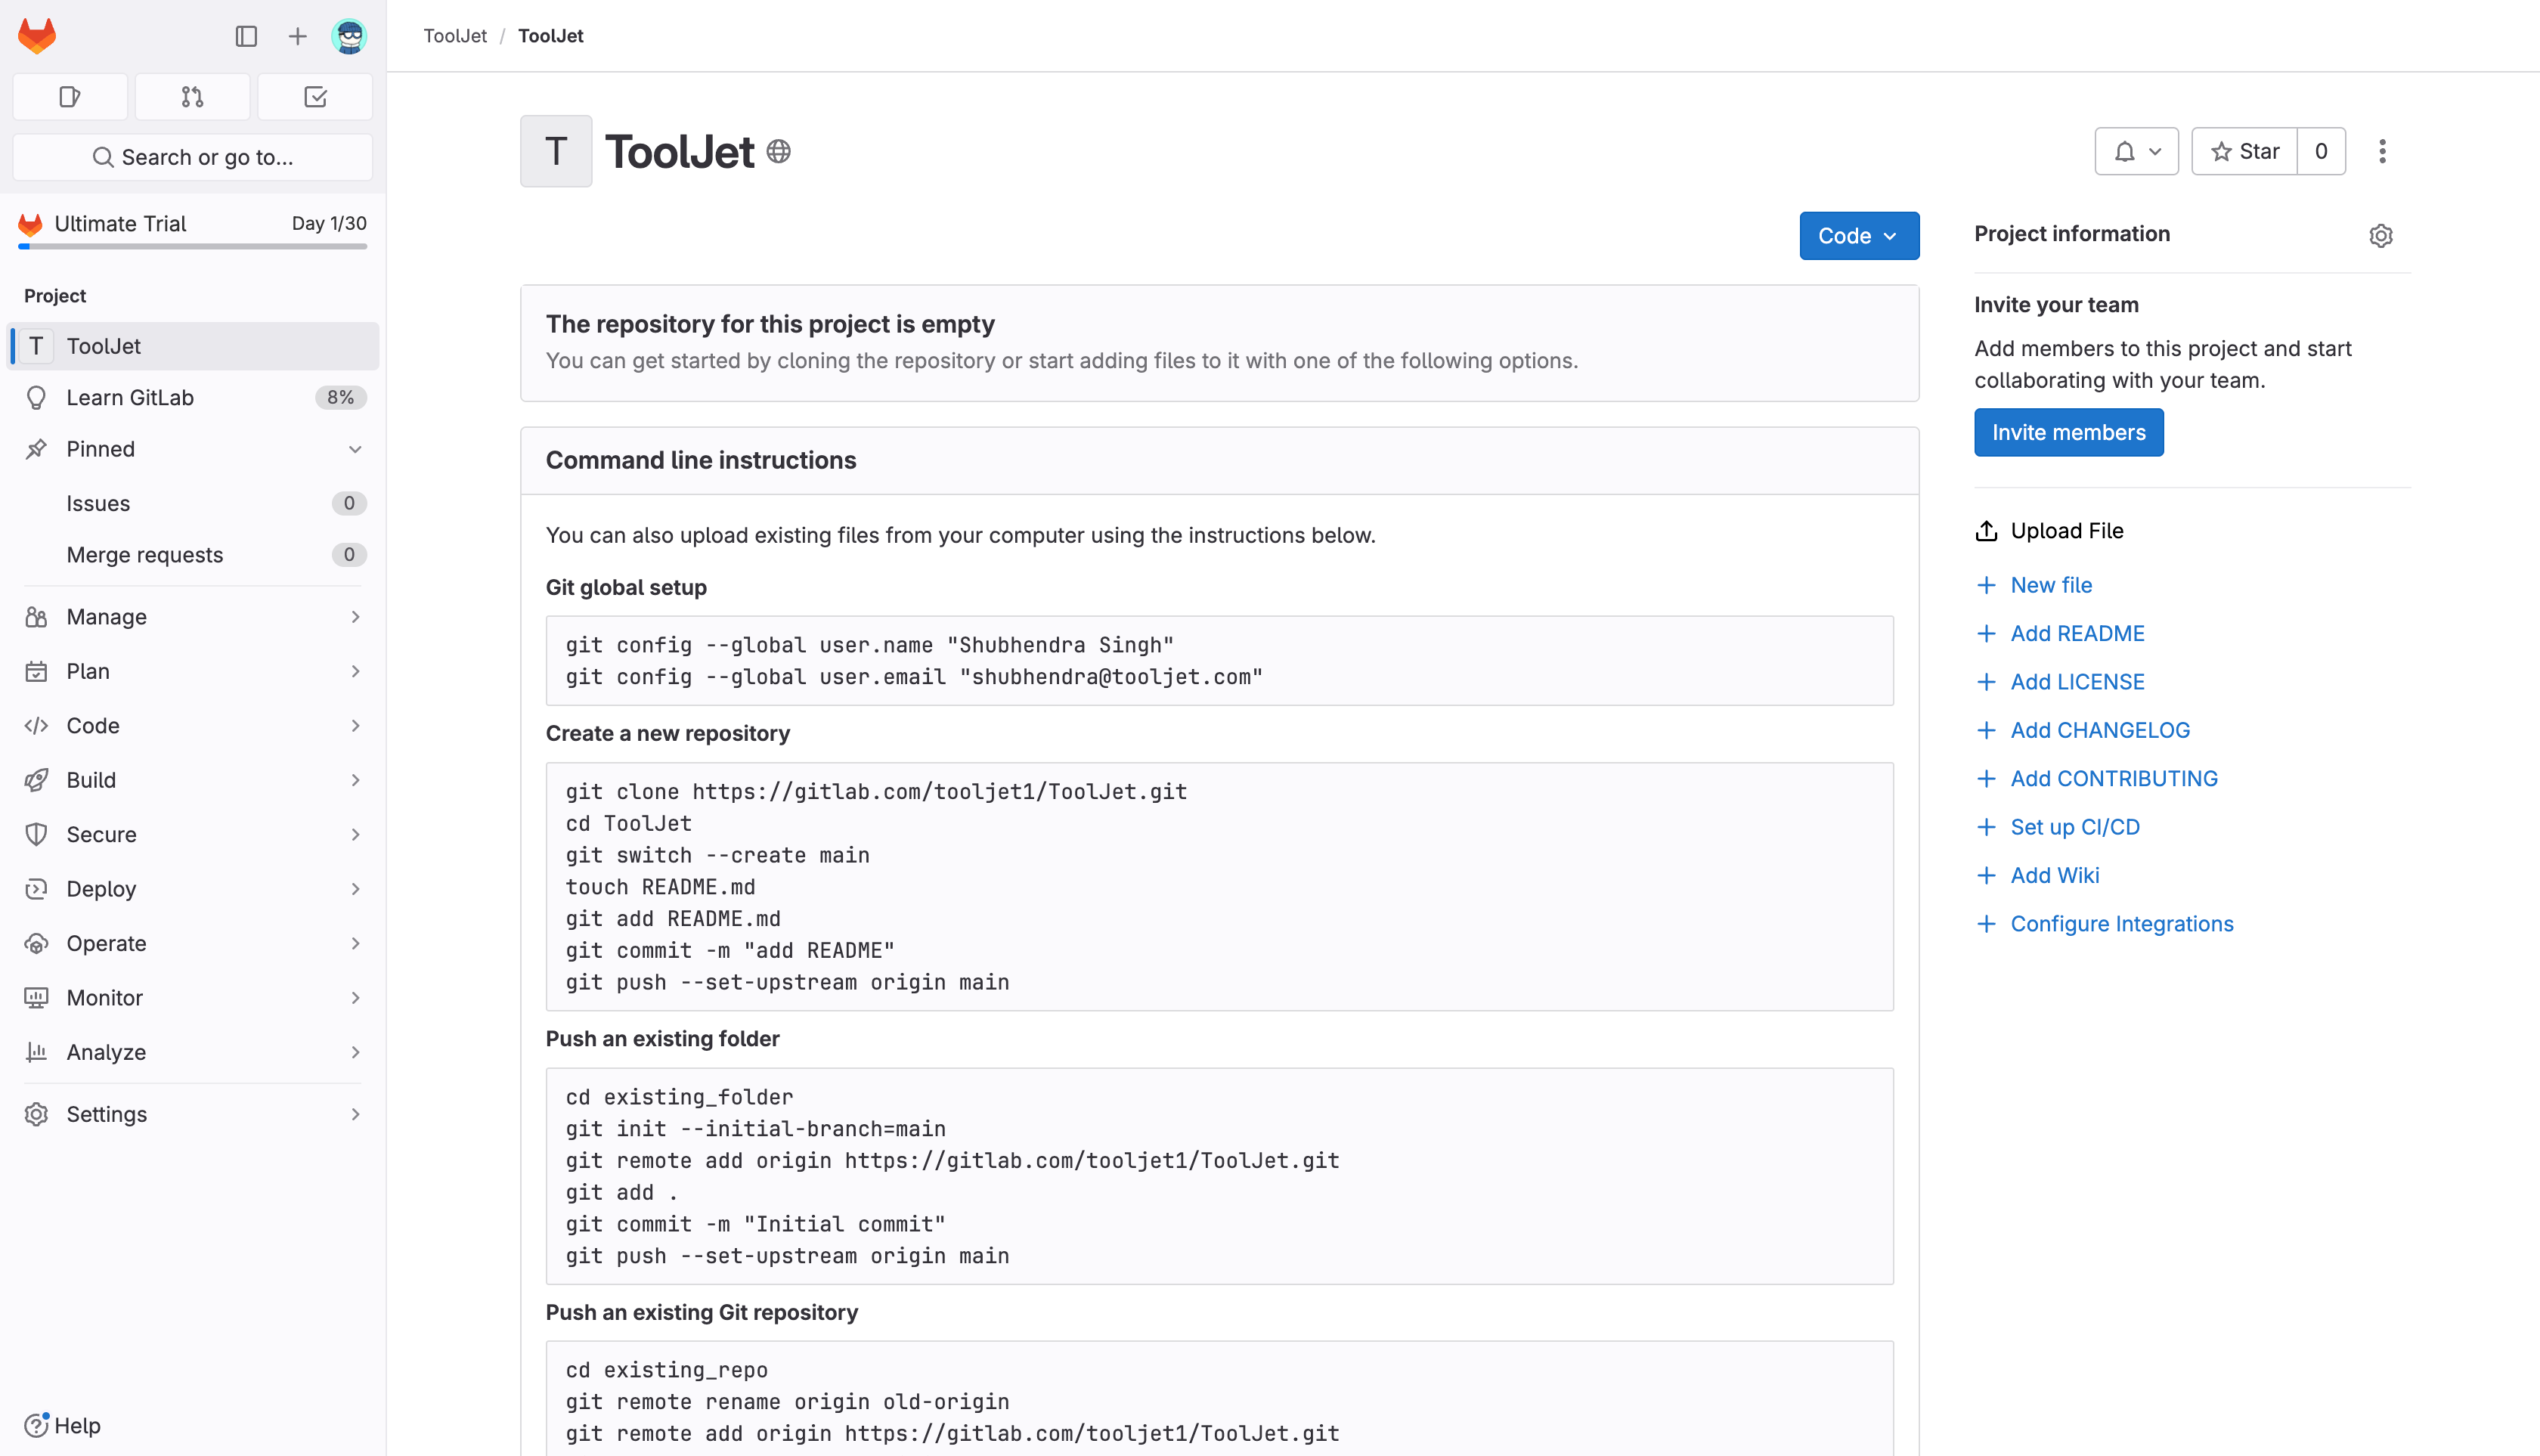
- Obtain the SSH URL
On GitLab, you can obtain the URL by clicking on the Clone button and selecting the SSH option.
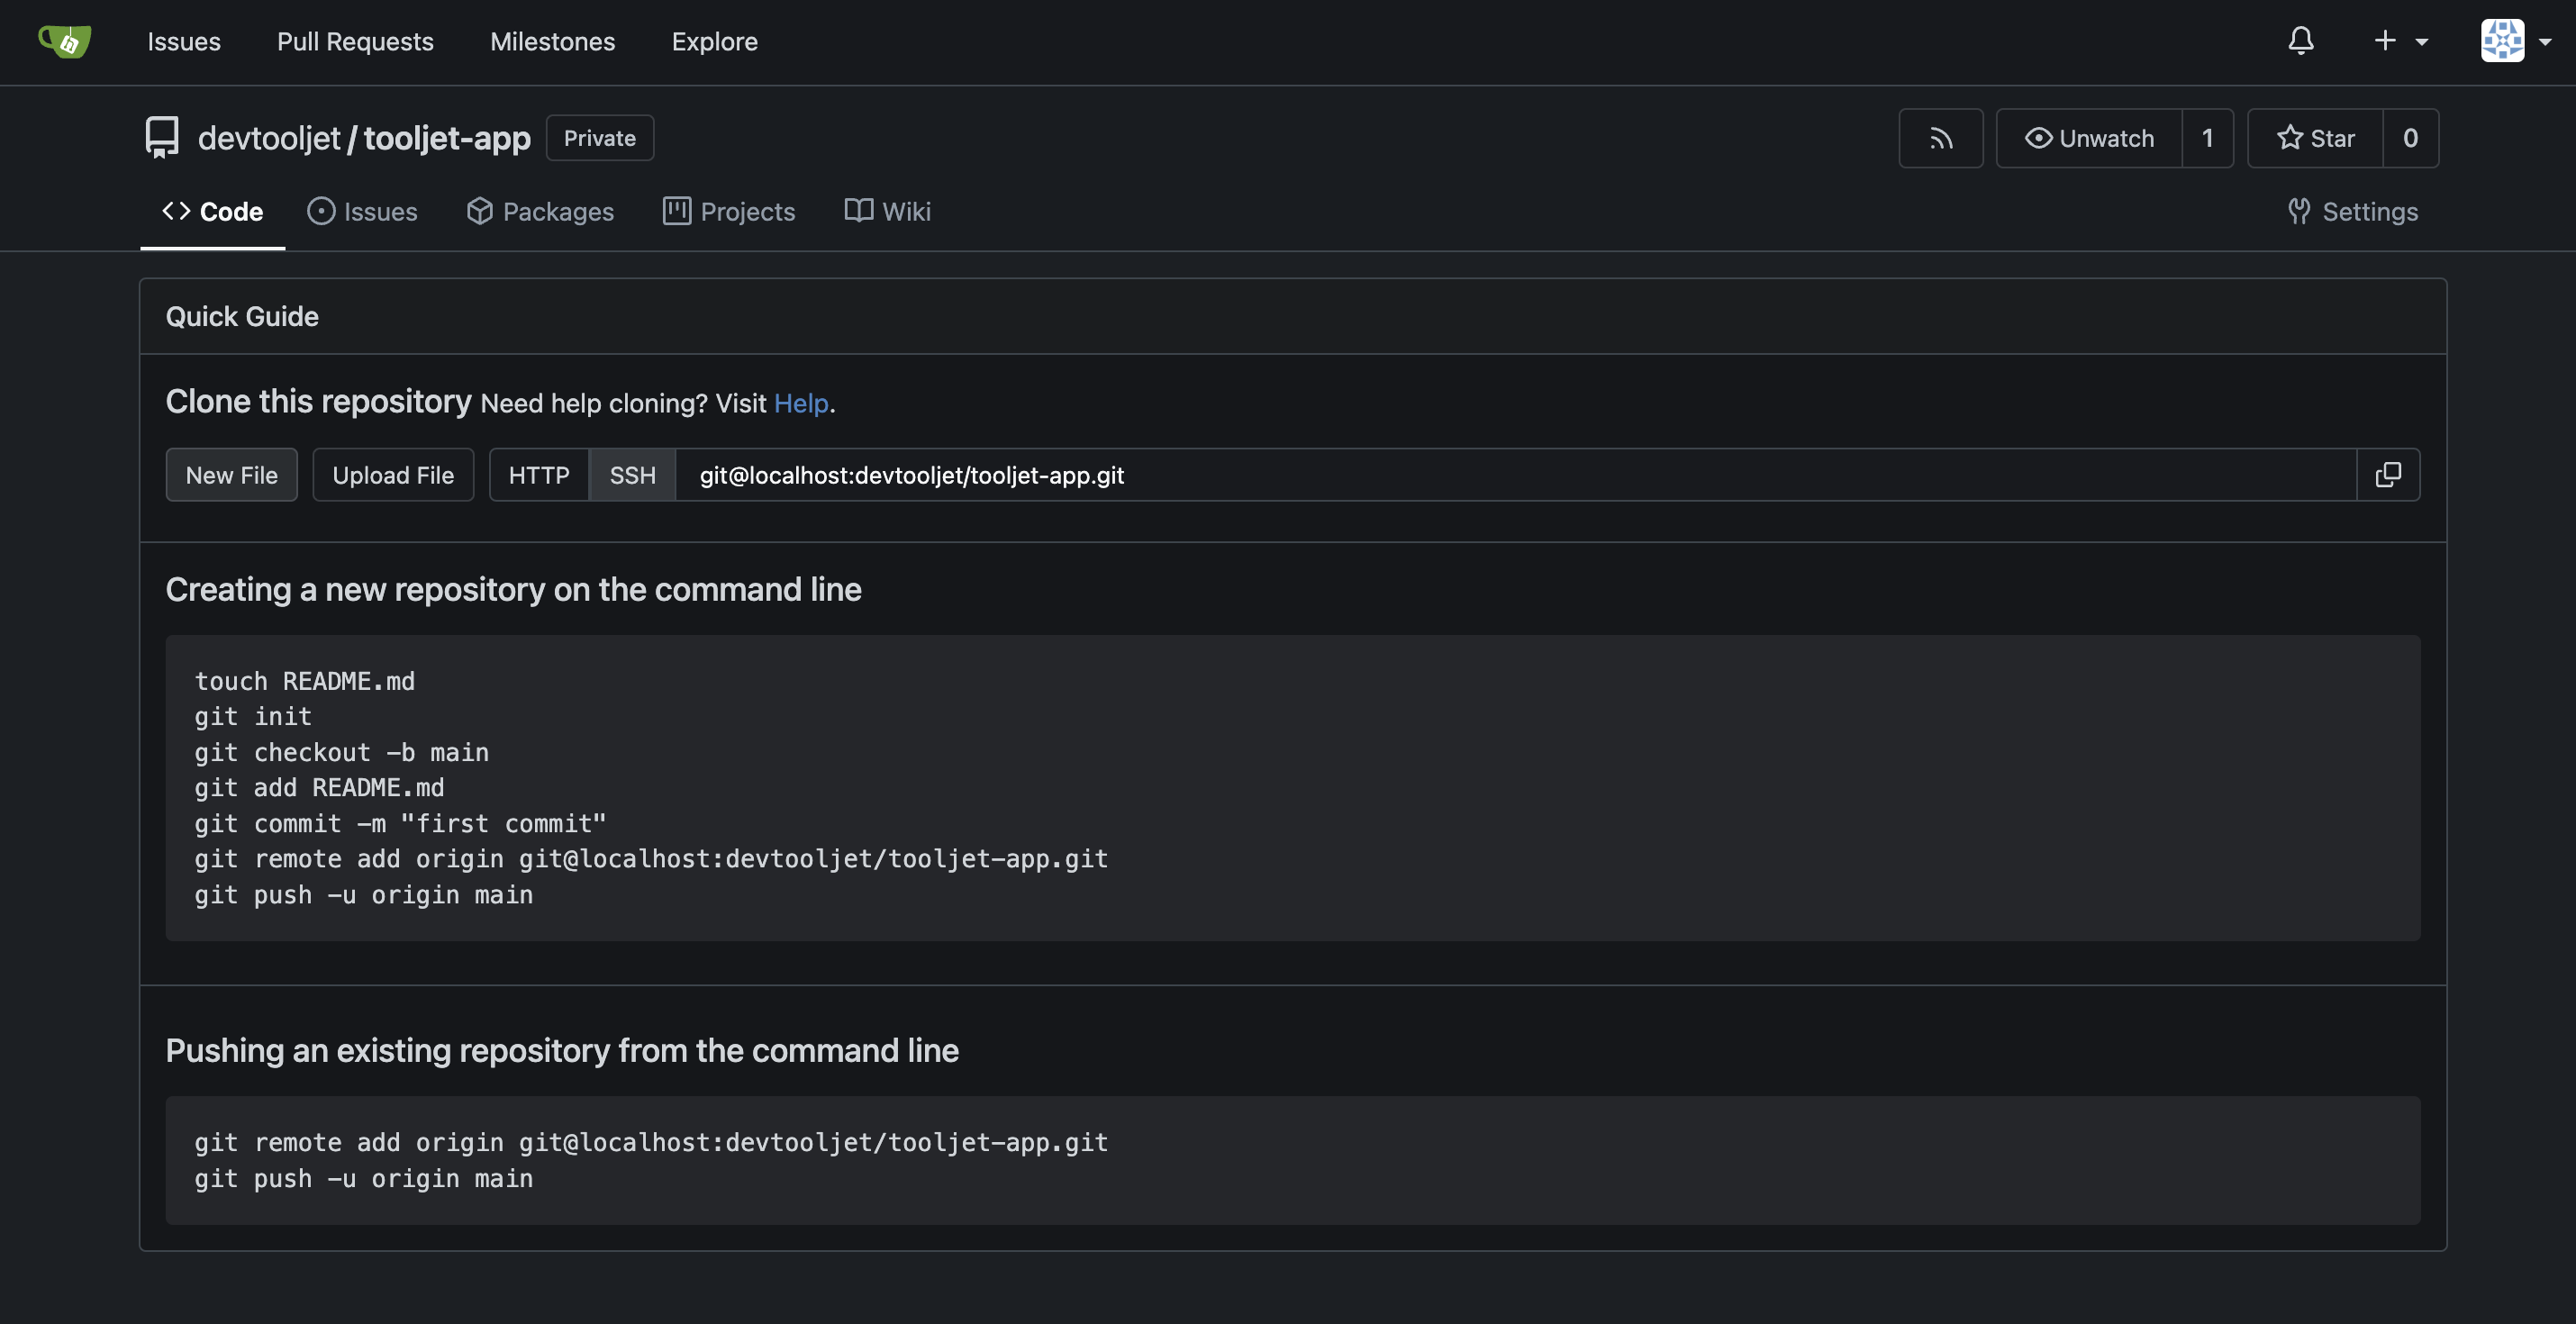
Gitea
- Create a New Repository
Create a new repository on your Gitea. You can also use an existing repository. Make sure that the repository is empty and the default branch name should be master.
- Obtain the SSH URL
When a repository is created, Gitea shows a screen with the SSH URL.
Deploy the SSH Key
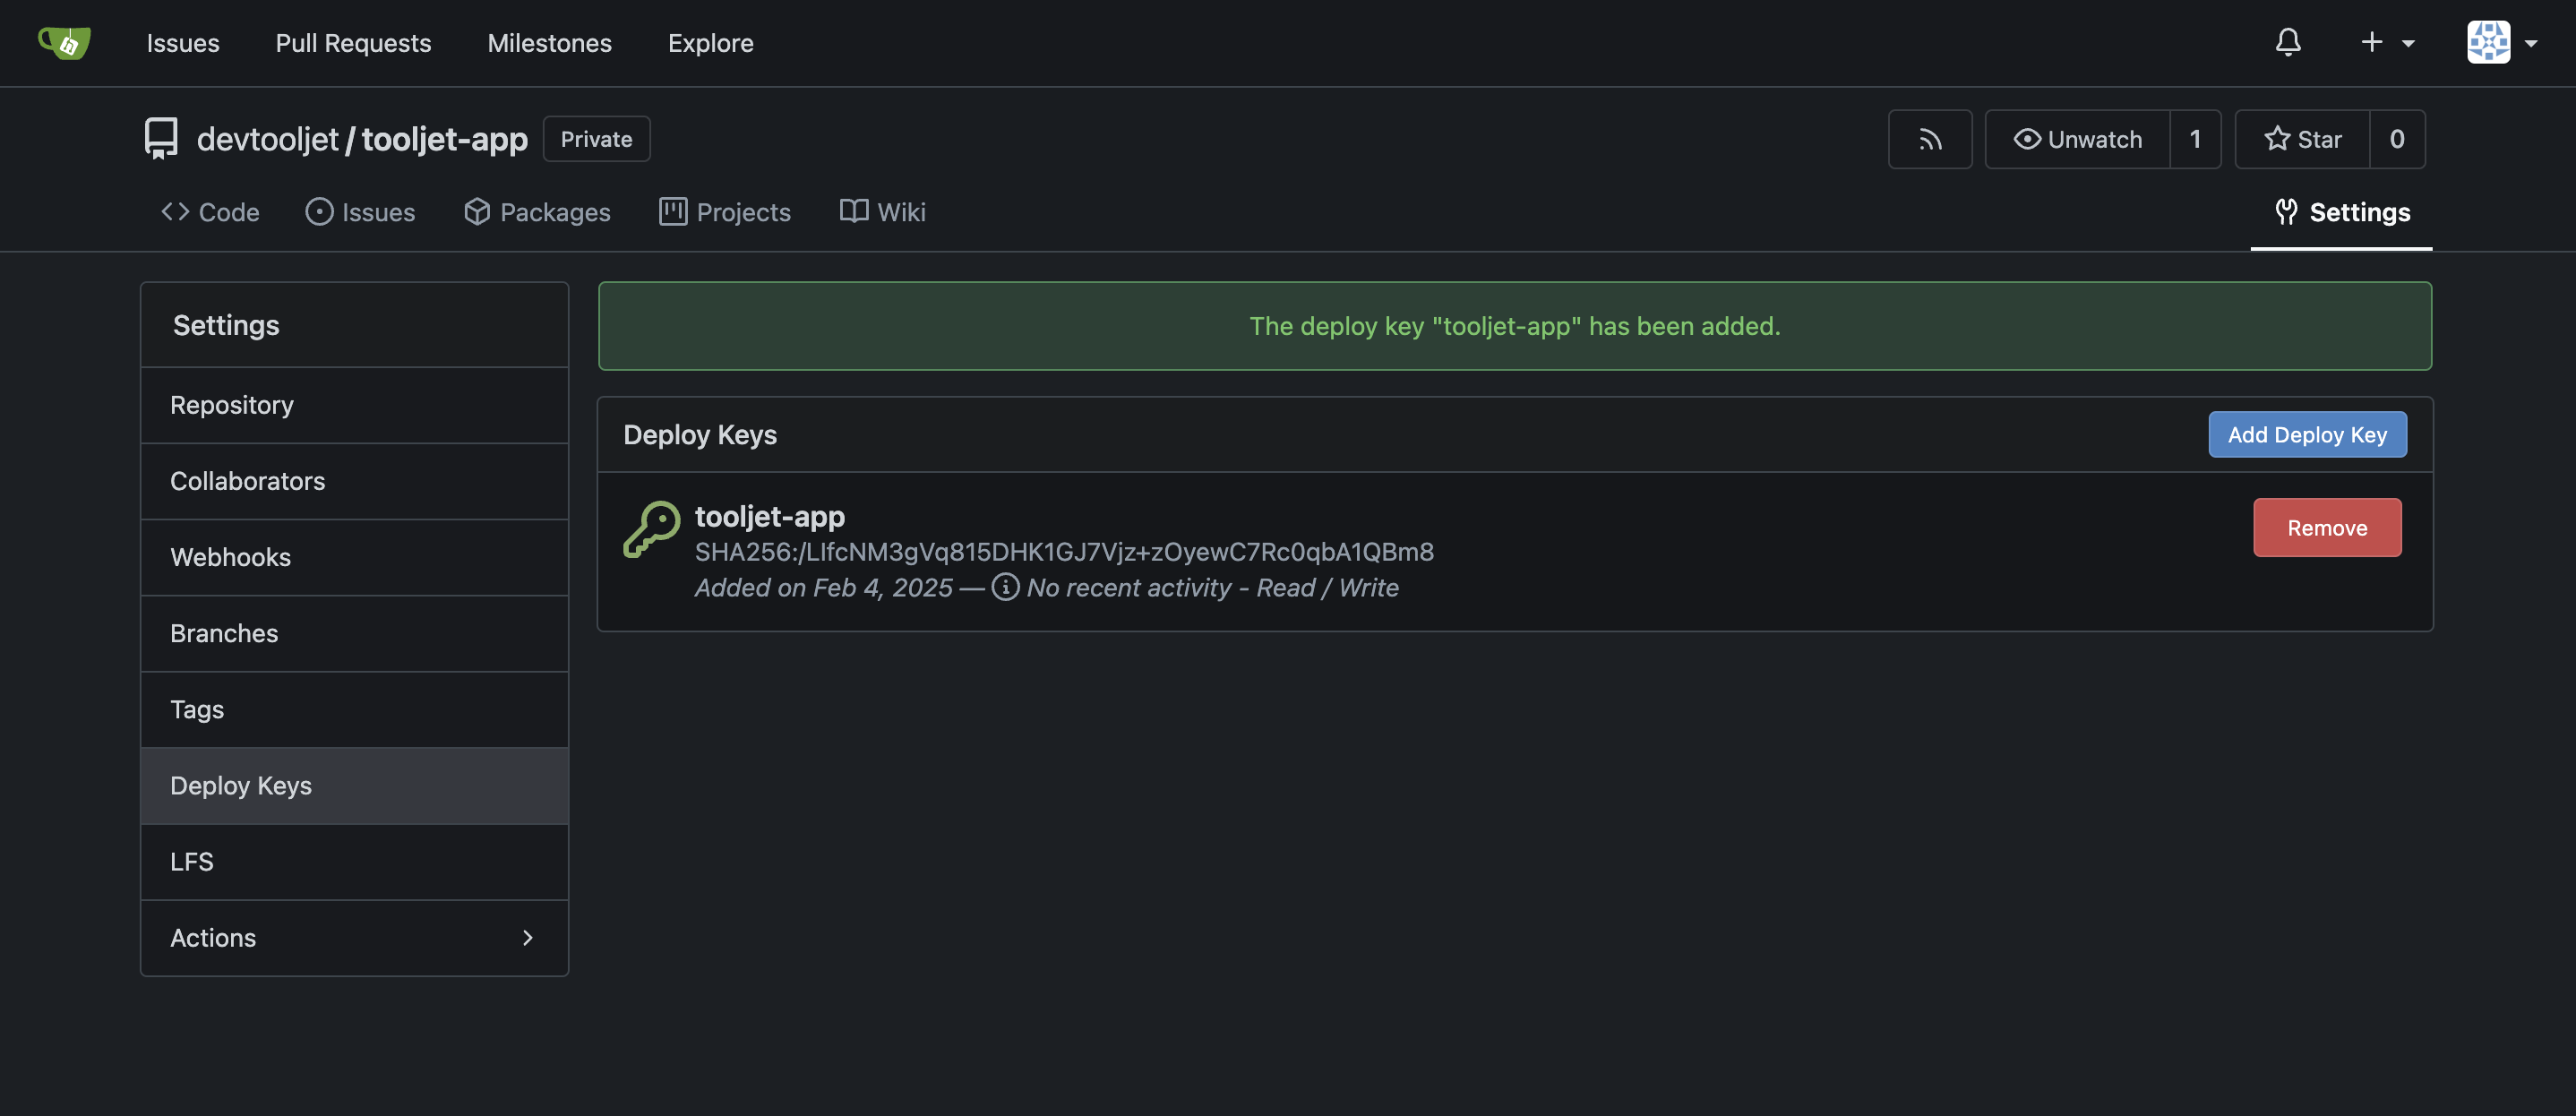
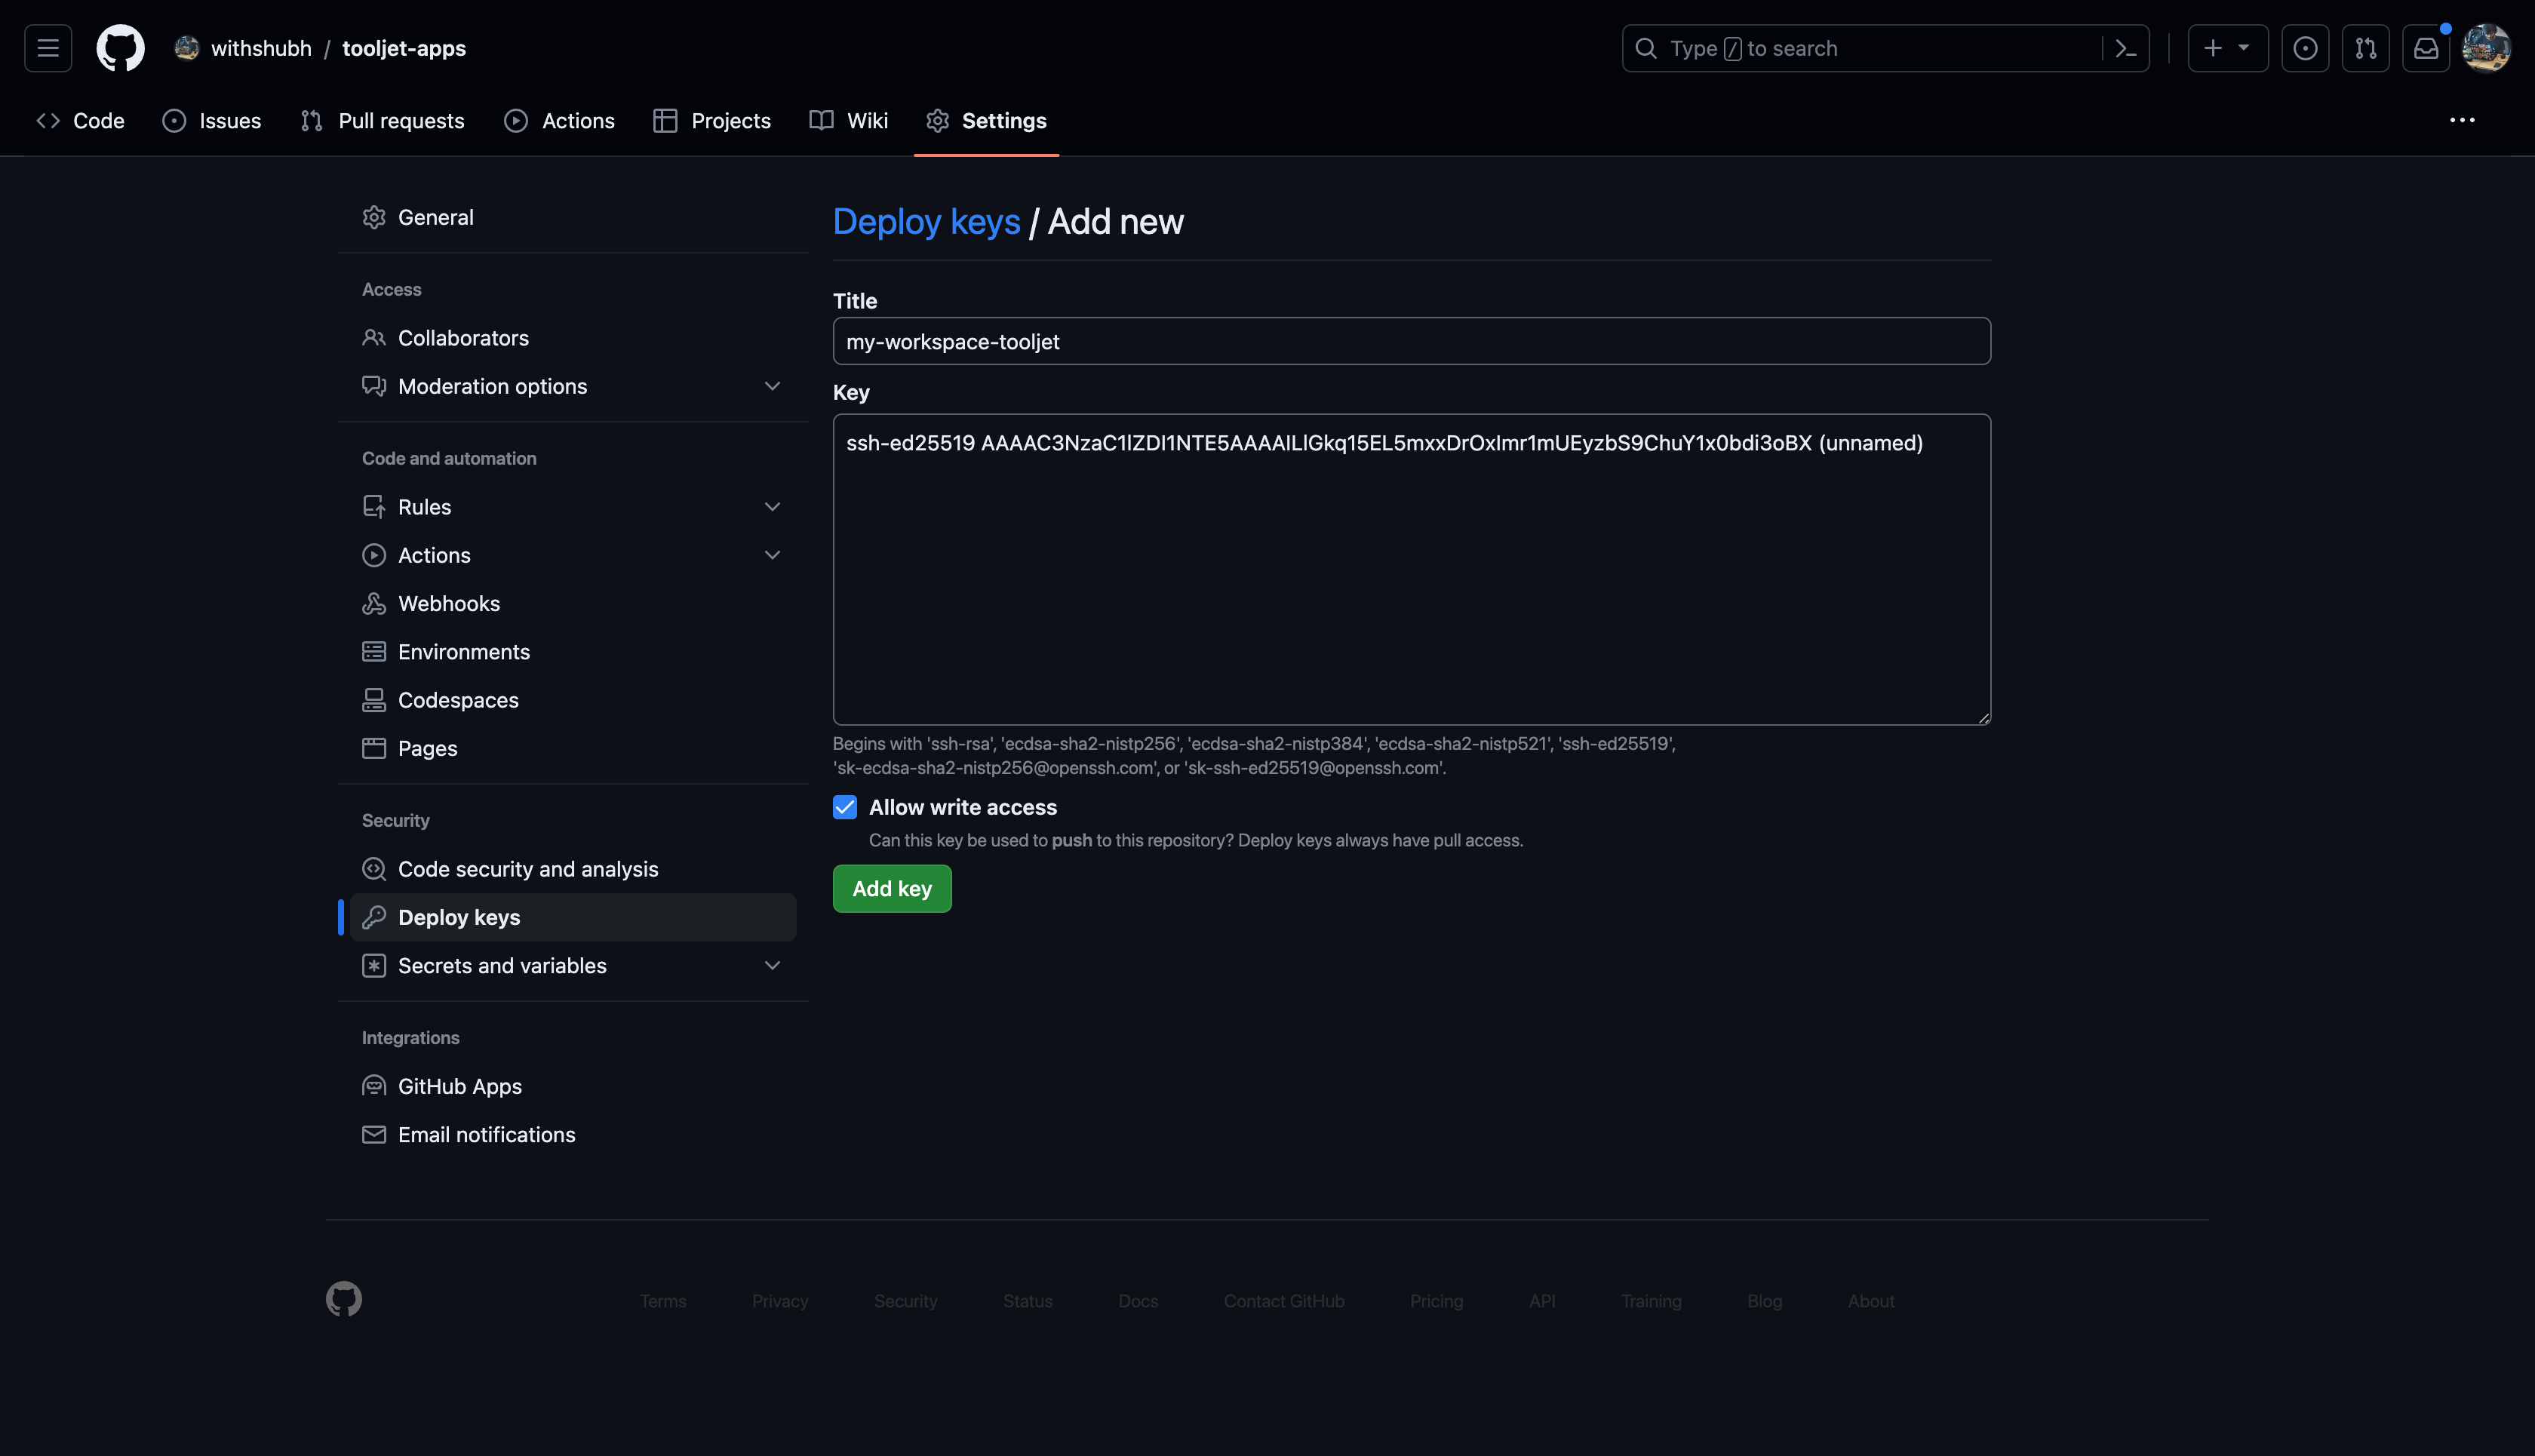
GitHub
- Go to the Settings tab of the GitHub repository, and click on the Deploy keys tab. Click on the Add deploy key button.

-
Enter a title for the SSH key in the Title field.
-
Paste the SSH key generated from the ToolJet.
-
Make sure that the Allow write access checkbox is checked, especially when configuring the GitSync feature to push changes to Git. However, it is not mandatory to check this option when setting up the GitSync feature for pulling changes from Git.
-
Finally, click on the Add key button.
GitLab
You have two options for adding the SSH key to GitLab, you can either add it globally to access all your repositories or deploy it for a specific repository.
Option 1: Add as a User-Wide SSH Key
Use this option for access to all your repositories.
-
Click on your avatar in the top-left corner and select Edit Profile.
-
Navigate to the SSH Keys tab and click the Add new key button.
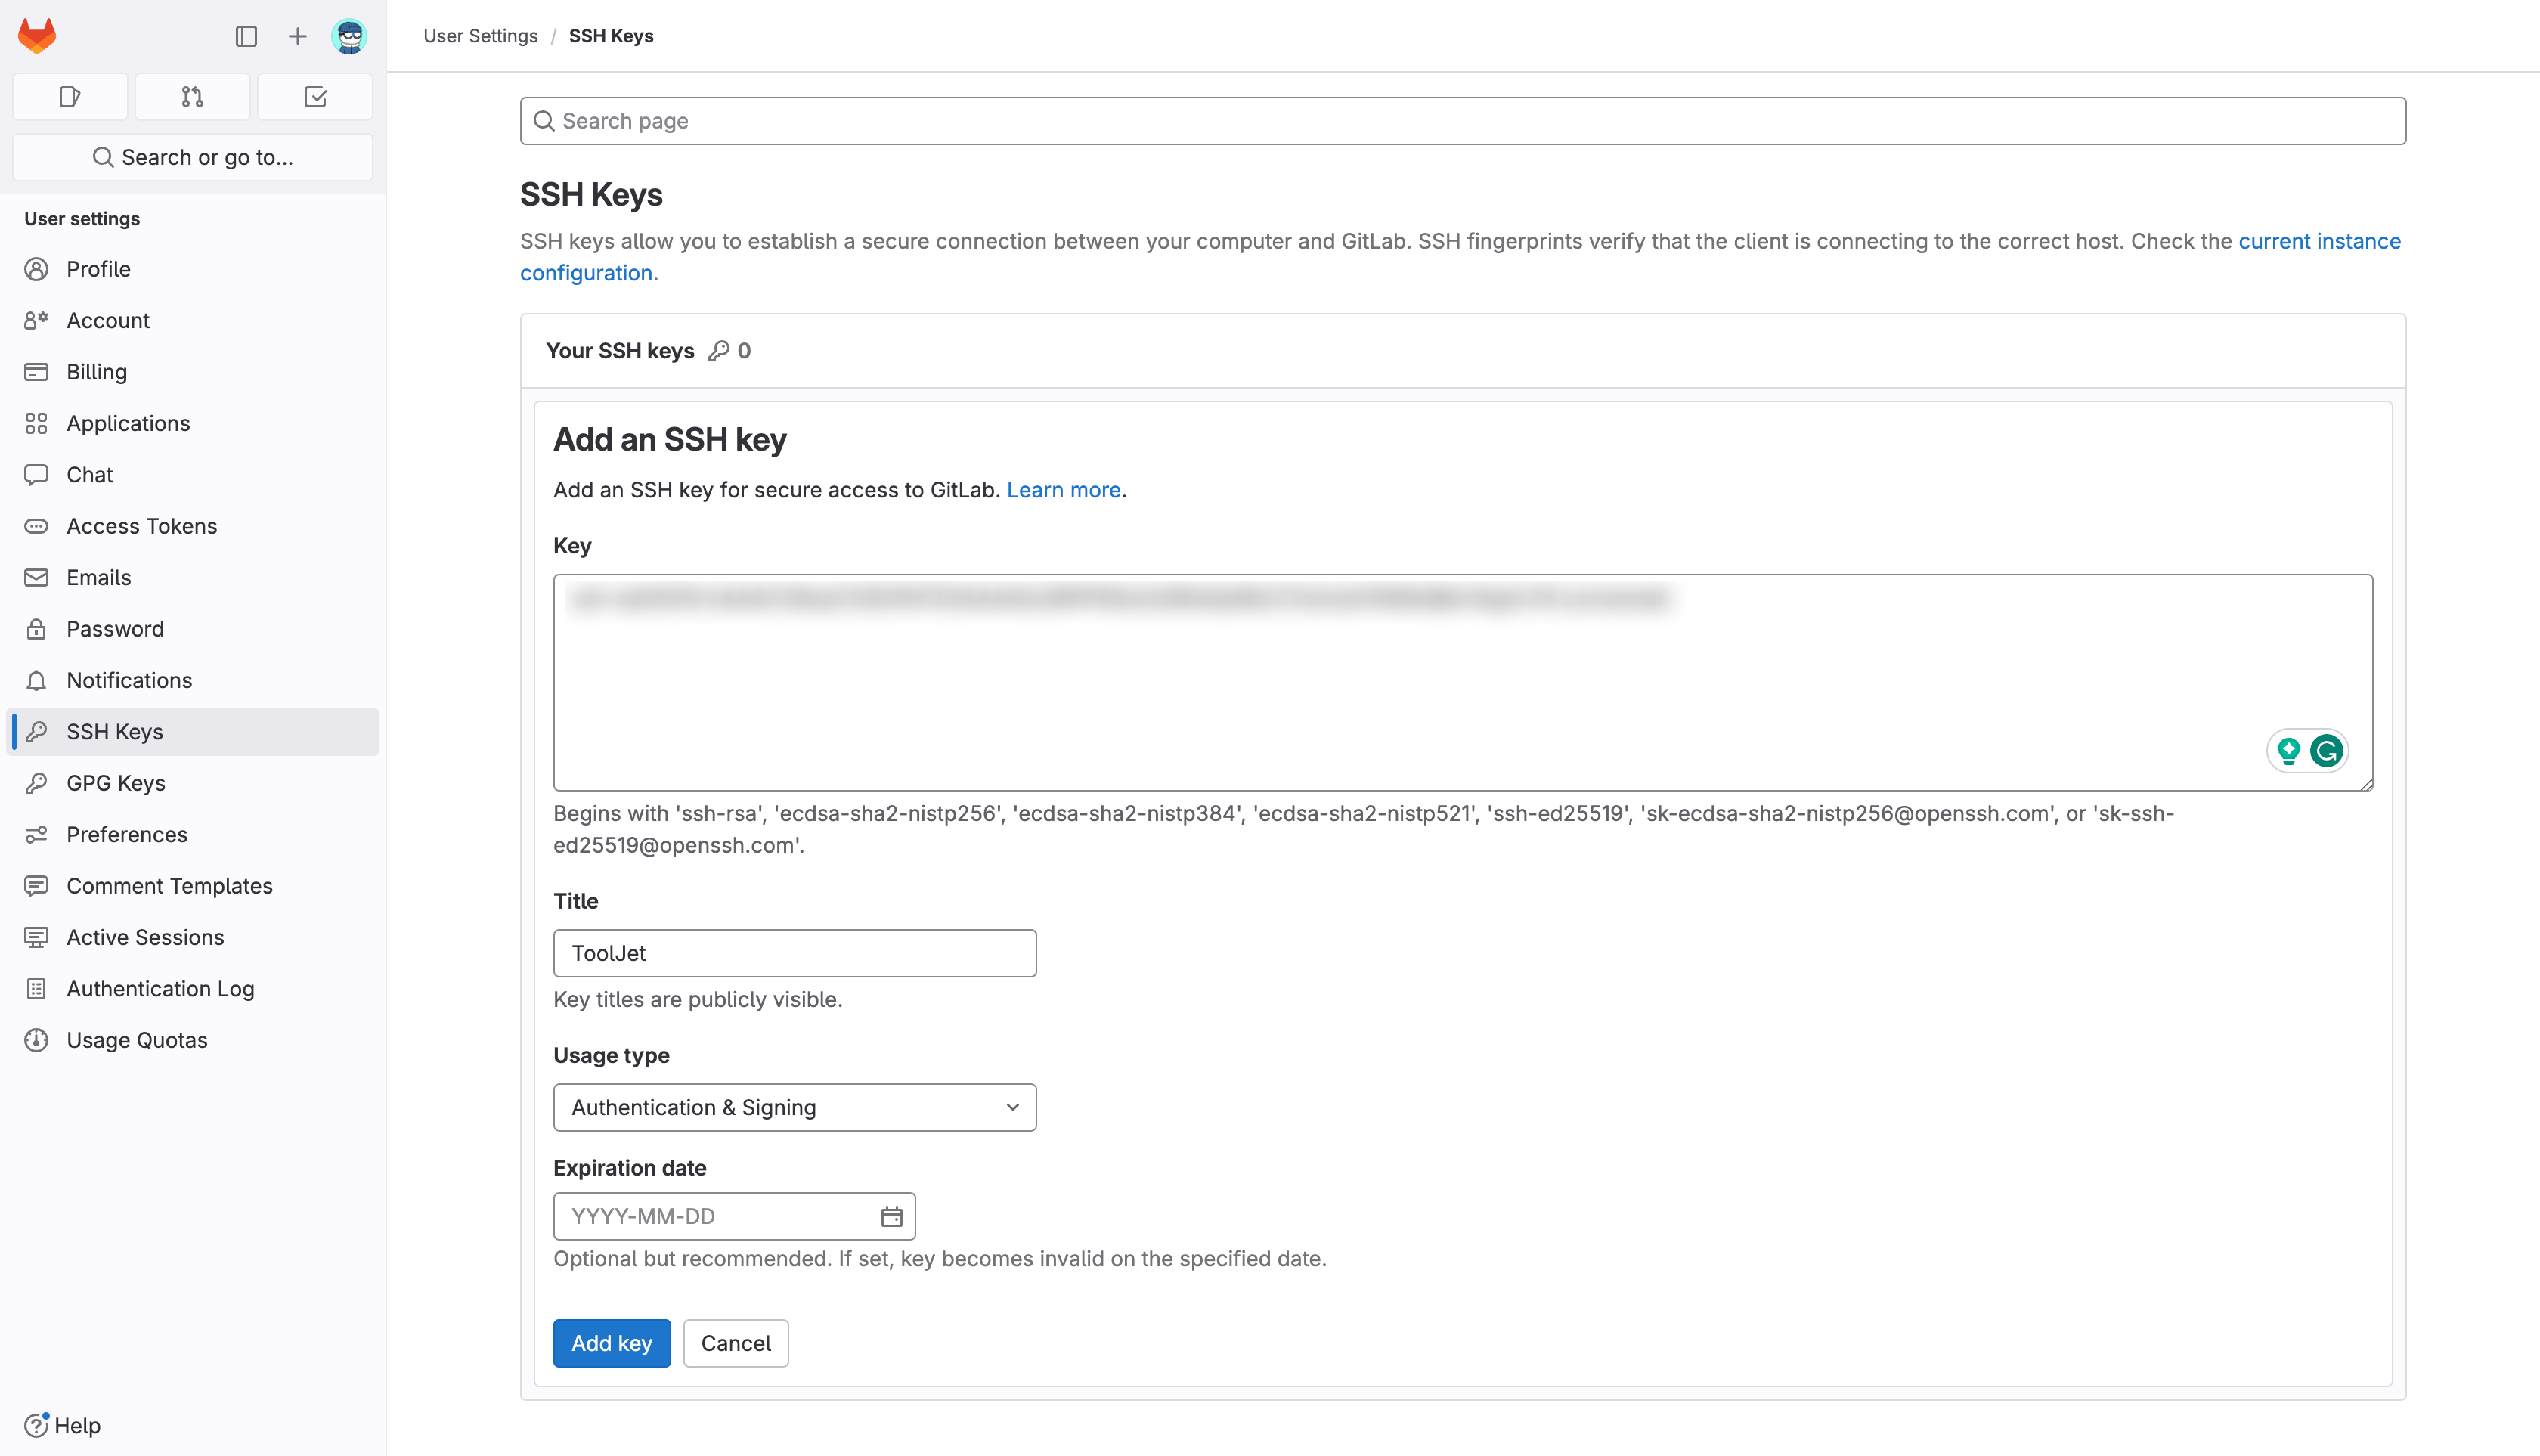
-
In the Key field, paste the SSH key you generated from the ToolJet.
-
Give your key a descriptive title.
-
Set Usage type to Authentication & signing.
-
Optionally, set an expiration date.
-
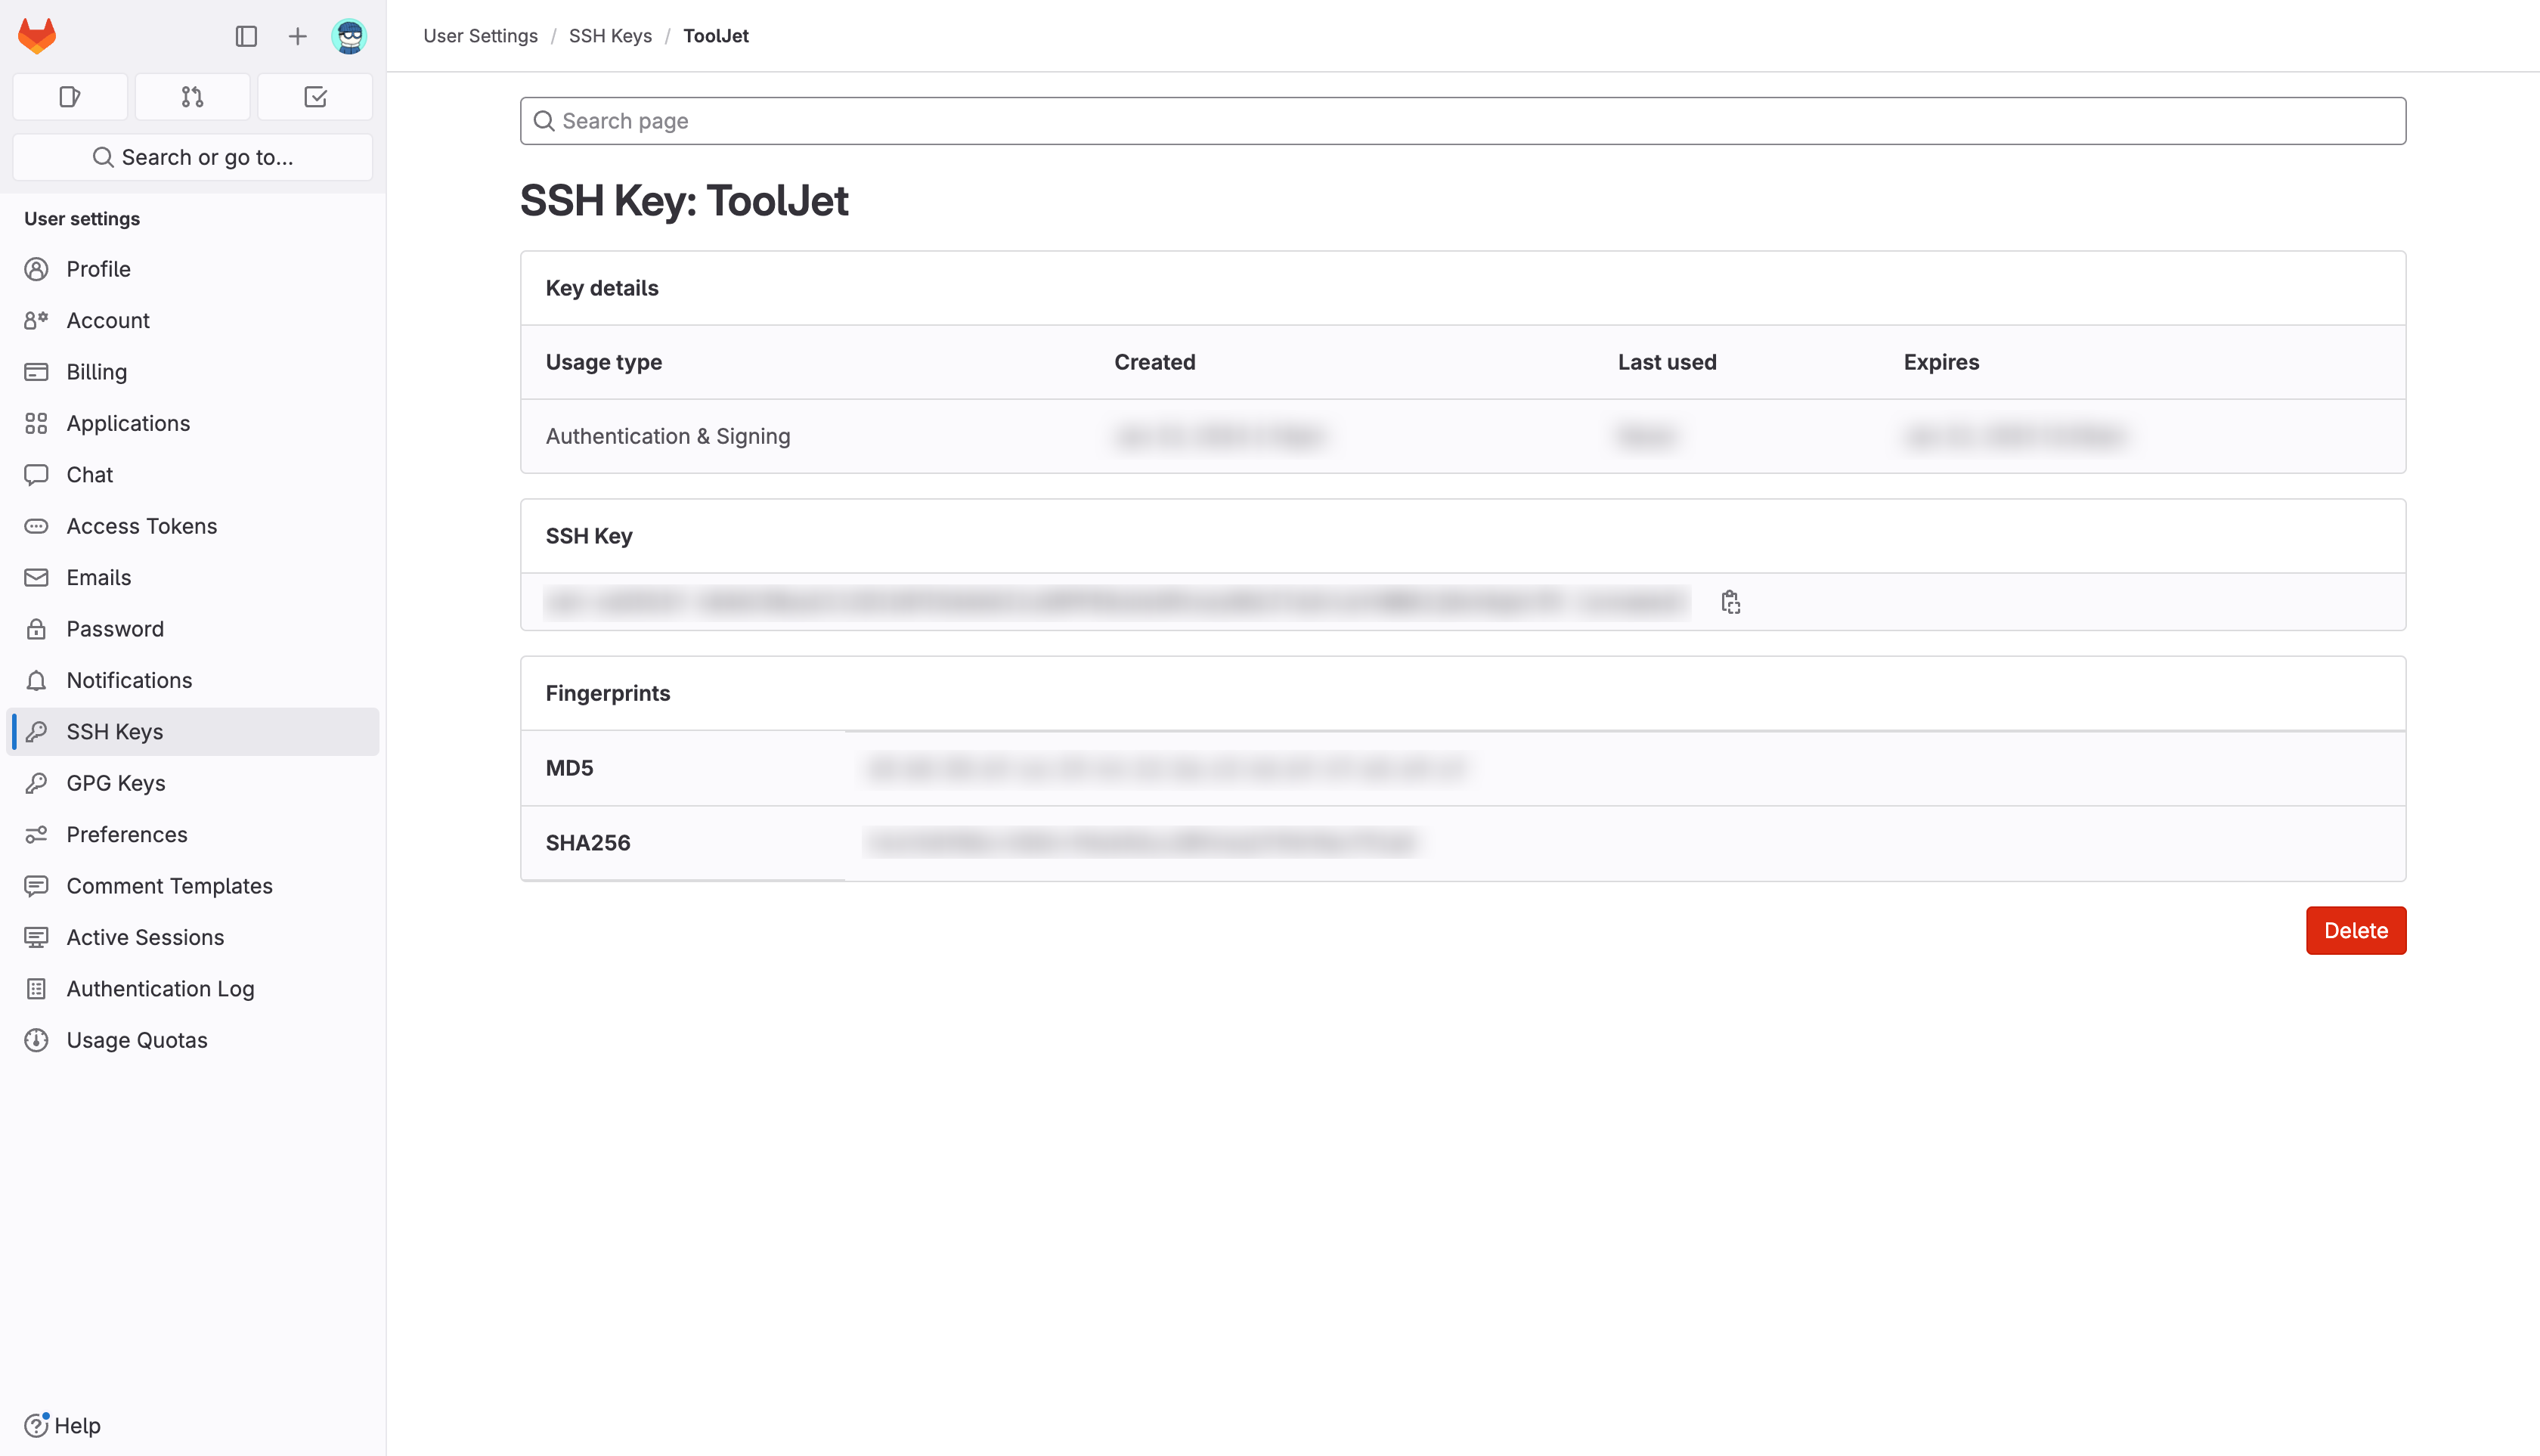
Click Add key to save.
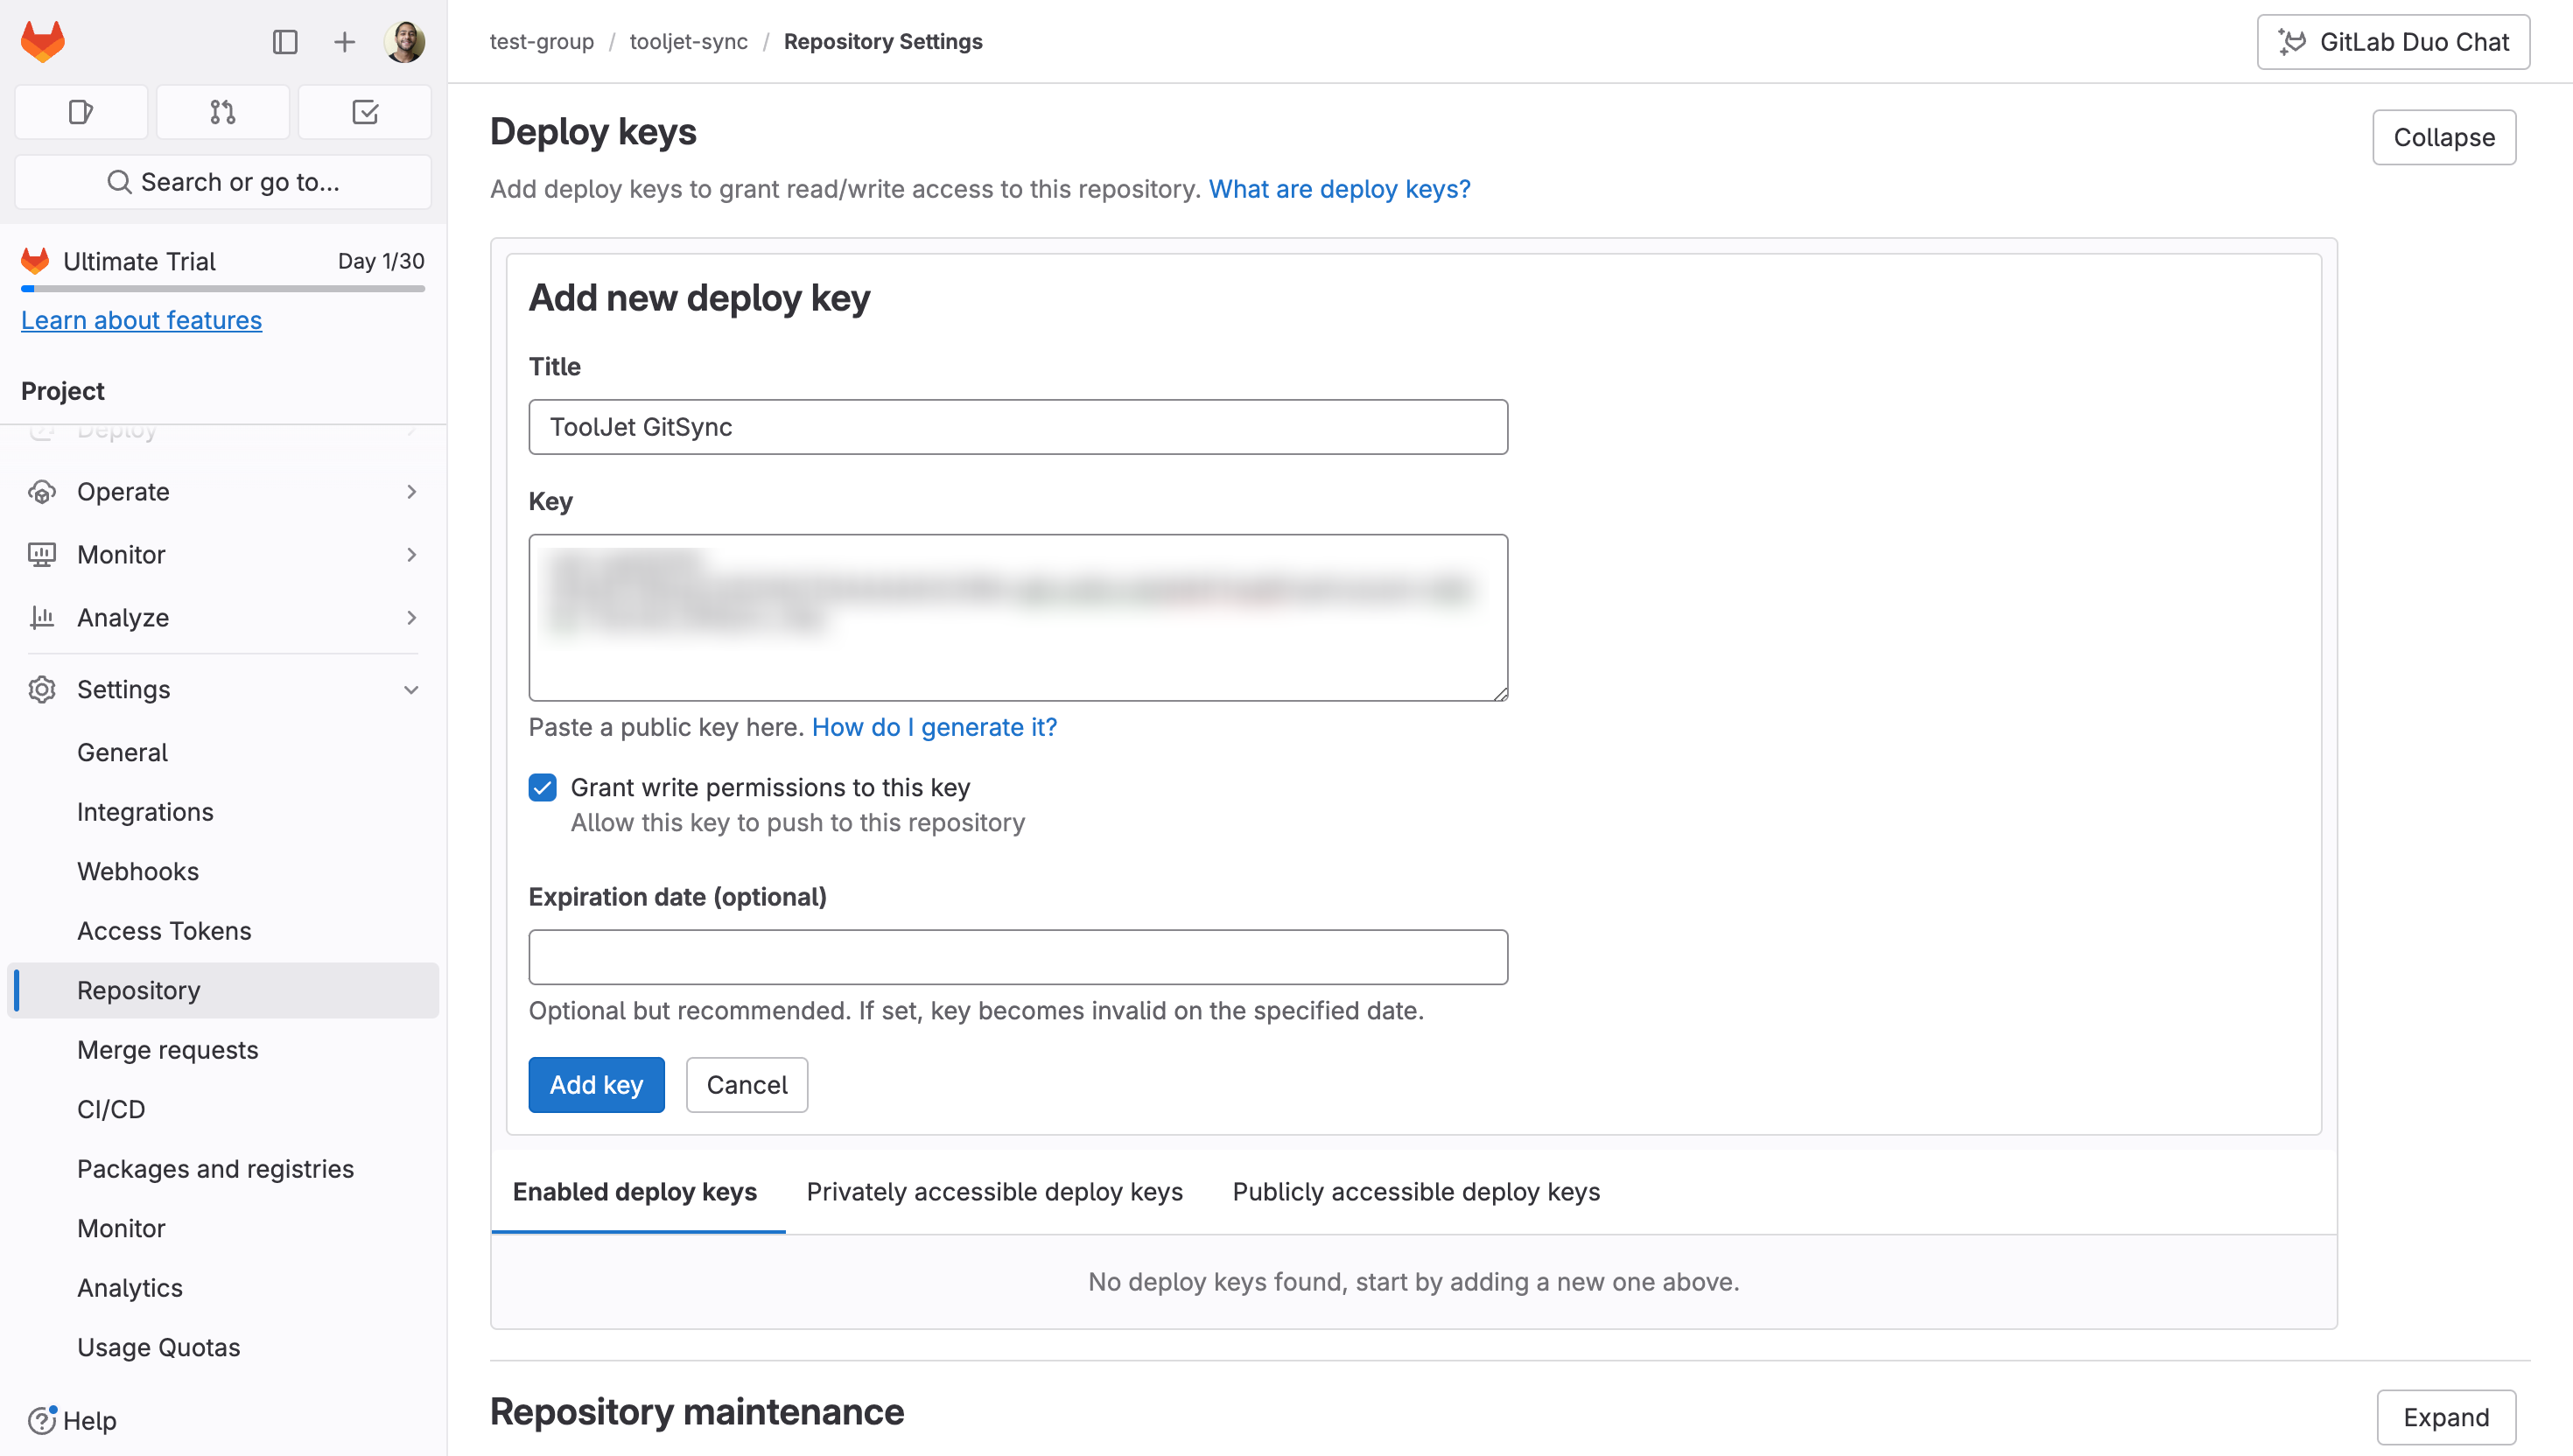
Option 2: Add as a Deploy Key
Use this option for access to a specific repository only.
-
Navigate to the repository you want to add the key to.
-
Click on the Settings tab and select Repository.
-
Once you are in the Repository Settings, expand the Deploy Keys section.
-
Click on the Add new deploy key button.
-
Give your key a descriptive title.
-
In the Key field, paste the SSH key you generated in ToolJet's Configure Git tab during the previous step.
-
Enable the Grant write permissions to this key checkbox. We need this permission to push changes to the repository.
-
Click Add key to save.
Gitea
- Go to the Settings tab of the Gitea repository, and click on the Deploy keys tab. Click on the Add deploy key button.
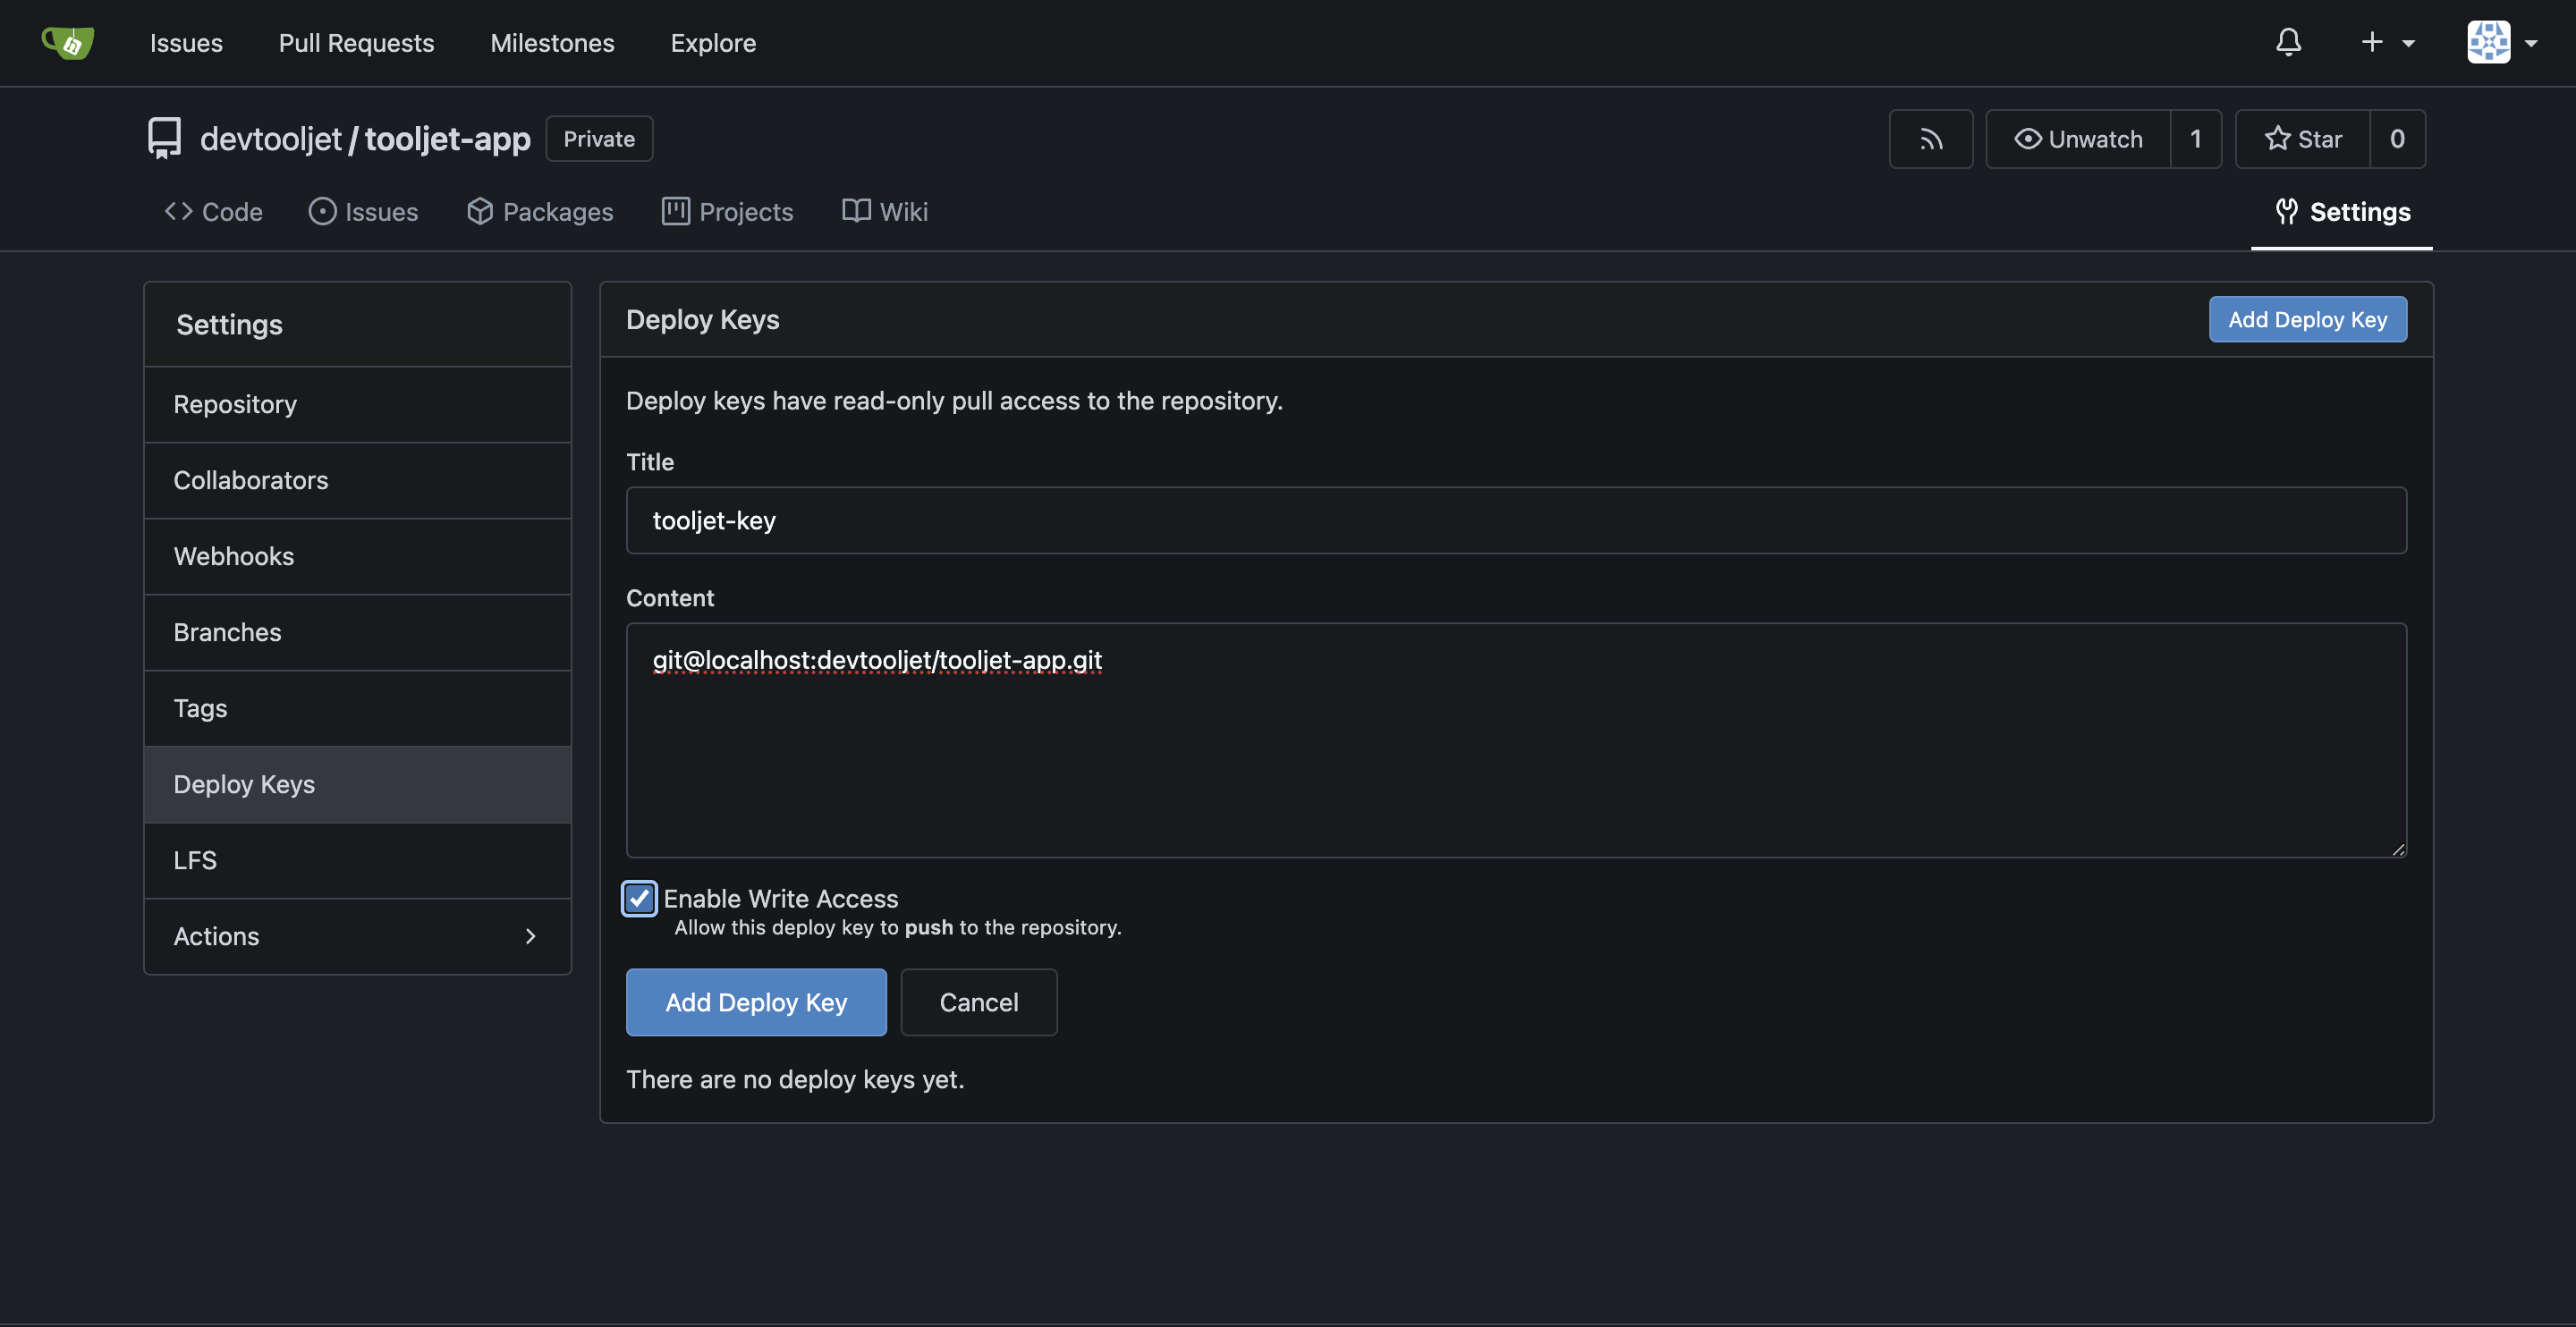
-
Enter a title for the SSH key in the Title field.
-
Paste the SSH key generated from the ToolJet.
-
Make sure that the Allow write access checkbox is checked, especially when configuring the GitSync feature to push changes to Git. However, it is not mandatory to check this option when setting up the GitSync feature for pulling changes from Git.
-
Finally, click on the Add Deploy key button.