Quickstart Guide
This quickstart guide walks you through the process of creating an employee directory app using ToolJet. The application lets users track and update employee details while working with core features of the platform, all within a user-friendly interface. Here are the step-by-step instructions:
1. Create Your First Application
2. Create a Database Table
3. Create a Query to Fetch Data
4. Bind Queried Data to the UI
5. Create a Query to Add Data
6. Use Events to Trigger Queries
7. Preview, Release and Share
1. Create Your First Application
To begin, create a free ToolJet account and follow the steps below.
- Click on the Create new app button on the dashboard. Name your application as "Employee Directory".
- Click and drag a Table component on the canvas. Optionally, you can also design a header by adding more components.
2. Create a Database Table
Now, create a new table in ToolJet’s Database to store employee records.
- Name the table employees, then add the following columns: firstname, lastname, email, phone, department, position, joining, and status.
- Add a few employee records in the database table as placeholder data.
3. Create a Query to Fetch Data
To display employees in the application, you will first have to fetch the data from the database using a query.
- Click on the Add button in the Query Panel to create a new query.
- Select ToolJet Database as the data source for the query.
- Rename the query to getEmployees.
- Choose employees as the Table name, and List rows as the Operation.
- To automatically run the query when the app starts, enable the toggle for Run this query on application load? setting.
- Click on the Run button to fetch data.
4. Bind Queried Data to the UI
Now, you need to bind the data returned by the getEmployees query with the Table created in the first step.
- Click on the Table component to open its properties panel.
- Under the Data property, enter the below code:
{{queries.getEmployees.data}}
Now the Table component is filled with the data returned by the getEmployees query.
5. Create a Query to Add Data
In the bottom-right corner of the Table component, there is a +(Add new row) button that opens an auto-generated form to add new data to the Table. Follow the steps below to create an addEmployees query and execute it when you click the Save button on the auto-generated form.
- Click on the Add button in the query panel, and select ToolJet Database as the data source.
- Select employees as the Table name, and Create row as the Operation.
- Rename the query to addEmployees.
- Click on Add Column to add the required columns.
- Enter the code below for email and firstname column keys:
{{components.table1.newRows[0].email}}
{{components.table1.newRows[0].firstname}}
...
Frame all the remaining keys in the same format.
6. Use Events to Trigger Queries
The addEmployees query should run when you click the Save button on the auto-generated form. The Table component should then reload and display the updated data whenever a new employee is added. Follow the steps below to set up this functionality using events.
- In the addEmployees query's configuration, scroll down and click on New event handler to add a new event.
- Select Query Success as the Event, Run Query as the Action, and getEmployees as the Query.
- Click on the Table component, and click on New event handler in the properties panel.
- Choose Add new rows as the Event, Run Query as the Action, and addEmployees as the Query.
Now, when you click the + (Add new row) button on the Table component, enter the employee details, and click Save, the data will be added to the database and automatically reflected in the Table component on the UI.
7. Preview, Release, and Share
The preview, release and share buttons are at the top-right of the App-Builder.

- Click on the Preview button on the top-right of app builder to review how your application is coming along during development.
- Once the development is done and you are ready to use the application, click on the Release button to deploy the app.
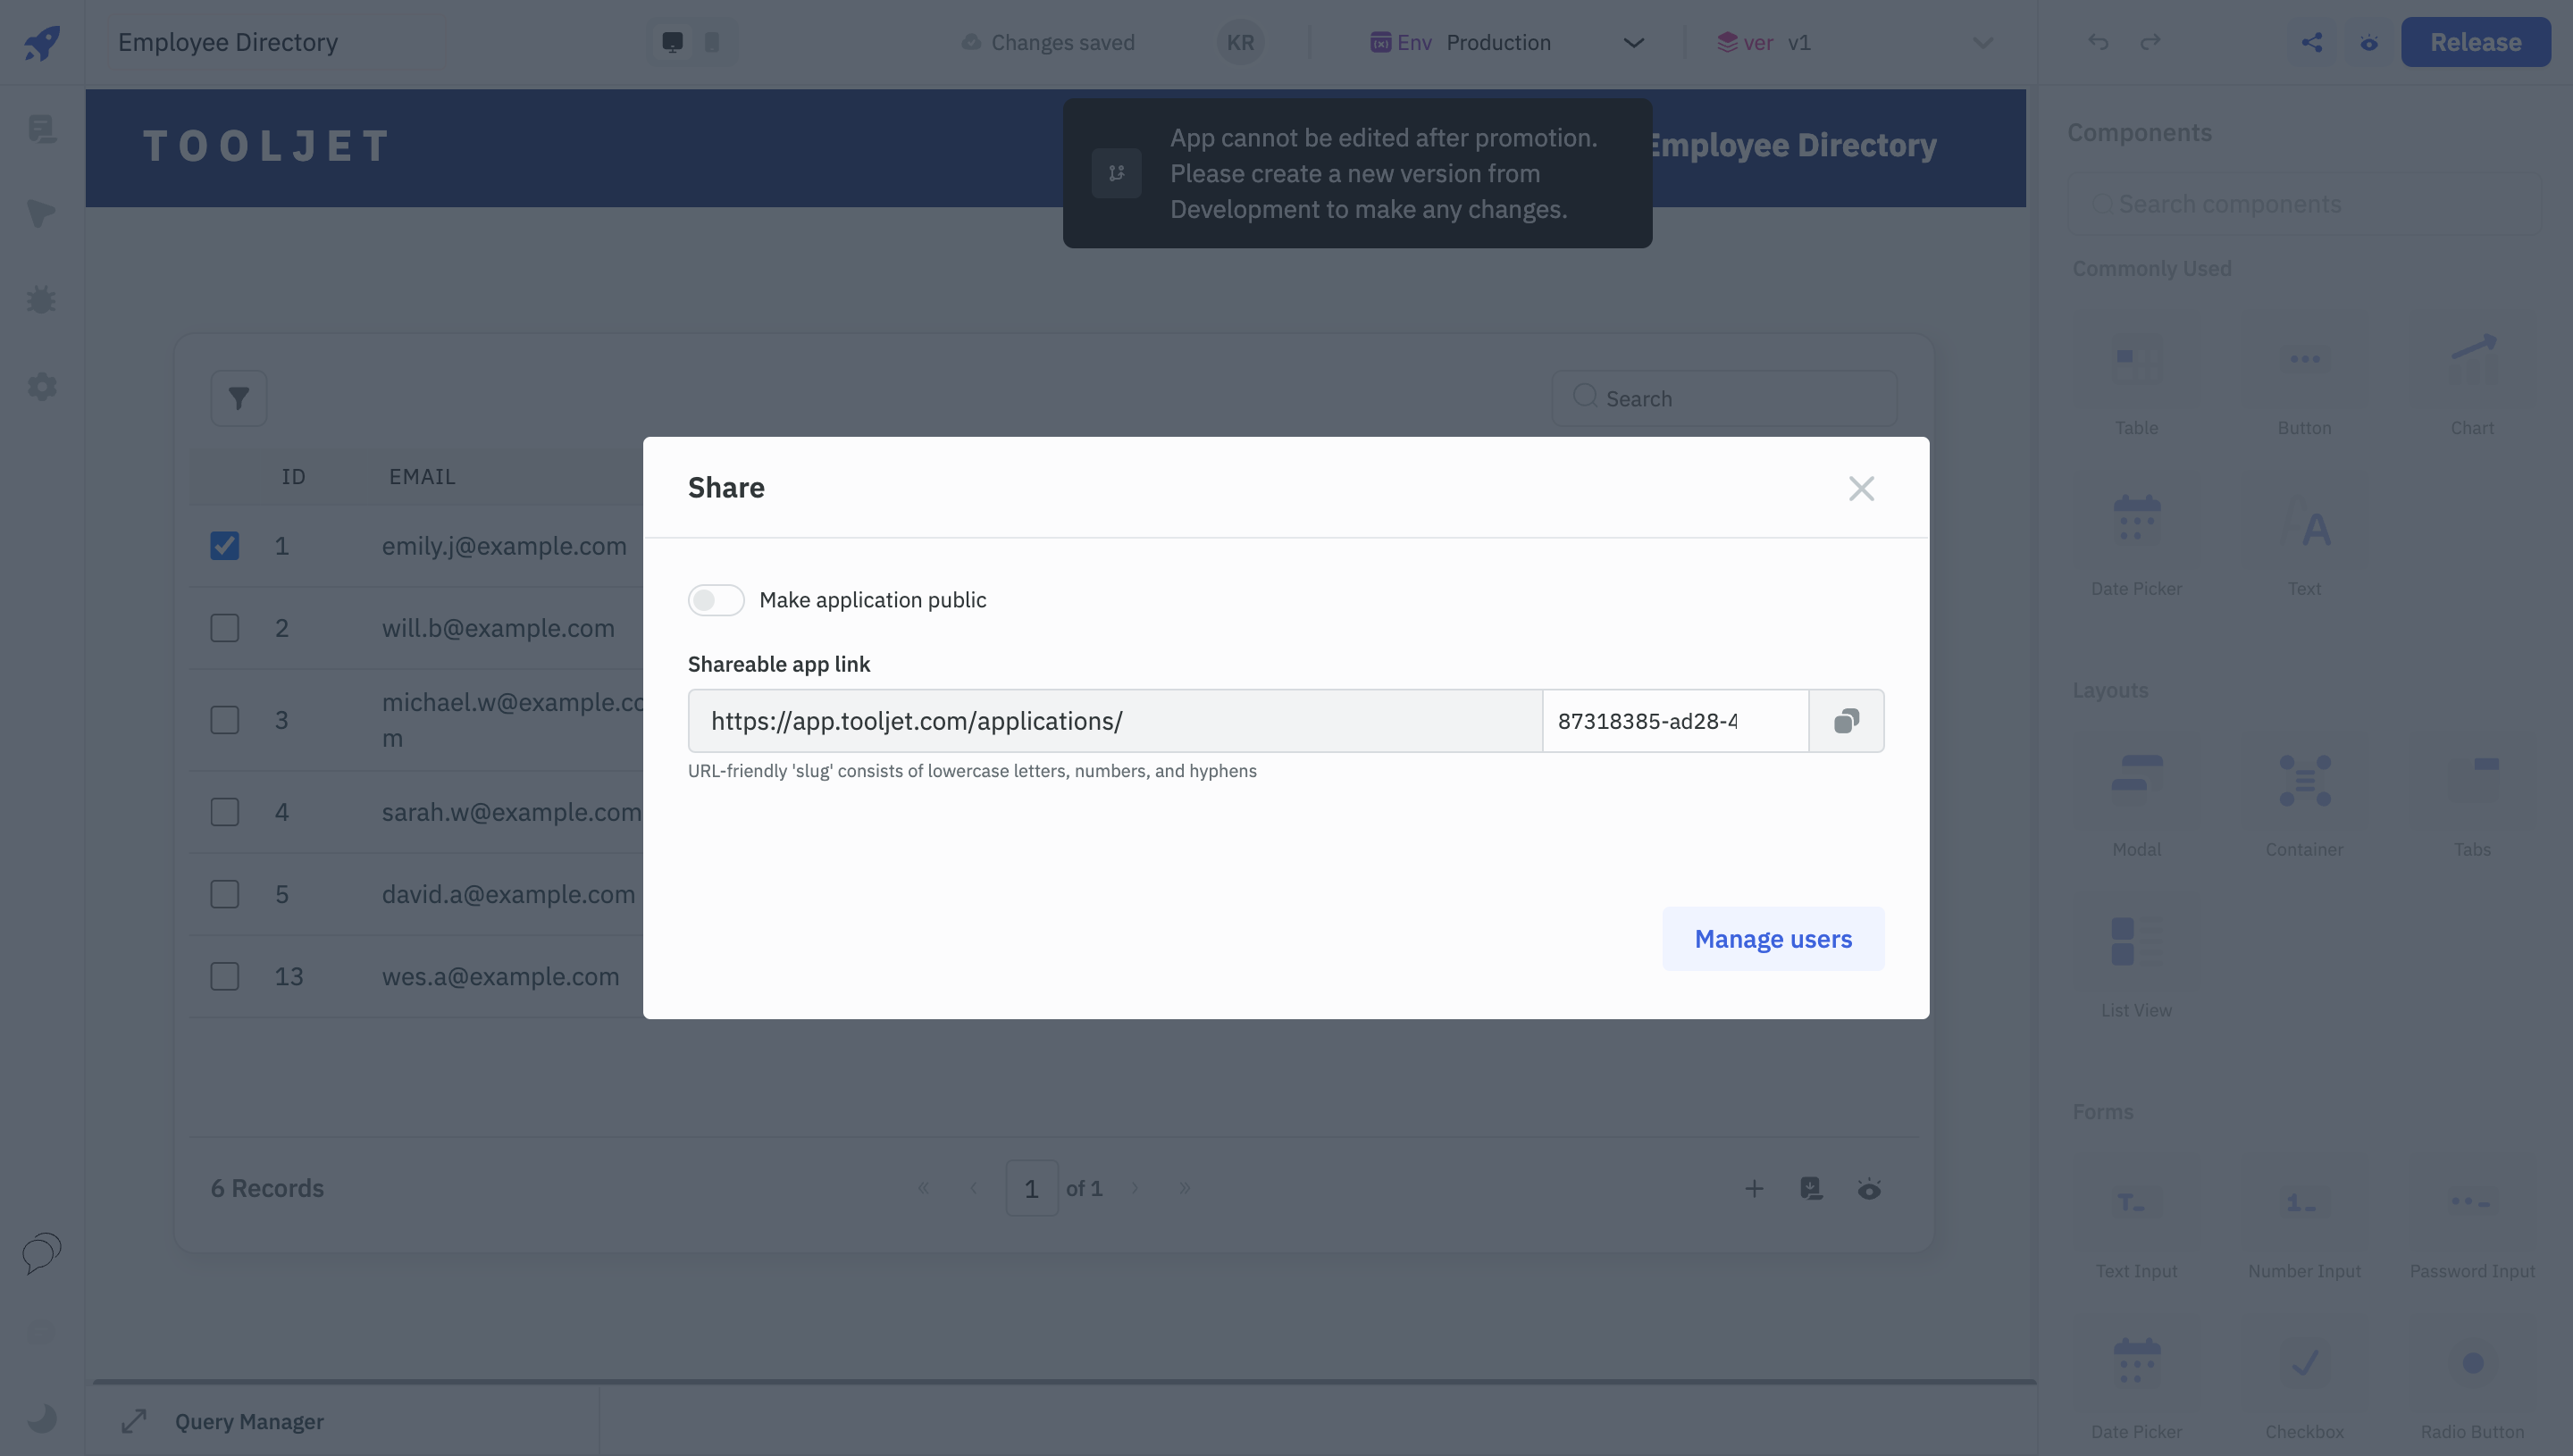
- Finally, share your application with your end users using the Share button.
Congratulations on completing the tutorial! You've successfully built an employee directory application and, in the process, learnt the fundamentals of ToolJet.
To learn more about how ToolJet works, explore the subjects covered in ToolJet Concepts.