DigitalOcean
Follow the steps below to deploy ToolJet on a DigitalOcean Droplet.
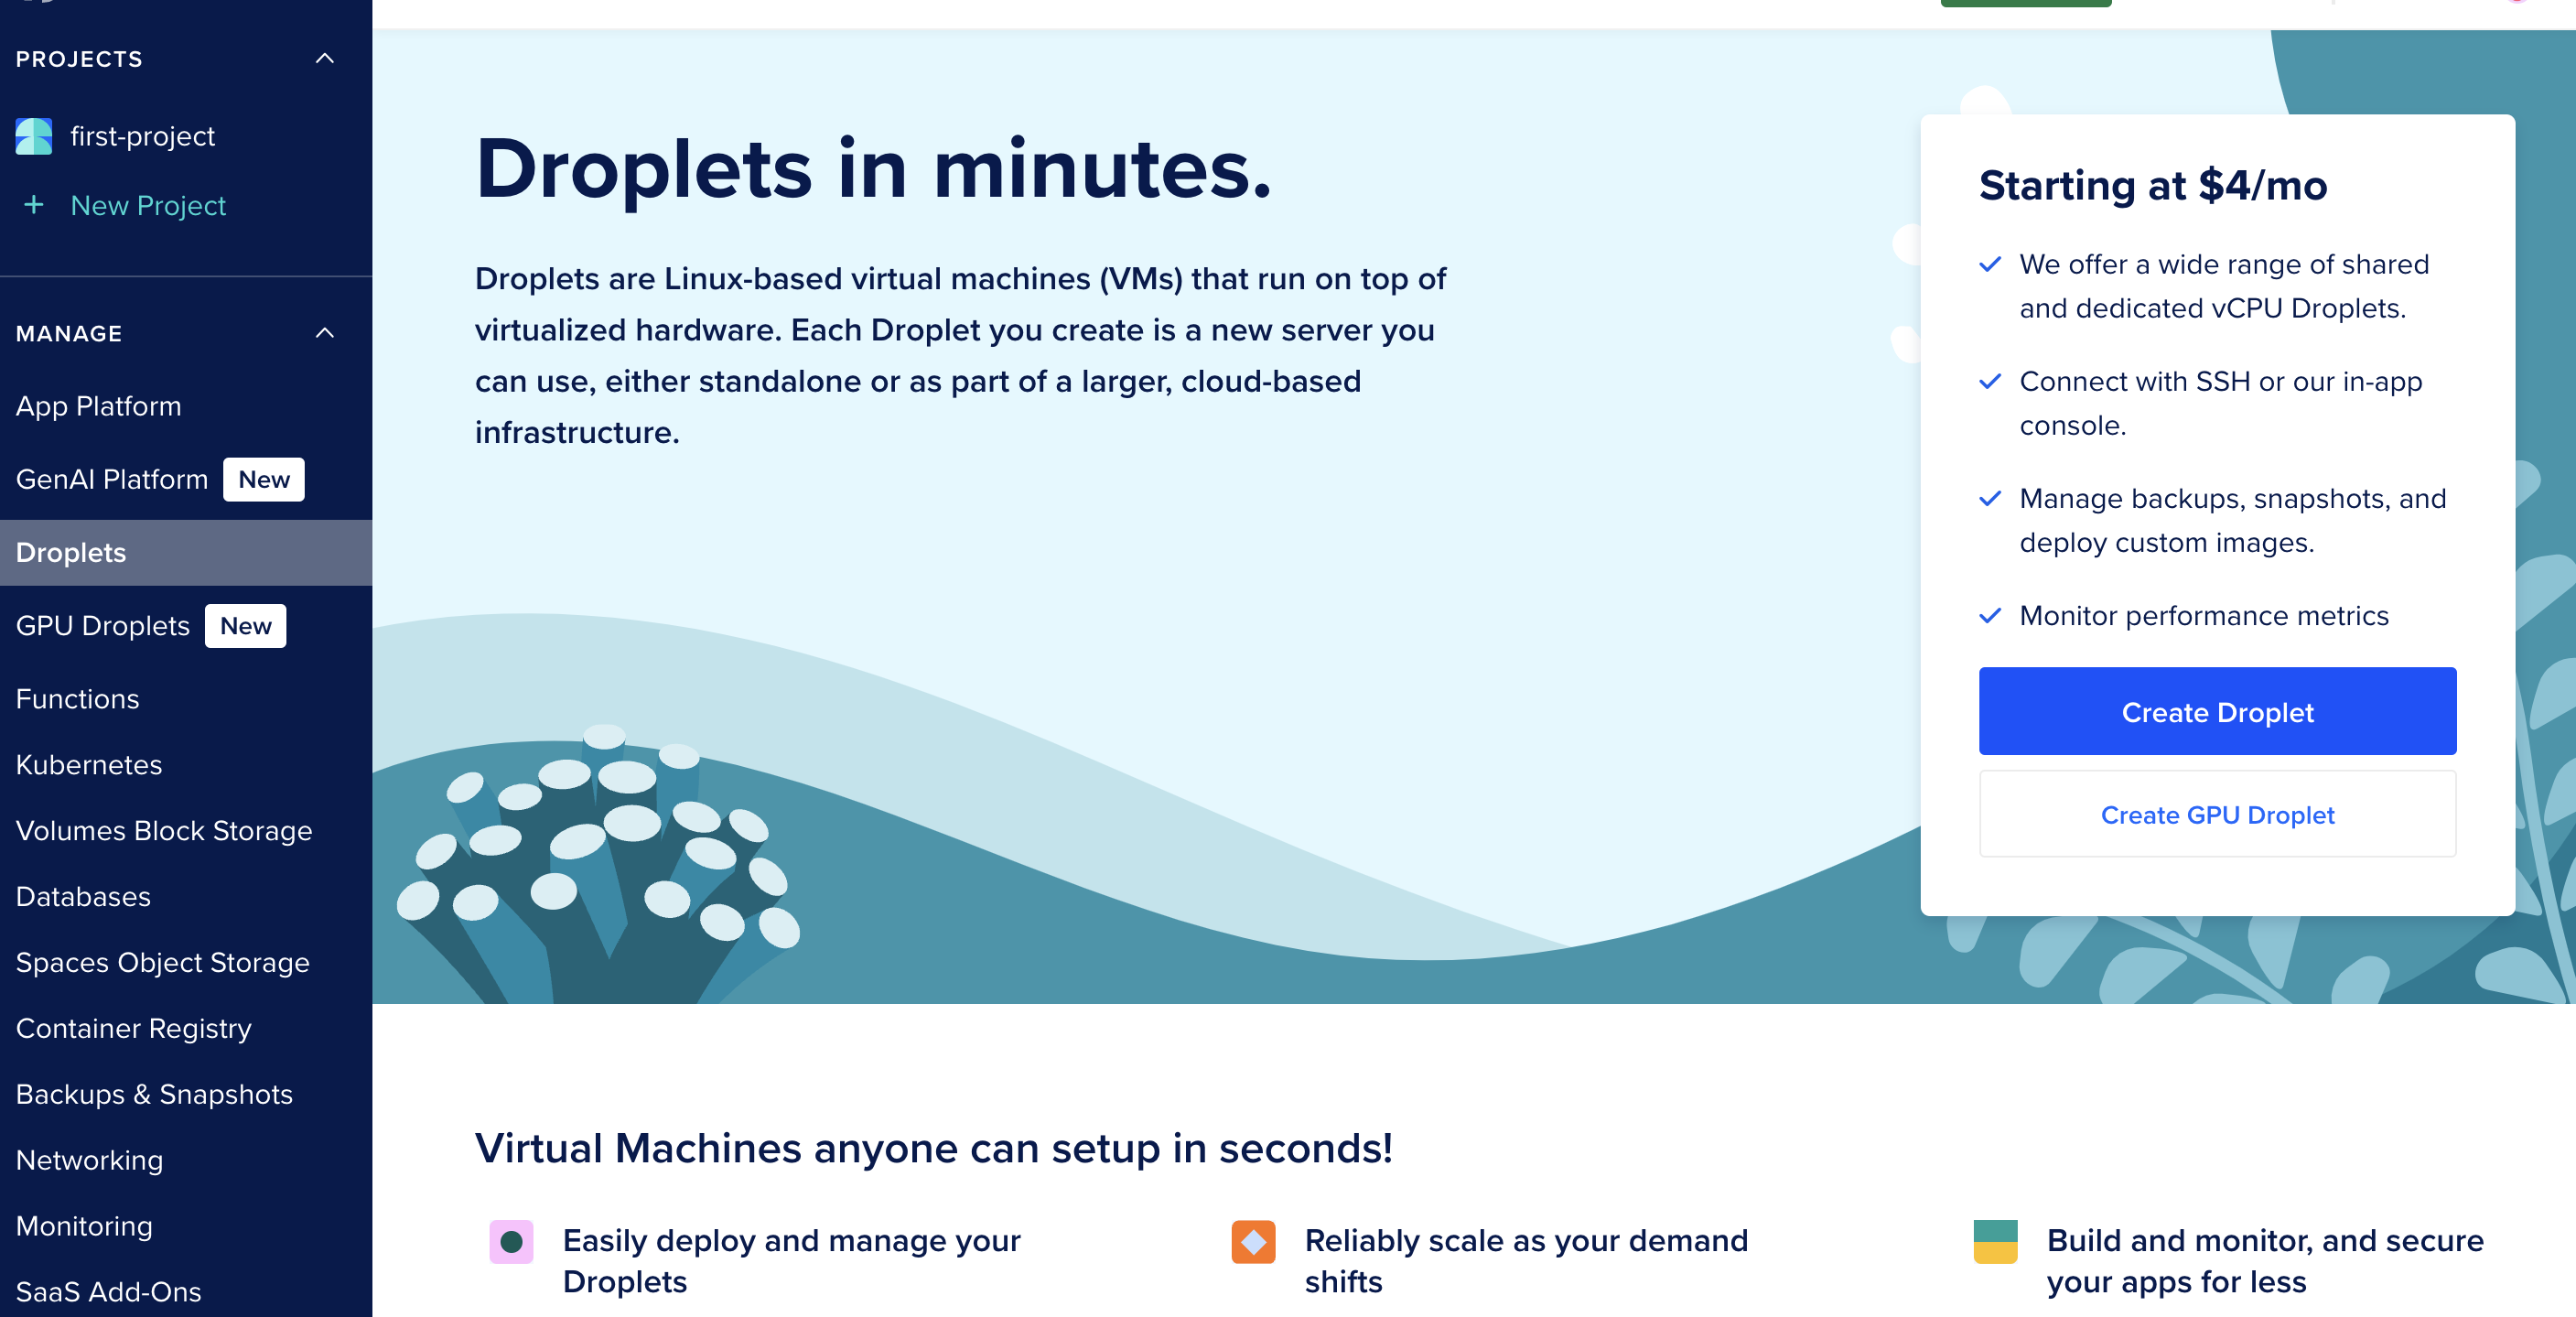
1. Navigate to the Droplets section in DigitalOcean.

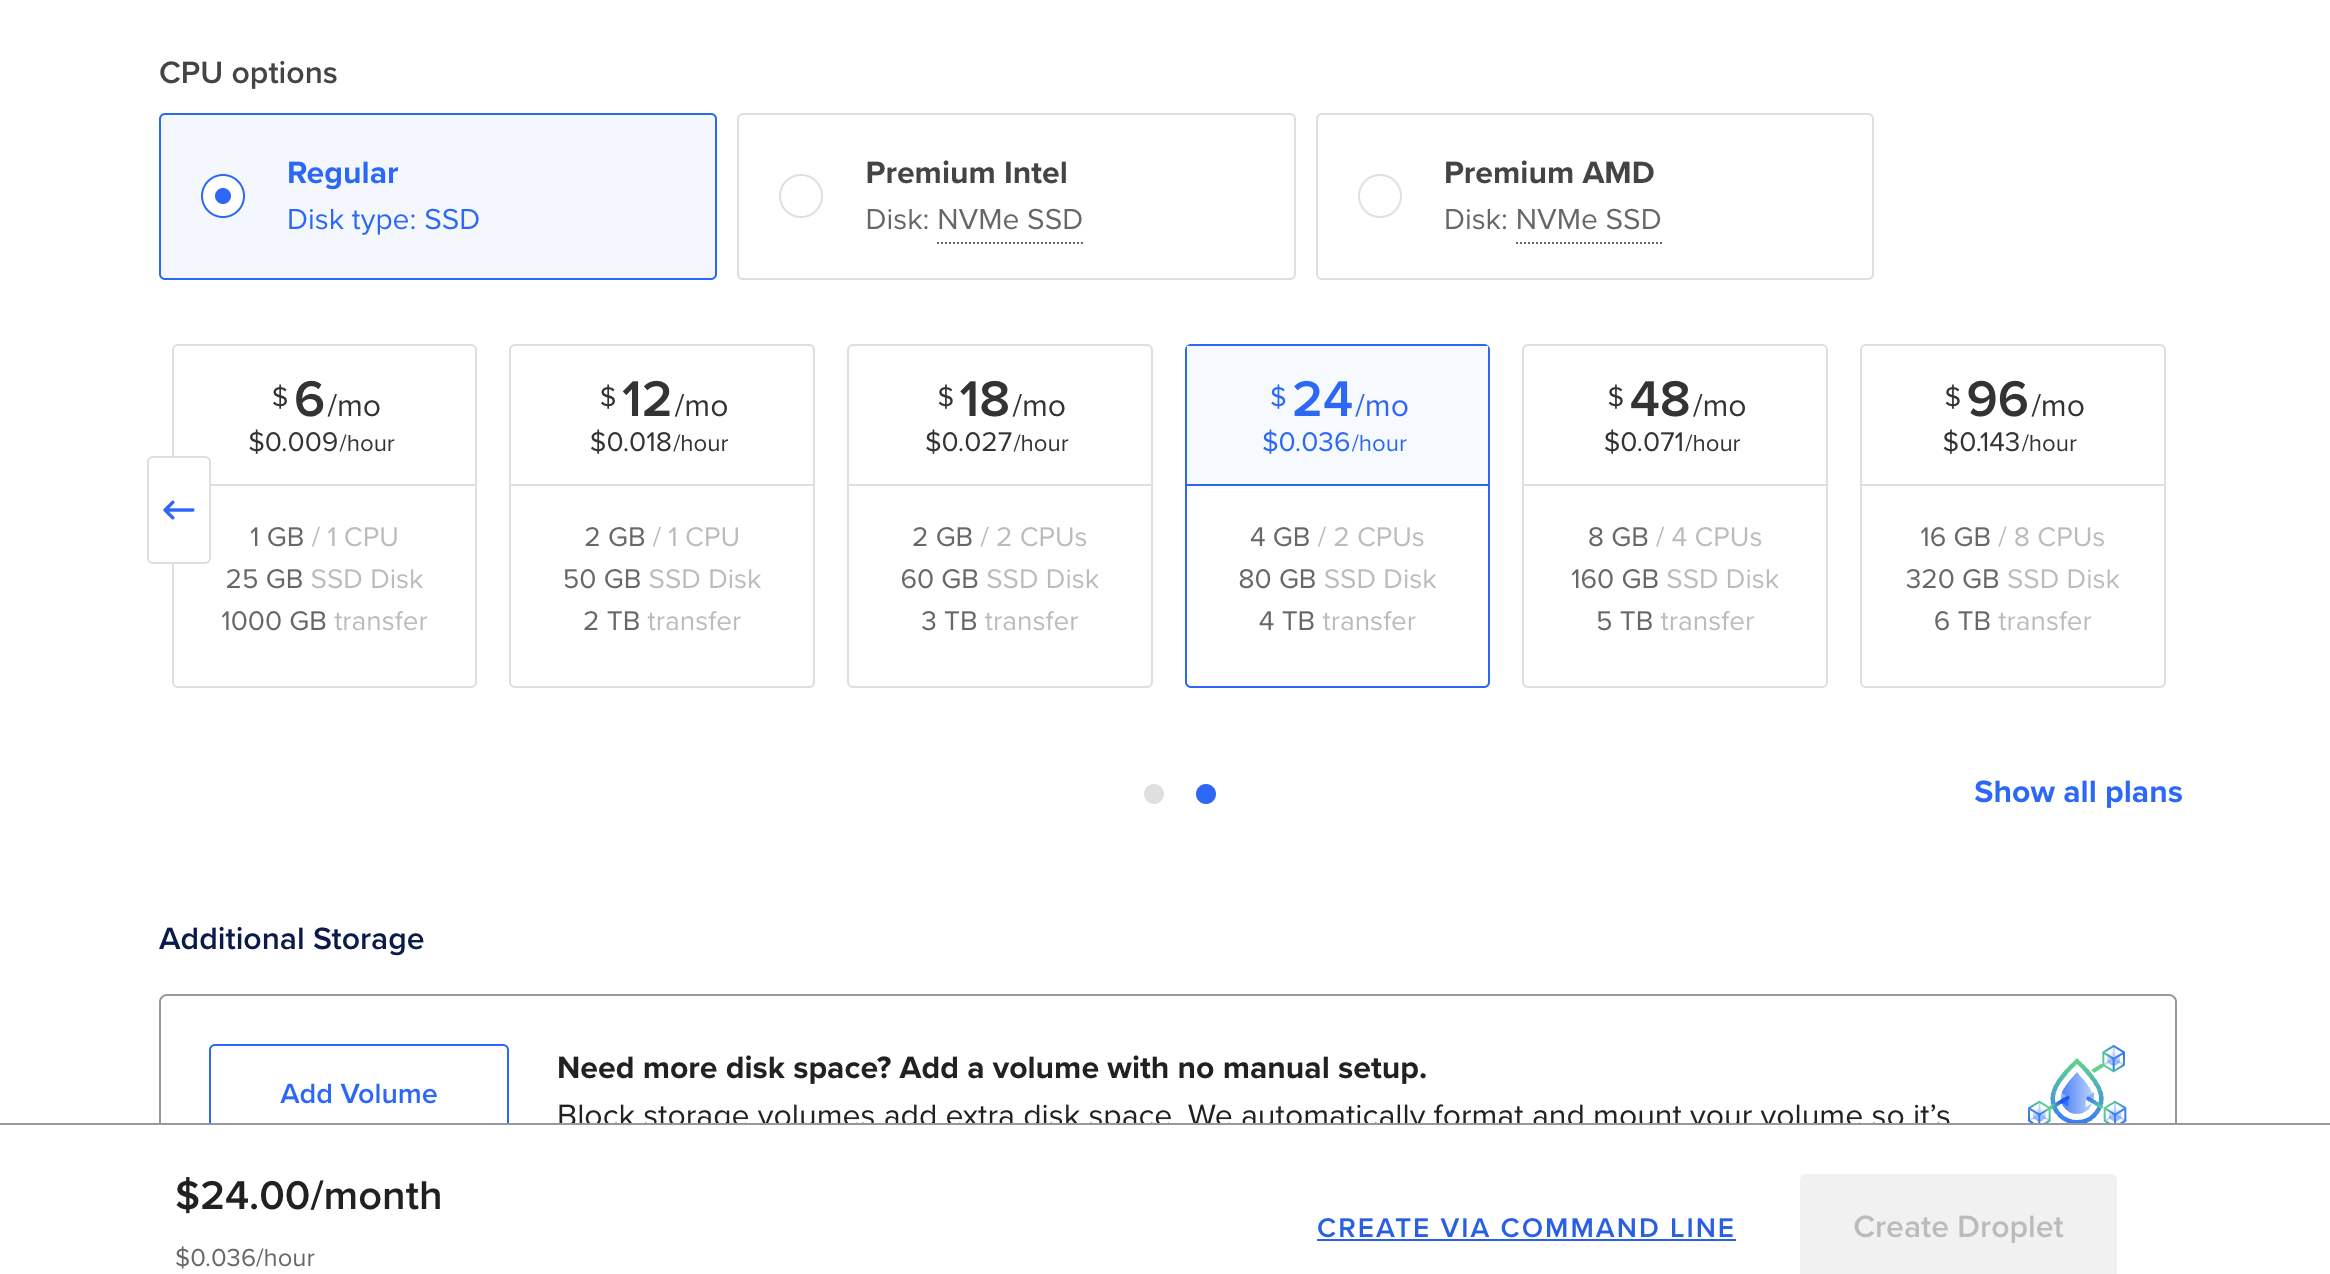
2. Configure the Droplet with the following options:
-
Image: Ubuntu
-
Plan: Choose a plan (e.g., Basic, 4GB RAM, 2 vCPU)

- Auth: For authentication, use password or ssh
- Click Create Droplet and note the assigned public IP
3. Create a Firewall for the Droplets to allow required ports.
| protocol | port | allowed_cidr |
|---|---|---|
| tcp | 22 | your IP |
| tcp | 80 | 0.0.0.0/0 |
| tcp | 443 | 0.0.0.0/0 |
4. Connect to the Droplets via SSH.
5. Install Docker and Docker Compose using the following commands:
apt update && apt upgrade -y
apt install -y docker.io
Enable and start Docker:
systemctl enable docker
systemctl start docker
Install Docker Compose:
apt install -y curl
curl -SL https://github.com/docker/compose/releases/latest/download/docker-compose-linux-x86_64 -o /usr/local/bin/docker-compose
chmod +x /usr/local/bin/docker-compose
Verify installation:
docker --version
docker-compose --version
6. Update the TOOLJET_HOST in the .env file:
TOOLJET_HOST=http://<public_ip>:80
7. Use the Docker Documentation to deploy ToolJet.
Upgrading to the Latest LTS Version
New LTS versions are released every 3-5 months with an end-of-life of atleast 18 months. To check the latest LTS version, visit the ToolJet Docker Hub page. The LTS tags follow a naming convention with the prefix LTS- followed by the version number, for example tooljet/tooljet:ee-lts-latest.
If this is a new installation of the application, you may start directly with the latest version. This guide is not required for new installations.
Prerequisites for Upgrading to the Latest LTS Version:
-
It is crucial to perform a comprehensive backup of your database before starting the upgrade process to prevent data loss.
-
Users on versions earlier than v2.23.0-ee2.10.2 must first upgrade to this version before proceeding to the LTS version.
If you have any questions feel free to join our Slack Community or send us an email at [email protected].