Managing Users and Groups
This guide explains how to manage users and groups in ToolJet. For an overview of the permission system, please refer to the Permissions documentation.
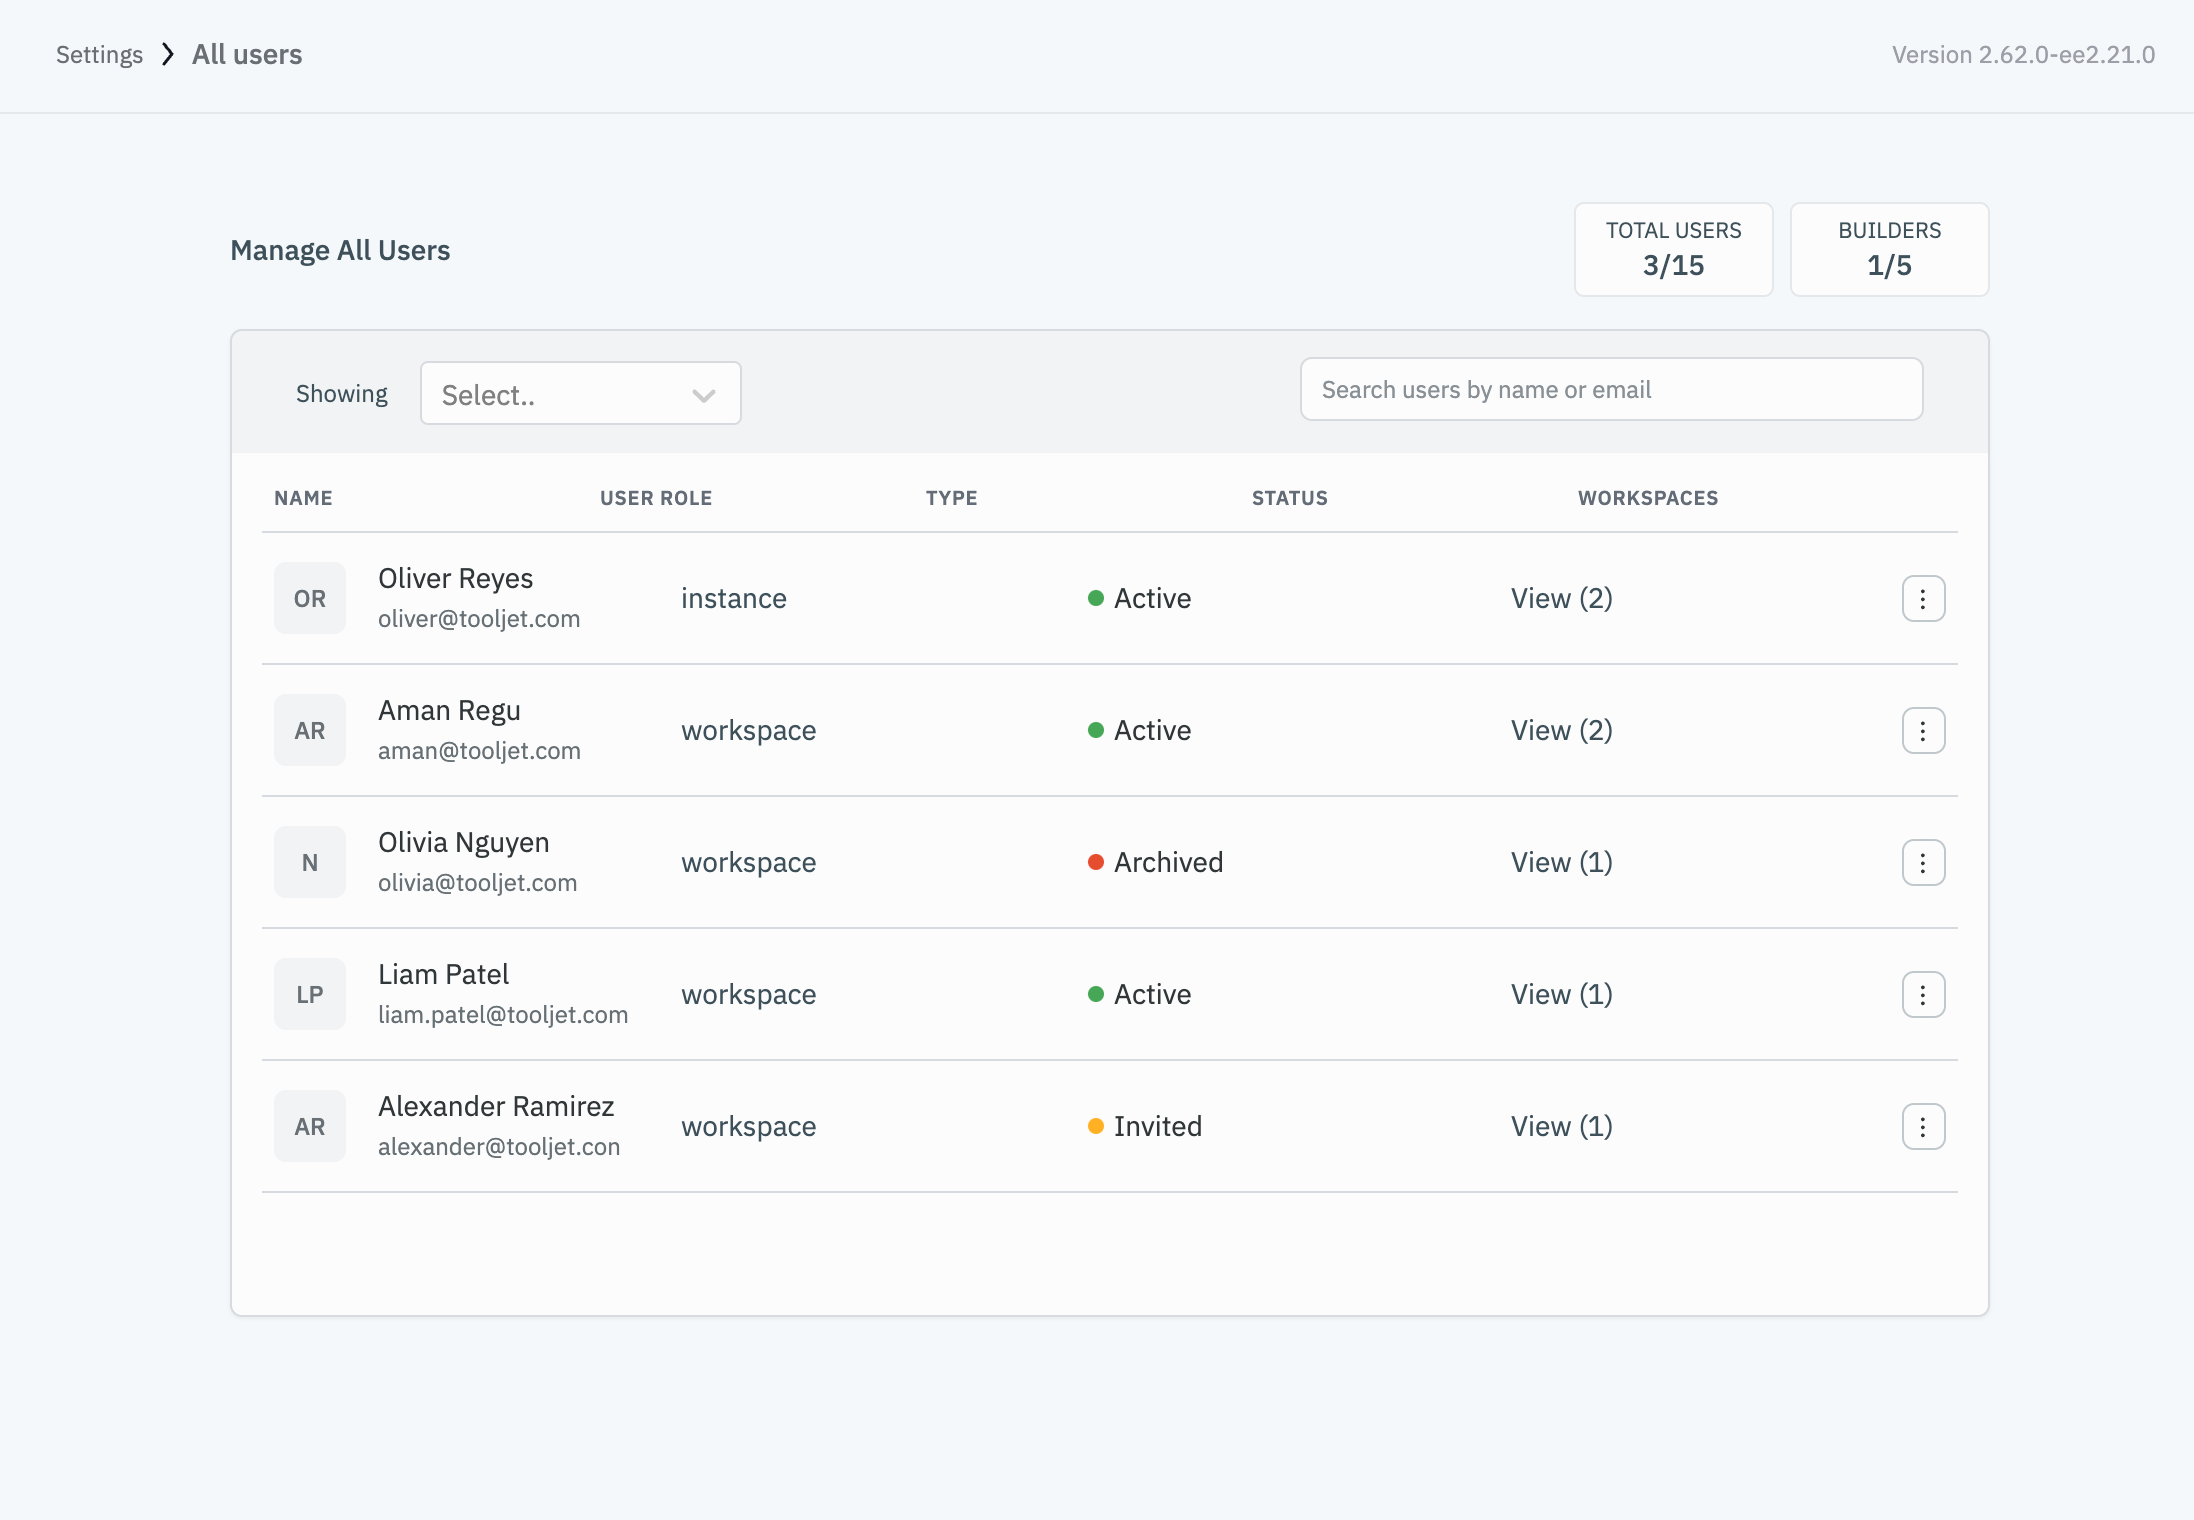
Managing Users Across Workspaces
Admins can view and manage users across all workspaces in their ToolJet instance. To view users across workspaces:
- Go to Settings > All Users.
- This will let you view all users in your instance across all workspaces.
- The total users and builder count will be displayed on the top right corner of the page.
Managing Users in a Workspace
Admins of a workspace can invite users to the workspace, archive/unarchive existing users, and manage user metadata. To manage users in a workspace:
- Go to the Workspace Settings.
- Click on the Users tab.

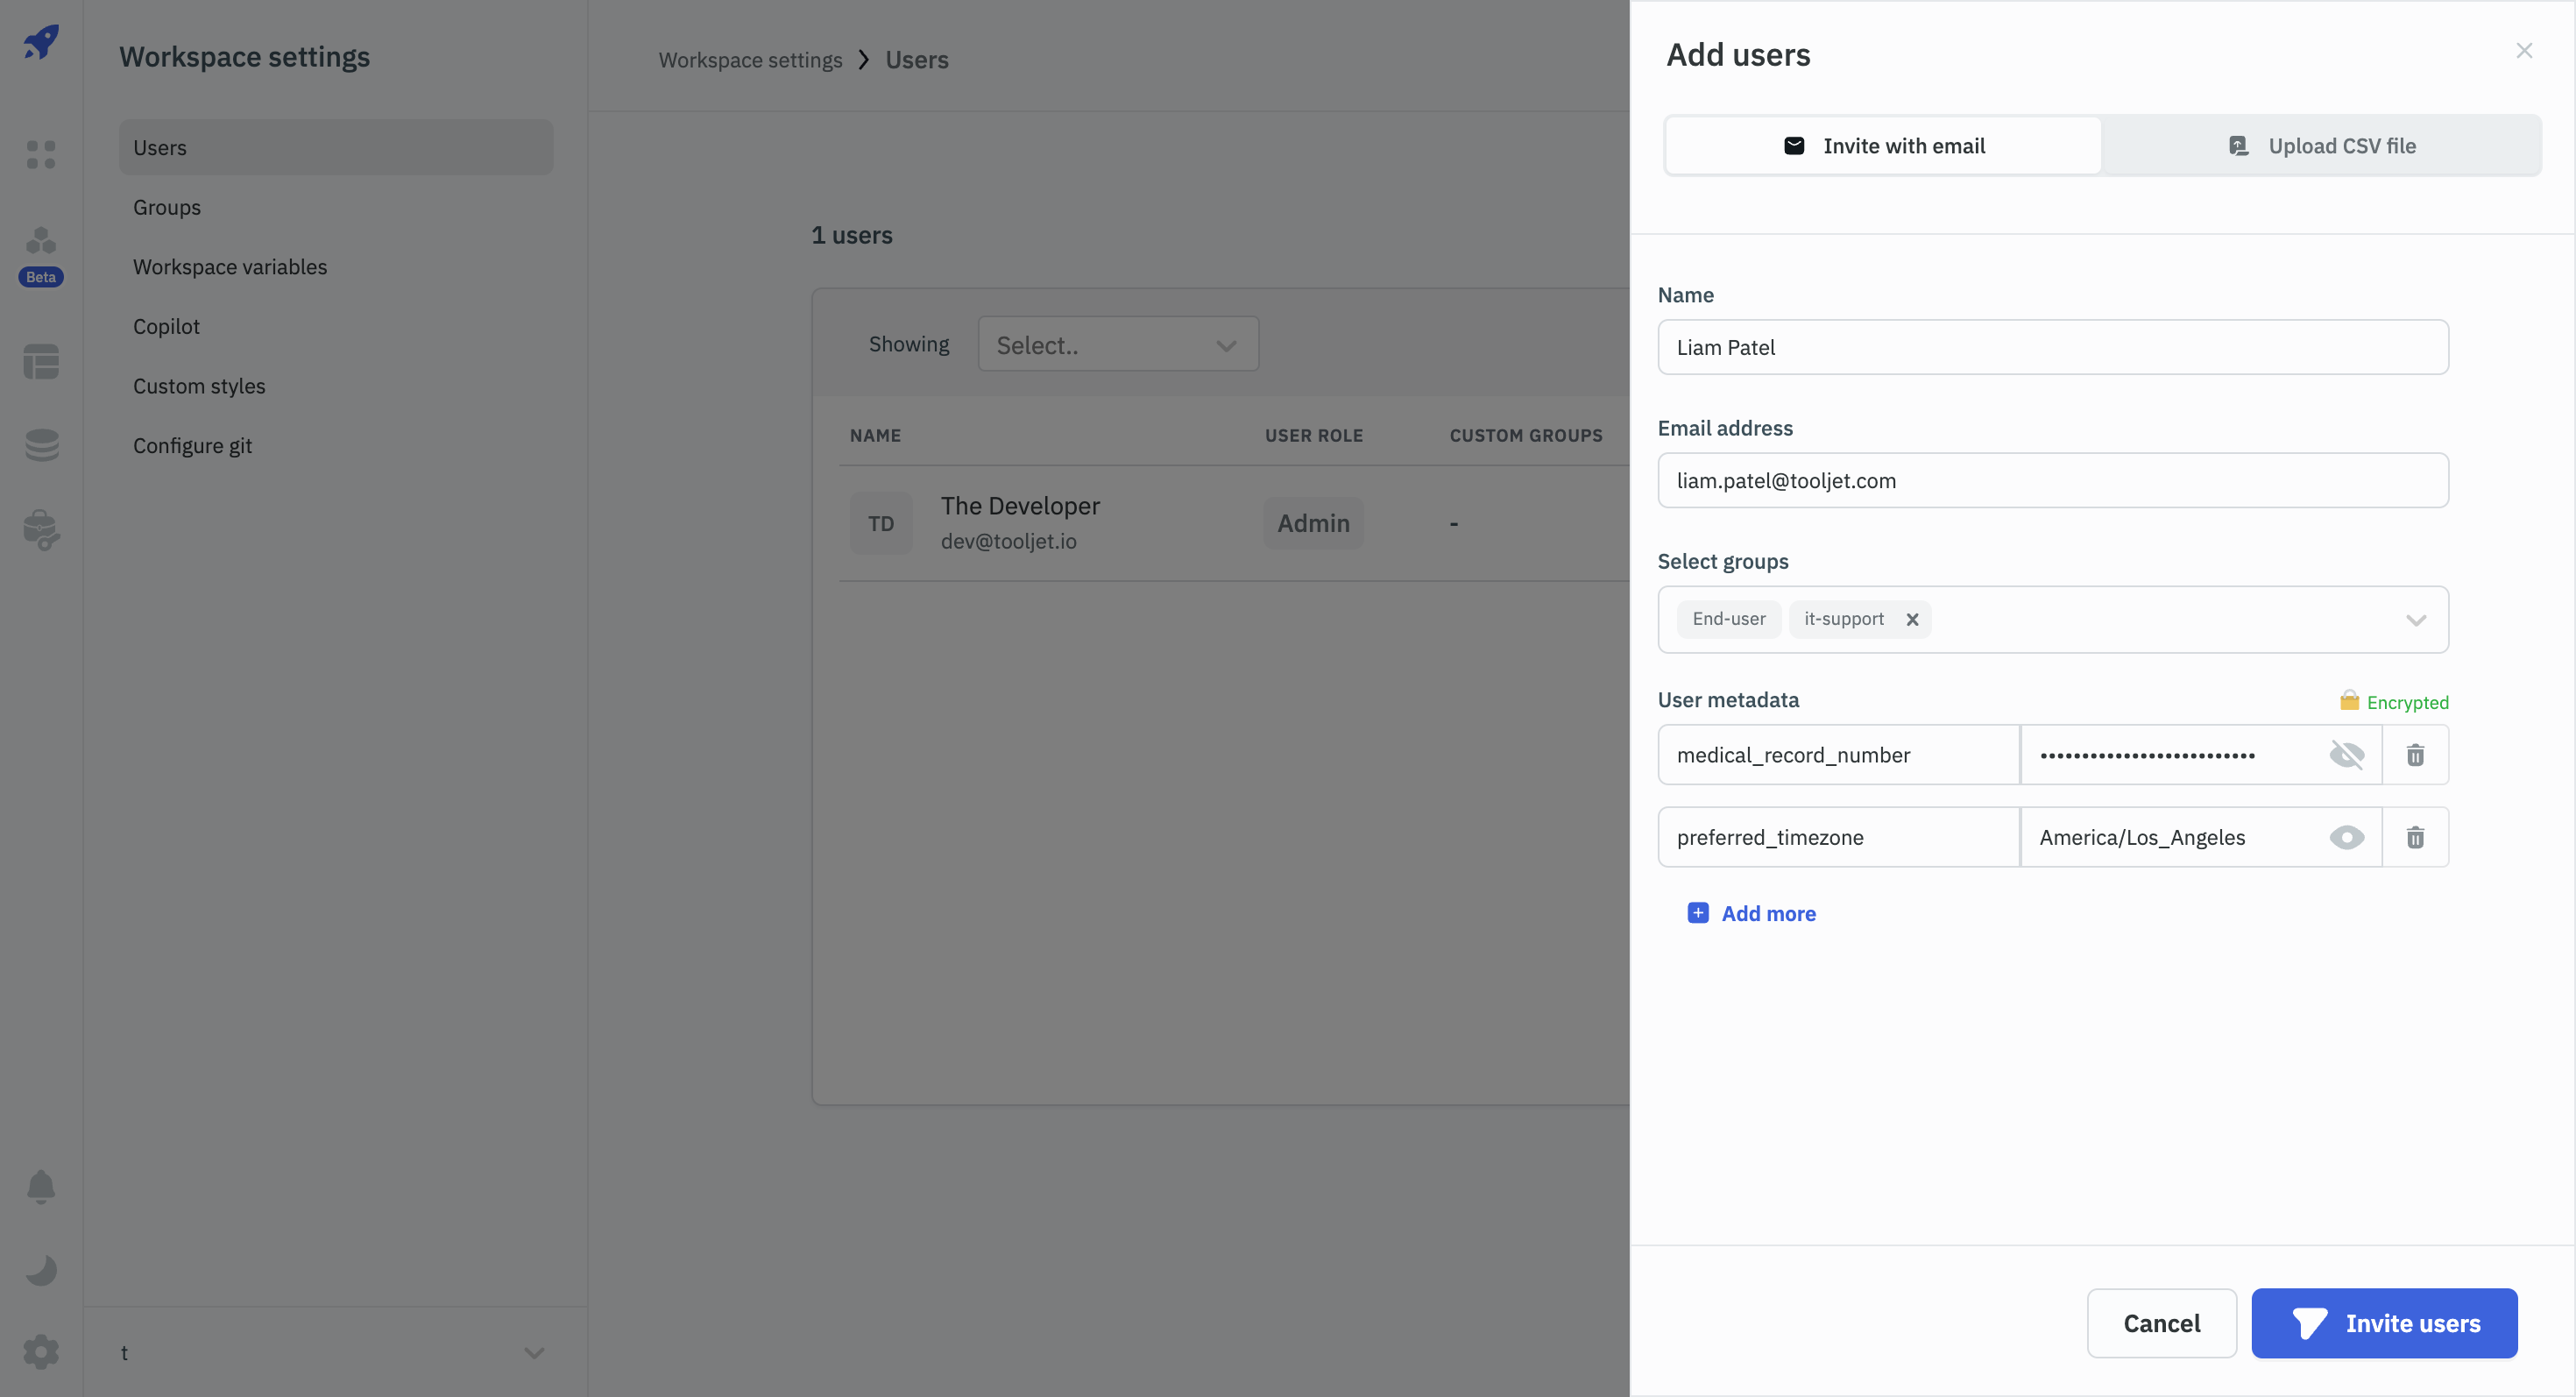
Inviting Users
Admins can invite users to a workspace using the email address. To invite new users to your workspace:
- Go to Workspace Settings > Users.
- Click the Add users button.
- In the drawer that opens, fill in the user's details:
- Full Name
- Email address
- User Role:
- Admin, Builder, or End-user
- Optional: Assign to custom groups
- Optional: Add user metadata (key-value pairs)
- Click Invite Users to send the invitation.
An email containing the invite link to join the workspace will be sent to the invited user. The status will change from Invited to Active once the user successfully joins your workspace using the invite link.
You can also copy the invitation URL by clicking on the Copy link next to the Invited status of the invited user.
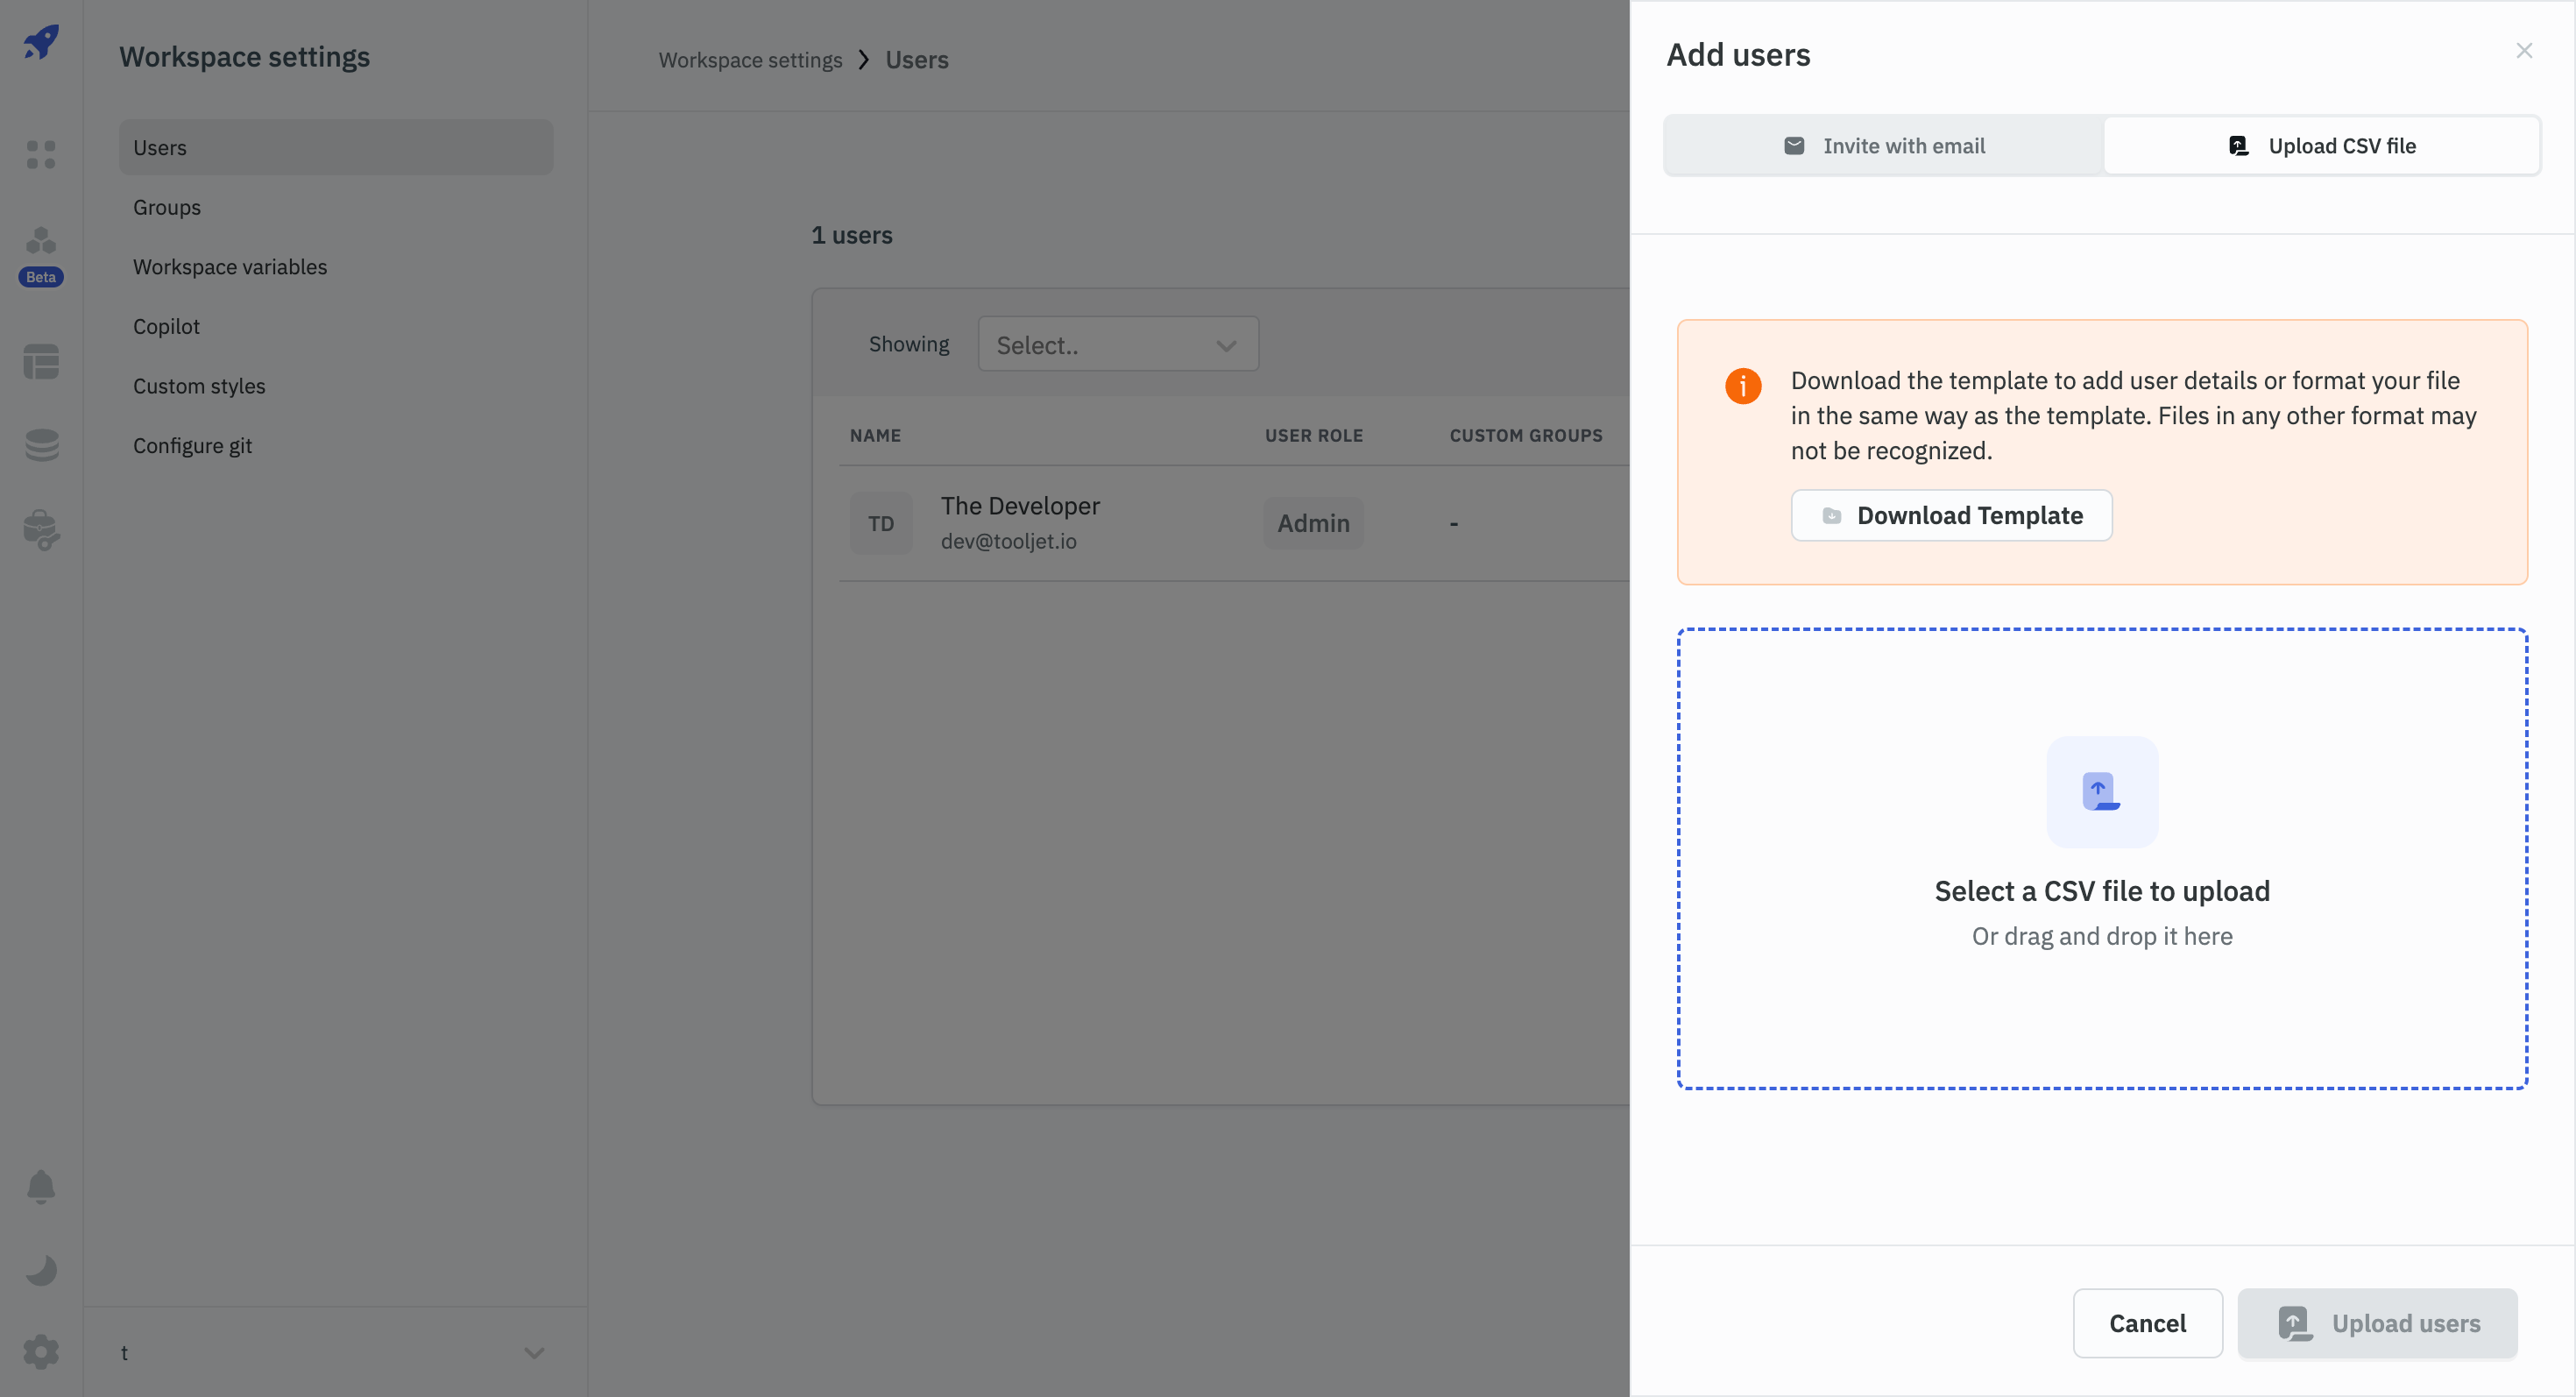
Bulk Inviting Users
You can invite multiple users to your workspace using a CSV file. To bulk invite users:
- Click Add users and select the Upload CSV file tab.
- Download the sample CSV file and fill it with user information, including optional metadata.
- Upload the completed CSV file.
When preparing your CSV file, you can include an optional column for user metadata. The metadata should be formatted as a JSON string in the CSV file.
Example CSV row with metadata
Full Name,Email,Role,Groups,Metadata
William Cushing,[email protected],Admin,,"{'key1': 'value1', 'key2': 'value2'}"
Edit User Details
Admins can edit the details of any user in their workspace. To edit the details of a user:
- Go to the Users settings from the Workspace Settings.
- Click on the kebab menu next to the user you want to edit and select Edit user details.
- In the drawer that opens, you can:
- Add or remove the user from groups
- Change the user's role (Admin, Builder, or End-user)
- Add, edit, or remove user metadata (key-value pairs)
- Once you have made the changes, click on the Update button.

User Metadata
User Metadata allows you to store additional information for users in your workspace. This custom data is stored at the workspace level and can include any key-value pairs relevant to your organization's needs.
- User metadata can be added when inviting a new user or editing an existing user. Additionally, you can also specify metadata while bulk inviting users.
- It can store various types of information such as user preferences, API keys, or role-specific data.
- Metadata is accessible in your applications through the global variable
{{globals.currentUser.metadata}}. - All metadata values are encrypted in the database for security.
- In the user interface, metadata values are masked to protect sensitive information.
Using User Metadata in Applications
You can access user metadata in the app builder using the following syntax:
{{globals.currentUser.metadata.<key>}} // Replace <key> with the key of the metadata value
Remember that while metadata values are masked in the user interface, they are accessible in the App builder. Ensure you handle any sensitive information appropriately in your app logic.
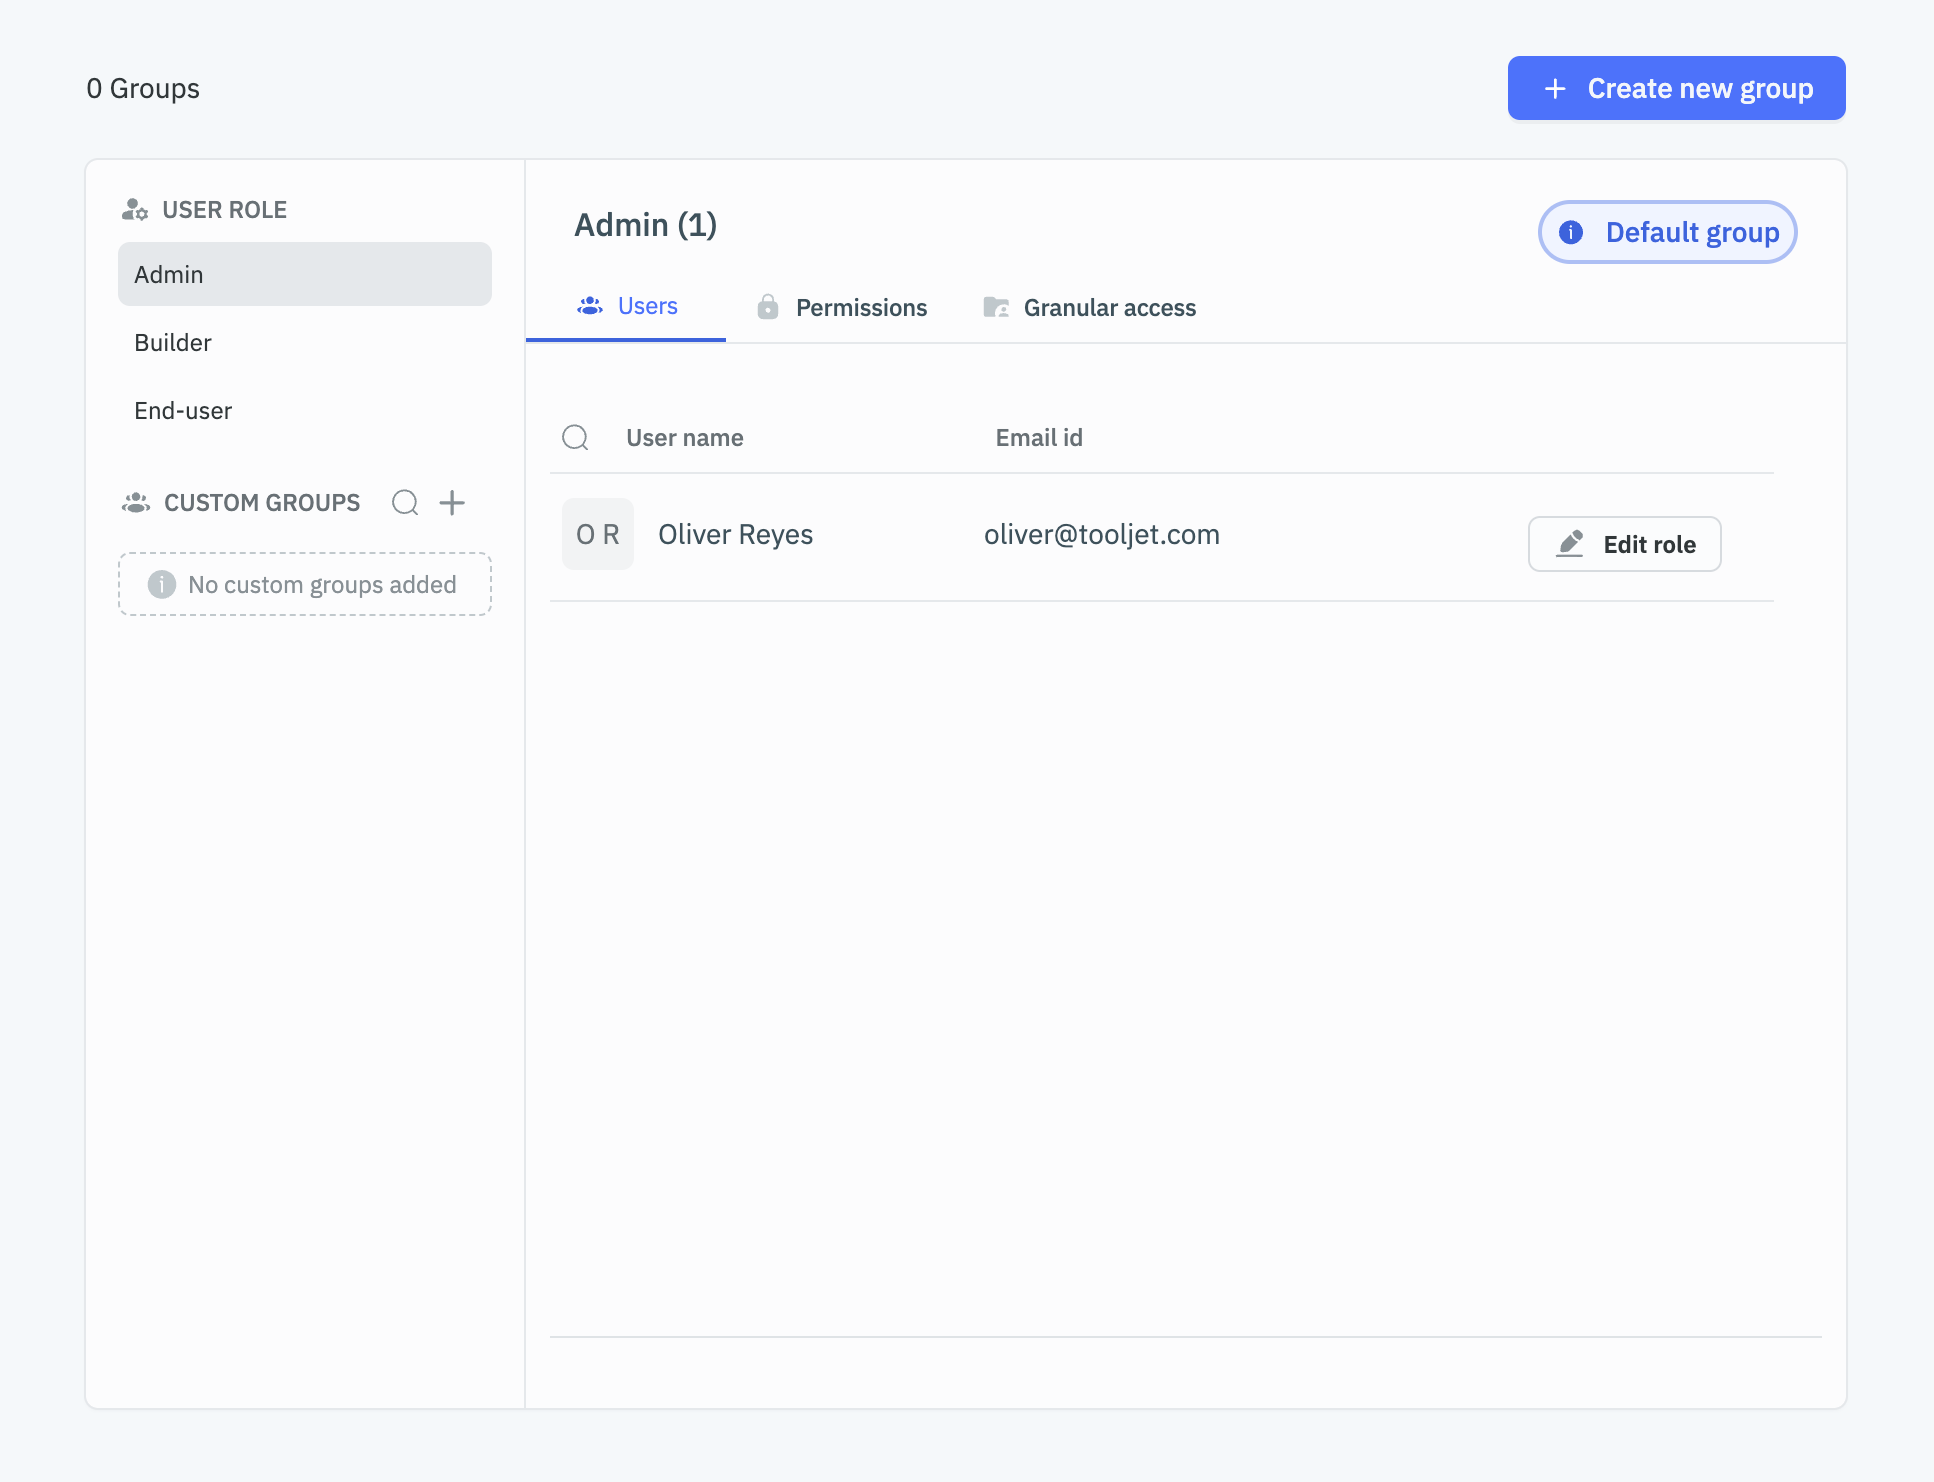
Managing Groups
Default Roles
By default, every workspace has three default roles:
- Admin: Full access to manage the workspace, including users, groups, and all resources.
- Builder: Can create and edit apps, data sources, and other resources.
- End-user: Can only view and use apps they have been given access to.
These roles have predefined permissions. The Admin and End-user roles cannot be modified, while the Builder role can be edited to change permissions. A user can be assigned to only one default role at a time.
Creating Custom Groups
Admins of a workspace can create custom groups to manage permissions. To create a custom group:
- Go to Workspace Settings > Groups.
- Click + Create new group.
- Enter a name for the group and click Create Group.
- Set up the group's properties:
- Users: Add users to the group
- Permissions: Set permissions for workspace resources. These include Apps, Folders & Workspace constants.
- Granular Permissions: Configure granular & asset-level permissions.
- Apps: Assign app access.
- Data Sources: Define data source access.

Modifying Group Permissions
For detailed information on permissions, refer to the Permissions documentation.
When changing permissions for a custom group:
- Navigate to the group's settings.
- Modify the permissions as needed.
- If the changes affect user roles, a confirmation modal will appear showing all affected changes.
- Review and confirm the changes.
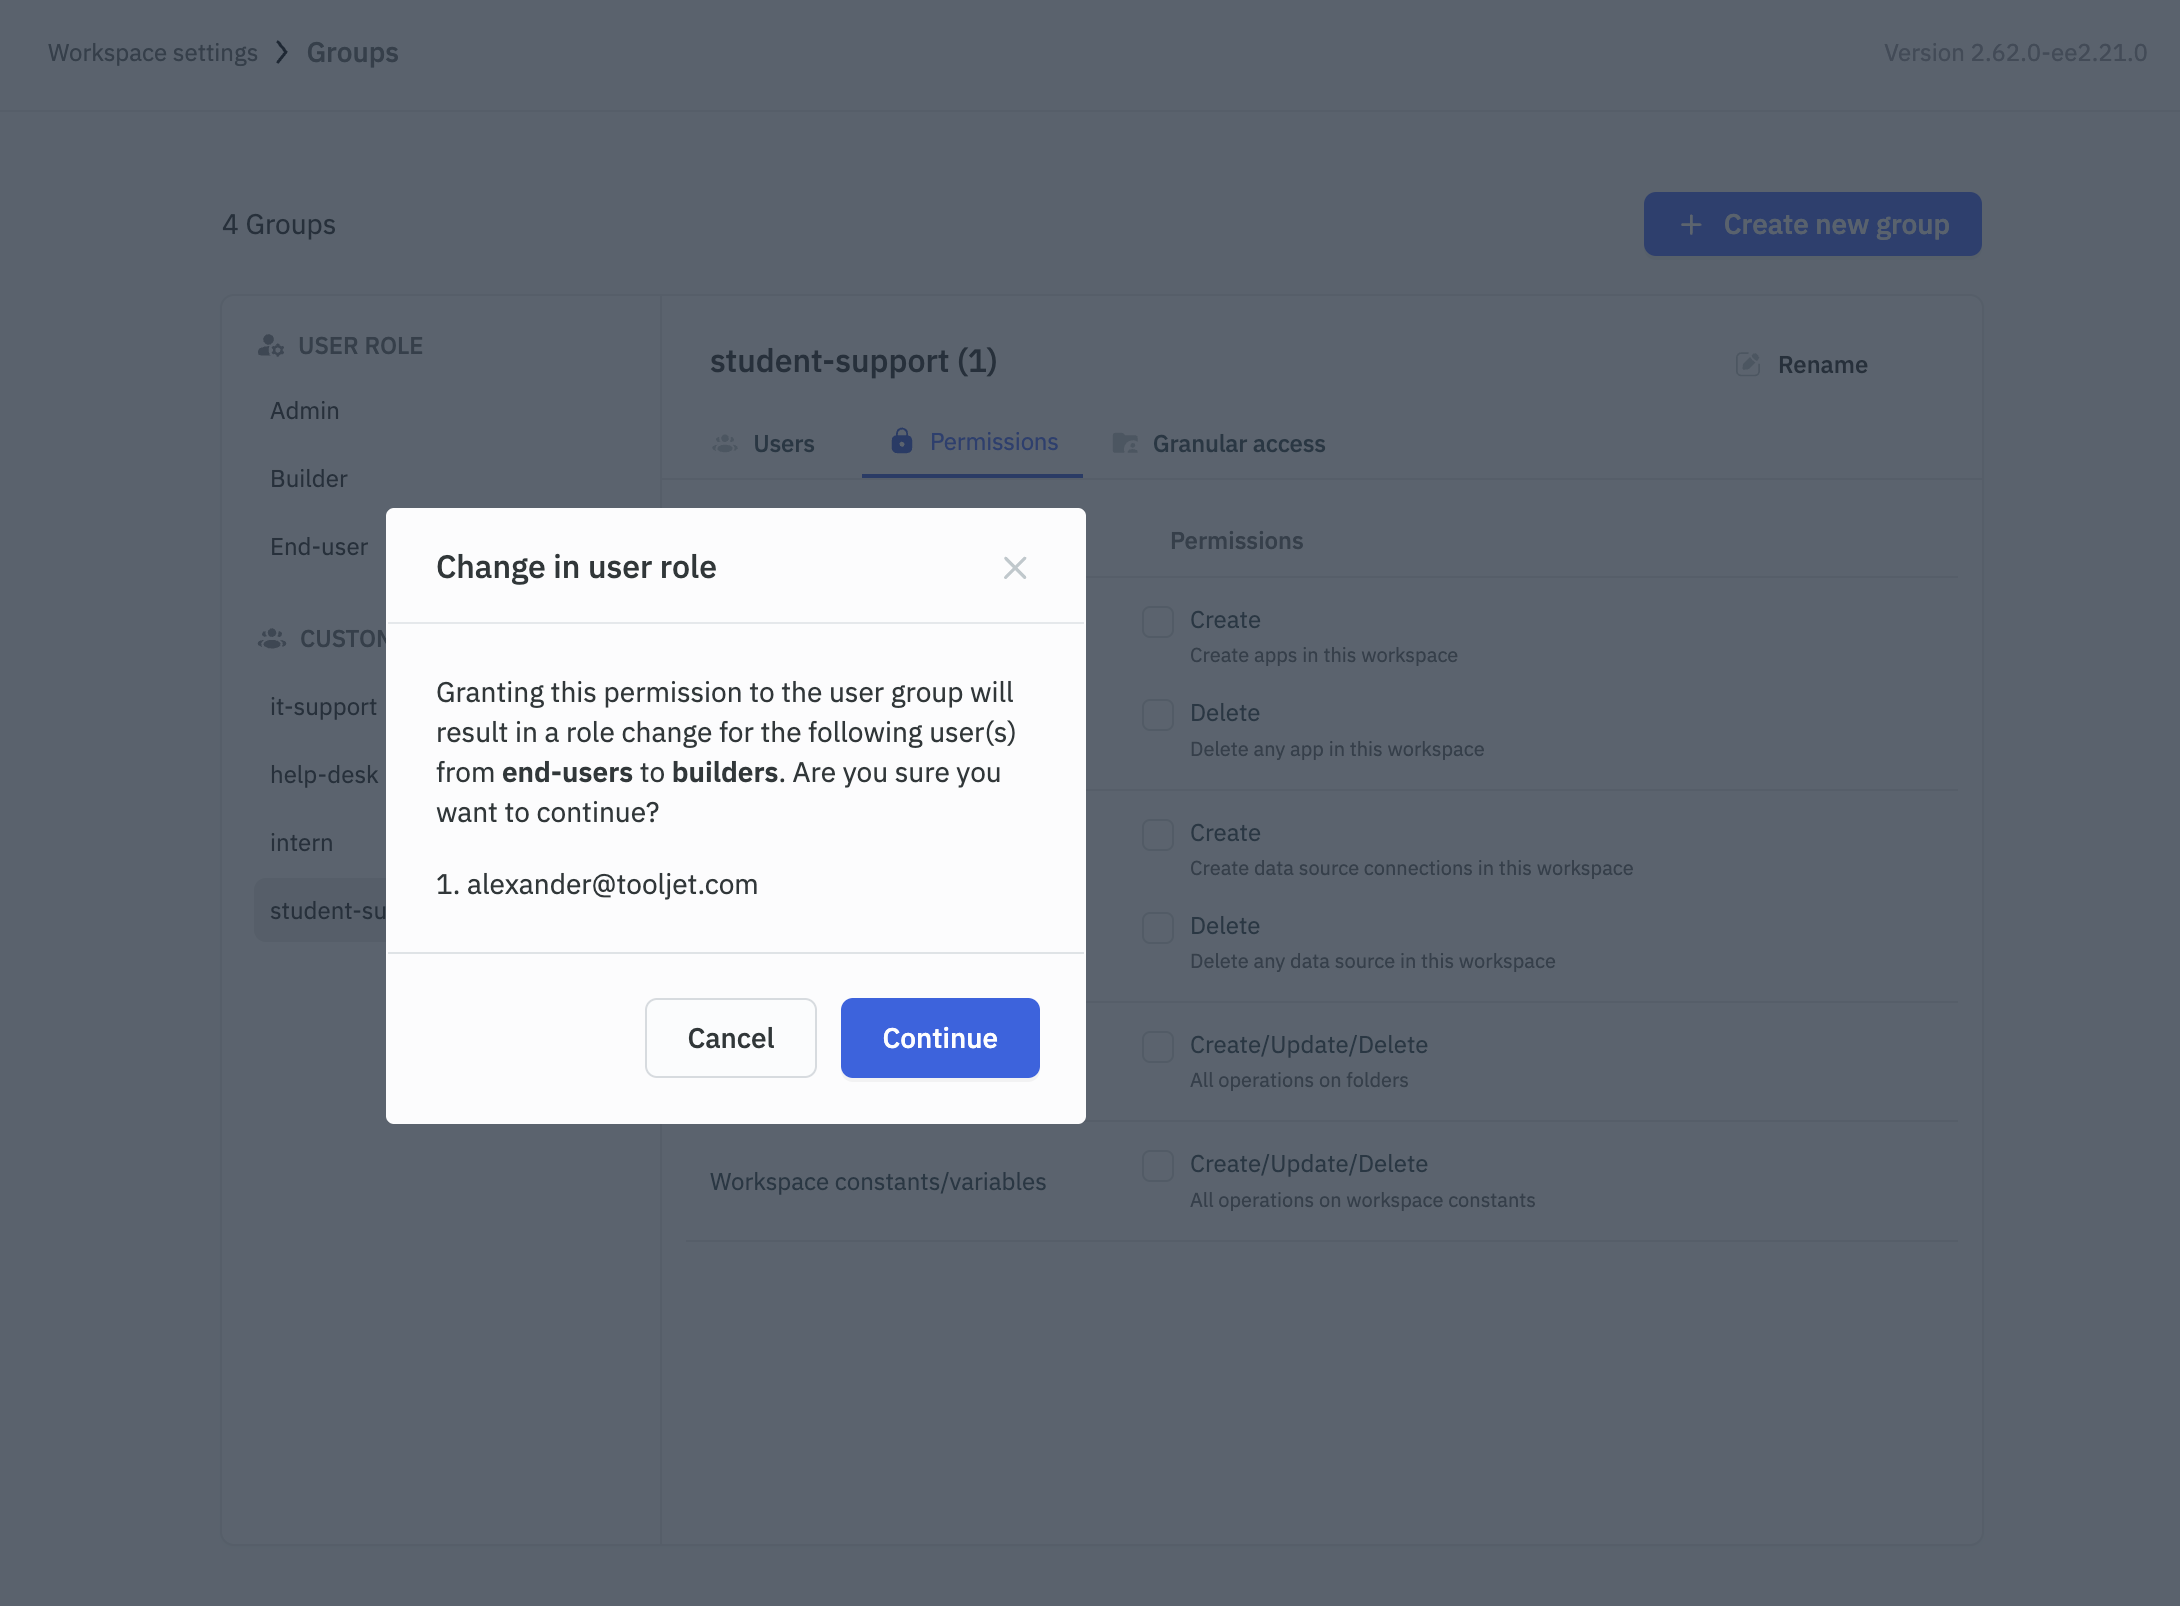
Changing group permissions may automatically update user roles. Review changes carefully before confirming.
Deleting a Custom Group
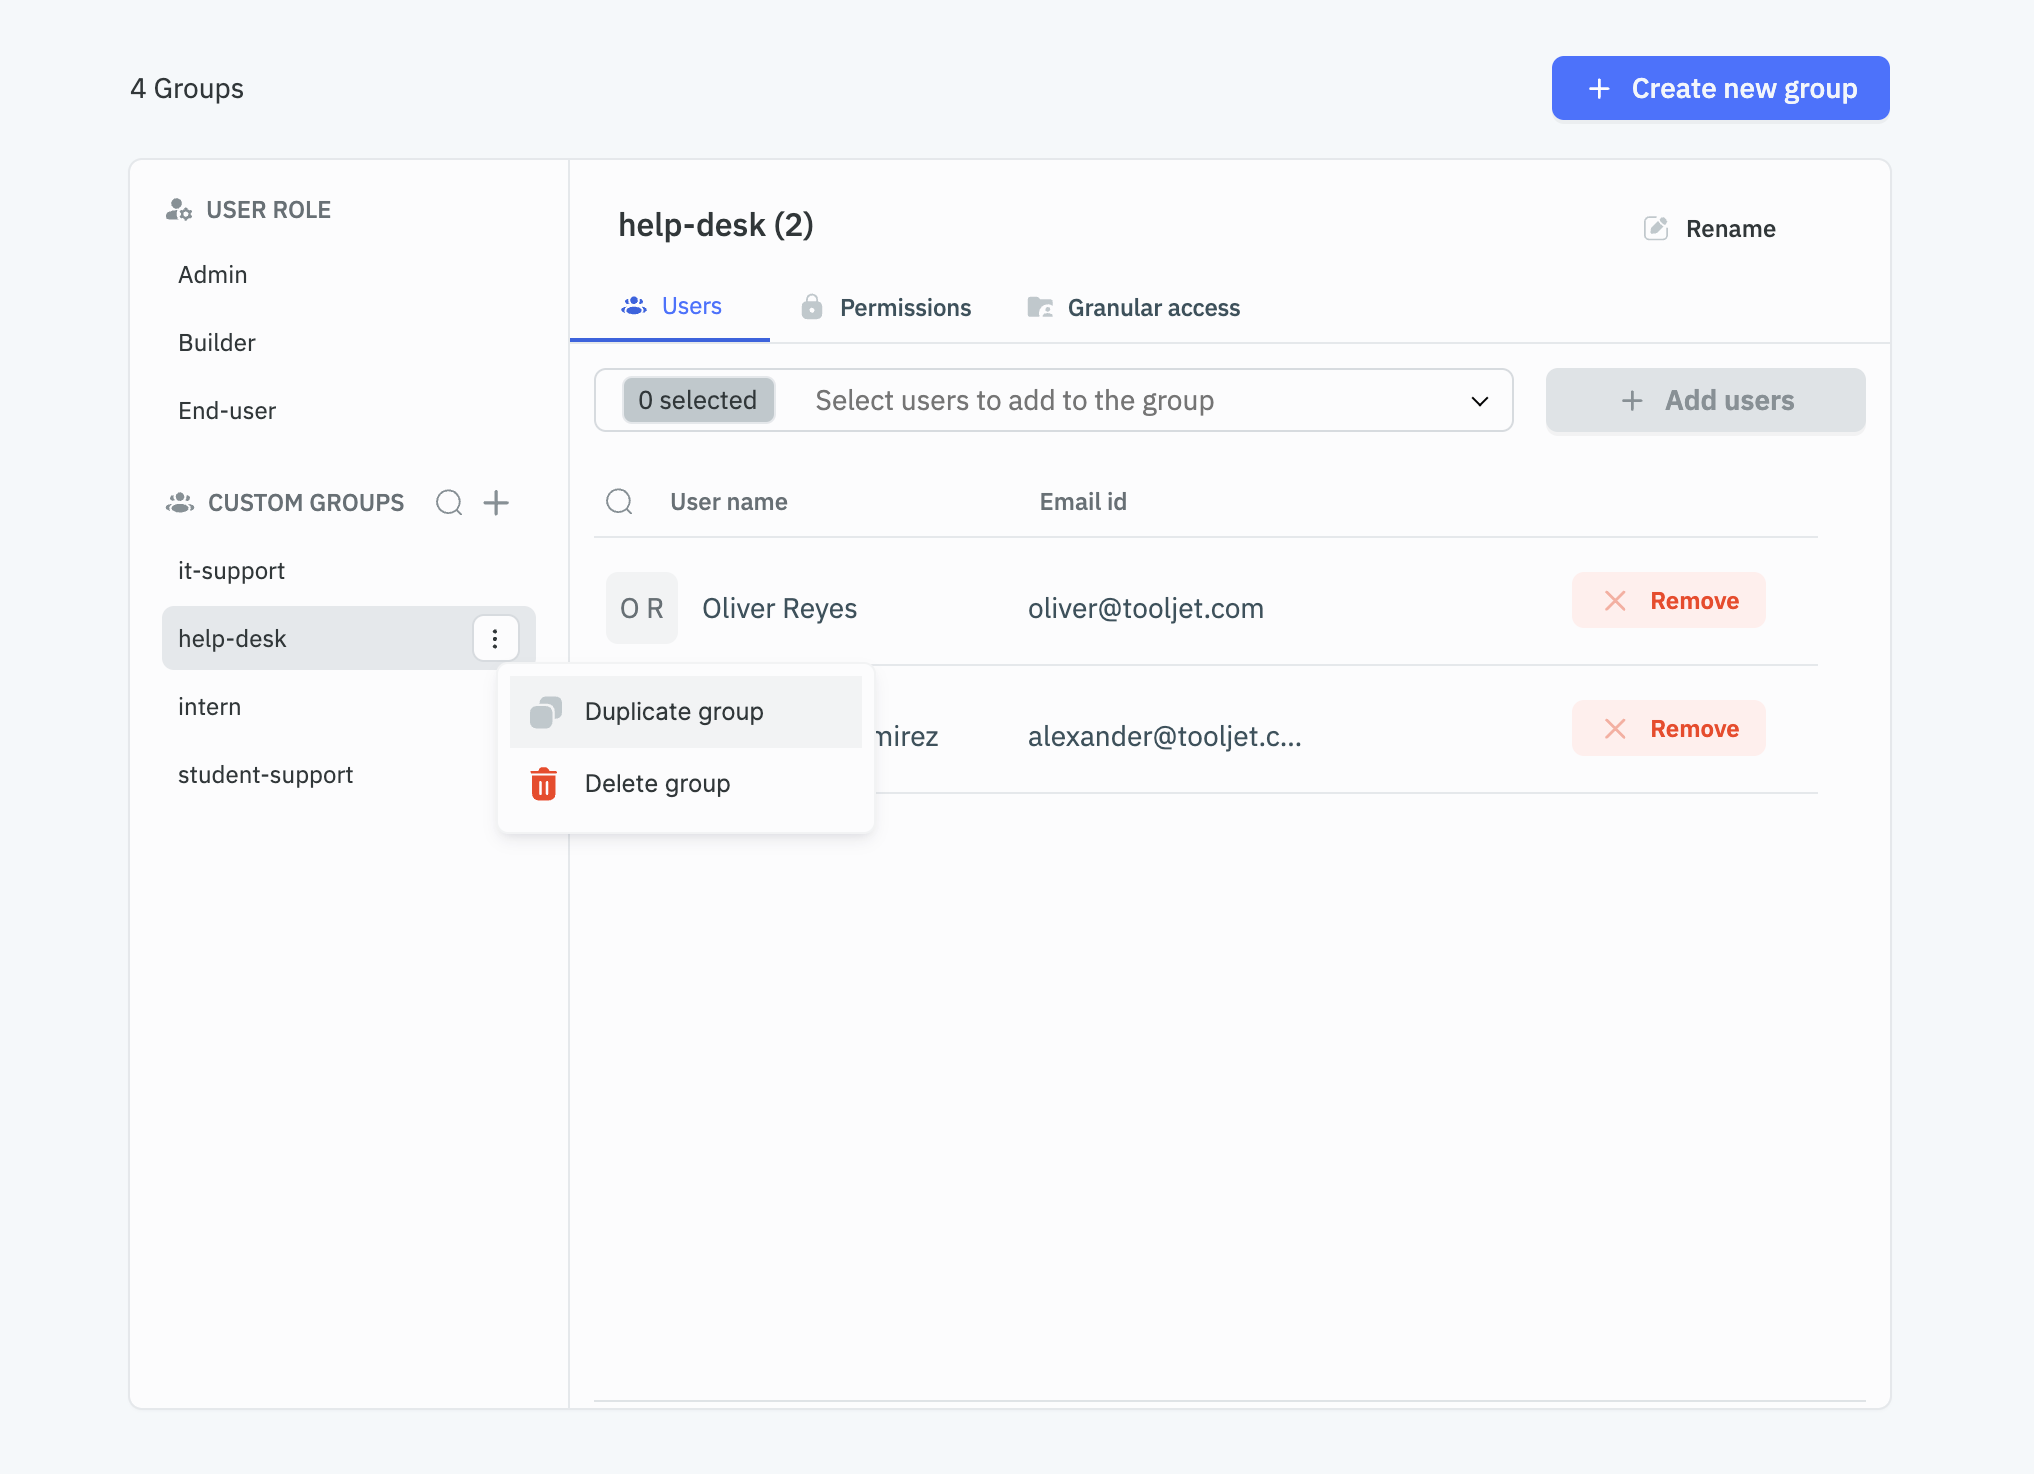
To delete a custom group:
- Go to Workspace Settings > Groups.
- Click on the kebab menu next to the group you want to delete.
- Select Delete from the dropdown and confirm the action in the popup dialog.
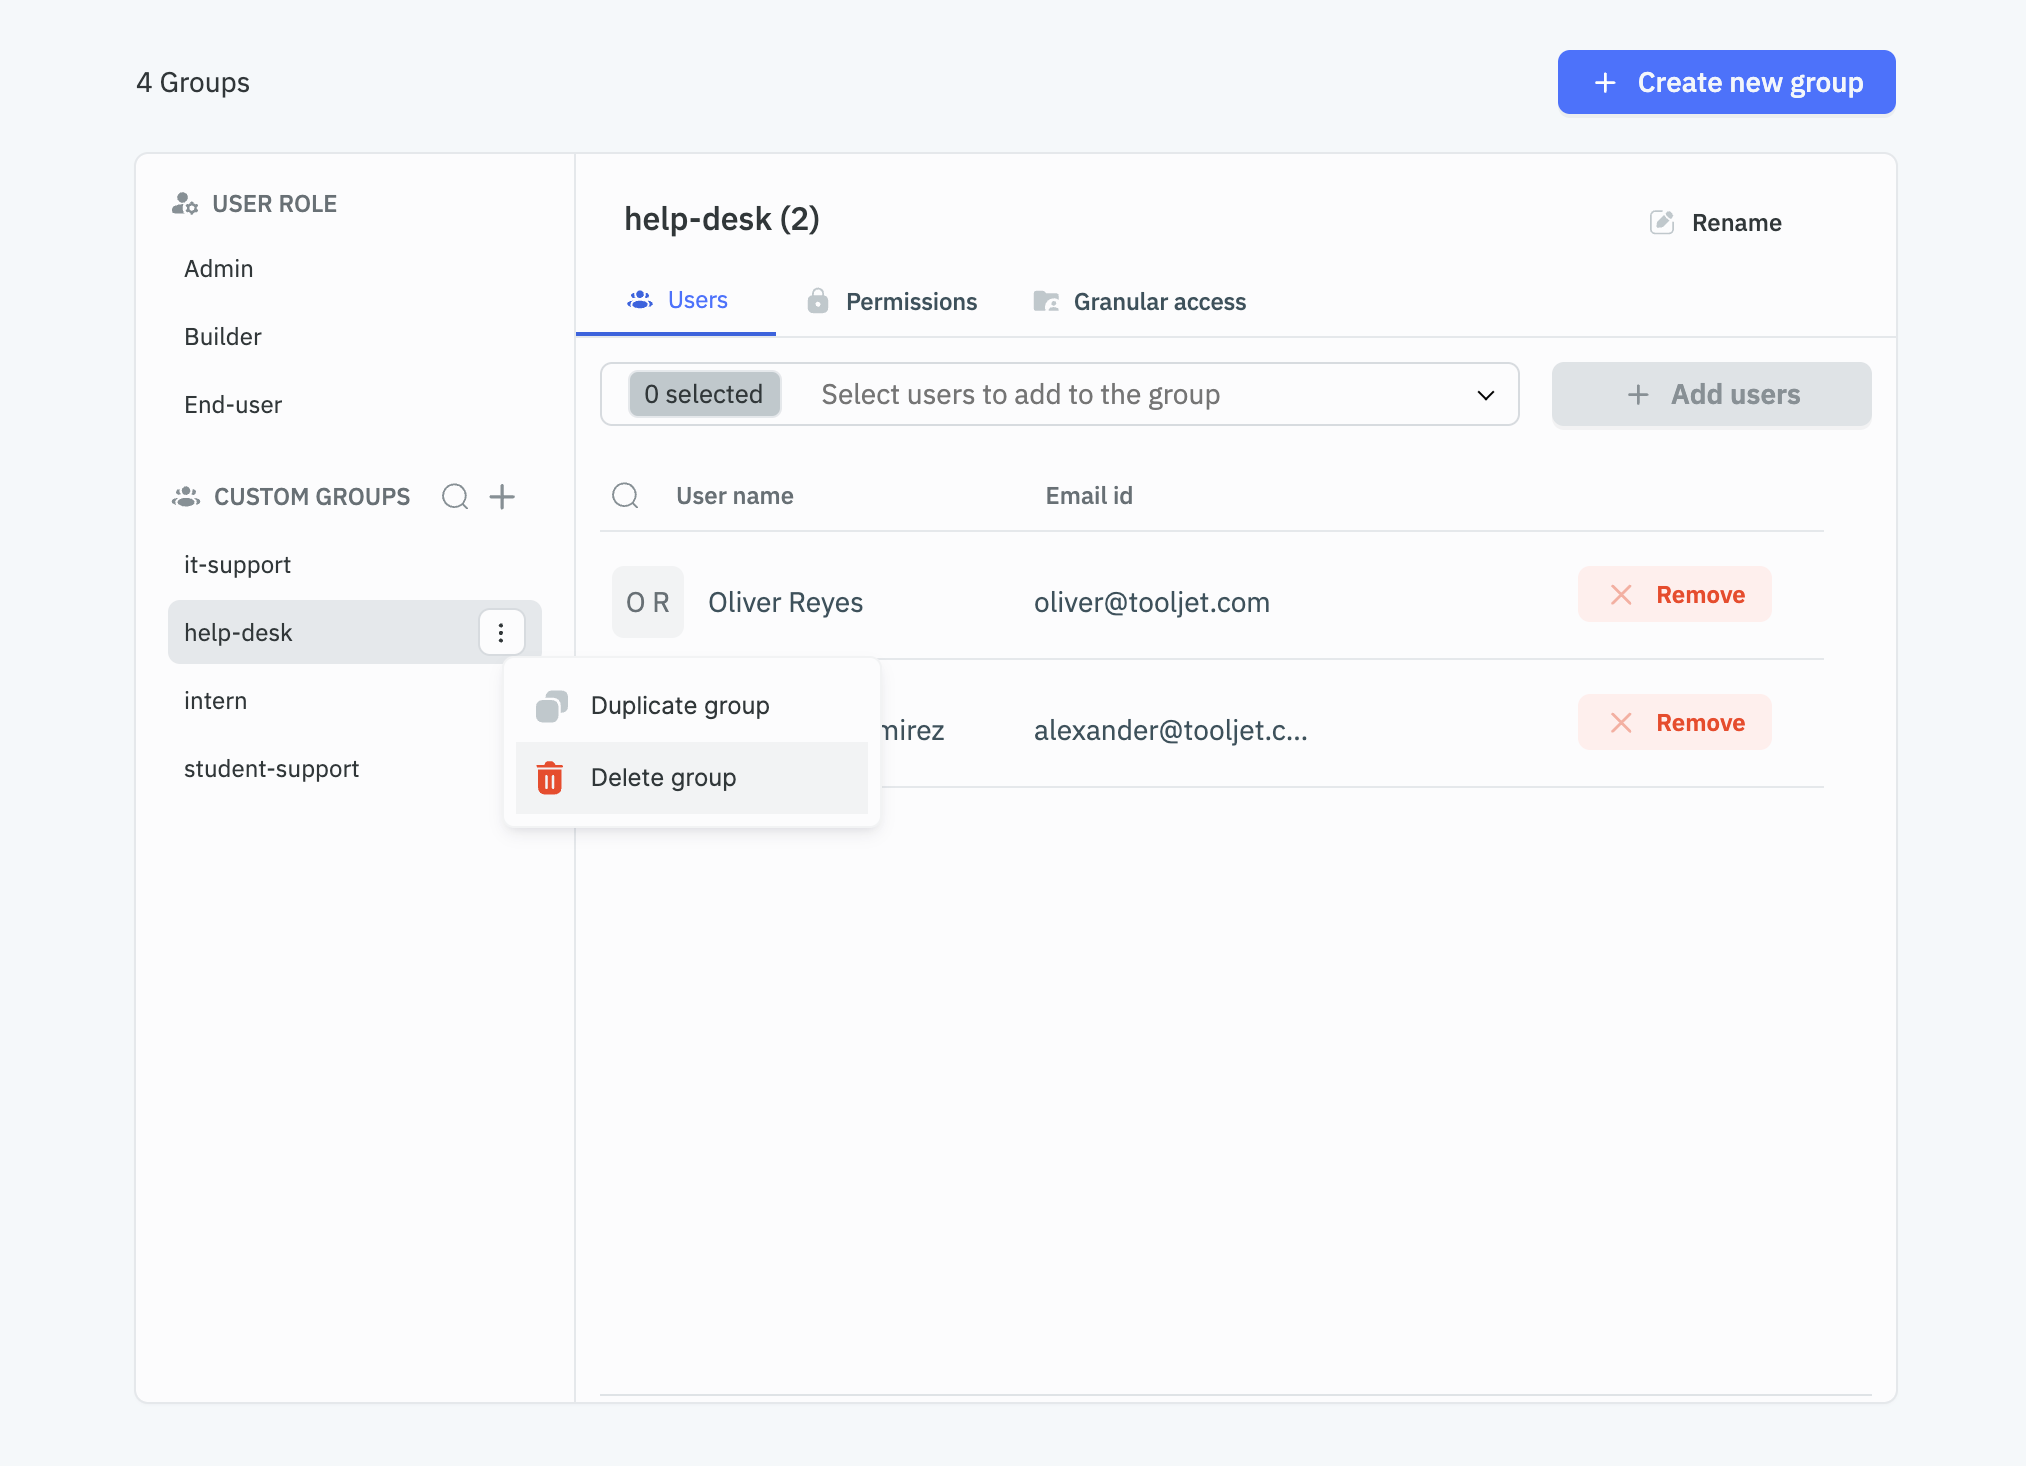
Duplicate Group
To duplicate a group:
- Go to Workspace Settings > Groups.
- Click on the kebab menu next to the group you want to duplicate.
- Select Duplicate from the dropdown and select the parts of the group you want to duplicate.
- Click Duplicate to create a new group with the selected permissions.
Regularly review group permissions and user roles to ensure they align with your workspace's security and operational requirements.