Query Panel
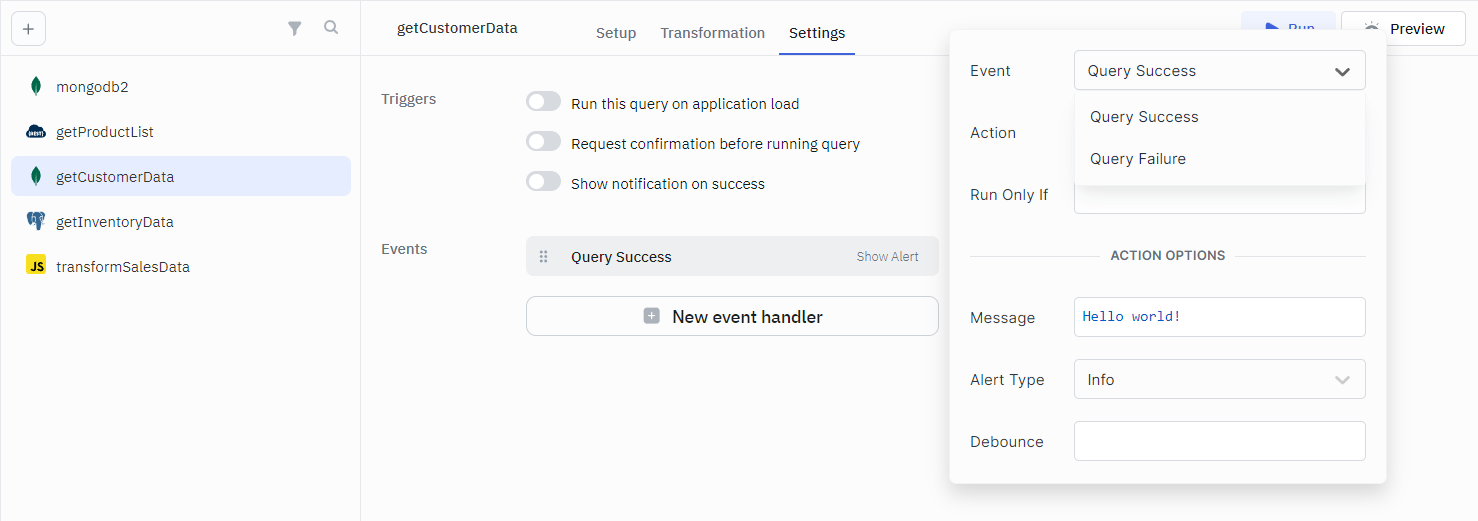
The Query Panel, located at the bottom of the app-builder, allows you to create and manage queries to interact with connected data sources. It provides the capability to perform API requests, query databases, and apply transformations or data manipulation using JavaScript and Python.
The Query Panel consists of two sections:
- The Query Manager on the left side, which displays a list of all the created queries.
- The Query Editor on the right side, used to configure the selected query.
Query Manager
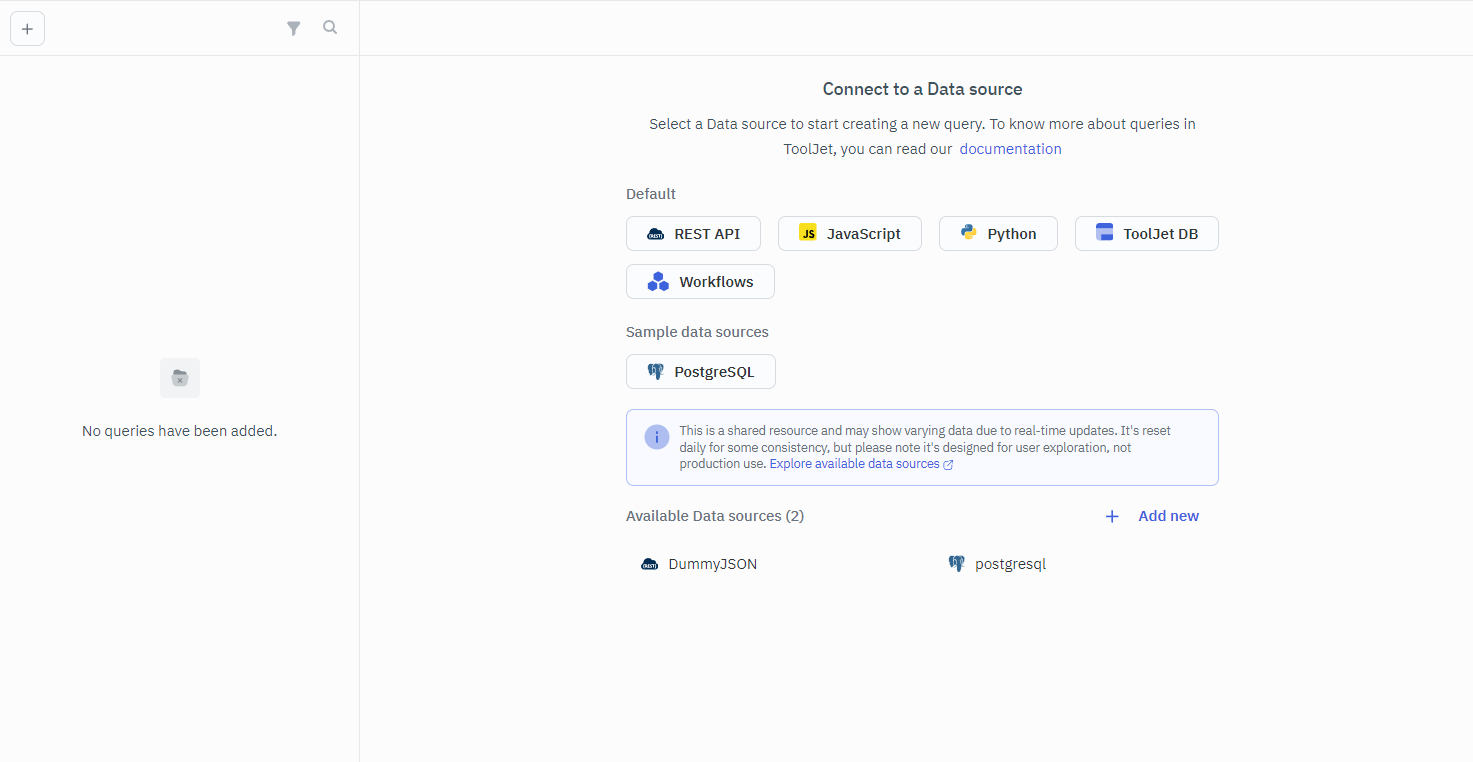
The Query Manager on the left lists all the queries that have been created in the application. Query Manager helps in managing the queries that have been created.
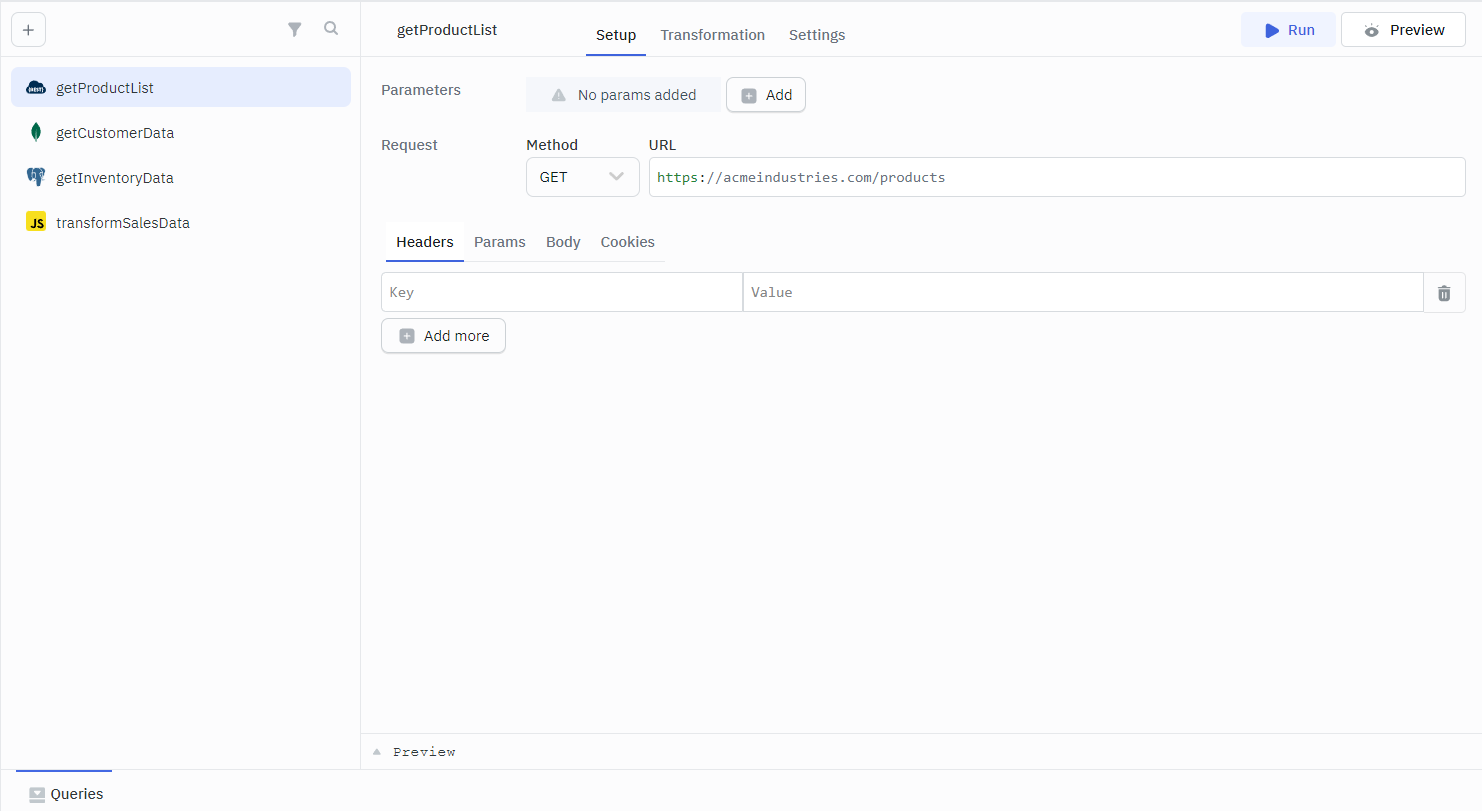
The + button on the Query Manager is used to add new queries in the application. When + button is clicked, a menu will open with a list of options for creating a query from the available data sources.
Sort and Filter Queries
On the top of Query Manager, there is button to Sort or Filter queries. The button allows you to select from the following options:
Filter:
- By Data source
Sort:
- Name: A-Z
- Name: Z-A
- Type: A-Z
- Type: Z-A
- Last modified: oldest first
- Last modified: newest First
Next to the filter is the search box that can be used to search for a specific query.
Edit, Copy and Delete Queries
On hovering on a query name, you can see the edit, copy and delete buttons. The edit button lets you rename the query, the delete button lets you delete the selected query, and the duplicate button duplicates the selected query.
Query Editor
Query Editor provides the functionality to construct queries either through a low-code interface or by manually entering the query text.
The changes made in the query panel will be saved automatically.
Query Name
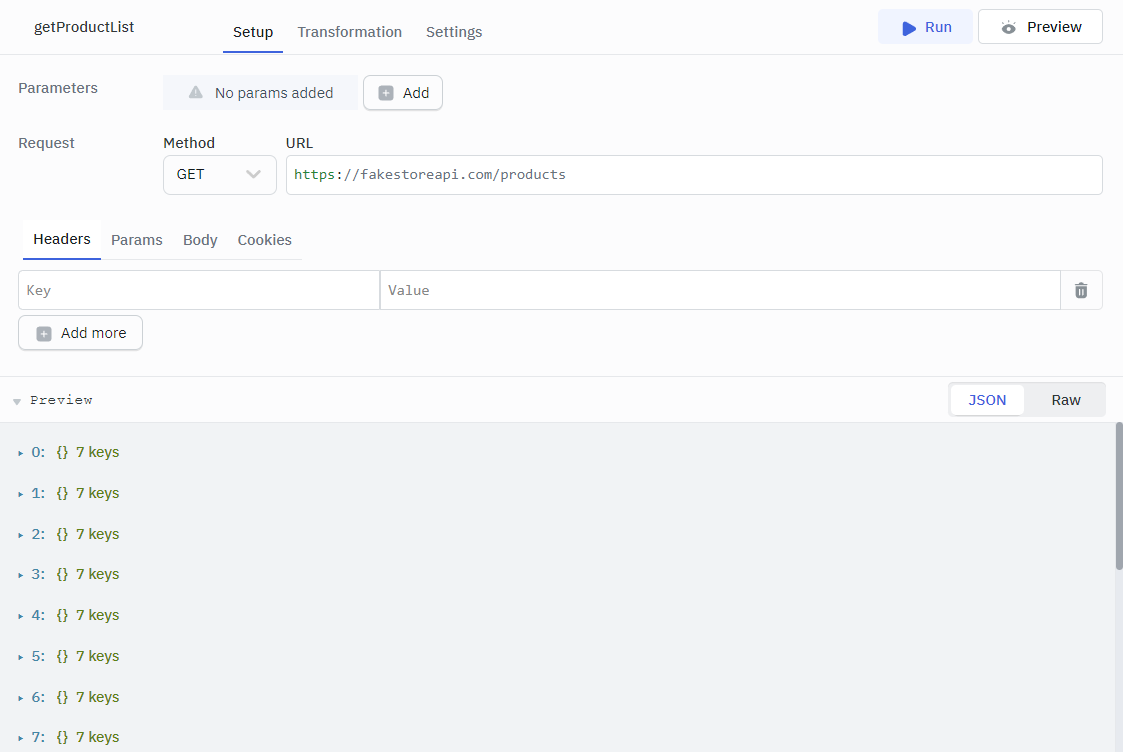
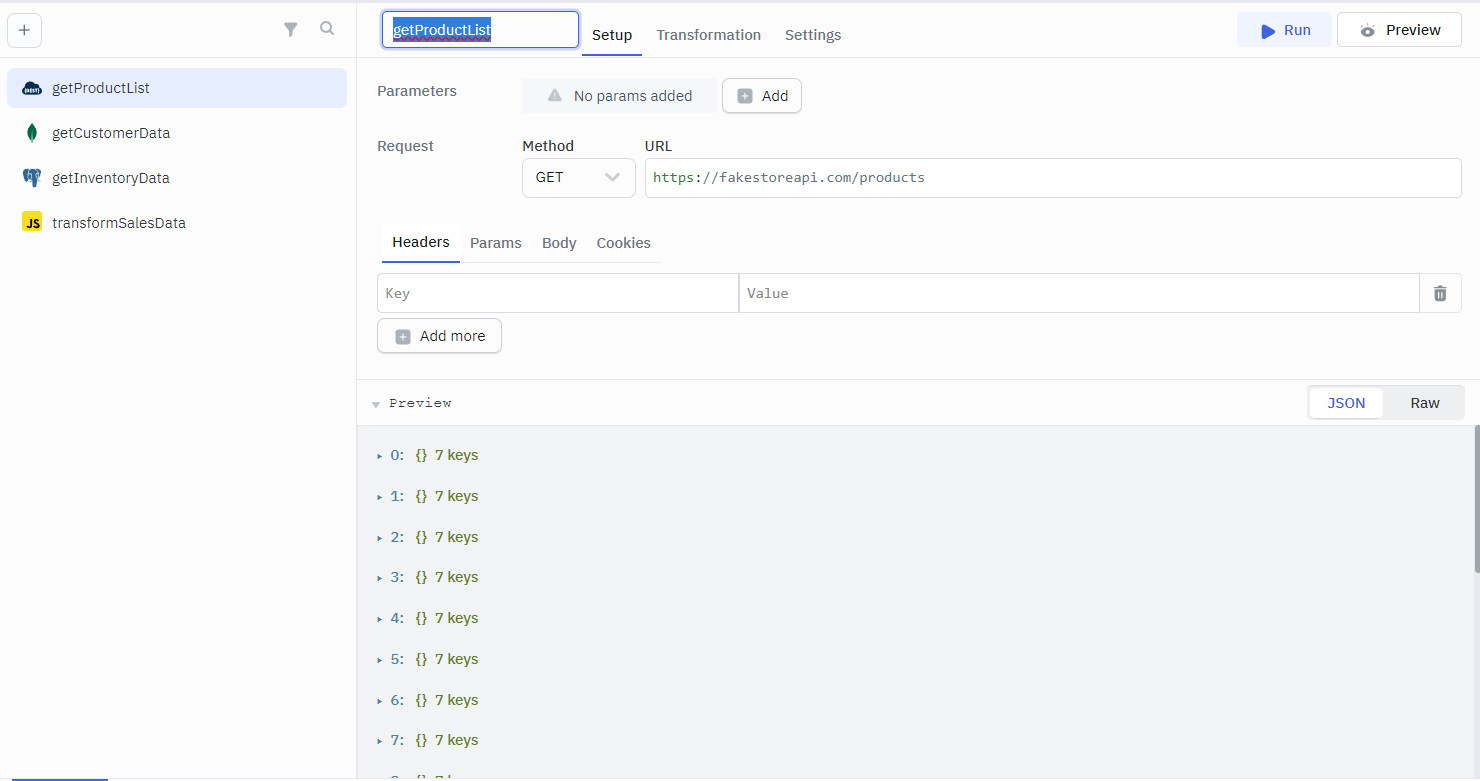
Apart from the query editor, the query name is displayed at the top of the query panel. Click on it to make edits and customize the query name as needed.
Custom Parameters
Custom parameters provide a convenient method for passing variables to a query. To add parameters, simply click the + Add button next to the Parameters label in the query editor.
For each parameter, you need to specify:
- Name: The identifier for the parameter.
- Default value: This value can be a constant string, number, or object.
Syntax for utilizing the parameter: Employ parameters.<identifier> in your query. It's important to note that parameters can only be utilized within the specific query where they are defined.
Learn more about Using Custom Parameters.

Preview
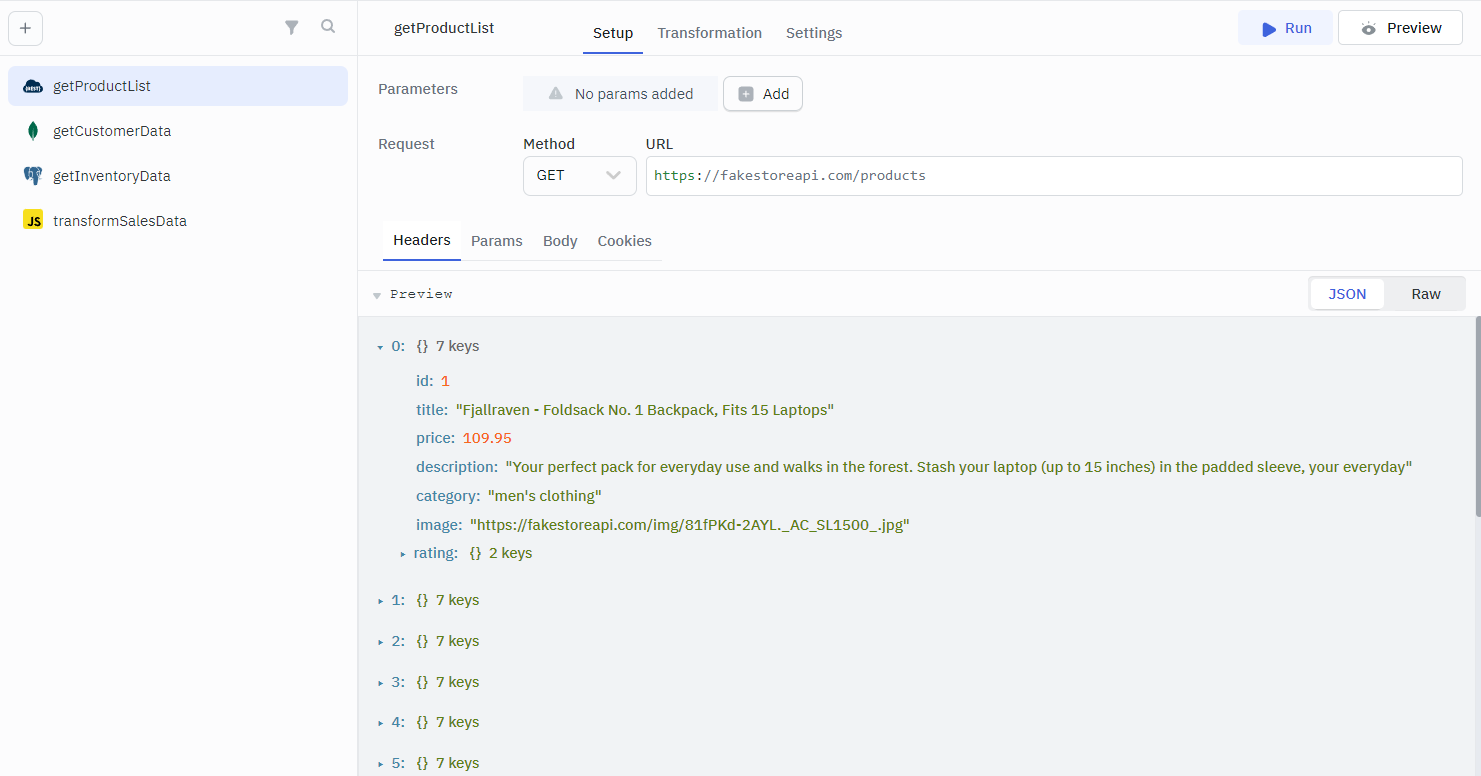
The Preview button allows you to preview the data returned by the query. The data is displayed in the preview section at the bottom of the query panel, aiding in query debugging without triggering the query in the app.
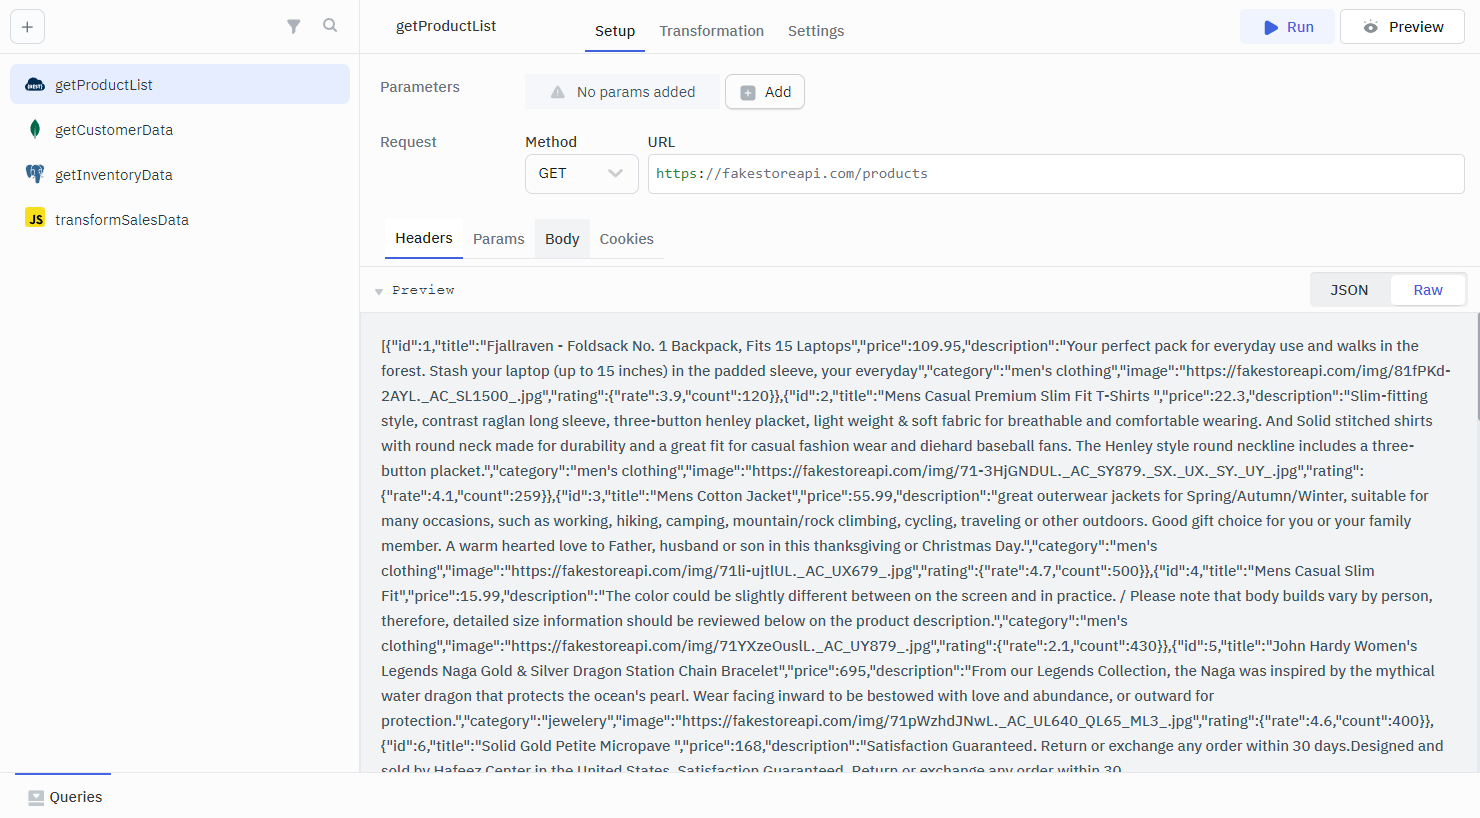
Data preview is available in two formats: Raw and JSON. Click the clear button to reset the preview data.
Run
The Run button triggers the query, causing it to interact with the application. This action differs from the Preview feature.
Query Configuration
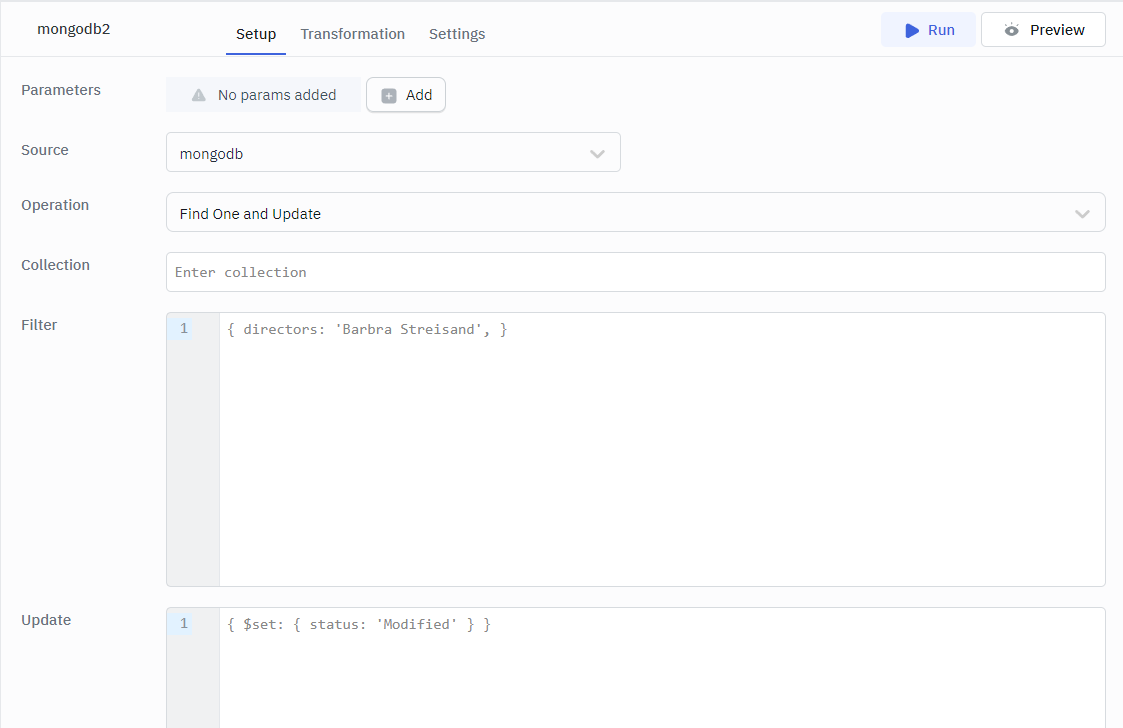
Query Configuration allows you to set vital values that are necessary to generate a response from a database. These configurations may include but are not limited to:
- Data source: Name of the data source
- Operation: The kind of operation you want to perform (For e.g., List collections, Find one, Find many,etc.)
The set of configuration options you get depend on the type of data source.
Data Source
The primary and default parameter for all queries is data source. This option enables the selection of the appropriate data source for your query.
In cases where multiple data sources of the same type are connected, easily switch the query's data source using the dropdown menu.

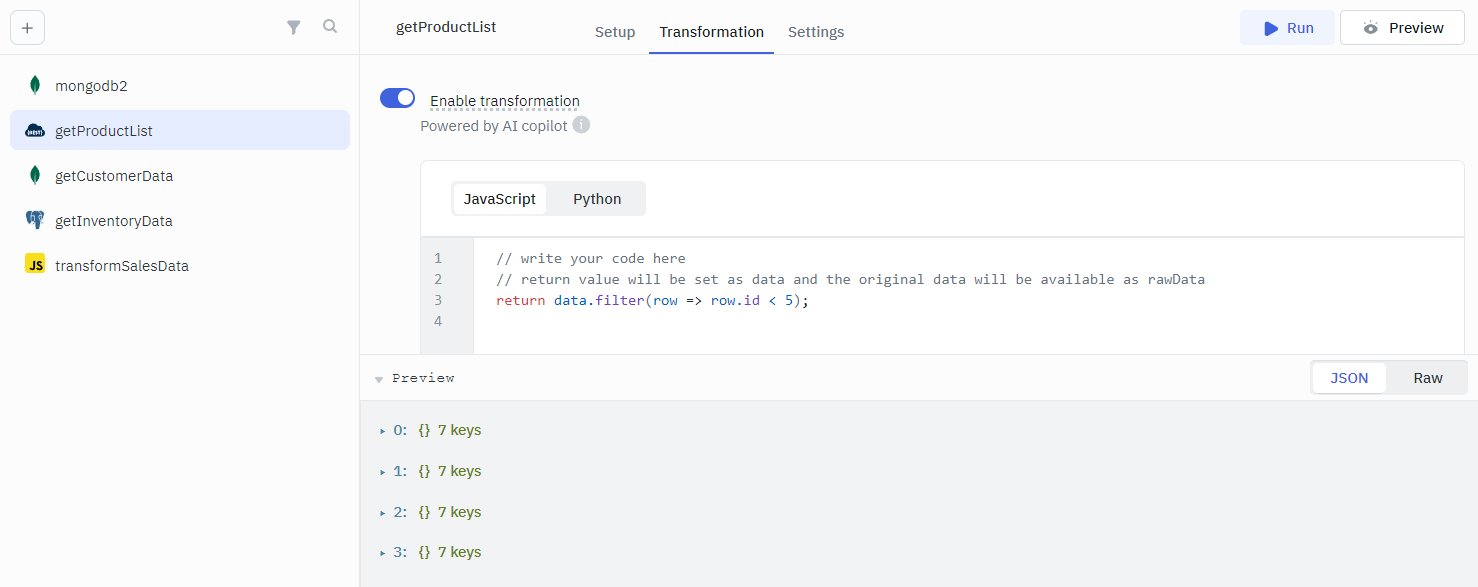
Transformation
Queries can be enhanced with transformations to modify the query results. ToolJet supports transformations using two programming languages: JavaScript & Python. Refer to the detailed documentation on Transformations for more information.
Settings

- Run this query on application load? Enabling this option executes the query every time the app is loaded.
- Request confirmation before running the query? Enabling this option displays a confirmation modal, prompting for a Yes or No before running the query.
- Show notification on success? Enabling this option shows a success toast notification when the query is successfully triggered. Customize the success message and notification duration in seconds.
Events
Event handlers can be added to queries for the following events:
- Query Success
- Query Failure
Event handlers link actions in your application for smoother operation. Here's an example:
Scenario: You have two queries:
- getTodos: Fetches your to-do list.
- deleteTodos: Removes a to-do item.
- Event Handler: A Query Success event handler on deleteTodos that runs getTodos after a deletion.
The Result:
- User deletes a to-do.
- The event handler refreshes the to-do list.
- The component displaying the to-do data will be update with the lates data.
Learn more about Event Handlers and Actions.
