Engagespot
ToolJet connects to your Engagespot account, allowing you to send notifications, create or update users from within your ToolJet application.
NOTE: Before following this guide, it is assumed that you have already completed the process of Using Marketplace plugins.
Connection
-
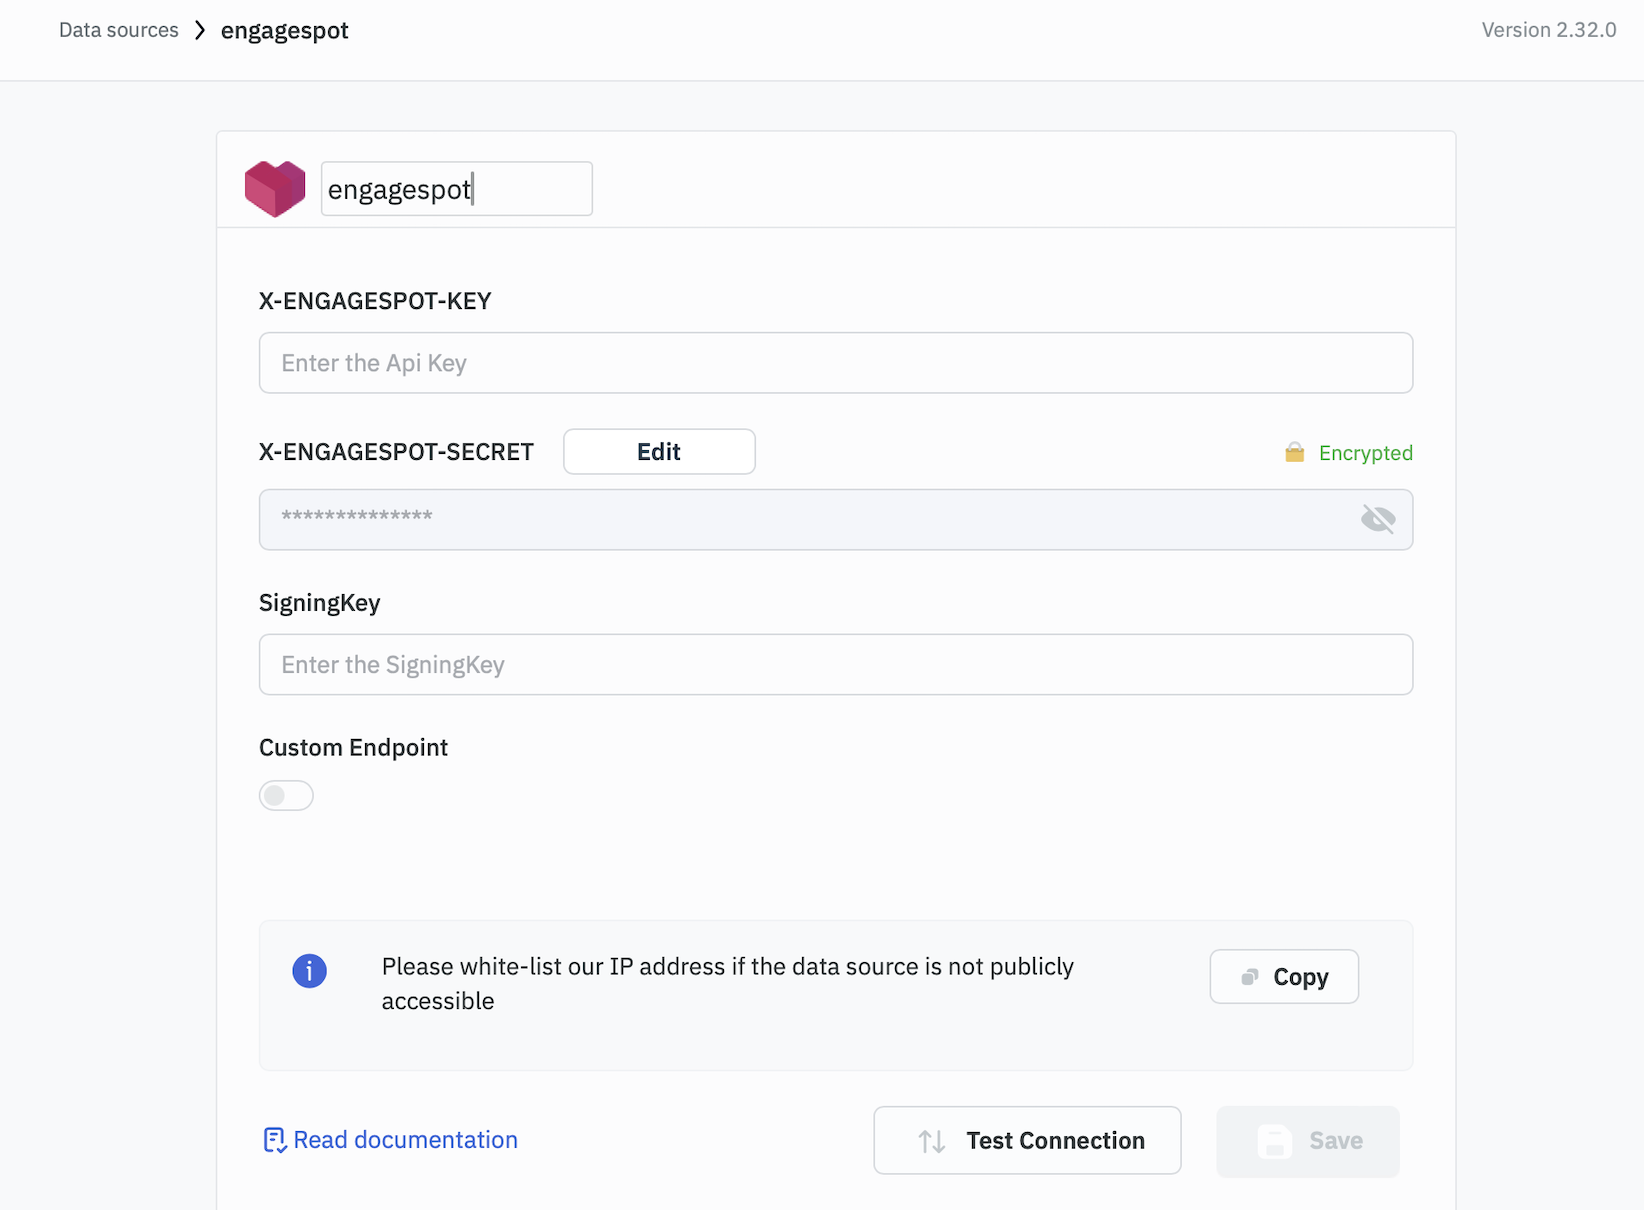
Establish a connection to Engagespot by either clicking
+Add new Data sourceon the query panel or navigating to the Data Sources page from the ToolJet dashboard. -
Enter your Engagespot API key and API secret into their designated fields. To generate user tokens directly from ToolJet, you can optionally provide a signing key.
-
Click Test Connection to validate your credentials. Click Save to store the data source.

You can change your Engagespot BaseURL by enable custom endpoint.
Querying Engagespot
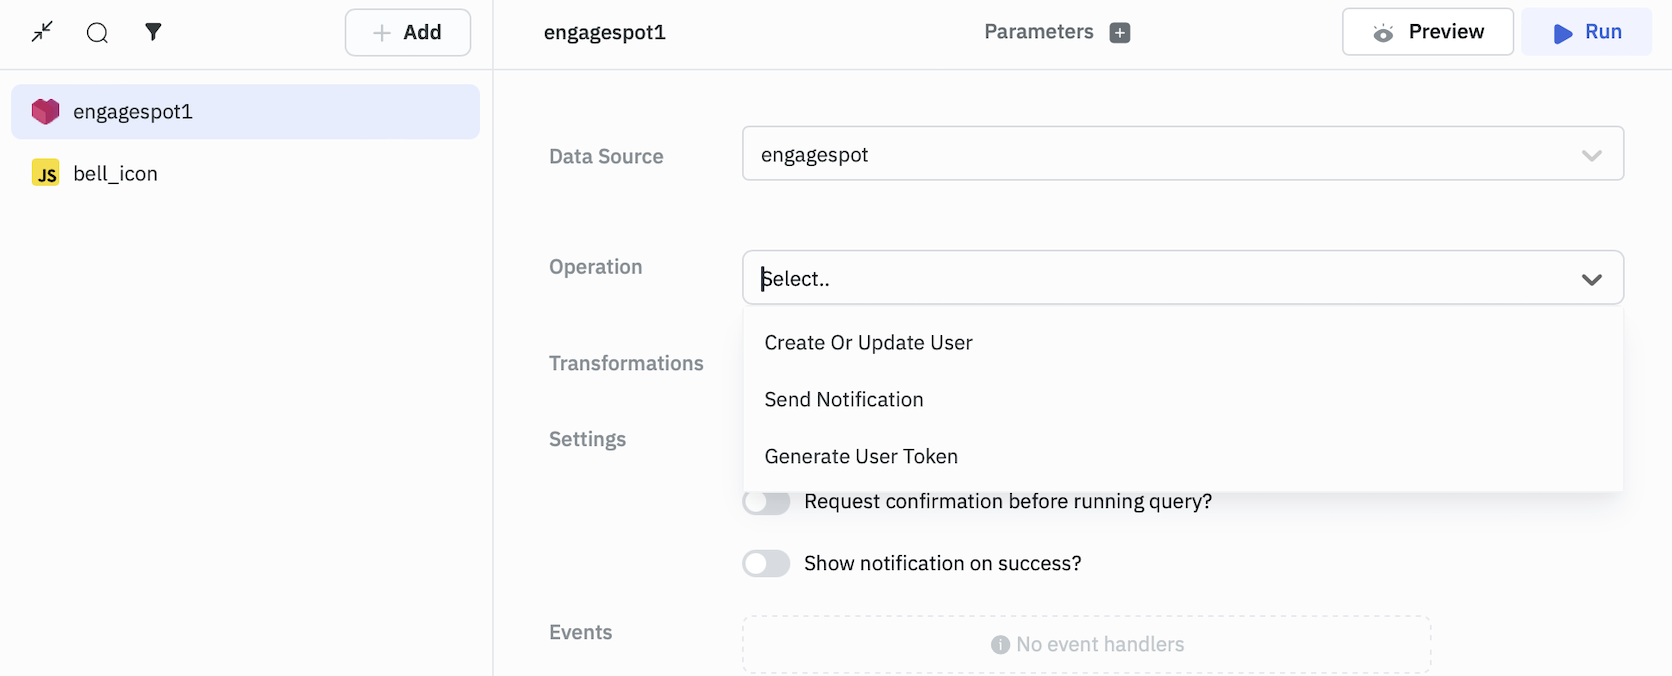
Click on +Add button of the query manager and select the data source added in the previous step as the data source. Select the operation that you want to perform, fill in the required parameters and click on Run button to run the query.

Query results can be transformed using transformations. Read our transformations documentation.
Query Operations
You can create query for Engagespot data source to perform several actions such as:
Create OR Update User
Required Parameters:
- User Identifier - Unique user identifier.

The user profile column accepts any key-value pairs in valid JSON object format.
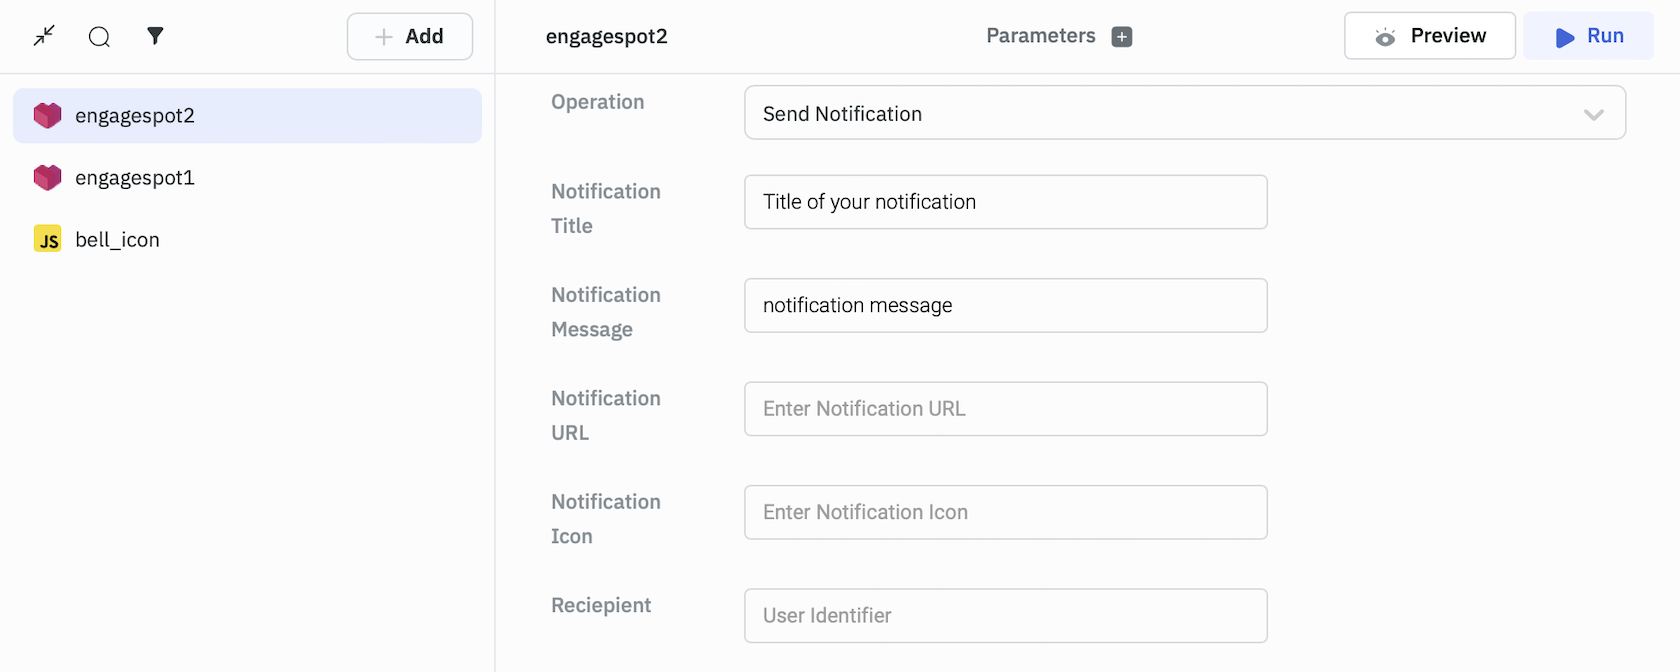
Send Notification
Required Parameters:
- Reciepient - Unique user identifier.
- Notification Title - The title for your notification.

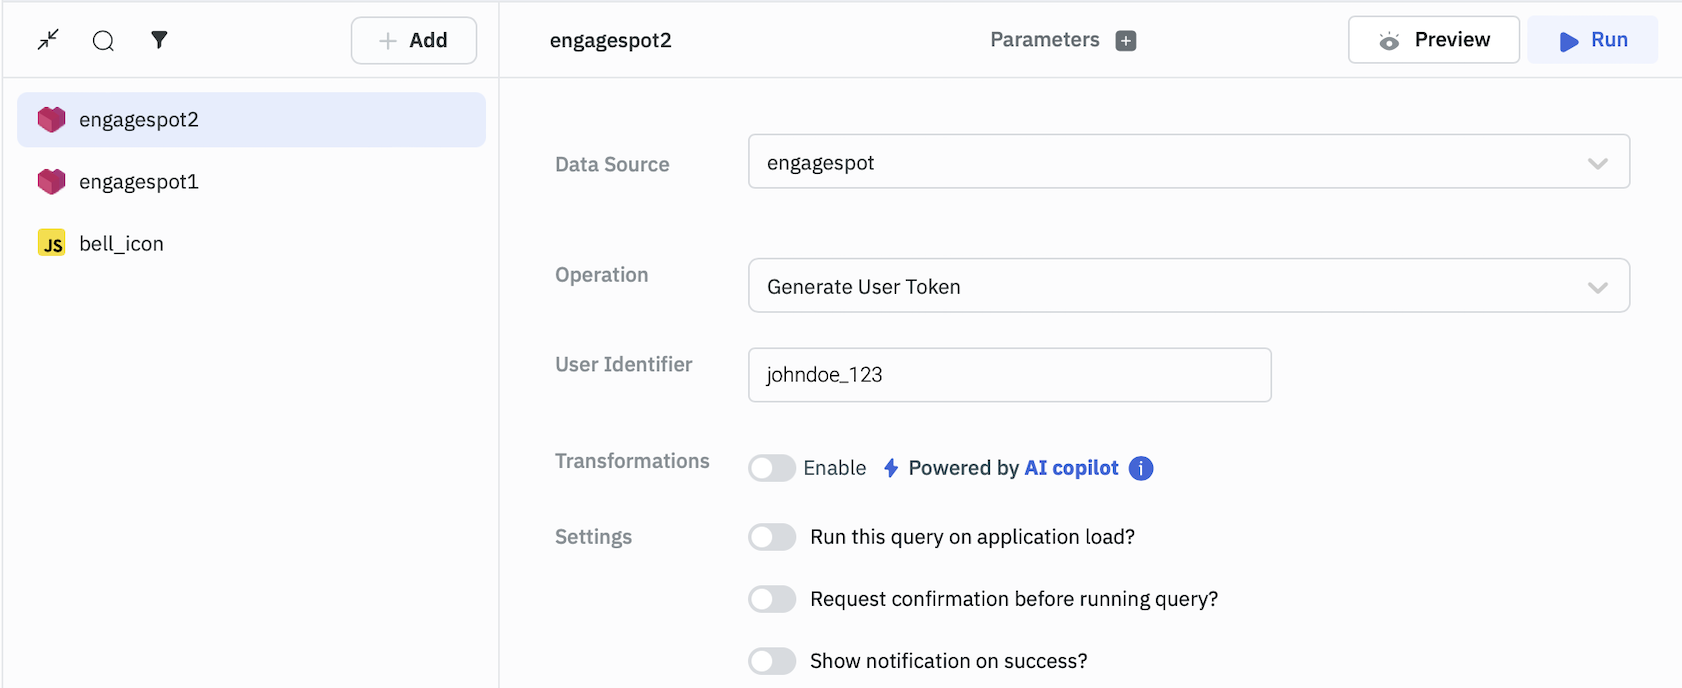
Generate User Token
Required Parameters:
- User Identifier - Unique user identifier.

To generate user tokens, ensure you provide a Signing Key when establishing a connection to your Engagespot data source.
Adding the In-App Inbox element to your ToolJet app
To set up an In-App Inbox element in your ToolJet application, refer to the Adding In-App guide.