Branching and Pull Requests
Branching and Pull Requests is currently in beta and not recommended for production use.
Branching lets multiple developers work on isolated copies of the same application. Each developer gets their own branch where changes stay separate from the live application until explicitly merged through a pull request. This helps in protecting production quality through mandatory code reviews before changes go live and provide complete change history through Git integration, making every modification traceable and reversible.
You can leverage branching when:
- Multiple developers work on the same application simultaneously.
- You need formal review and approval workflows before changes reach production.
- Change tracking and auditability are organizational requirements.
Understanding Branches and Versions
Master Branch and Sub-Branches
Your application has two types of branches:
- Master Branch: The main branch containing your live application and its linear development history. The master branch is locked. Changes can only enter through approved pull requests, never through direct edits.
- Sub-Branches: Independent copies created from the master branch where you make changes freely. Each sub-branch is isolated until merged back to master.
Versions as Tags
Versions exist only on the master branch and act as tags that mark stable points in your application's development. When you save a version, ToolJet automatically creates a corresponding tag on your Git provider, making each milestone traceable in your repository.
- Draft Version: The current working state on master. Only one draft can be active at a time. This is where merged changes land before being finalized.
- Saved Version: A finalized, locked milestone that is automatically committed and tagged in Git. No further edits are allowed on a saved version.
- Released Version: A saved version that has been promoted through environments and released to production.
Sub-branches don't have versions. They are working copies of a specific version.
Example: You create an application and start building on a sub-branch. After merging your changes into master, you pull the changes to v1. When you save it, ToolJet commits and creates a <appname>/v1 tag in Git. You then promote v1 through staging and production. Later, you create a new draft v2 from v1 to continue development. v1 remains locked and tagged in Git as a reference point.
Setting Up Branching
To enable branching, you need to configure Git Sync first. Follow the Git Sync Guide to set it up. Once Git Sync is configured, branching is enabled by default (only during beta). Specify your default branch name (typically "master" or "main") This becomes your master branch where live applications reside.
ToolJet supports branching only over Git HTTPS. SSH is not supported yet.
Using Git Sync Across Multiple Instances
If you run separate ToolJet instances for different environments (e.g., one for development, another for staging or production), you can connect them to the same Git repository. Git acts as the bridge between instances. Changes saved and tagged on one instance can be pulled into another.
For example:
- Development instance: Developers create branches, build features, commit changes, and merge pull requests. Saved versions are automatically tagged in Git.
- Staging/Production instance: Pull saved versions from Git to deploy and release them. No manual export or import needed.
This lets you enforce environment separation at the infrastructure level while keeping all instances in sync through a single Git repository.
To decide whether a single or multi-instance setup is right for your organization, refer to Choosing Your Instance Setup.
Creating and Managing Branches
Create a New Branch
- Open your application.
- Click the branch dropdown in the top navigation.
- Select + Create New Branch.
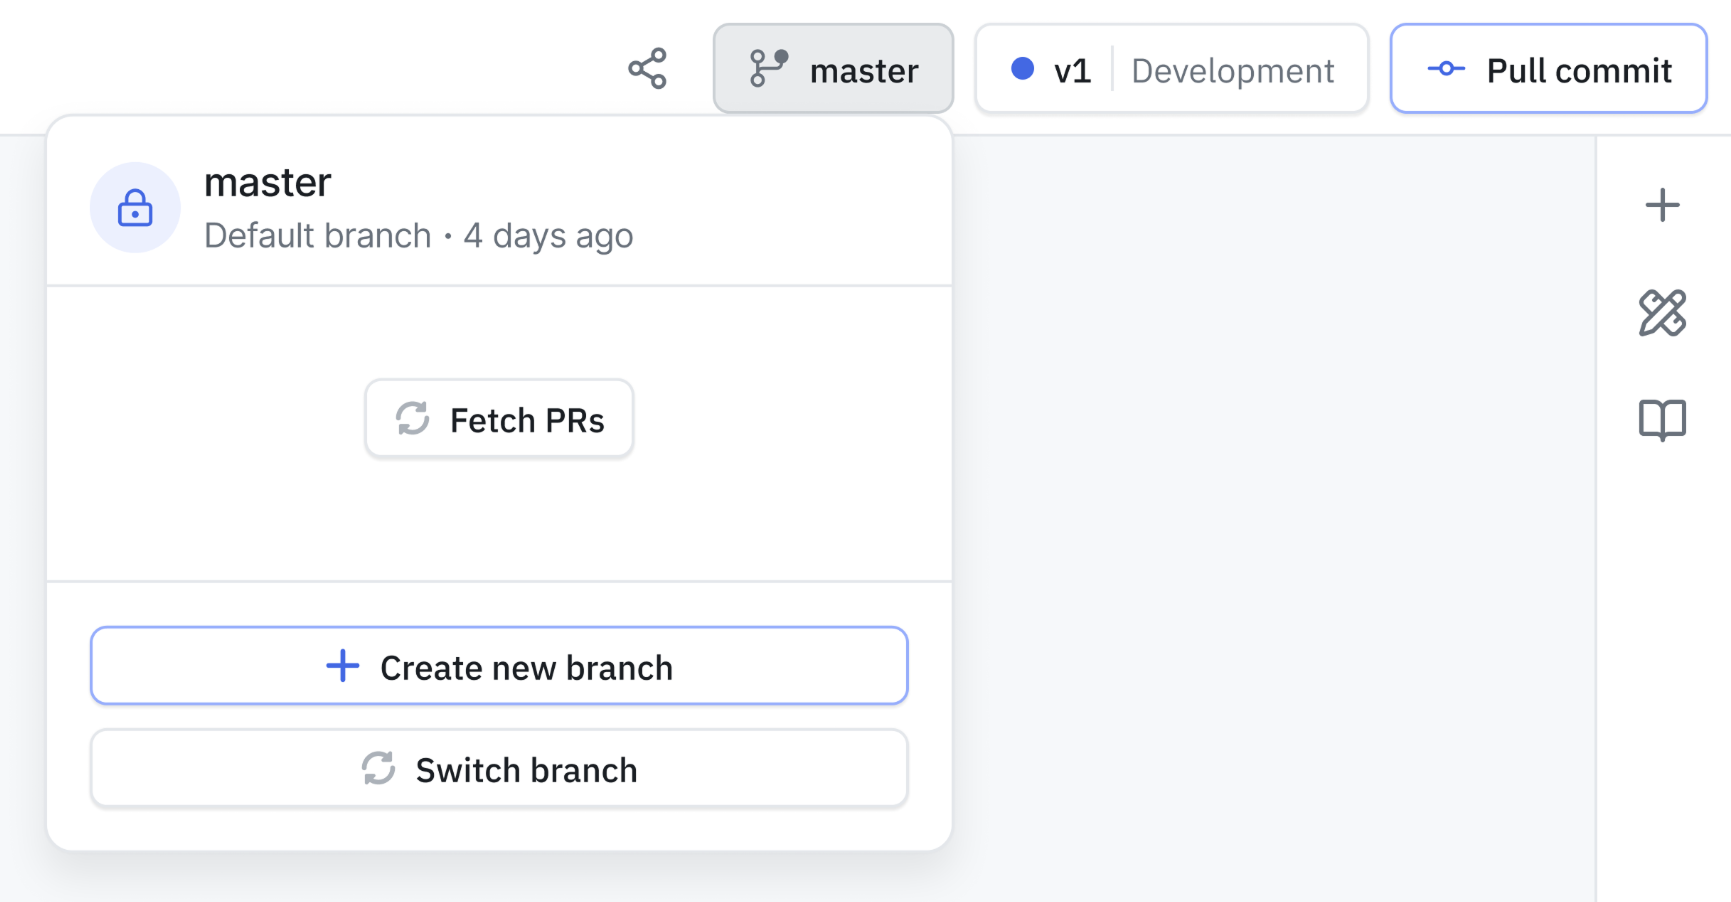
- Enter a descriptive branch name.
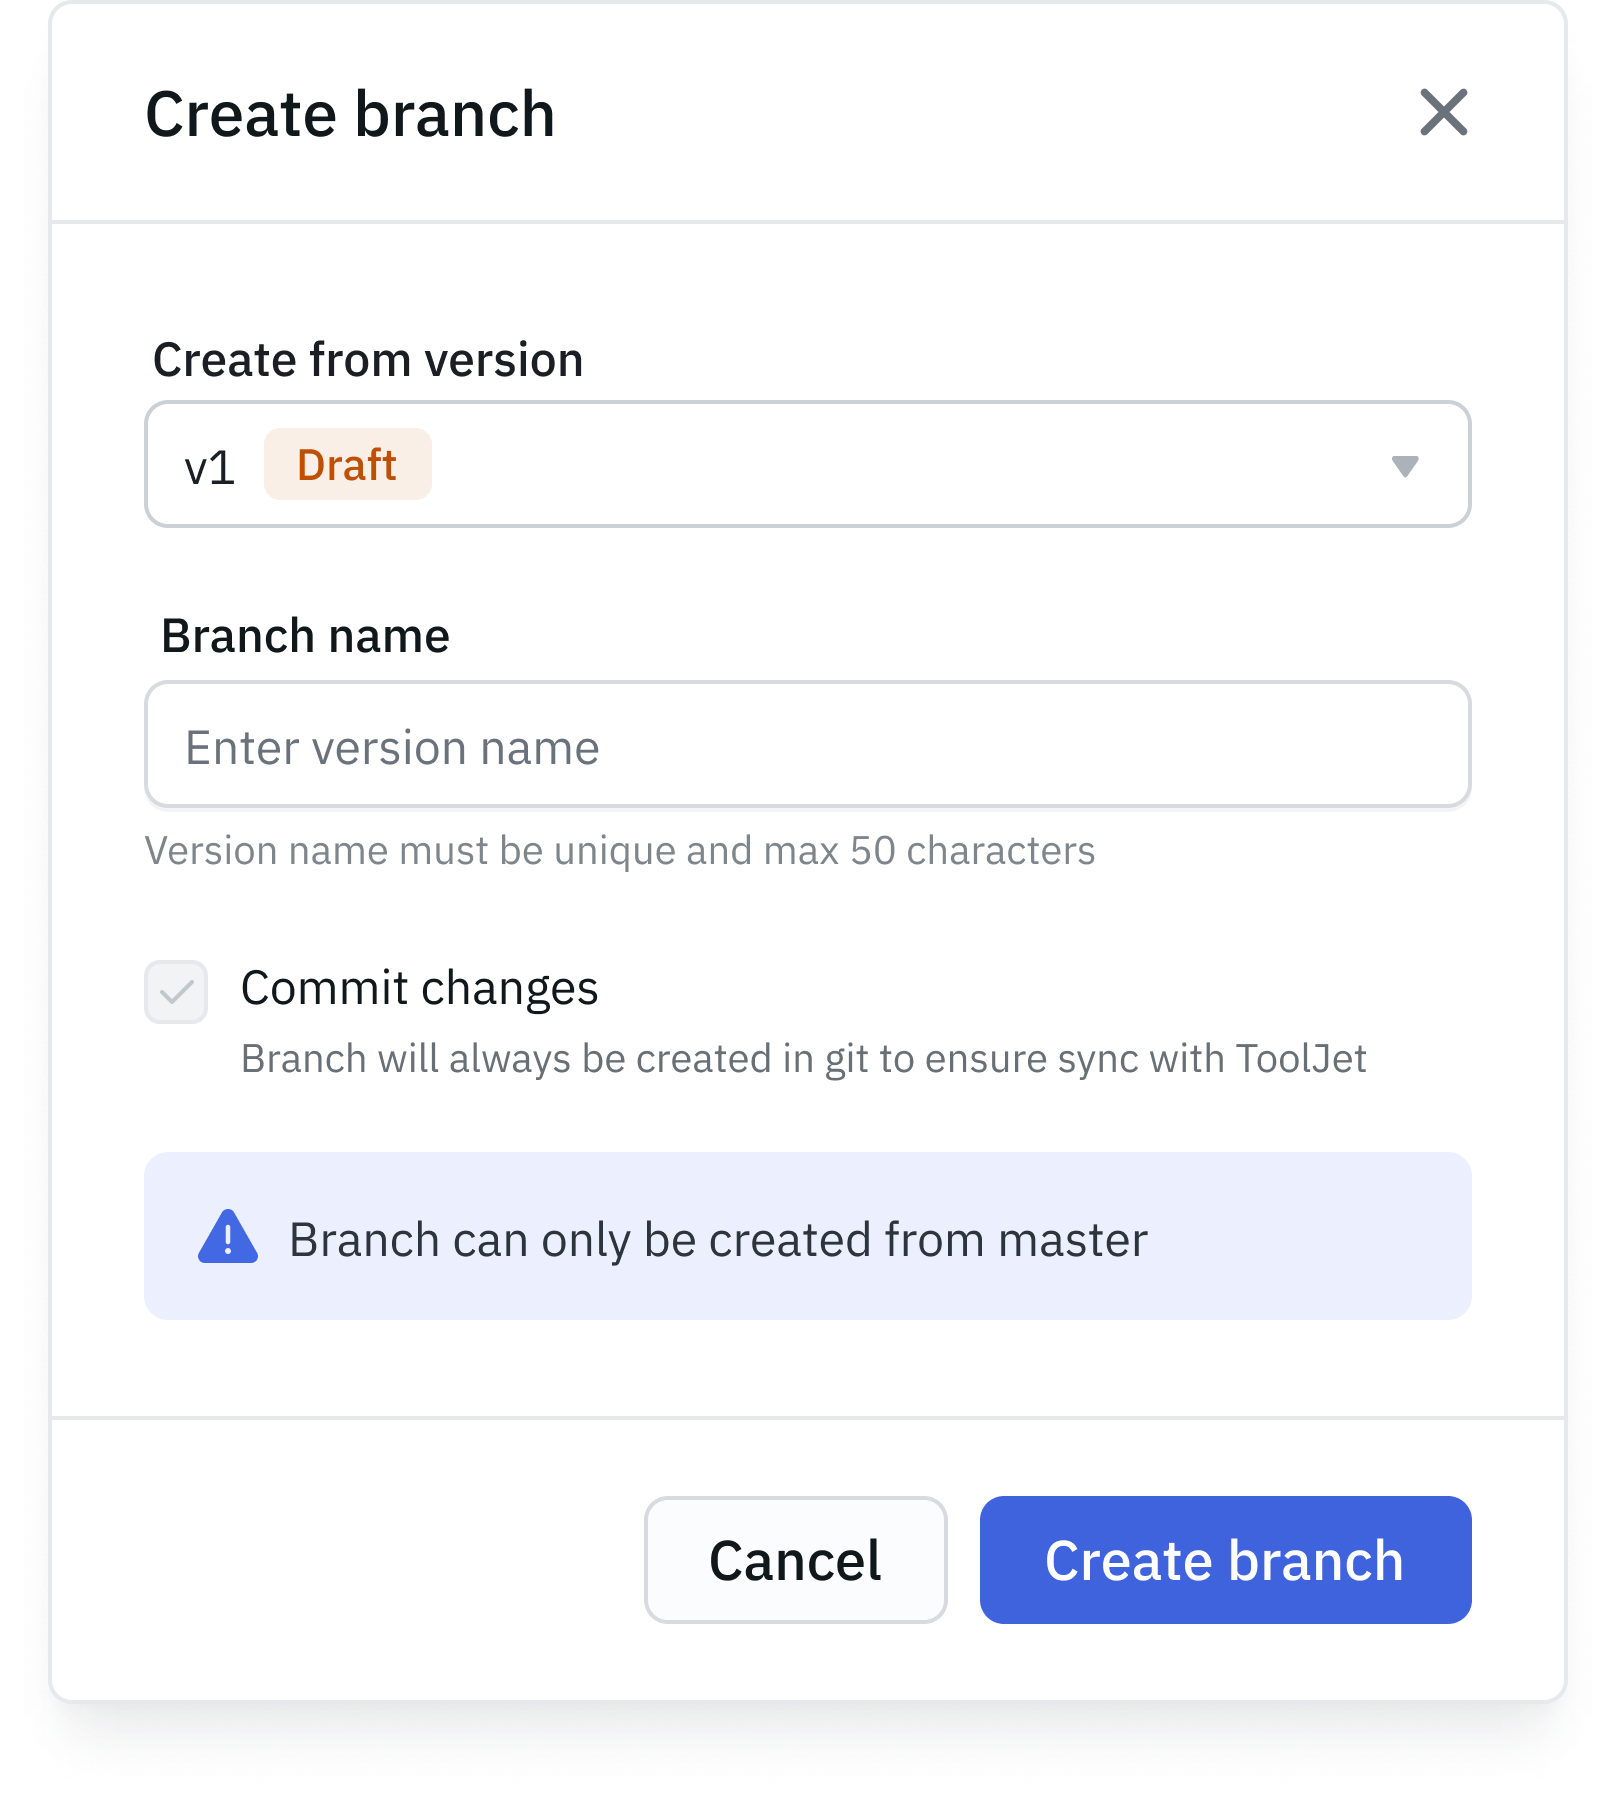
- Choose the version to branch from (typically the current draft).
- Click Create Branch.
Your new branch is immediately available in ToolJet and automatically synced to Git.
Switch Between Branches
- Click the branch dropdown in the top navigation and click Switch Branch.
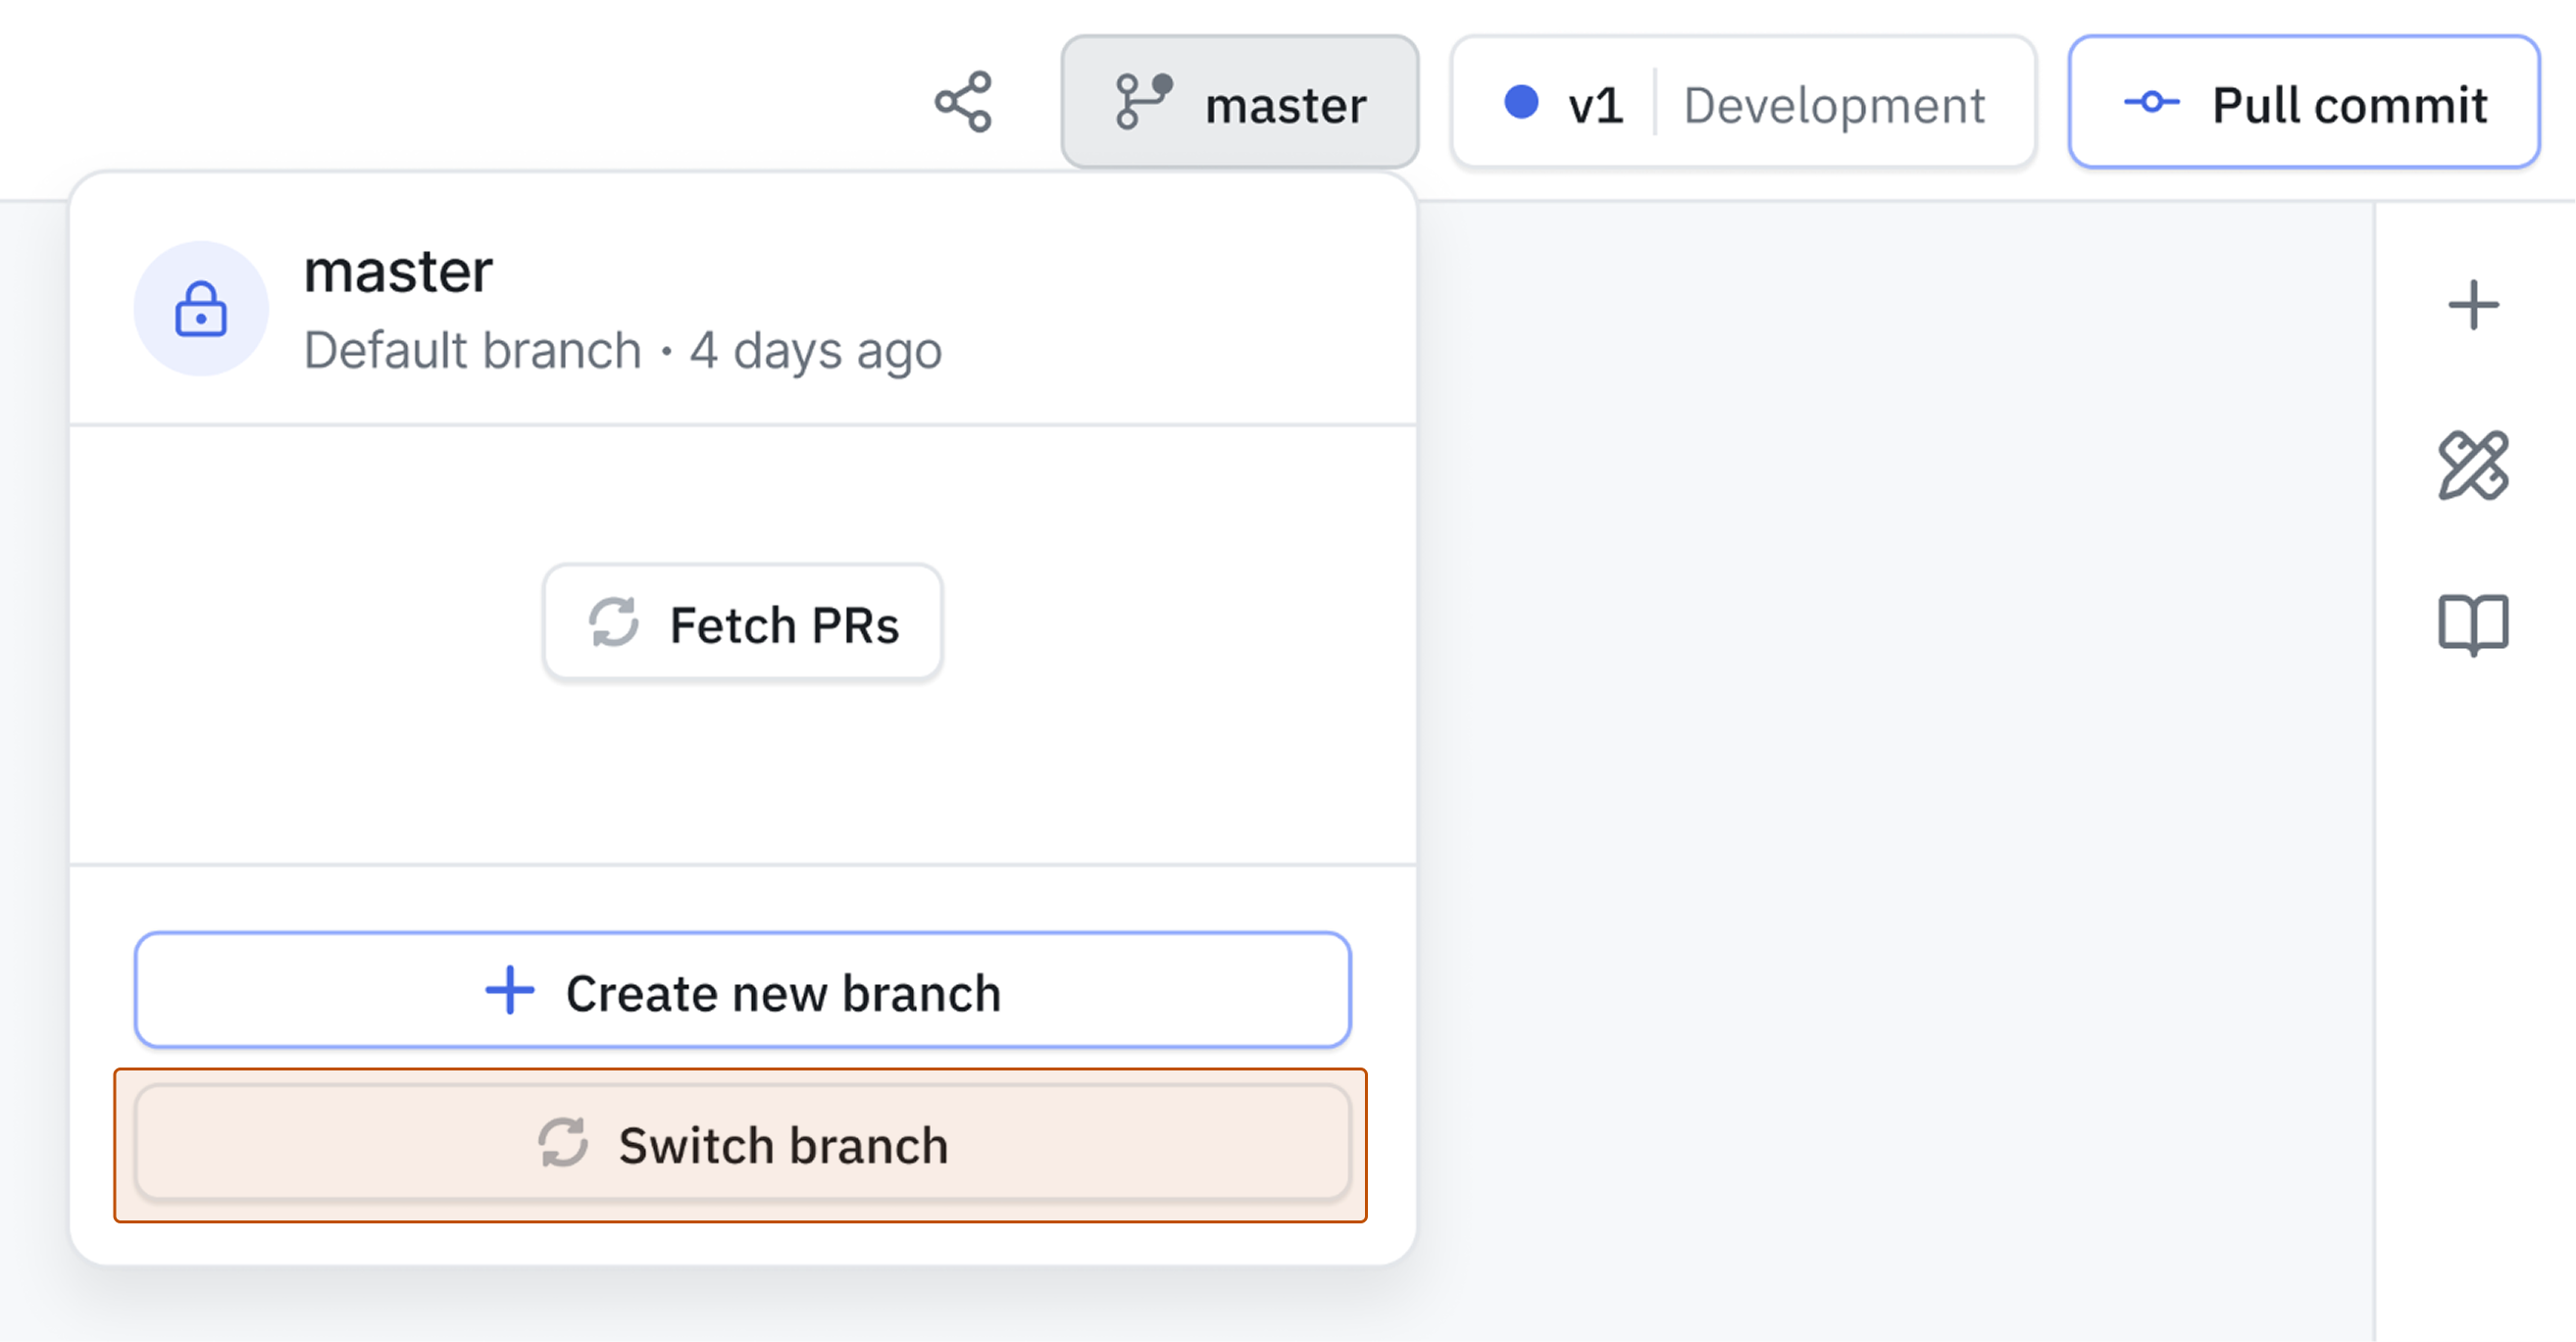
- Select the branch you want to switch to.
- All your edits now apply to the selected branch.
Working with Pull Requests
Pull requests are how changes move from sub-branches to the master branch. All pull request management happens in your Git provider (GitHub, GitLab, etc.).
Commit Changes to Git
You can commit changes only on sub-branches (master is locked):
-
Make your changes in ToolJet.
-
Click the Commit button in the top navigation.
-
Add a commit message describing your changes.
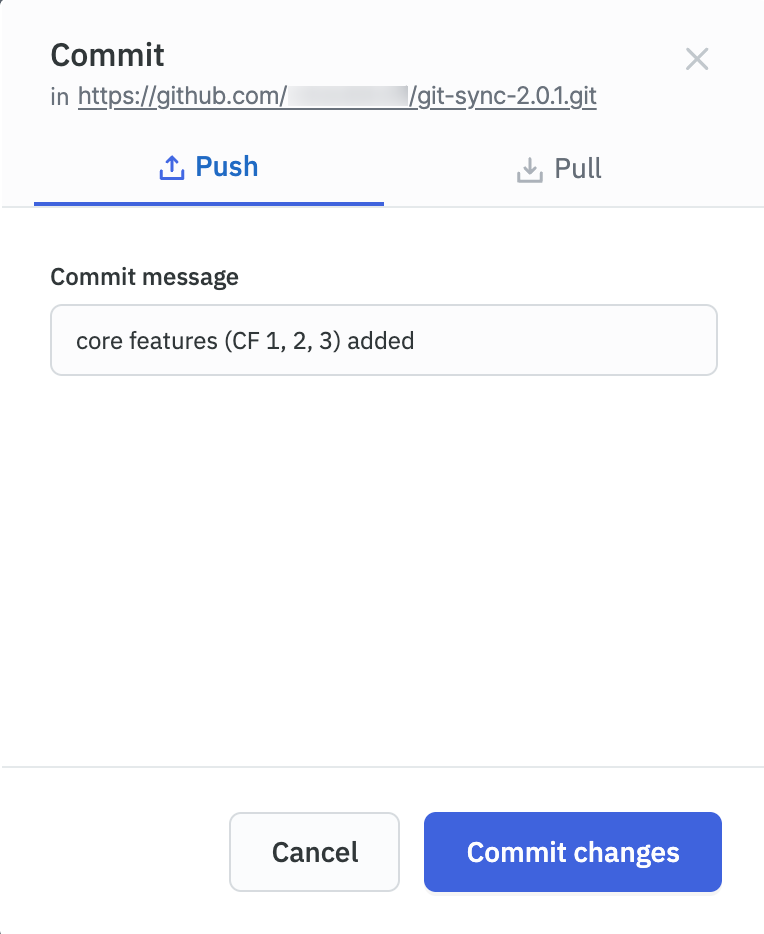
-
Click Commit Changes.
Your changes are committed to the current branch in Git.
Pull Changes from Git
To pull changes on the master branch:
- Ensure you're on the master branch with an active draft version.
- Click Pull Commit.
- The current draft will be replaced with the content from Git.
Create a Pull Request
Pull requests are created and merged in your Git provider. All changes must be committed to Git to keep your application in sync.
-
Commit your branch changes:
Click the Commit button in the top navigation, add a commit message, and click Commit Changes.
-
Create a pull request:
Click the branch name in the navigation bar, then click Create pull request.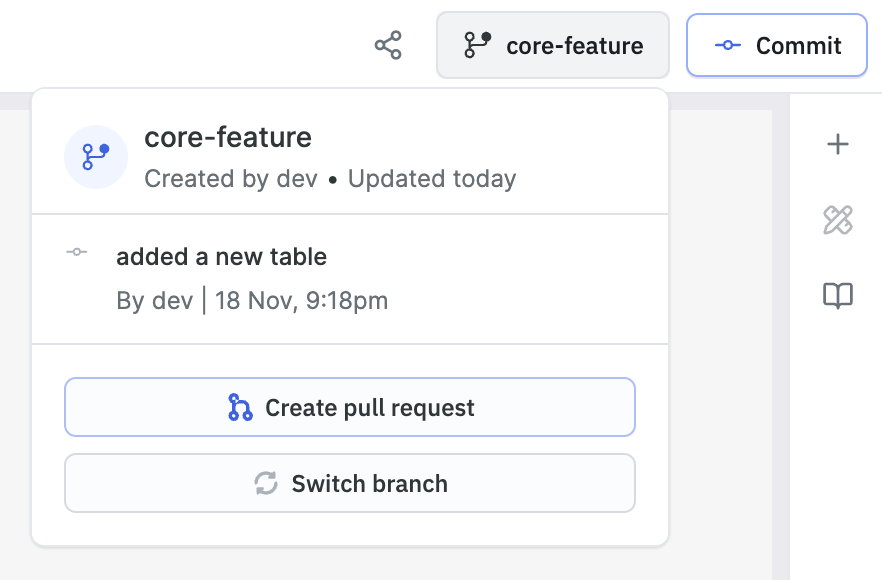
You'll be redirected to your Git provider where some fields are pre-filled. Edit them as needed or create the PR directly.
-
Review and merge:
Add reviewers and a description, submit for review, address any feedback or conflicts, and have the approver merge the pull request. -
Pull merged changes into master:
Switch to the master branch, create a draft version, and click Pull Commit. The merged changes replace the current draft.
Common Scenarios
Creating Your First Released Version
Scenario: You've built a new application and need to release version 1.
- Create your application (master branch and draft v1 are created automatically).
- Create a sub-branch from draft v1 (e.g., developer/initial-build).
- Develop your application on the branch.
- Commit your changes to Git.
- In Git: Create a pull request, get approval, and merge to master.
- In ToolJet: Pull from Git into the master branch.
- Save draft v1 as version v1 (auto-commits to Git).
- Promote v1 to staging for testing.
- Promote v1 to production.
- Release v1.
Parallel Development
Scenario: Two developers need to work on different features at the same time.
- Developer A creates branch johnson/inventory from the current master.
- Developer B creates branch taylor/search from the current master.
- Both developers work independently and commit their changes.
- In Git:
- Both create pull requests to master.
- Resolve any merge conflicts.
- Manager approves and merges both PRs to master.
- In ToolJet:
- Create draft v2 from v1 (if no active draft exists).
- Pull changes from Git into draft v2.
- Save v2 as a version.
- Promote and release v2.
Creating and Saving Versions
Creating Draft Versions
Draft versions can only be created on the master branch. Only one draft can be active at a time.
- Switch to the master branch.
- Click the version dropdown and select Create Draft.
- Select the version to draft from.
- Click Create.
Saving Versions
When you save a draft, it becomes a locked milestone:
- Switch to the master branch with an active draft.
- Click Save Version.
- Enter a version number (e.g., v2, v2.1).
- Click Save.
The version is automatically committed to Git. Once saved, no further commits are allowed on that version. Saved versions represent completed milestones.
Branch Permissions
| Action | Master Branch | Sub-Branch |
|---|---|---|
| Direct edits | ❌ Only via PR | ✅ Yes |
| Push to Git | ❌ Not needed | ✅ Yes |
| Pull from Git | ✅ Draft only | ✅ Open branches |
| Rename | ❌ Git only | ❌ Git only |
| Close | ❌ Never | ❌ Git only |