Google Single Sign-on Configuration
To enable Google Single Sign-on (SSO) for your ToolJet instance, follow these steps:
-
From the ToolJet dashboard, go to Settings (⚙️) from the bottom of the left sidebar and select the Workspace Settings.
-
In the Workspace Settings, select Workspace login from the sidebar. On the right, you'll see toggles to enable SSO via different clients. All the client toggles are disabled by default. Turn on the Google toggle, a modal will appear with the input field for the parameter Client ID. At the top left of the modal, there is a toggle to enable this modal. Turn it on, and then, without entering the Client ID, click on the Save changes button. This will generate a
Redirect URLthat you will need to utilize in the Google Cloud console.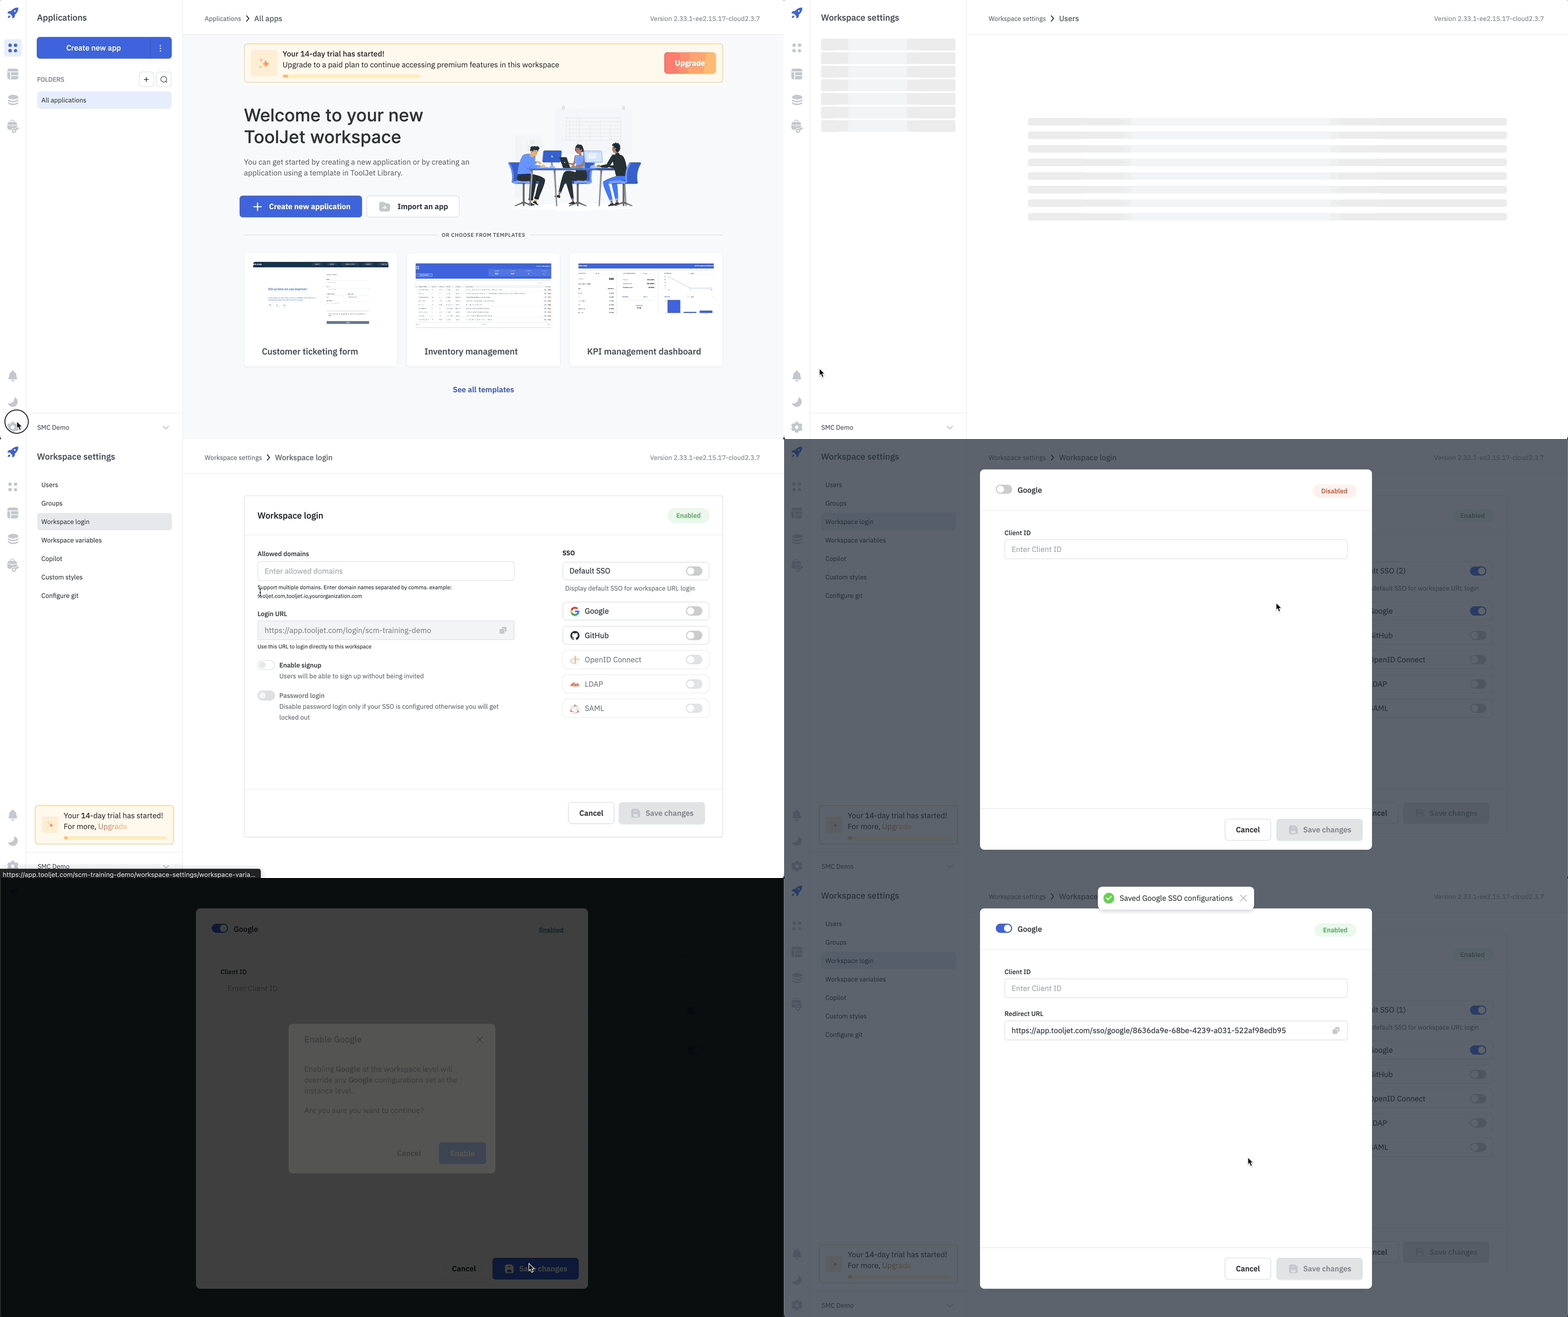
-
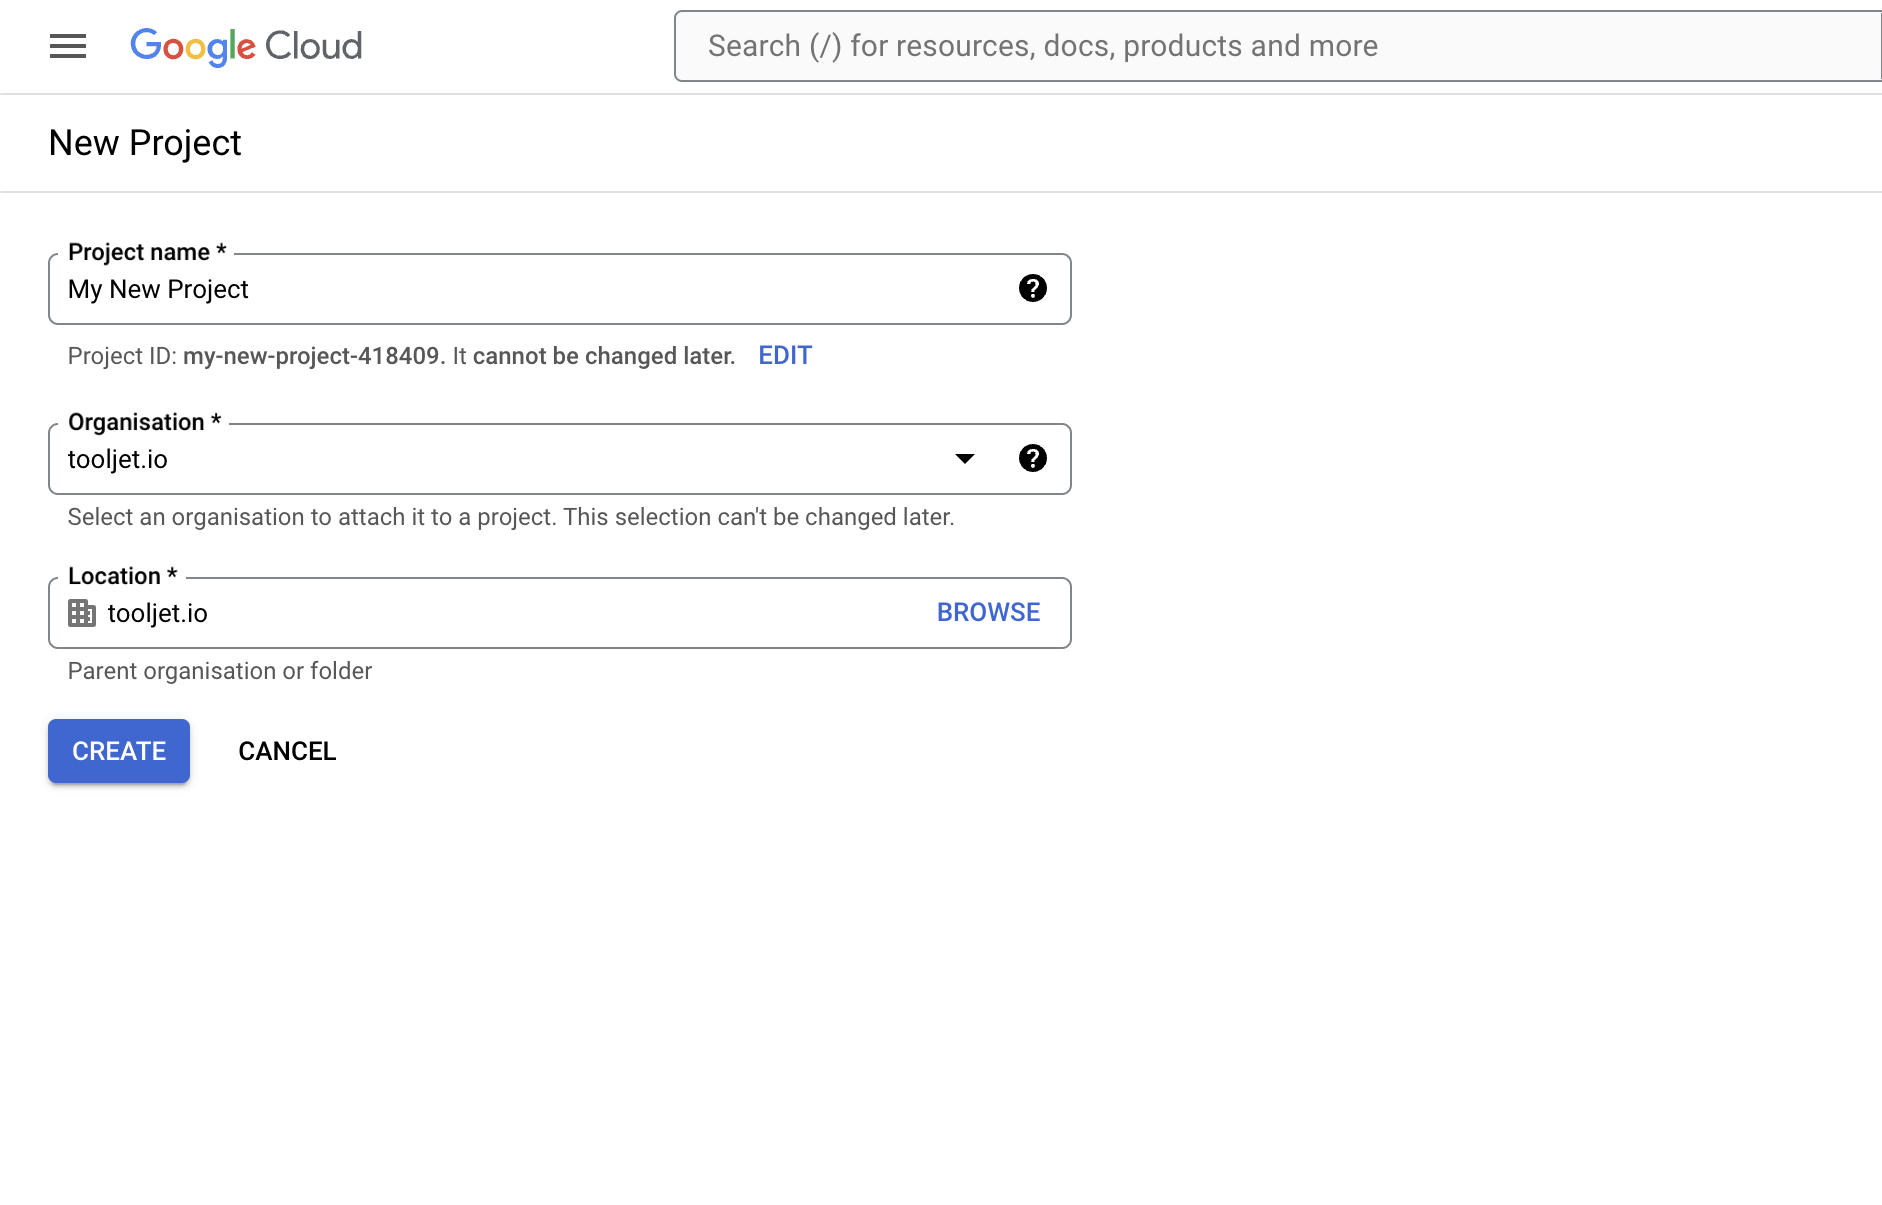
Go to Google Cloud console and create a project.
-
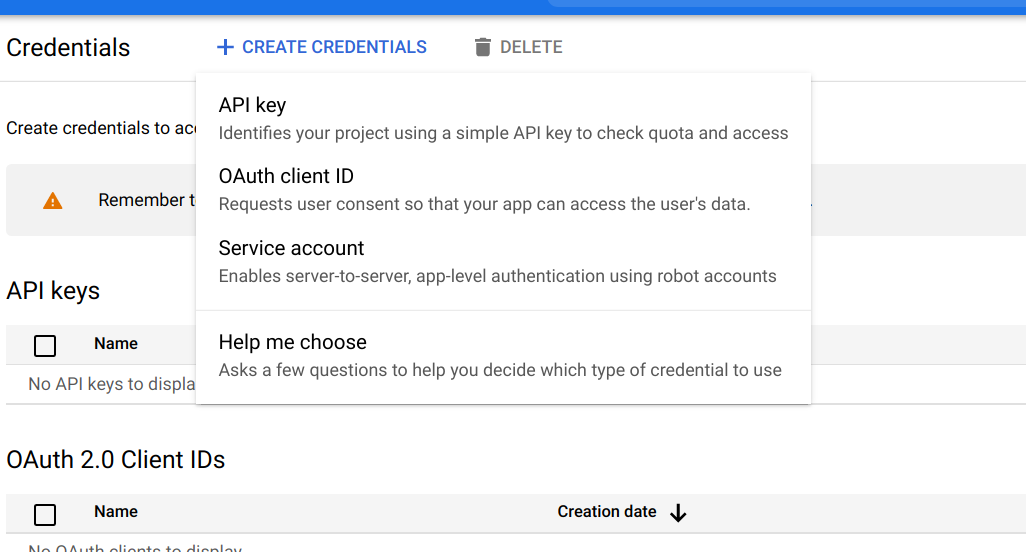
Go to the Google Cloud console credentials page, and create an OAuth client ID.
-
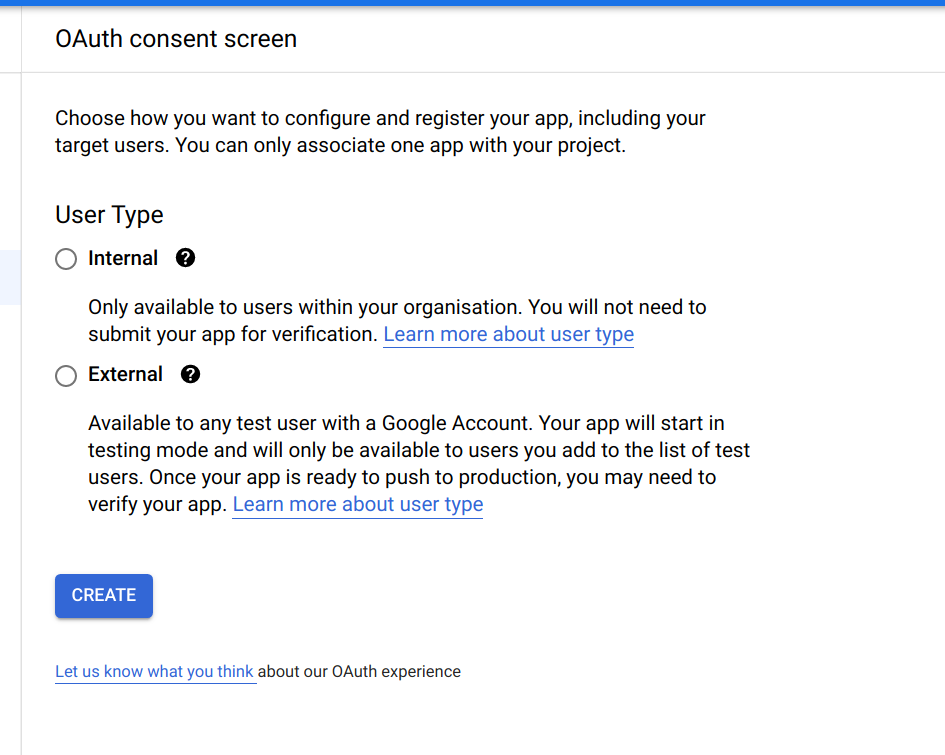
You'll be asked to select user type in consent screen. To allow only users within your workspace, select 'Internal', otherwise, select 'External'.
-
You'll be led to an app registration page where you can set OAuth scopes. Select 'Add or remove scopes' and add the scopes
userinfo.emailanduserinfo.profileas shown in the image. This will allow ToolJet to store the email and name of the user who is signing in.
-
Set the domain on which ToolJet is hosted as an authorized domain.
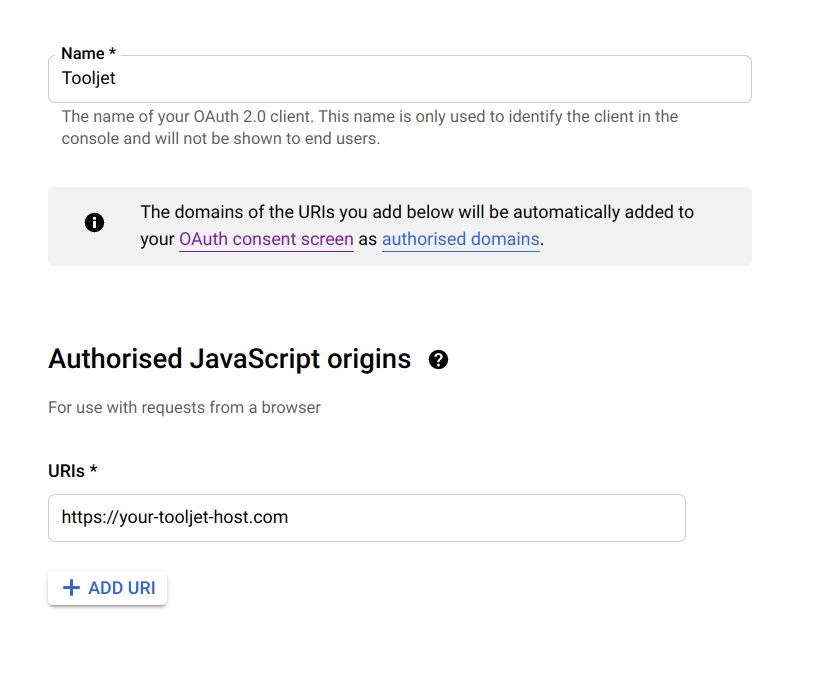
-
Under Authorized redirect URIs, enter the
Redirect URLwhich was generated in ToolJet's Google SSO settings.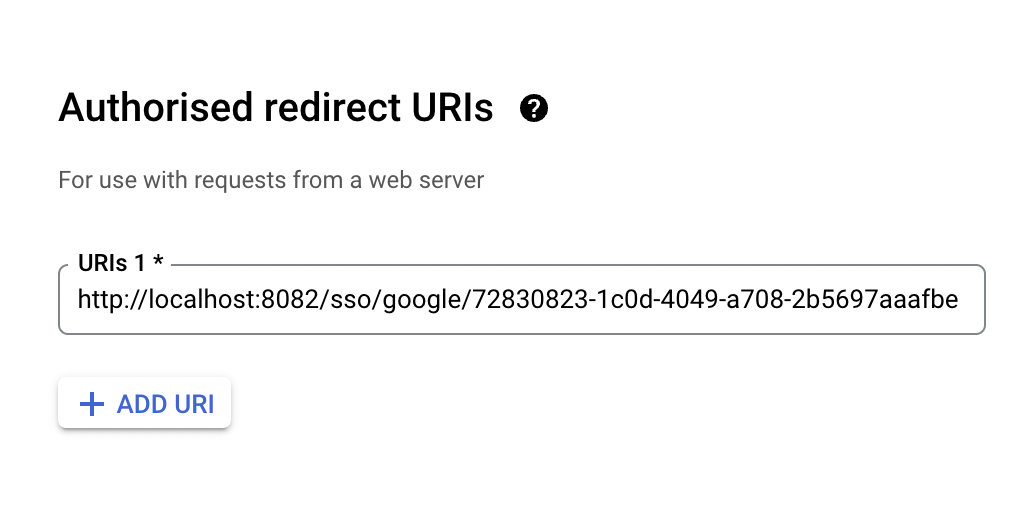
Lastly, set the Client ID in ToolJet's Google SSO settings. This value will be available from your Google Cloud console credentials page.
The Google sign-in button will now be available in your ToolJet login screen.
Setting default SSO
To set Google as default SSO for the instance use environment variable.
Variable | Description |
|---|---|
| SSO_GOOGLE_OAUTH2_CLIENT_ID | Google OAuth client id |