Managing Users and Groups
Managing Users
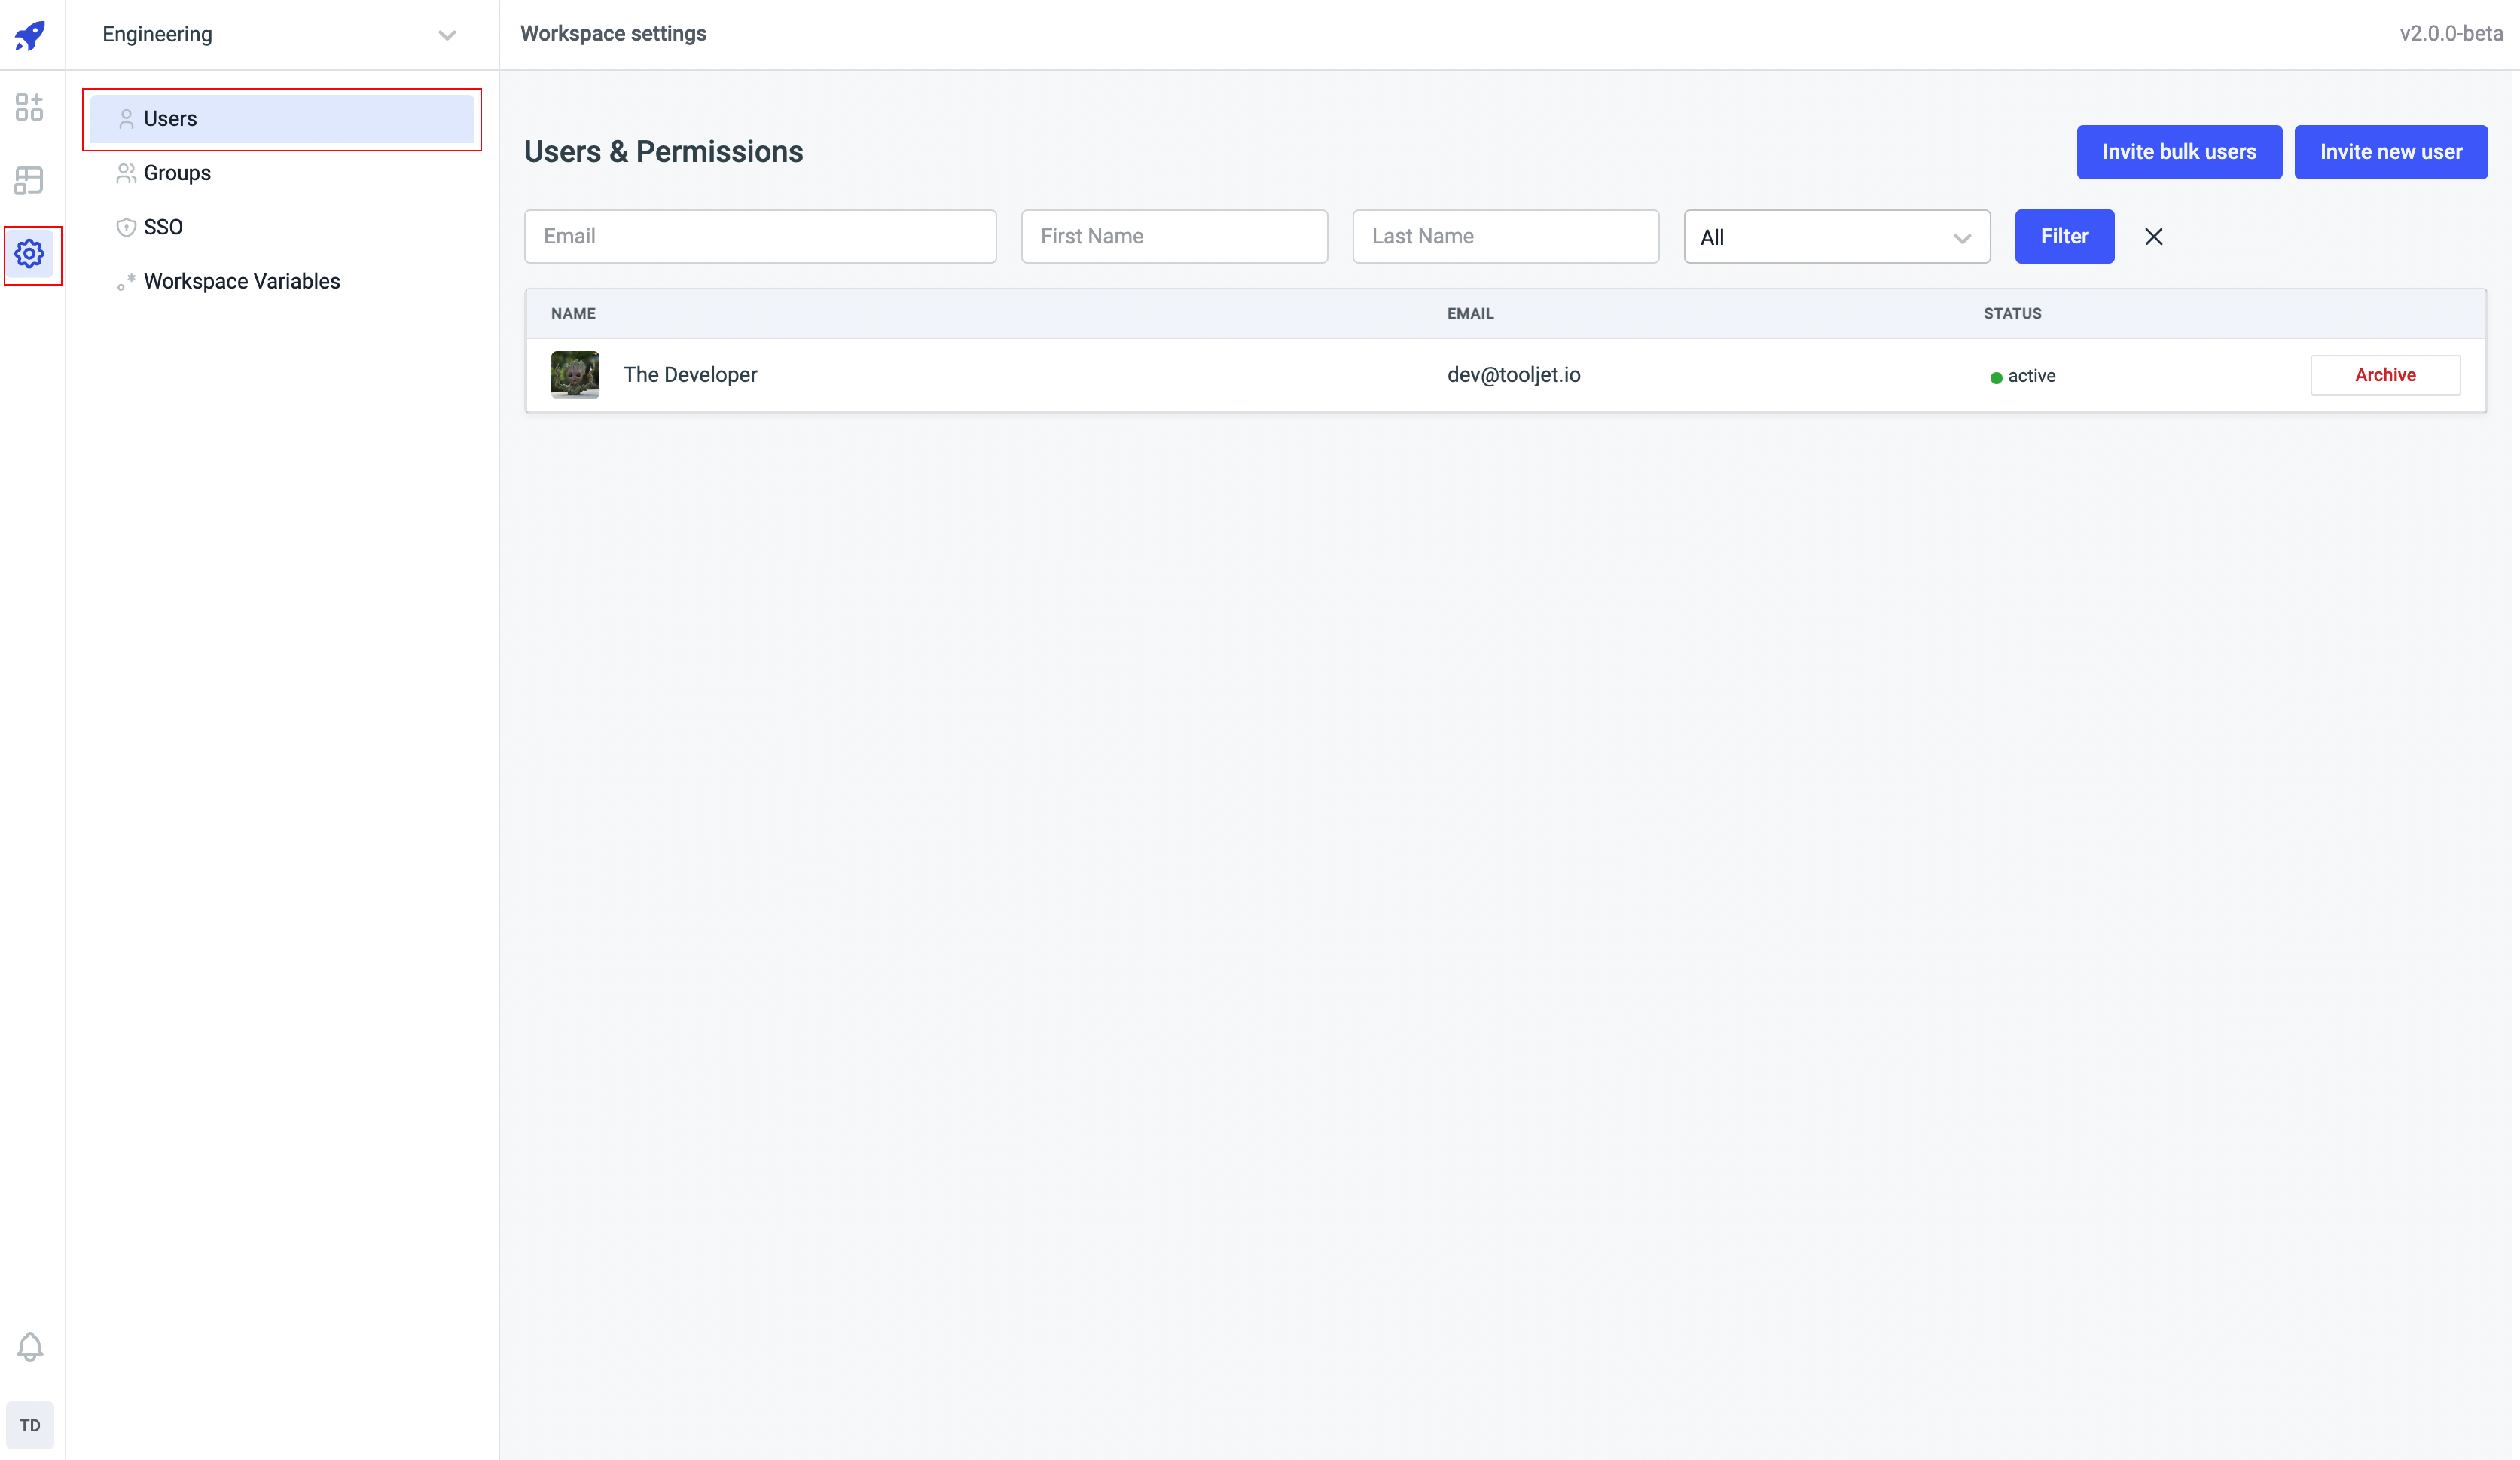
Admin of a workspace can add users to the workspace. To manage the users in your workspace, just go to the Workspace Settings from the left sidebar on the dashboard and click on the Users option.
Inviting users
Admins can invite anyone to a workspace using the email address. To invite a user:
-
On the Users page click on the
Invite new userbutton.
-
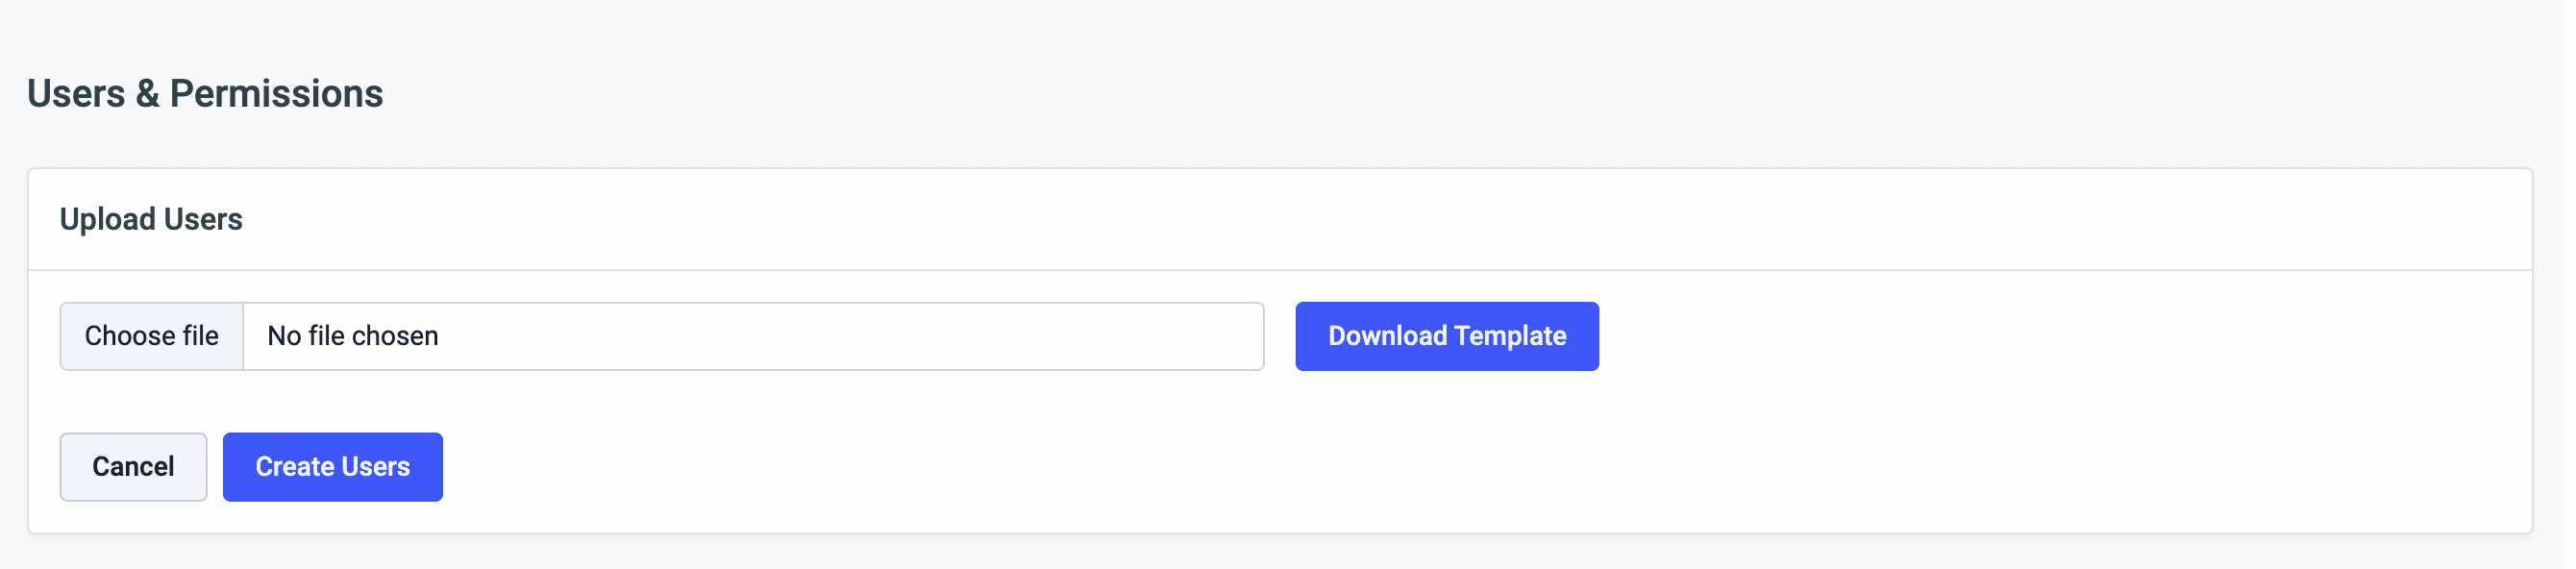
Now enter the details of new user such as first name, last name, email, and then click on the Create User.

-
An email including the Invite Link to join your workspace will be send to the created user. The status will turn from invited to active after the user successfully joins your workspace using the invite link.
tipYou can also copy the invitation url by clicking on the copy icon next to
invitedstatus of the created user.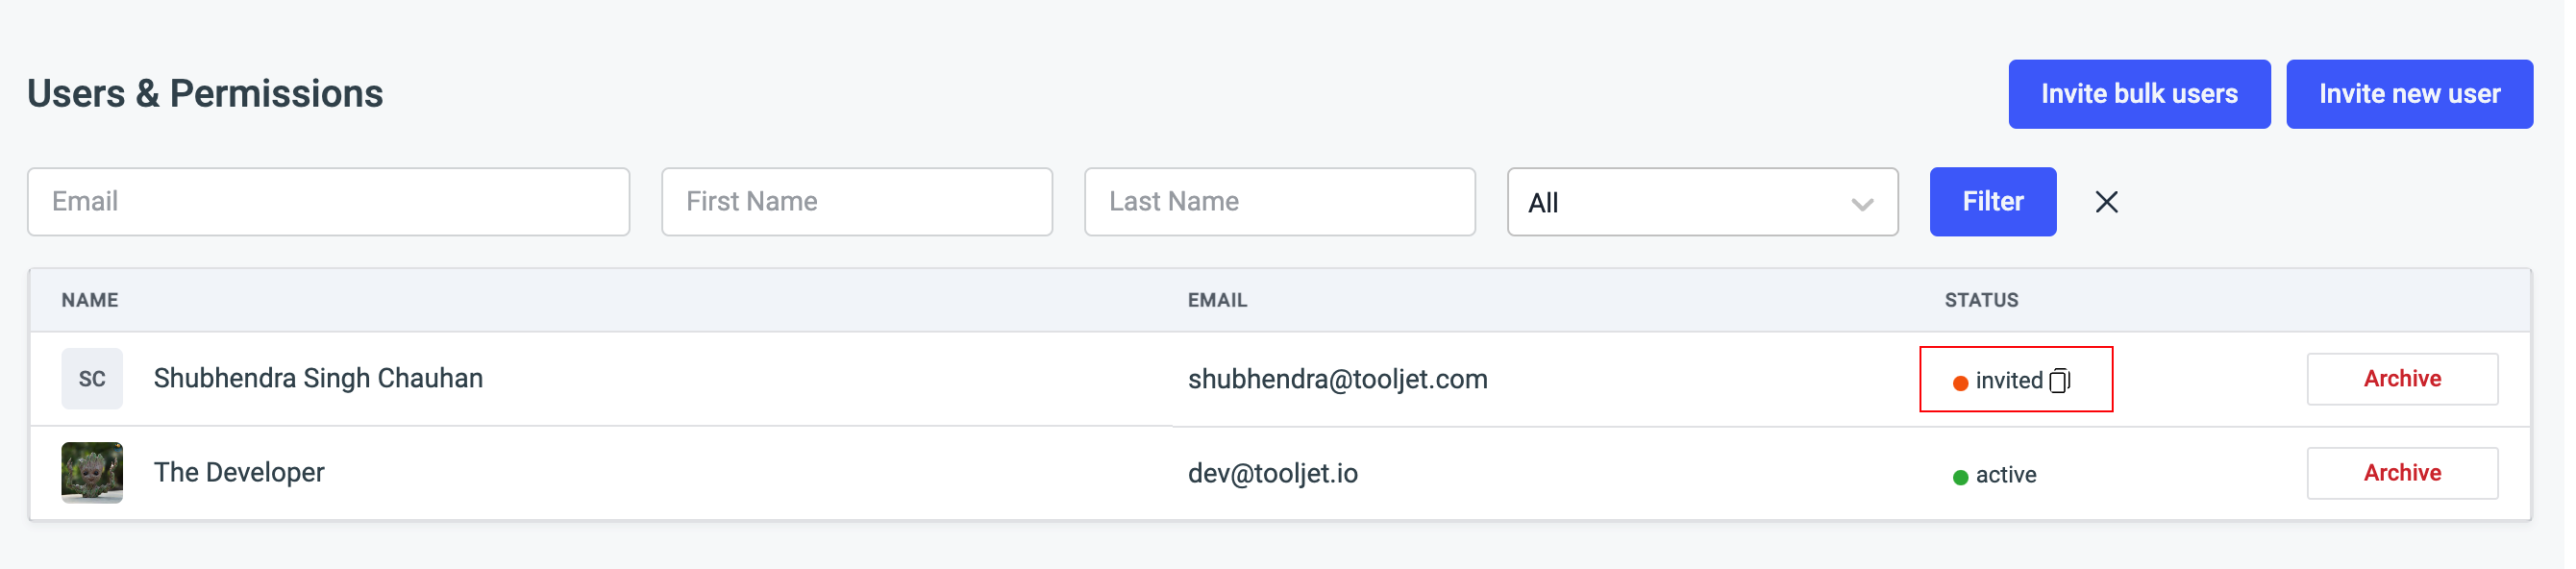
You can also Bulk Invite Users by editing and uploading the sample CSV file including all the users details.
Disabling a user's access
You can disable any active user's access to your workspace by clicking on the Archive button and the status of the user will change from active to archived.
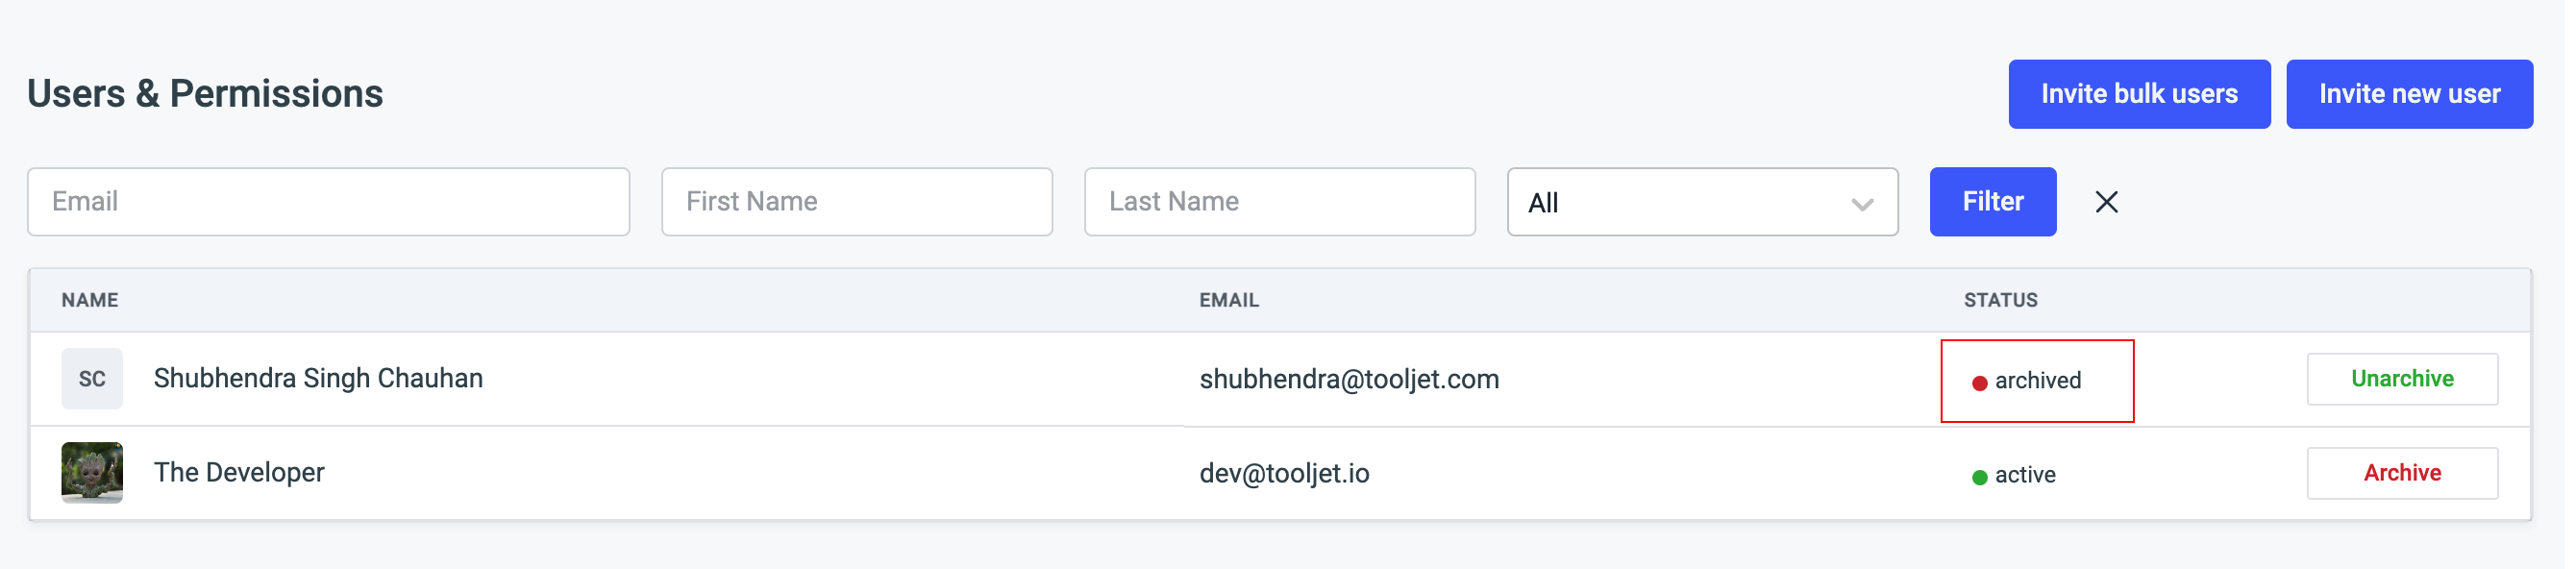
Enabling a user's access
Similar to archiving a user's access, you can enable it again by clicking on Unarchive. The status of user will change from archived to invited and the user will have to join again using the invite link received via the e-mail.

Managing Groups
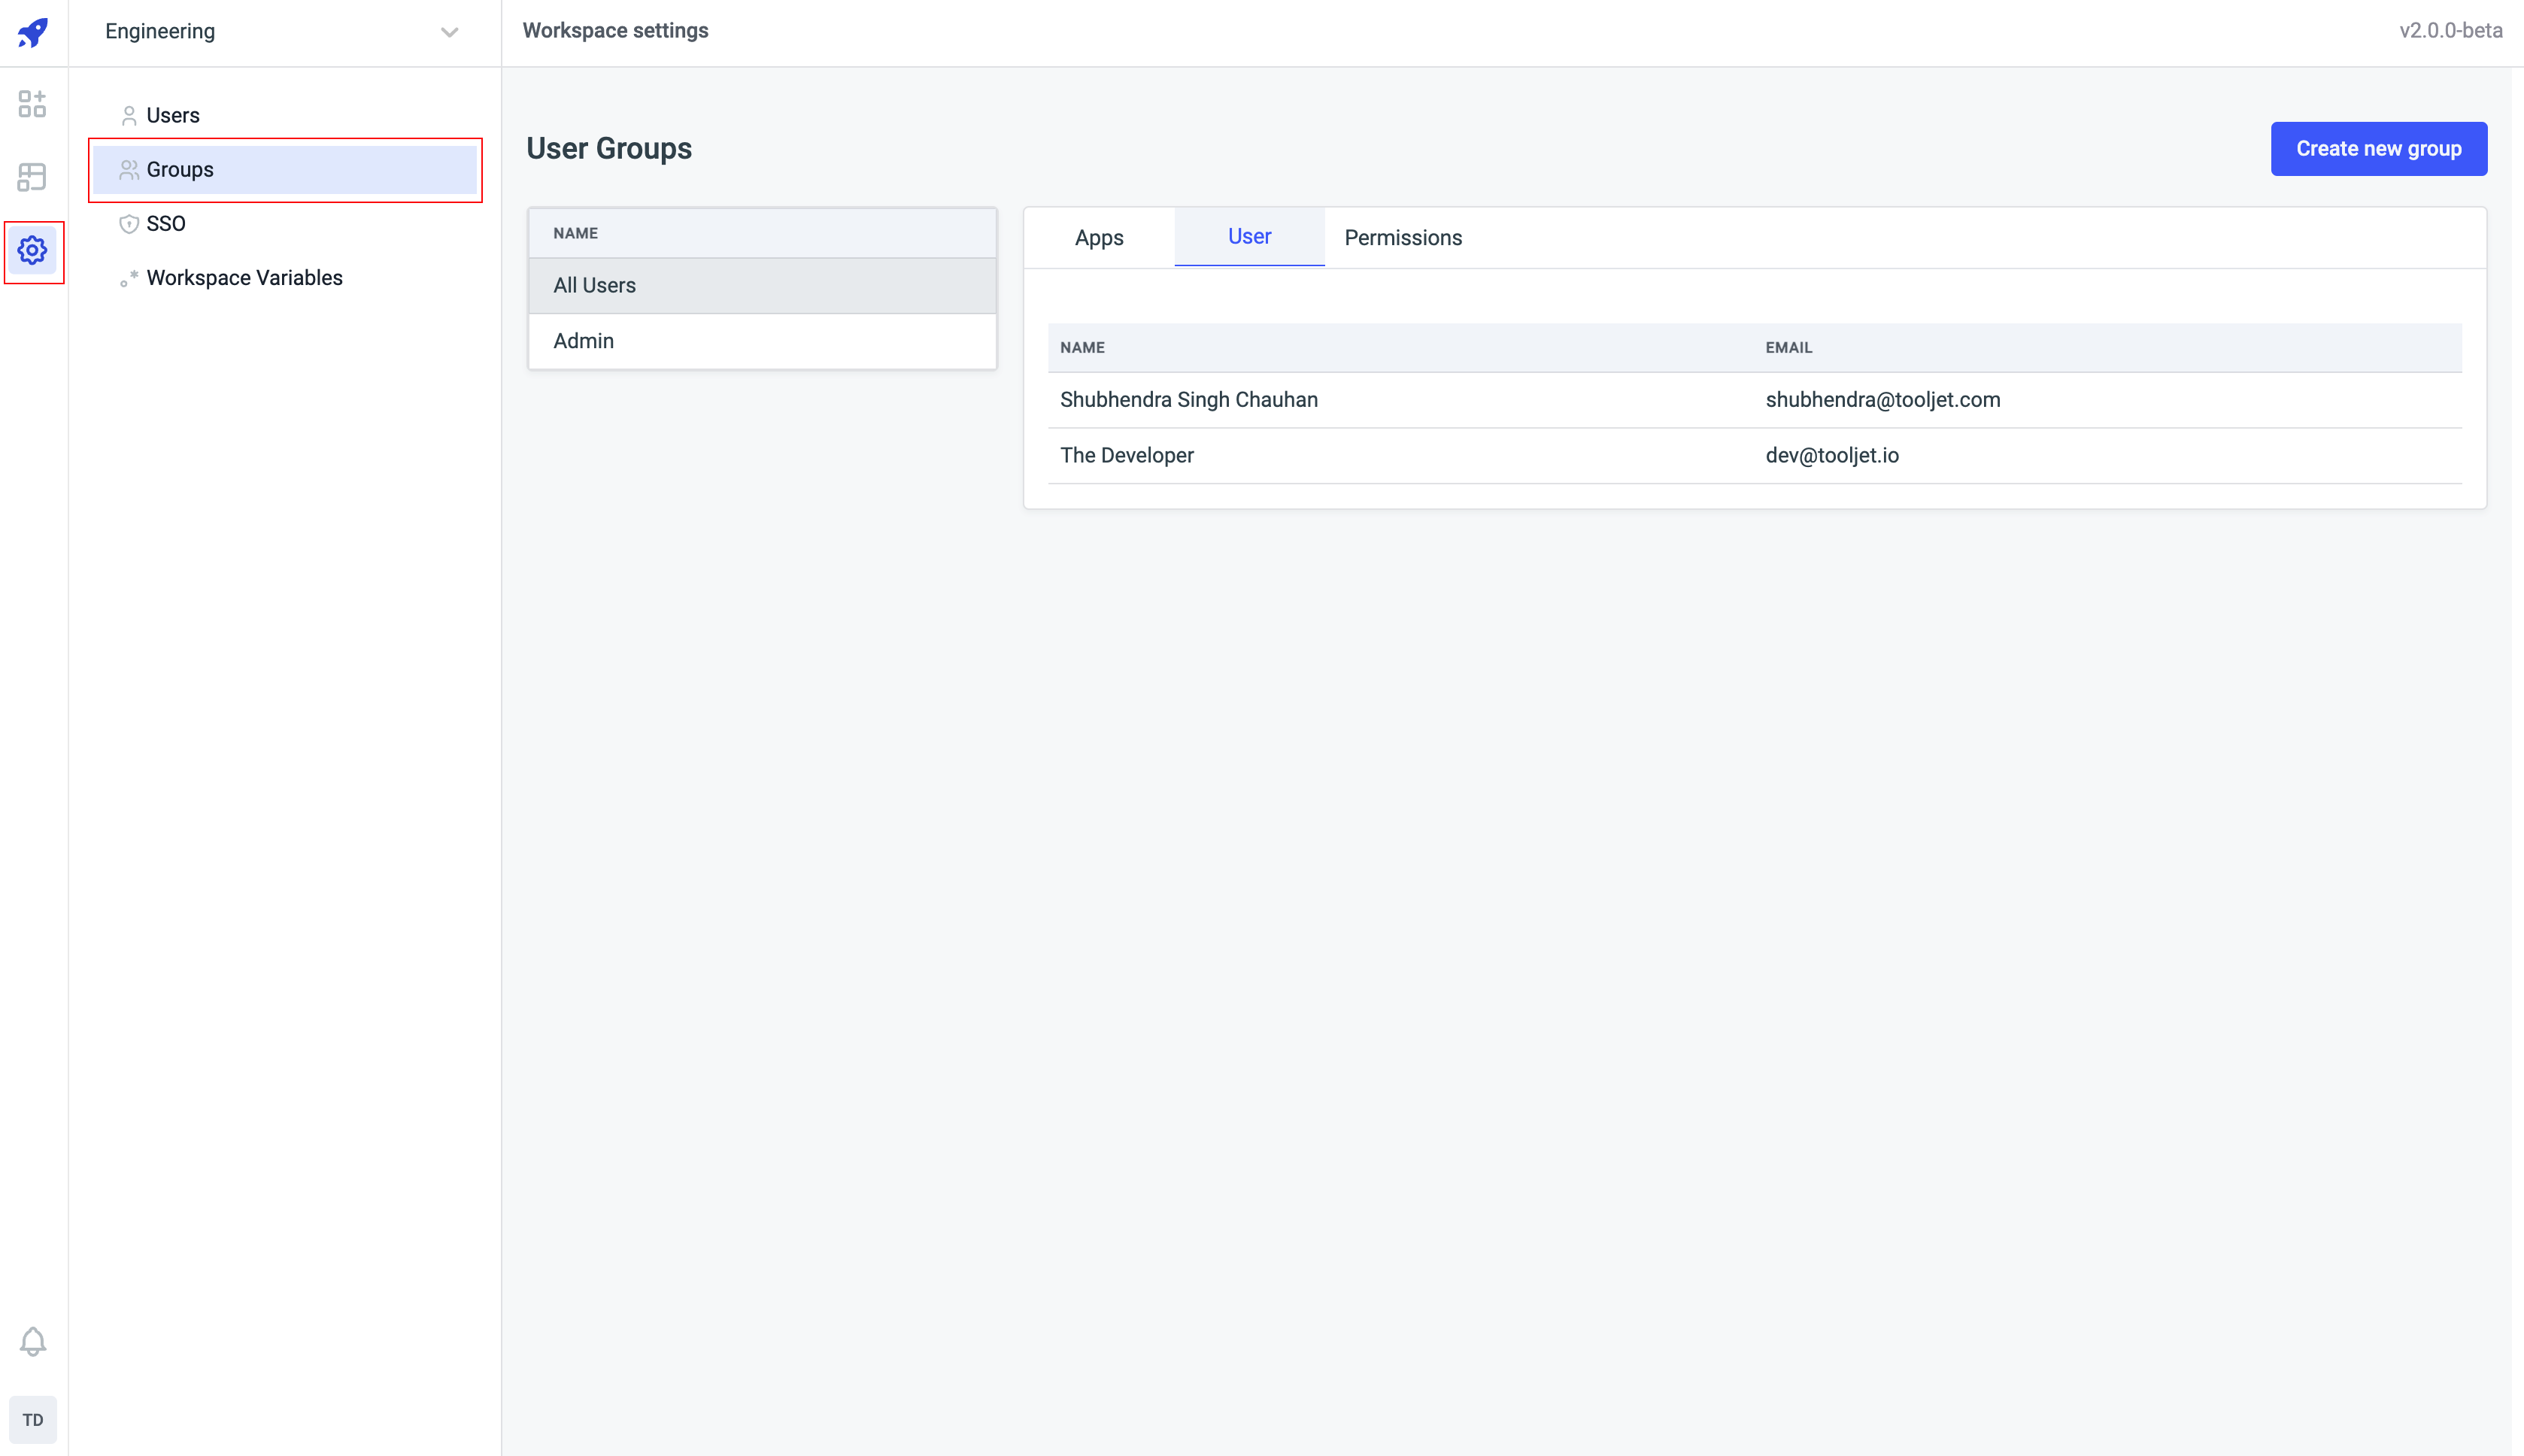
On ToolJet, Admins can create groups for users added in a workspace and grant them access to particular app(s) with specific permissions. To manage groups, just go to the Workspace Settings from the left-sidebar of the dashboard and click on the Groups.
Group properties
Every group on ToolJet has three sections:
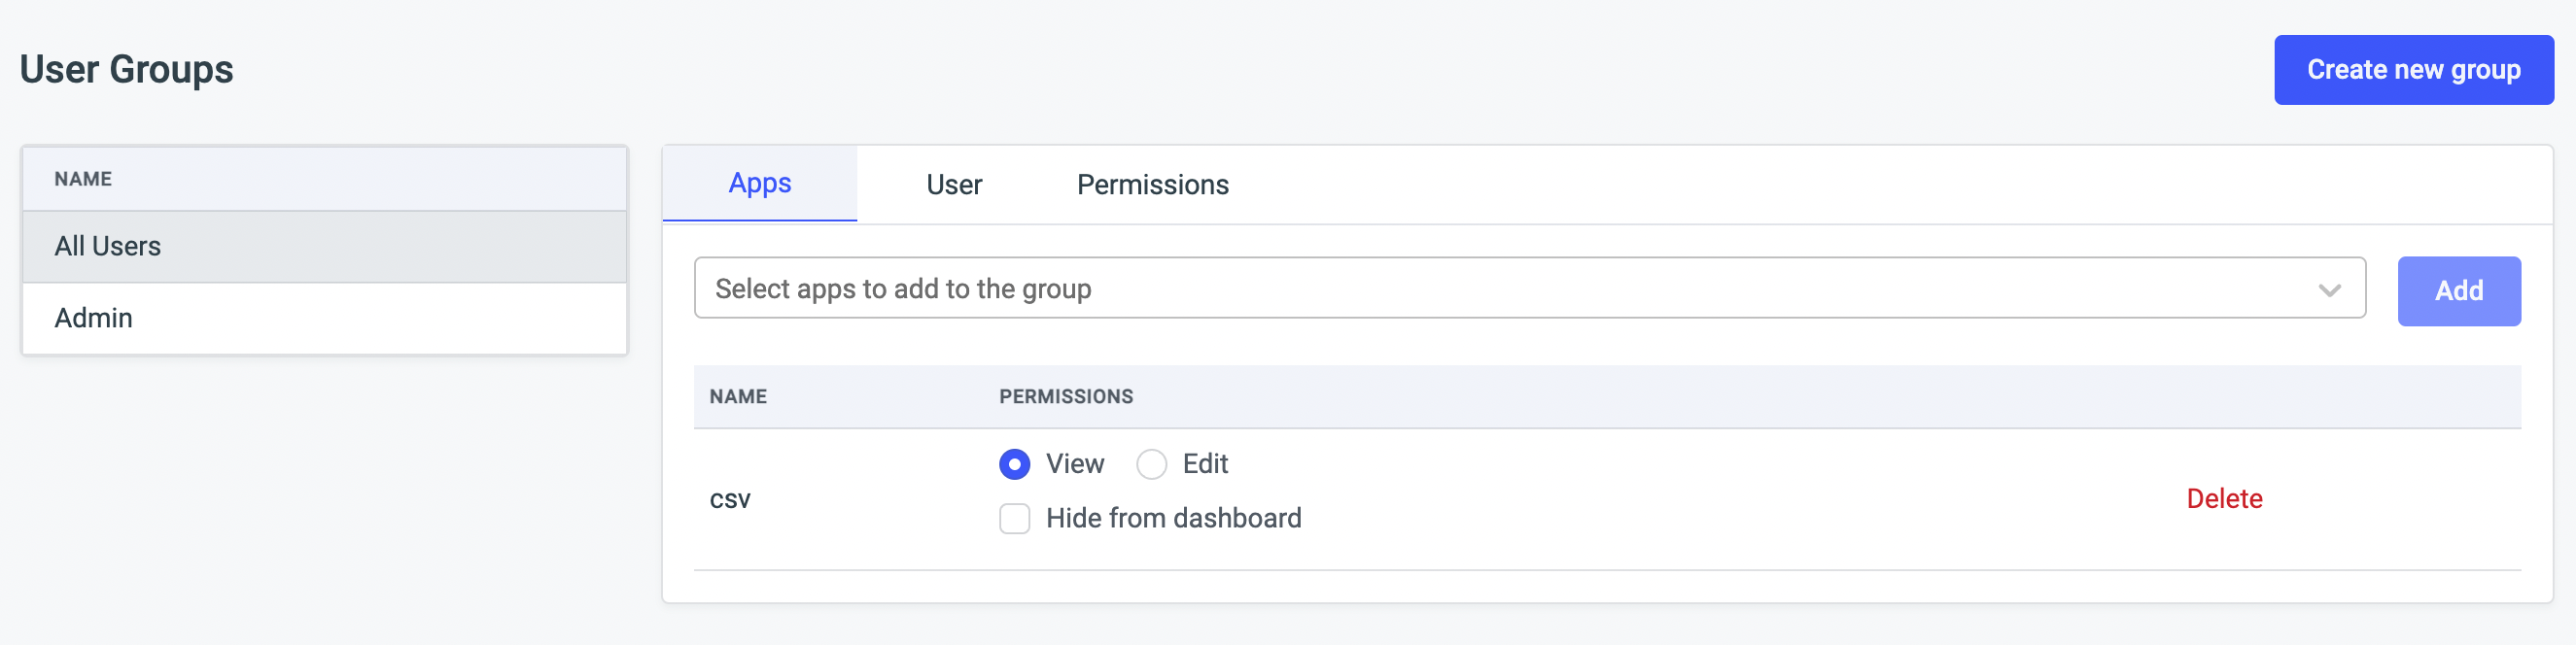
Apps:
Admins can add or remove any number of apps for a group of users. To add an app to a group, select an app from the dropdown and click on Add button next to it. You can also set app permissions such as View or Edit for the group. You can set different permissions for different apps in a group.
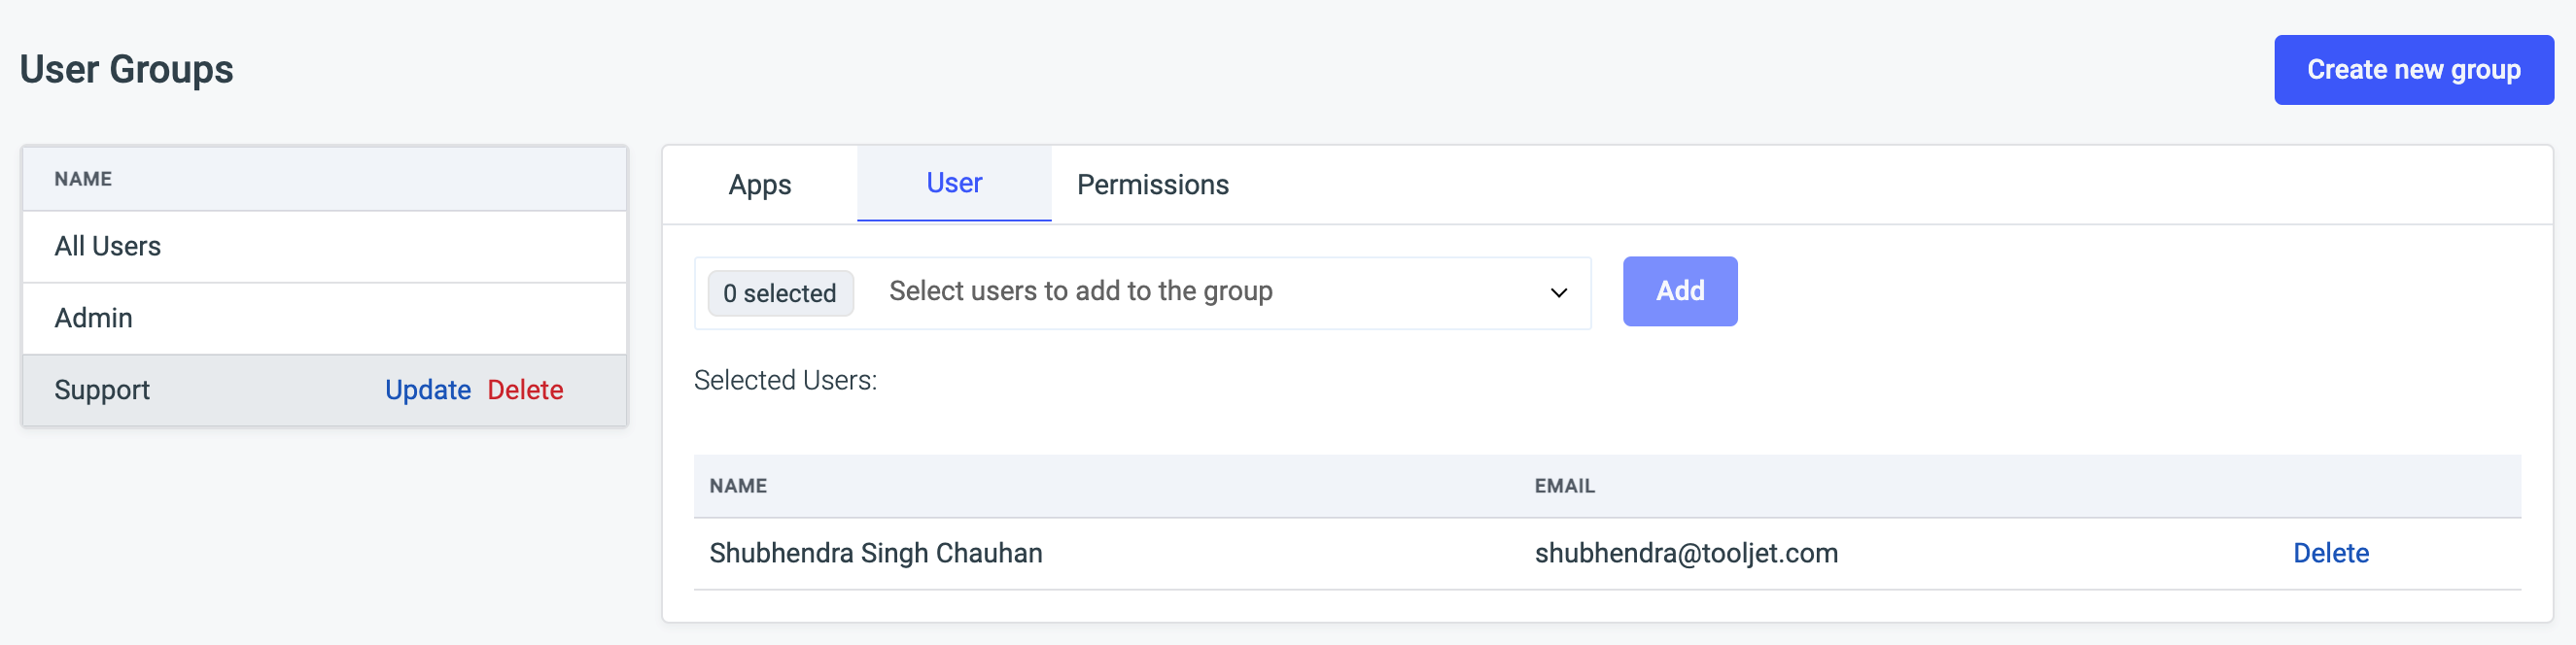
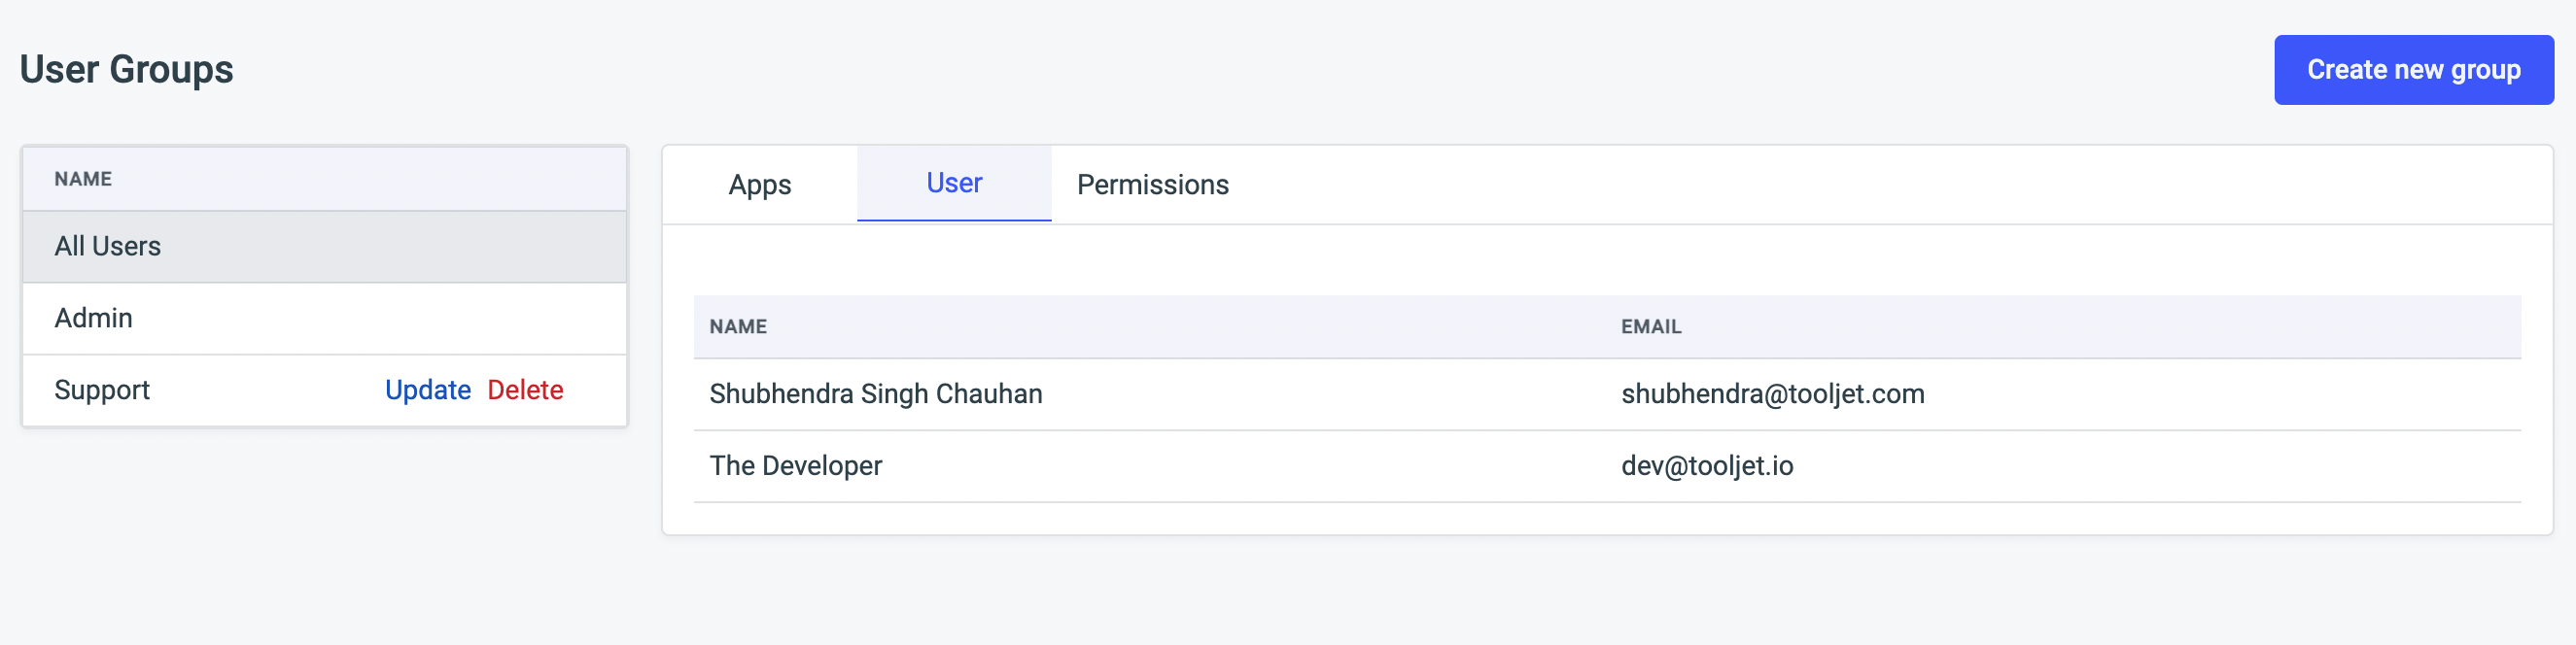
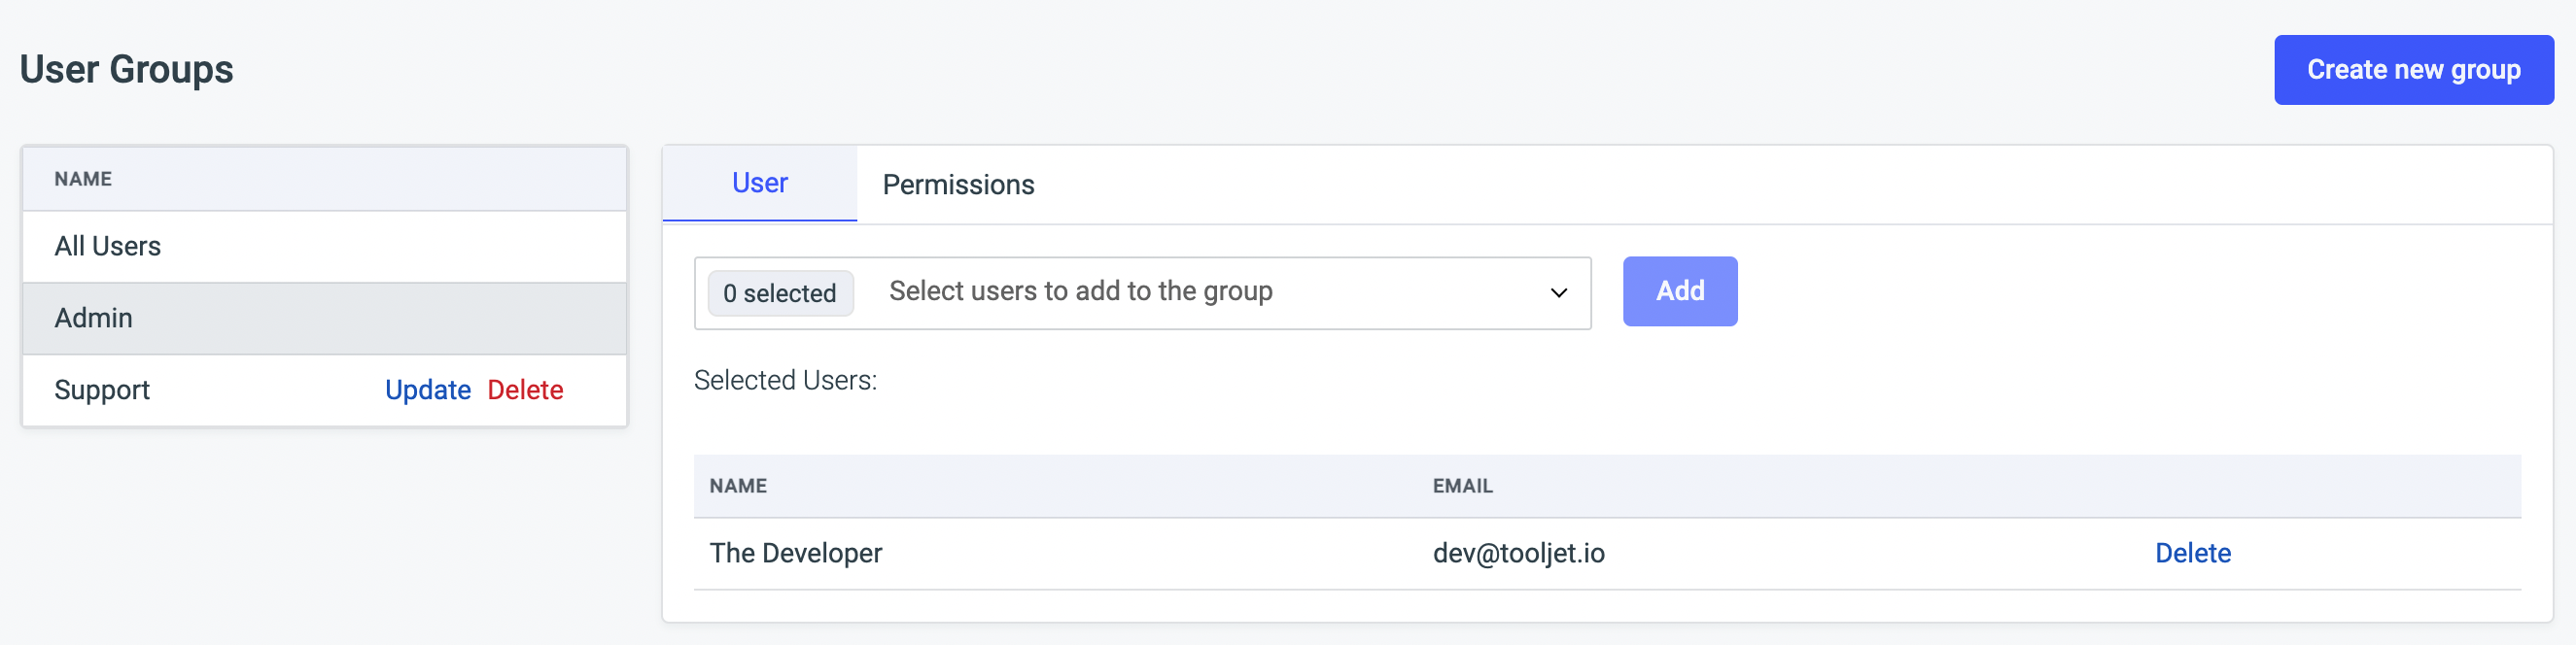
Users:
Admins can add or remove any numbers of users in a group. Just select a user from the dropdown and click on Add button to add it to a group. To delete a user from a group, click on Delete button next to it.
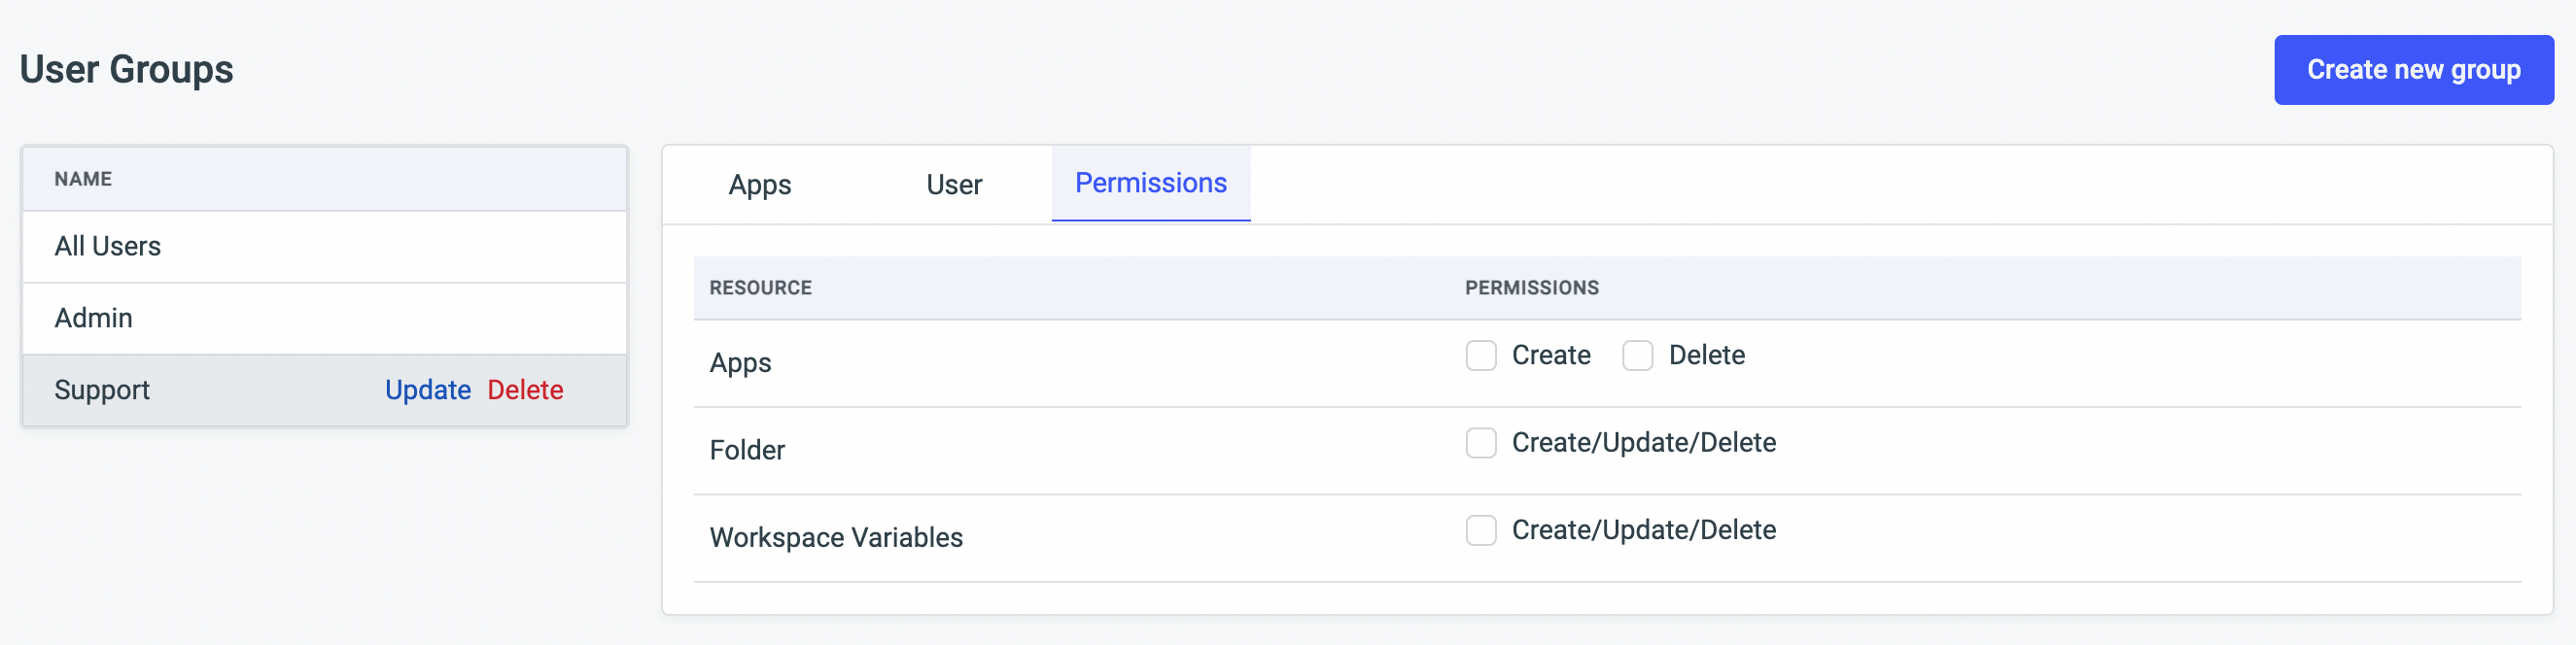
Permissions:
Admins can set granular permission like creating/deleting apps or creating folder for a group of users.
All the activities performed by any Admin or any user in a workspace is logged in Audit logs - including any activity related with managing users and groups.
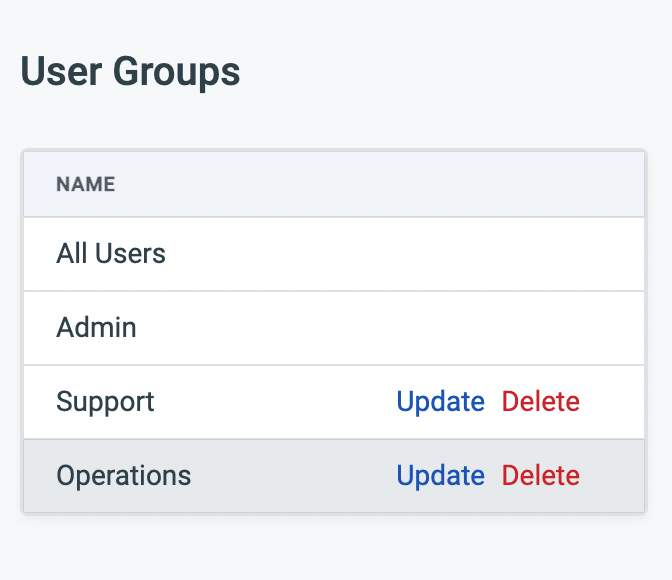
Predefined Groups
By default, every workspace will have two User Groups:
1. All Users
This group contains all the users and admins.
| Apps | Users | Permissions |
|---|---|---|
| You can add or remove apps. | Modification is disabled. This group will have all the users and admins added in a workspace. | You can edit permissions for all the users globally. |
2. Admin
This group contains admins by default. Admins can add more admins or remove the users in this group.
| Apps | Users | Permissions |
|---|---|---|
Modification is disabled. By default, this group has Edit permission for all the apps in a workspace | Admins can add or remove users in this group. | Modification is disabled. By default, all the admins can create and delete apps or create folders. |
Creating new group
-
Click on
Create new groupbutton in the User Groups page.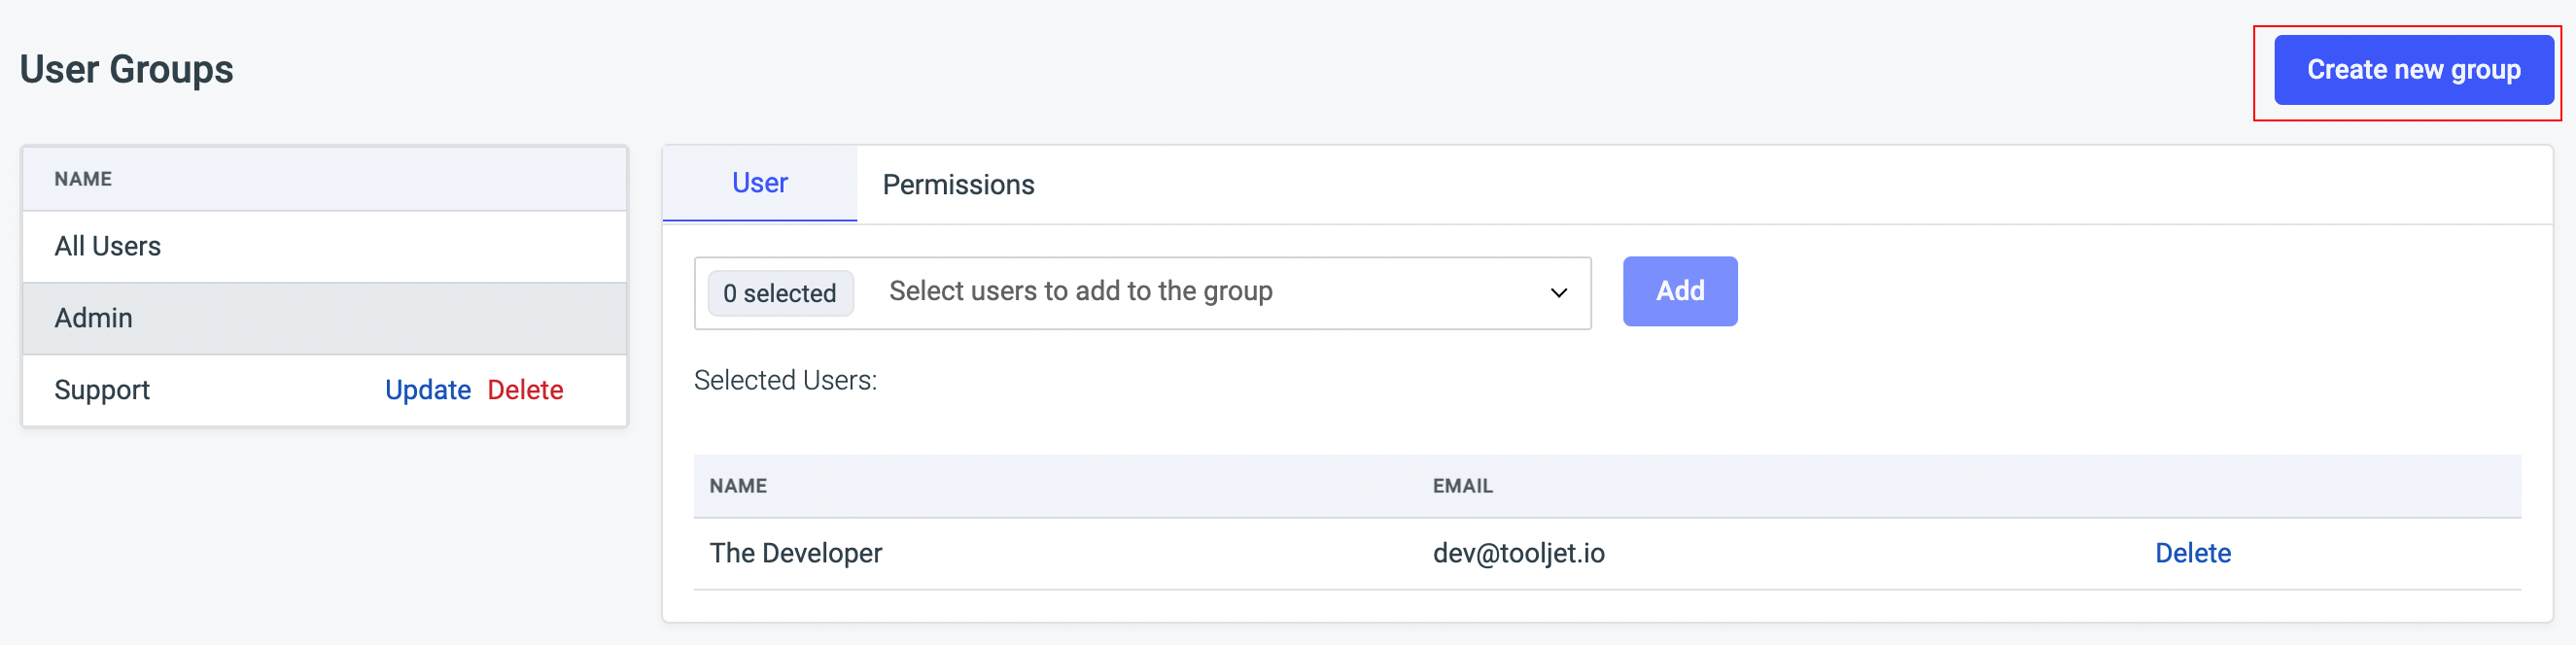
-
Enter a name for the group and click
Create Groupbutton.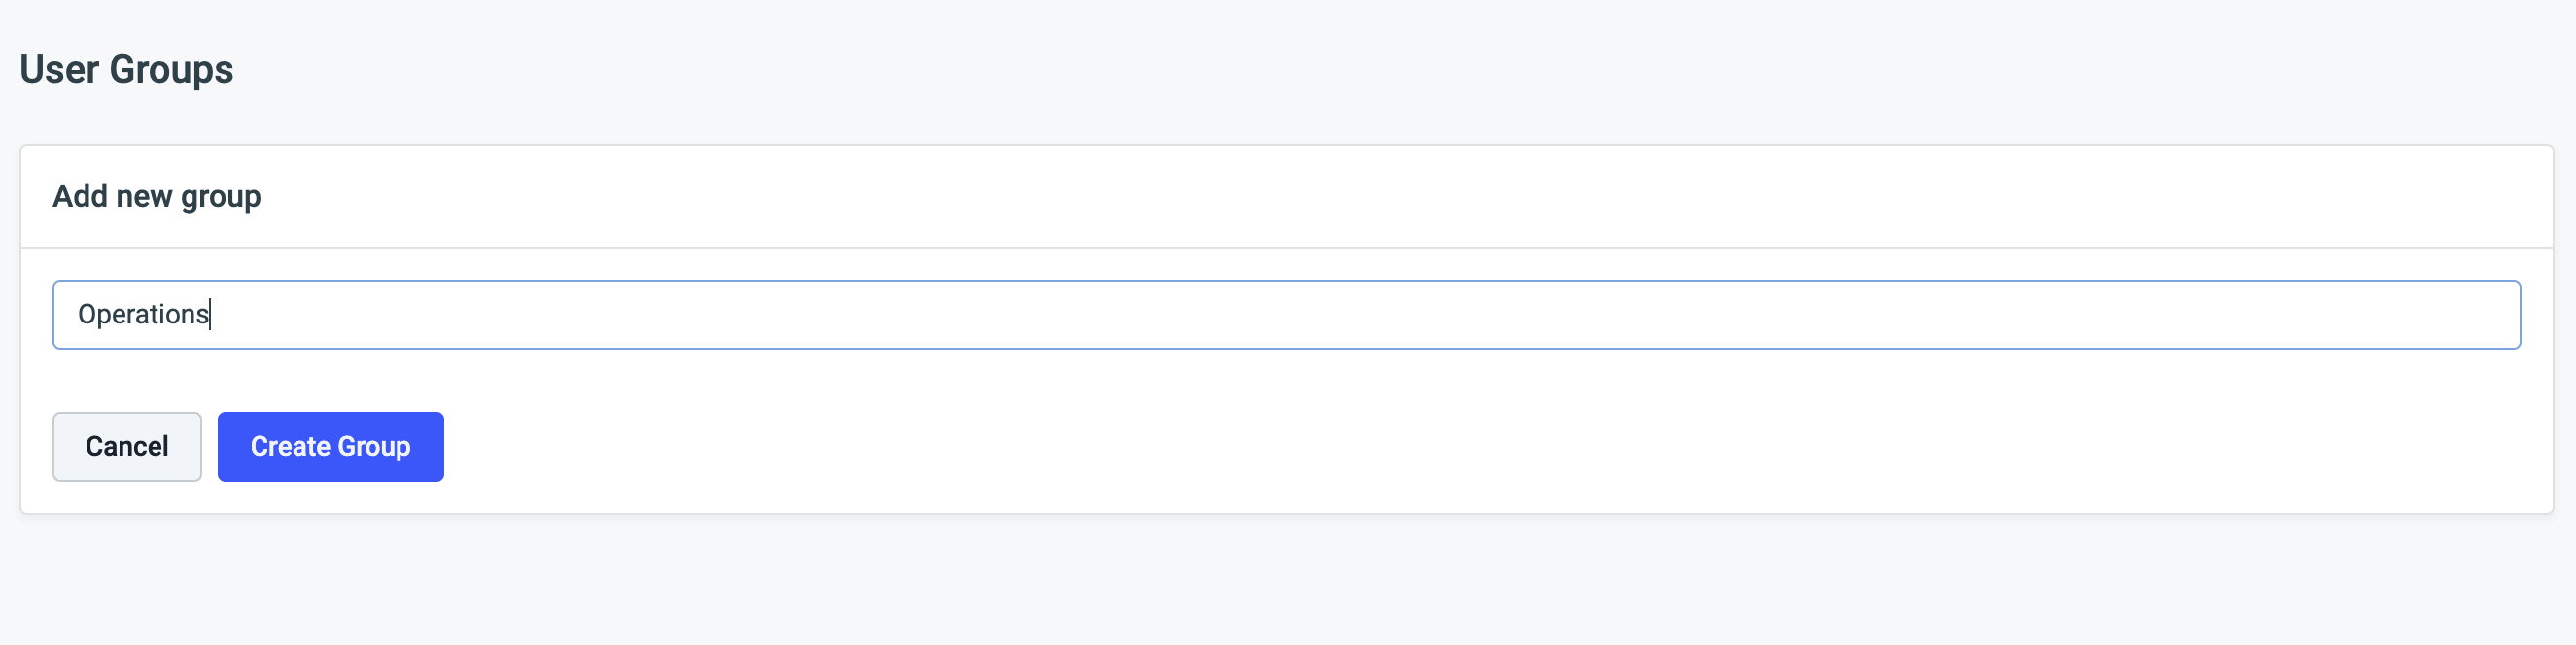
-
Once the group is created, you can add Apps, Users and set their Permissions for that group.
Deleting a group
To delete a group, click on Delete next to it. It will confirm whether you want to delete it or not, Click on Yes to delete the group.